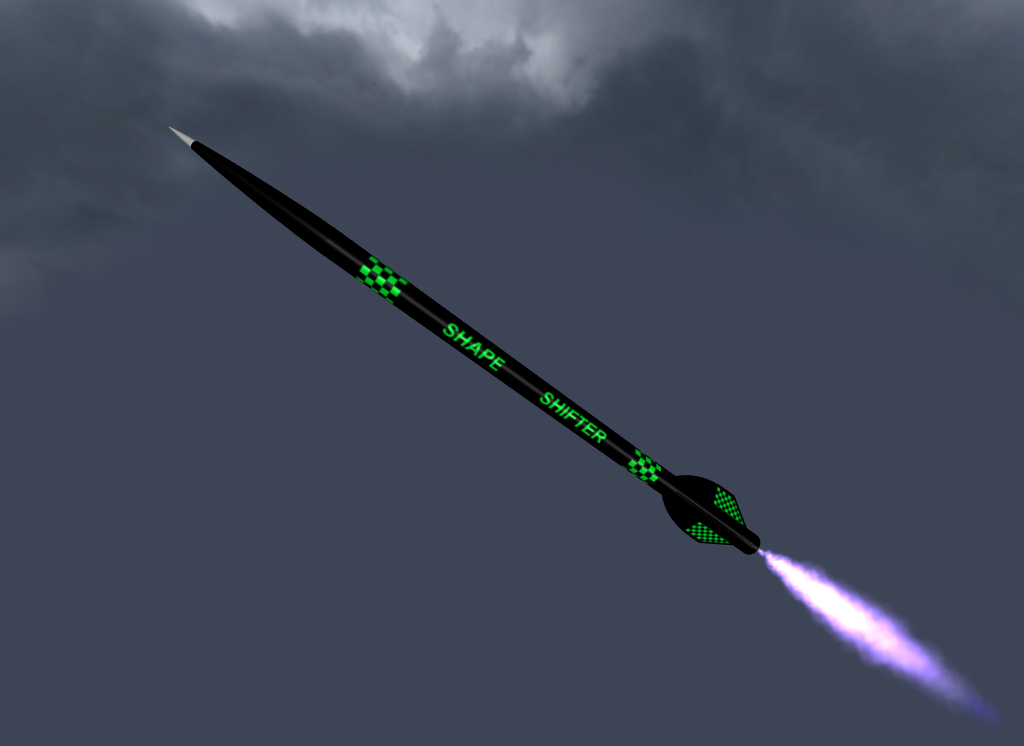
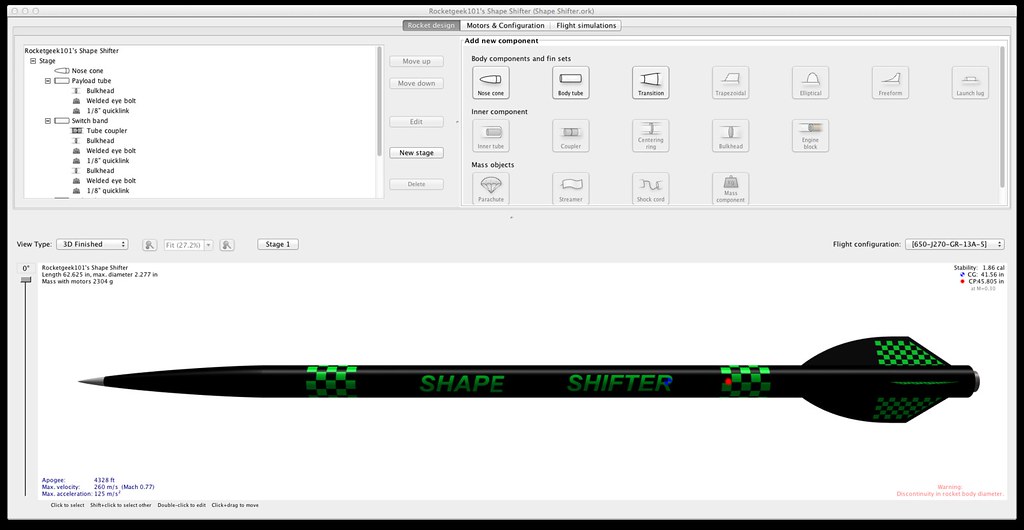
Interesting question. I noticed that issue with the fit as well, but since I'm planning on getting the dual deploy kit for it with my next order (it's only $22.50), I'll hold off on applying the decals (that way even if there was no issue with the fit, the placement would match that of the Jr.).
My suggestion for you would be to use callipers to accurately measure the thickness of each fin and add them together, then cut off the resultant value (that is the value of the sum of the three thicknesses) from one of the checked bands. Once you've done that, divide the rest of the band into three equal pieces and apply those pieces to the areas of the body tube in-between the fins. Personally I think it would look pretty good.
Hope that helps!
")
-S