Rocketarium Sandhawk Build

The Rocketry Forum

Help Support The Rocketry Forum:

This site may earn a commission from merchant affiliate links, including eBay, Amazon, and others.

Leo

Well-Known Member
Joined
Aug 19, 2009
Messages
2,005
Reaction score
416
Location
Germany
I purchased this kit as I wanted to see how this small rocket company compares to others.

I chose the Sandhawk for it's simplicity. It looks to be a nice kit.

This rocket build as with most all my builds will be made for dual deploy recovery using my very own altimeter.
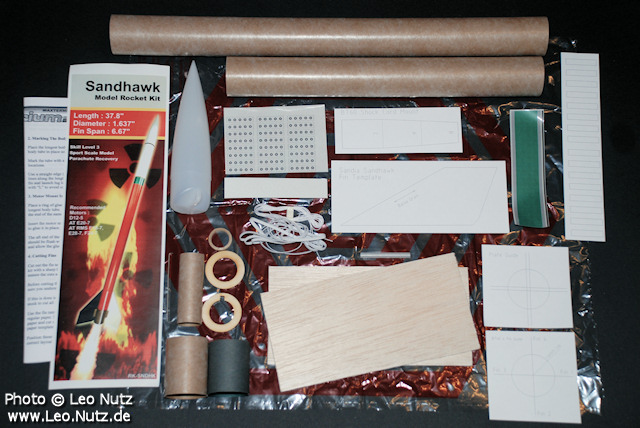
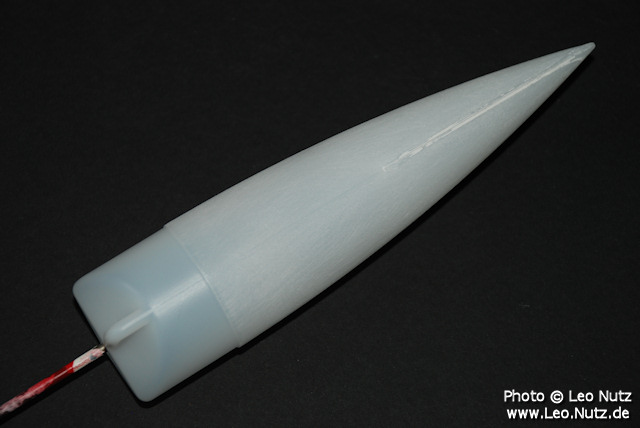
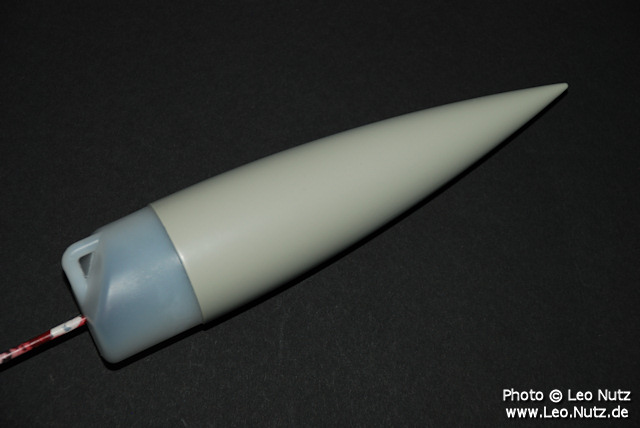
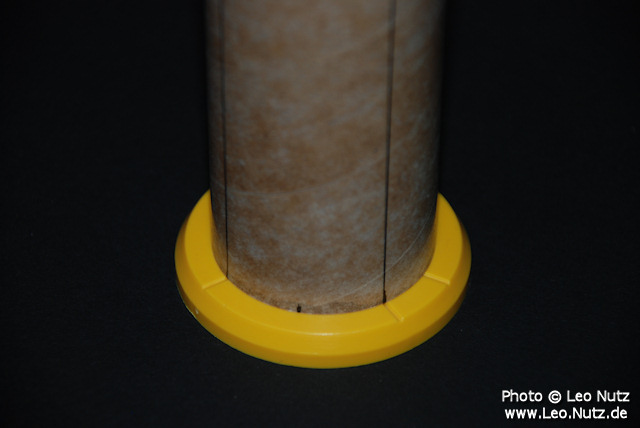
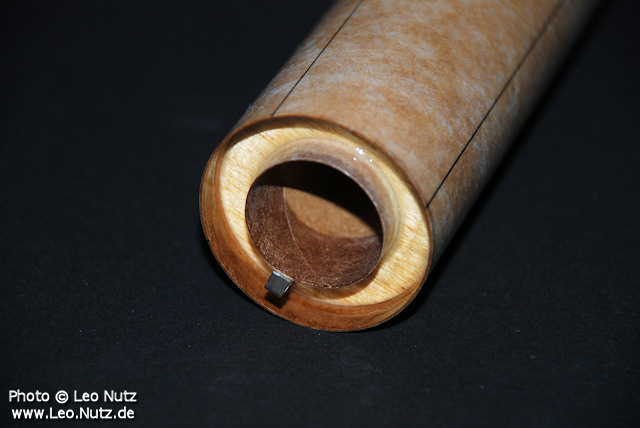
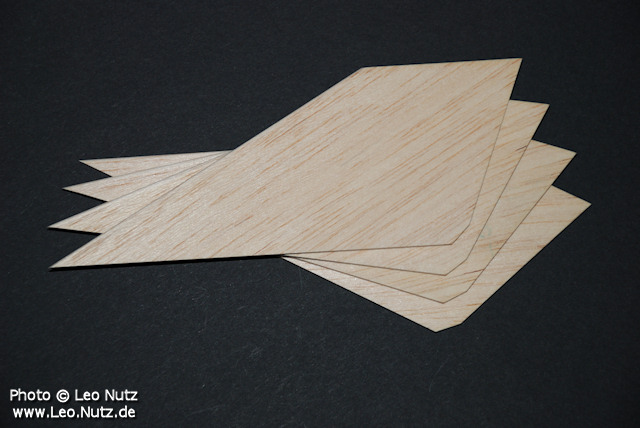
All parts laid out:
rocketarium_sandhawk_01.jpg


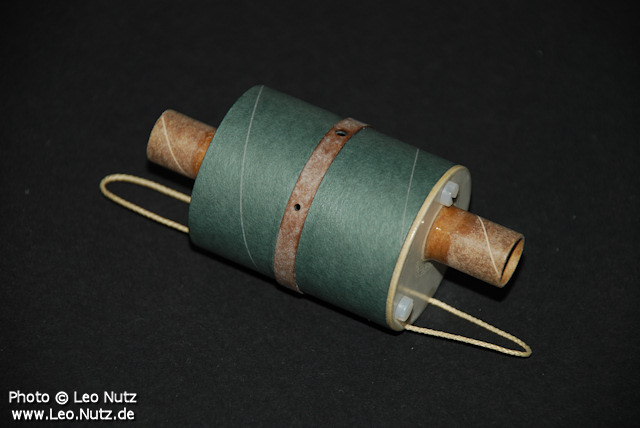
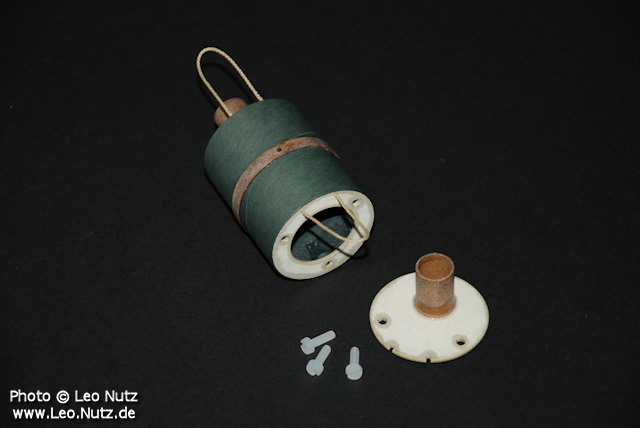
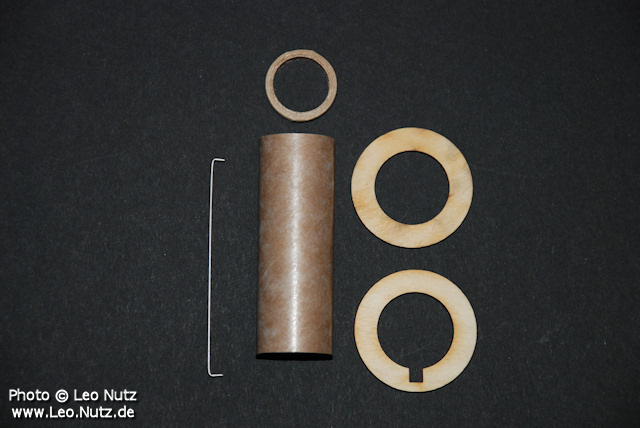
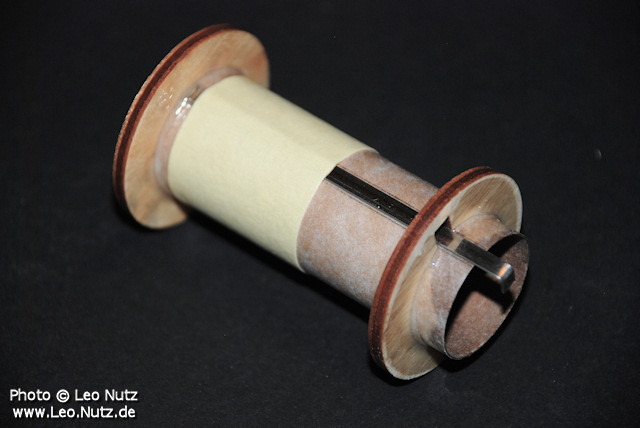
Since I don't have a BT-60 based e-bay I will need one for this and other kits. The e-bay build will be posted here as well.
 
I'm looking forward to this! I'm in the process of detailing mine. Nothing fancy...antennas, a fin alignment band, and a few other details. Nothing like it appears you're going to do! I found it to be an outstanding kit and look forward to building more.

Cheers,
Michael
 
I'm looking forward to this! I'm in the process of detailing mine. Nothing fancy...antennas, a fin alignment band, and a few other details. Nothing like it appears you're going to do! I found it to be an outstanding kit and look forward to building more.

Cheers,
Michael
Well, yours is fancier all ready because I'm not doing any other detail add-ons except for what the kit provides.

PS: I'm in Piedmont end of March. We should meet. I'd love to see your rocket collection.
 
First order of business, the motor mount.

Motor mount parts laid out:
rocketarium_sandhawk_02.jpg


The completed motor mount assembled in accordance with the instructions:
rocketarium_sandhawk_03.jpg


I used 5 min. epoxy for this step.
 
I used 240 grit sandpaper to give the nose cone I rough surface. A very important step else the primer won't hold.

I also had to fill in some deep gaps with putty.

Ready for primer:
rocketarium_sandhawk_04.jpg


2 coats of primer with wet sanding in between.

Ready for paint:
rocketarium_sandhawk_05.jpg
 
I drew up the lines using Estes' nifty fin marking guide:
rocketarium_sandhawk_06.jpg


Then I glued the motor mount inside the body tube using 5 min epoxy.

The working end:
rocketarium_sandhawk_07.jpg
 
The provided balsa sheets were so warped that they were unusable.
After finding some better balsa sheets I traced the fins and cut them out.

The Sandhawk has taper type fin profile but I decided to just round the leading edges.

The tail edges of the fins were soaked in CA to give them more strength.

Fins ready to be glued to the body tube:
rocketarium_sandhawk_08.jpg
 
That`s a shame about the Balsa ,was it because of the way it was packaged ? The new fins do look very nice ,are they 1/8" thick ?

Cheers

Paul T
 
Paul, I wouldn't want to speculate. Maybe it was packed that way, maybe not.

I used 3mm balsa that I had laying around. Now the fins are nice and even :)
 
Today I had time to glue on the fins to the body tube.

I also glued the launch lug to the body tube while almost forgetting to include the balsa stand-off! :p

rocketarium_sandhawk_09.jpg


One glue fillet was done on all joints. 2 more fillets to go.

Now here is something that doesn't happen very often. You take a piece of balsa sheet and cut out 4 fins. Then sand them even, rounding the leading edges. Mark the body tube and glue all 4 fins on it.
After all is done you place the whole rocket on the table and realize is doesn't tilt or wiggle at all. Perfect 4 lined up fins :cool:

Wow, that is amazing!
 
Some time ago I painted the nose cone and the upper body tube white.

rocketarium_sandhawk_10.jpg
 
This rocket will be flown as dual deploy using my own altimeter. Therefore it was necessary to build an e-bay for it.

This is how it turned out:

rocketarium_sandhawk_11.jpg


rocketarium_sandhawk_12.jpg


All it needs now is a nice paint job and some wiring.
 
Back
Top