SpartaChris
Well-Known Member
- Joined
- Feb 8, 2009
- Messages
- 2,733
- Reaction score
- 0


 Looks like an awesome project Chris!
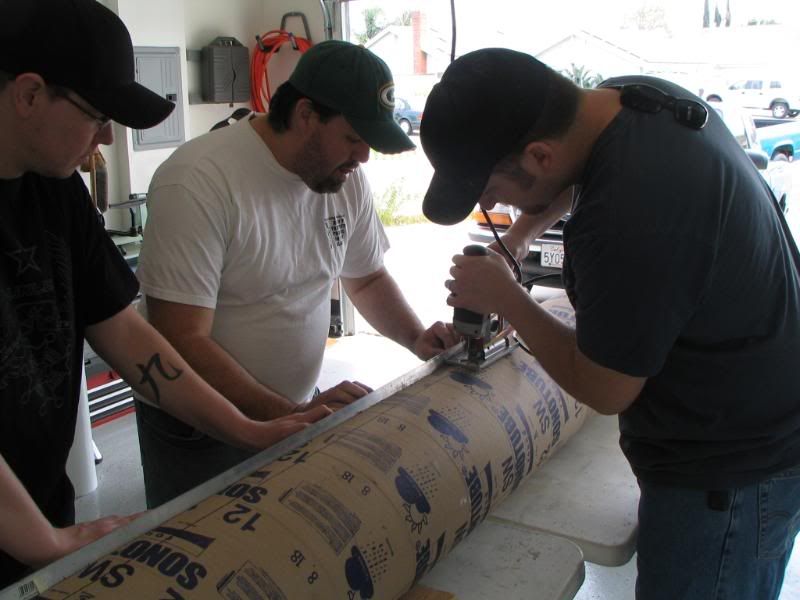
We decided (with encouragement from spouses) we'd like to remain friends after this build is done. So we're taking our time. The first one was built in 10 weeks. For this one we've added "participants" and stretched the build over a year. We might even get it painted this time... real paint, that is.C'mon, guys, what else could be more important?
-Kevin
We decided (with encouragement from spouses) we'd like to remain friends after this build is done. So we're taking our time. The first one was built in 10 weeks. For this one we've added "participants" and stretched the build over a year. We might even get it painted this time... real paint, that is.
mmm... i have big doubt for this project guys...
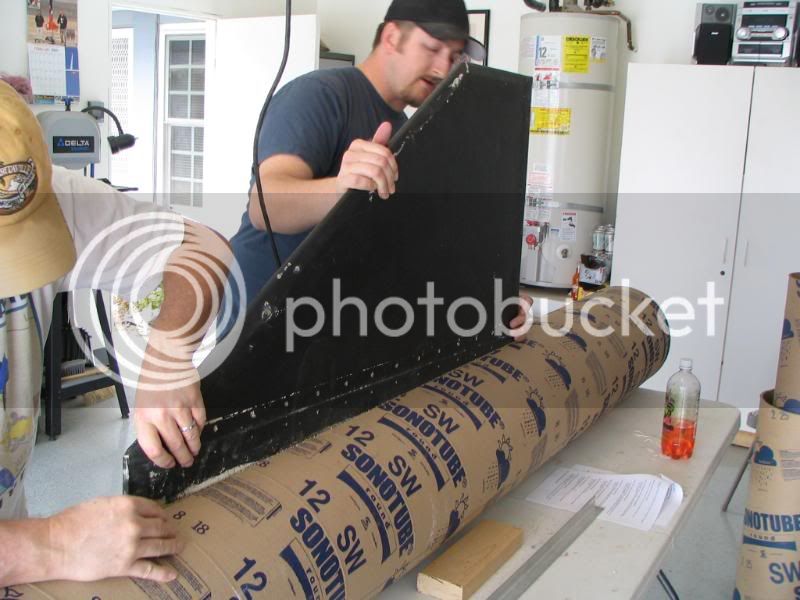
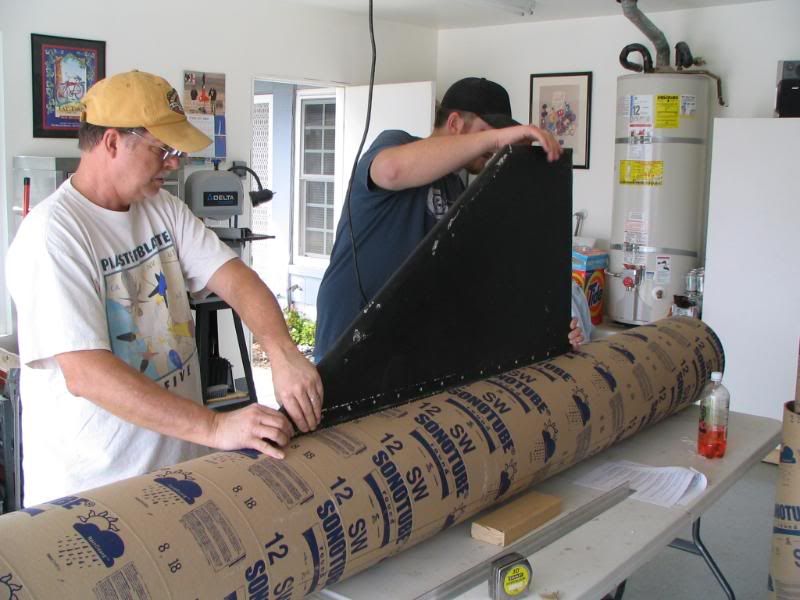
what aerospace tecnology is to fix fins with that stuff?? a tip-to-tip glass reinforcement isn't stronger and lighter??
same doubt for the TTW mount... that alluminium stuff held the fin, but a well dimensioned fillet and some foam works better...
why not spend a little more in construction technology and save money by making your rockets really strong???
i hope i misunderstood your plan!!!
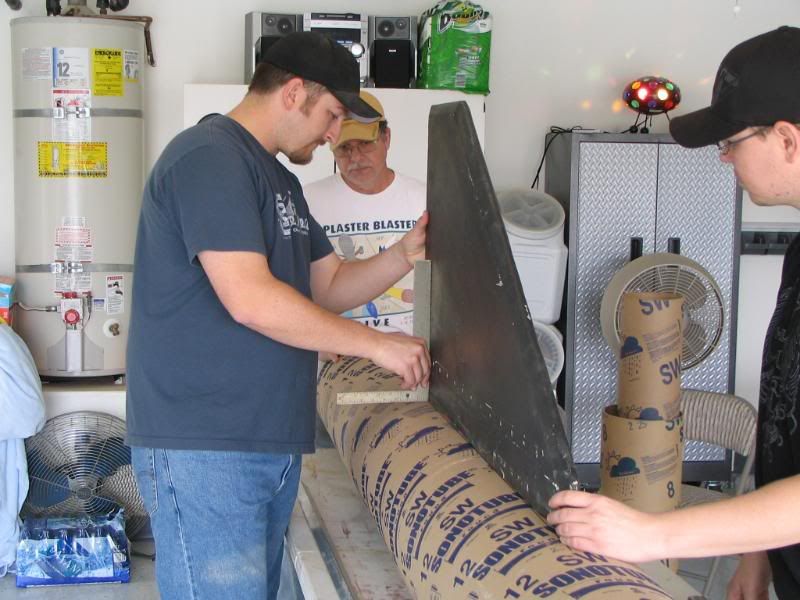
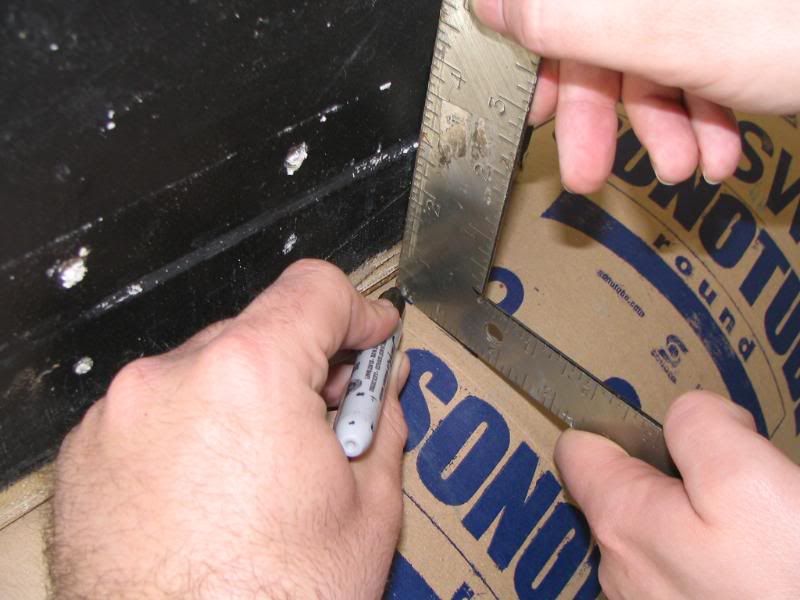
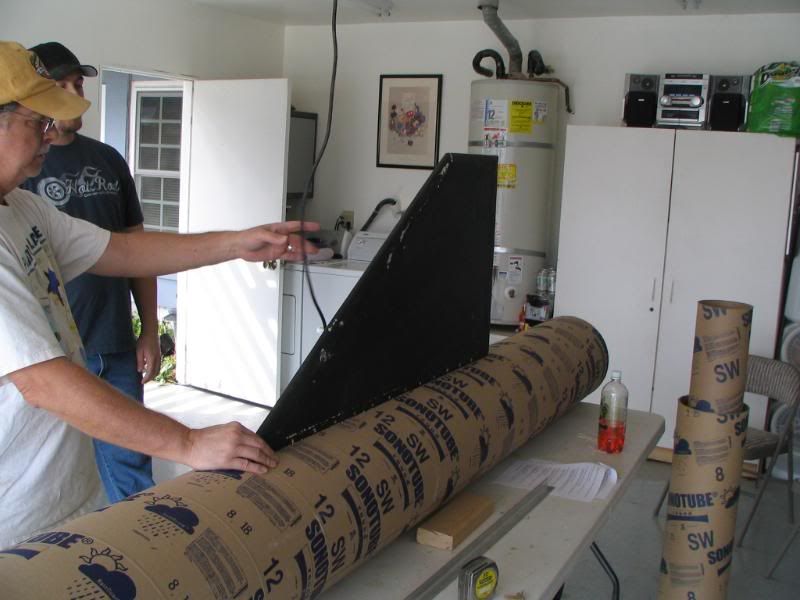
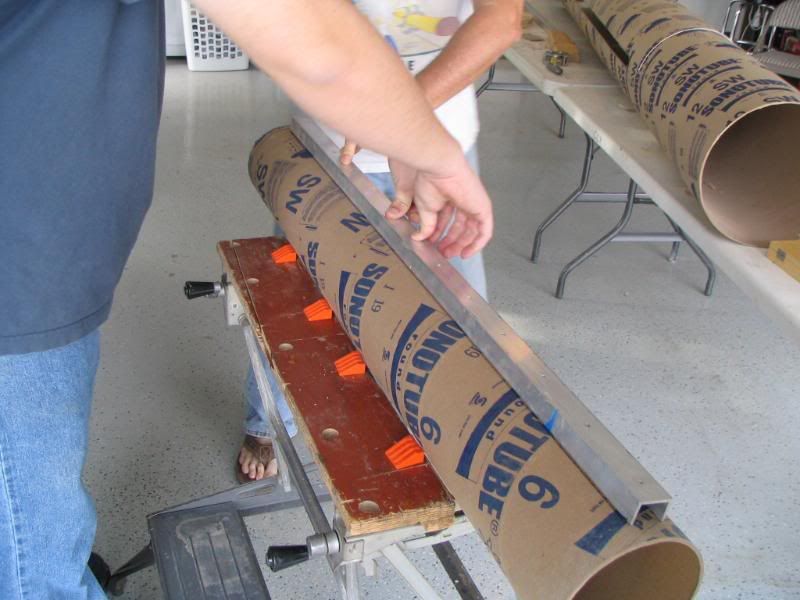
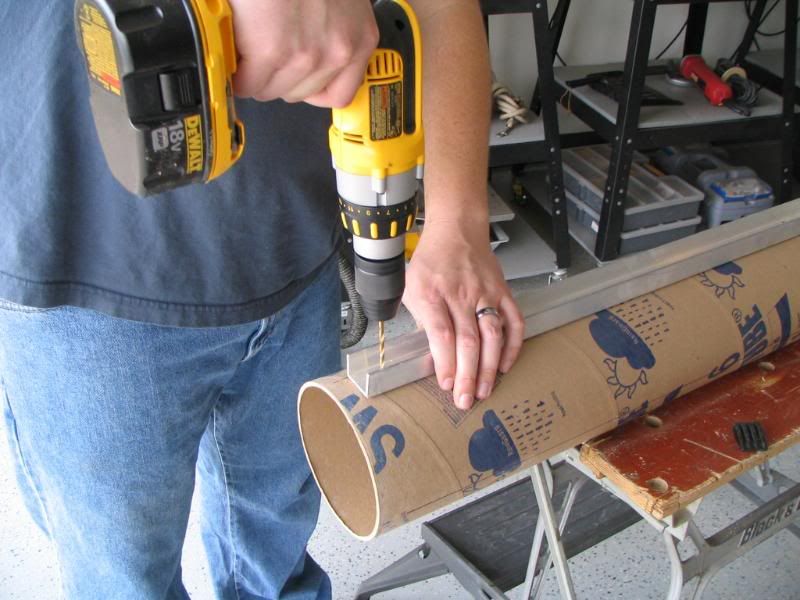
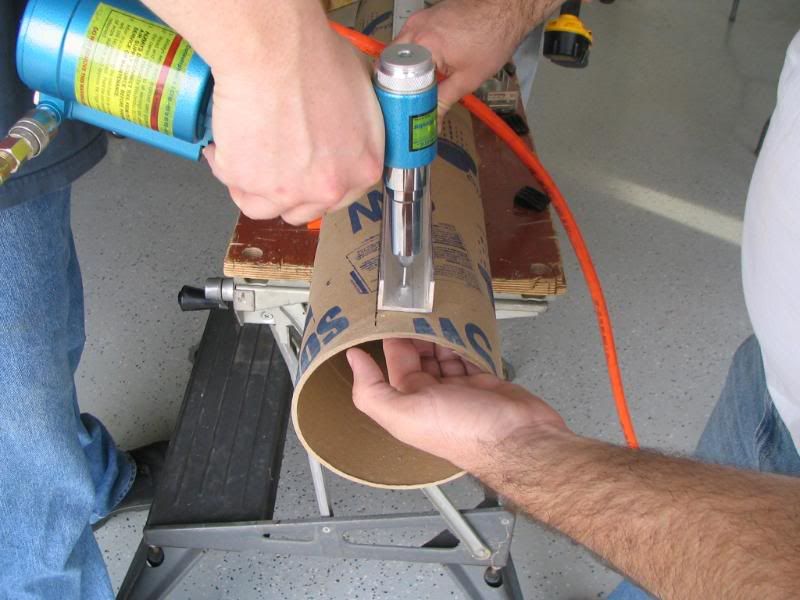
I believe the reason for "Piano Hinge" inside a slot plan for the main fins is so that they could reasonably store and transport the rocket. Its pretty large and its most likely already a pain to store and move as it is without the fins, so making the fins removable simplifies things.
Correct me if I'm wrong guys....
Oh yeah, looking good so far!
that's a possible reason
but personally, i prefer a one piece, strong fincan, even if it's difficult to transport
my SpeedWeiser's wingspan is 125cm or 49.5in
i moved it from home(italy), to launch field(spain), that is actually a 1200km or 746mi trip
vibration are rocket killers, and with hinge instead of a solid fillet, vibration can easily occur... isn't it??
in any case, I am much most happy if the launch goes to good aim!!!! i'm waiting to see it fly dead straight to the sky


Enter your email address to join:
