


- Joined
- Jun 3, 2021
- Messages
- 137
- Reaction score
- 63
I'm currently building a Crayon rocket using a Discount Rocketry parts kit. It includes basically everything you need besides the actual crayon bank and recovery (a 30" chute is offered as an option on the listing). First impressions are that its a very well thought out kit and I've been building it pretty much as it comes (kit images here: https://www.discountrocketry.com/modelrocketsus-crayon-rocket-parts-p-2337.html).
Changes I have made or plan to make are as follows;
I still need to finish the internal fillets, glue in the mmt/fin can, install the shock cord/chute/chute protector, apply external fillets, and pain the fins and I'll be ready to fly it.
One minor miss on my part is that I didn't take the weights of any of the components until after I had glued up the mmt/fincan. Luckily I can at least dissasemble most everything but the aformentioned mmt/fincan and weigh them to create a sim so I can figure out an appropriate chute size and forward rail button location.
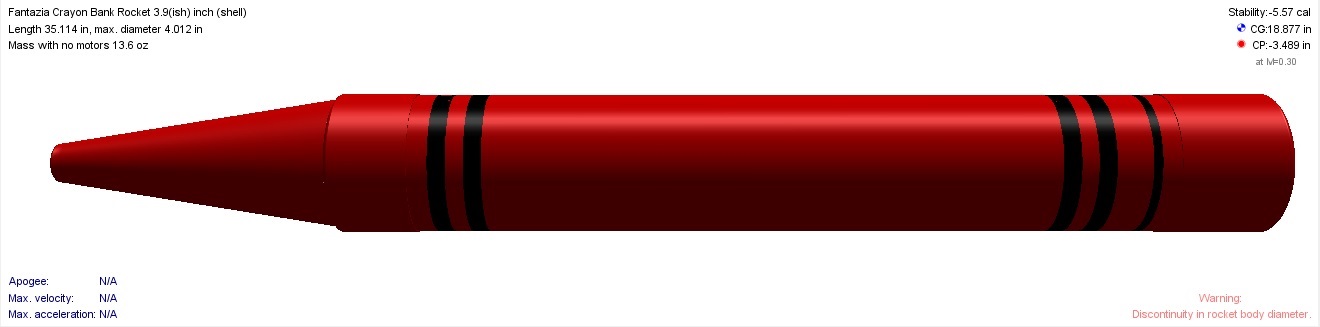
Would anyone happen to have a sim for this rocket?
Anyone have tips for how to mask off for external fillets without lifting/damaging the printed paper decoration?
Changes I have made or plan to make are as follows;
- Replace launch lugs with rail buttons (RBSH 3/8" Anvil 1010 buttons)
- Replace elastic and instead just run a longer kevlar shock cord (15ft)
- Replace the bent wire eyebolt for the nosecone with a 1/4 forged Eyebolt
- Use an Aeropack for motor retention
- Use plastic rivets instead of a friction fit on the plastic bottom
I still need to finish the internal fillets, glue in the mmt/fin can, install the shock cord/chute/chute protector, apply external fillets, and pain the fins and I'll be ready to fly it.
One minor miss on my part is that I didn't take the weights of any of the components until after I had glued up the mmt/fincan. Luckily I can at least dissasemble most everything but the aformentioned mmt/fincan and weigh them to create a sim so I can figure out an appropriate chute size and forward rail button location.
Would anyone happen to have a sim for this rocket?
Anyone have tips for how to mask off for external fillets without lifting/damaging the printed paper decoration?


![1216211757[1].jpg](https://cdn.imagearchive.com/rocketryforum/data/attachments/411/411710-664fe6e37c03c6f4f127c6af06e8c539.jpg "1216211757[1].jpg")

