Your general rocketry helpful tips?

The Rocketry Forum

Help Support The Rocketry Forum:

This site may earn a commission from merchant affiliate links, including eBay, Amazon, and others.

prfesser

LIFETIME SUPPORTER
TRF Supporter
Joined
May 7, 2017
Messages
3,905
Reaction score
5,922
Location
Murray, KY
Whether simple or complex, model or midpower or highpower, all tips are welcomed. Please, just tips. No discussion unless the tip is factually wrong. Thanks!

Masking tape on nose cones/couplers

When applying masking tape to a nose cone or coupler for a tighter fit, cut the tape with scissors or a knife, don't tear it. Tearing leaves irregular edges that can easily expose the gum on the tape. Leads to the tape rolling over or simply sticking to the tube.. Also, cut the tape at a slight angle so that one side is shorter than the other, with the short side toward the aft end. Makes it easier to slide the nose cone in place.

Burnishing the tape with the back of the fingernail aids in adhesion.

Finally, apply the tape so that it overlaps the aft end of the nose cone or coupler, and press down the tape as shown in the figures. Minimizes rollover.

1622555990285.png 1622556018100.png
 
When adding clay nose weight inside a plastic nose cone for an LP build, don't struggle with a dowel to tamp the clay into place. Instead, use a dowel just to get a very rough tamp. Then place the nose cone, tip down, in a water glass, preferably with a diameter just a little greater than the nose cone's; whatever you've got will do. Then fill the glass with boiling water. The clay will soften enough to flow, filling the tip of the cone neatly and completely. If it's a lot of clay in a big cone, you may have to change the water as it cools off.

I like these little glasses that come with chocolate Mole in them.
1622565980353.png
Shrimp cocktail glasses just work as well.
1622565921381.png
 
For beginners and those who haven't read The Handbook of Model Rocketry:

Double-gluing fins

This is the old-school method of attaching fins with white or yellow glue; speeds up the process significantly.

Sand the tube lightly where the fins will go, removing the glassine layer. If the marks you made get sanded off, just re-mark.
Apply a bead of glue to the root edge of the fin. Press the fin on the body tube where it will go, then remove it.
Wipe off all but a thin layer of glue from both surfaces. Allow to dry for five minutes or so.
Now apply a small bead to the root edge. Press the fin in place and hold it for about thirty seconds. It should stay in place.
Do the rest of the fins this way, then stand the rocket on the fore end of the body tube. Allow the glue to dry completely, then fillet.

If this is done with a quick-grabbing yellow glue, it'll grab even quicker. Get the alignment correct very quickly.

Best -- Terry
 
91% isopropyl alcohol (isopropanol, rubbing alcohol) and a paper towel will remove epoxy from your skin if the stuff hasn't gotten past the chewing-gum stage. Several applications and rubbing/scraping may be necessary.

NEVER use "denatured alcohol" from the big-box store on skin. I thought that the alcohol had 5% denaturant added., as that was what we always used in the lab. I was surprised to learn that it can contain considerably higher concentrations. If the denaturant is methanol, you may be in for a bad time. It's toxic and can be absorbed through the skin...
 
  • If you habitually sharpen knives with a very fine finish (something like a true translucent Arkansas) then you can touch up X-Acto blades an buy fewer of them.
  • Don't overthink it.
  • Don't underthink it.
  • Flying is as much of a skill as building.
 
If we're talking about getting rocket-building gack off your hands, nothing beats lava soap for me. Works well for adhesives and paint. Maybe soap threads can be the new glue threads. :headspinning:

More seriously, consider motor retention BEFORE you start building a high power rocket kit. It's much easier to to get a retainer on if you plan ahead.
 
91% isopropyl alcohol (isopropanol, rubbing alcohol) and a paper towel will remove epoxy from your skin if the stuff hasn't gotten past the chewing-gum stage. Several applications and rubbing/scraping may be necessary.

I usually just use soap, water and paper towels. Soap & water is not perfect, but to the extent that alcohol softens or dissolves epoxy it also increases the amount that is absorbed into your skin. Wear gloves!
 
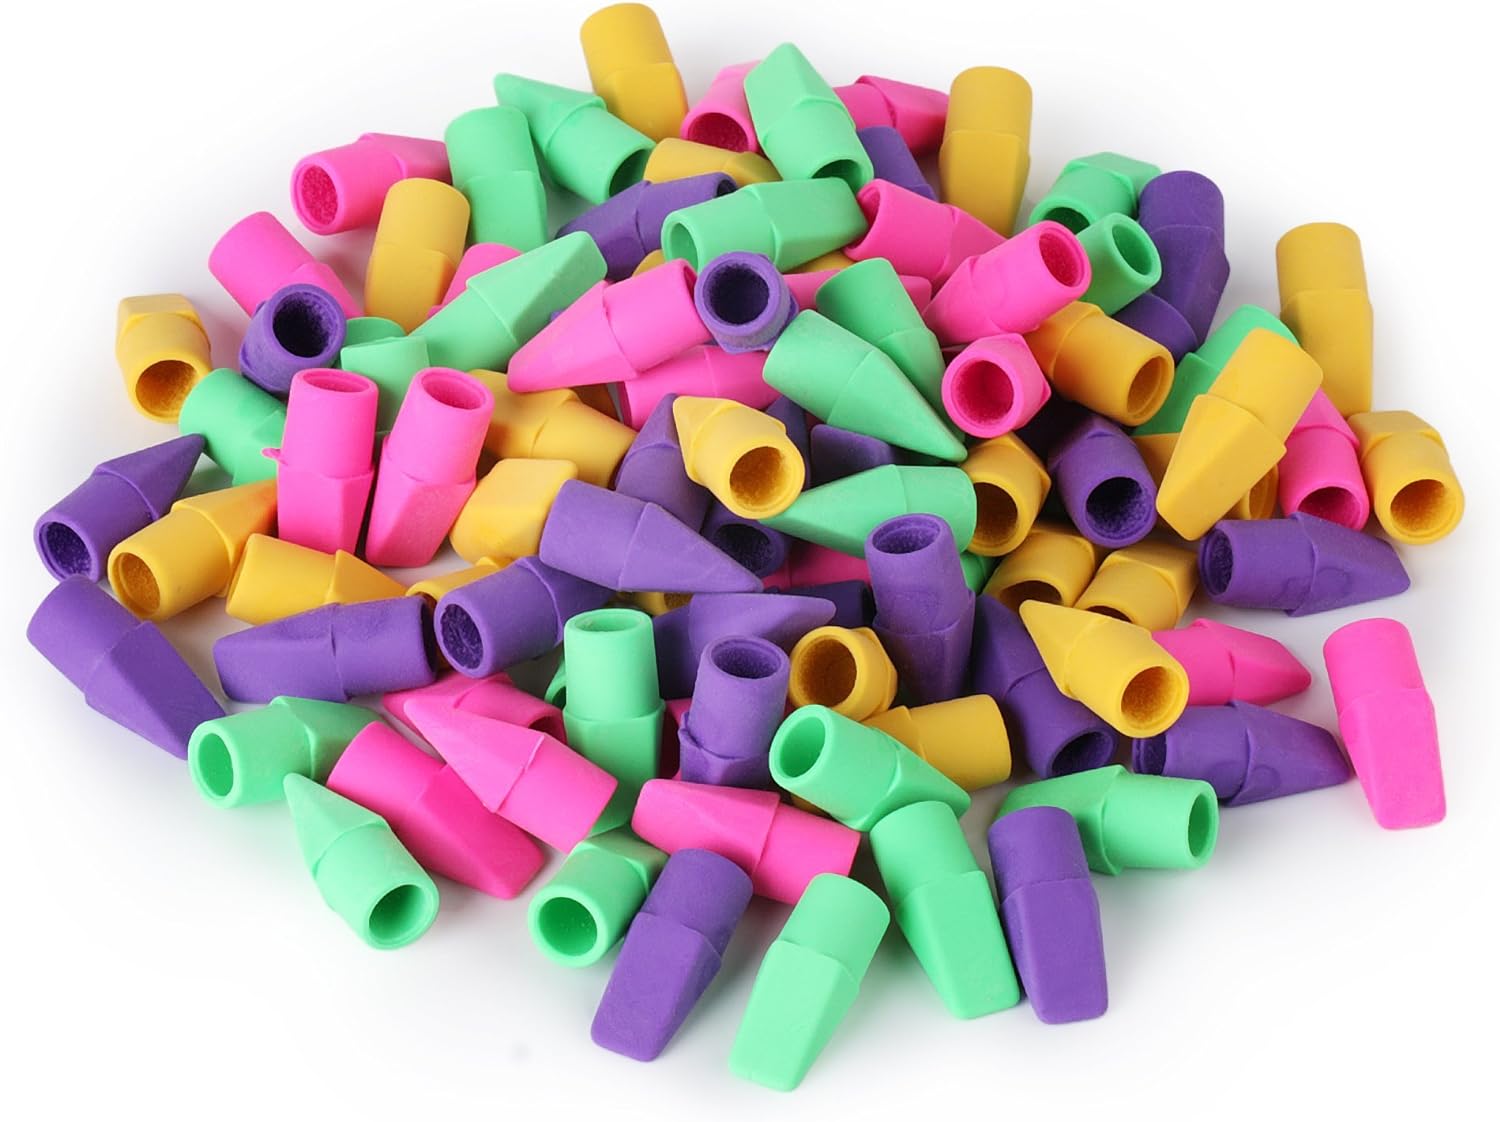
Stick an eraser on the end of your exacto handle, this will help keep it from rolling.

81iBhjFguDL._AC_SL1500_.jpg


I have at least two, sometimes three bottles of yellow glue, of different "vintages". The older the glue, the thicker. The oldest (thickest) is good for sticking fins on, then later making fillets because it will grab and hold. The "medium" glue is helpfull for sticking centering rings to the inner tube. The thinnest (youngest) glue is good for gluing body tubes and couplers together. You DO NOT need to glue the entire length! Only apple a ring about 1/4 inch or so before final position. If you try to apply a longer bead, the chances are the (any yellow) glue will sieze up before the part is in position. I also use the thin glue when rolling up, or layering paper when making a wide centering adapter, or when papering fins.
 
Before building old kits, scan decals, fins, and any other special flat parts along with a good ruler (not the cheap wooden school ruler you used as a kid), and share them with JimZ's site. You will allow others to possibly recapture their dream kit, and might help yourself should your prized kit be damaged or destroyed in an accident (like your kid sister pushing you down on the model you just built with grandpa during a sibling squabble (any guesses on how my sole completely built flying balsa plane was destroyed, along with my Sizzler rocket)).
 
My tip would be on how to fold a chute. When I was a new BAR I would roll the chute from the top down to the bottom and then wrap the shroud lines around the chute. I had about a 50% failure rate. Then I learned to Z fold the chute and to Z fold the shroud lines then to tuck the lines between two folds of the chute. Then roll it up and wrap a blanket around it. The blanket is attached below the chute. When deployed everything comes out in order and the chute inflates rapidly. Since I started folding my chutes this way I've had one failure to inflate. That was because the nylon shock cord acted like a spring and wrapped up the shroud lines. So with dozens of flights one failure isn't bad.
 
Piggybacking on the paint stand tips-

Buy a cheap launch pad/repurpose one you already have. You now own a great painting stand.

Put the body tube around the launch rod. Take a lump of poster tack, press it against the inside of the tube around the launch rod. Your rocket will now sit fairly still while you paint it. It will sit completely still if you paint it from the distance recommended on the can.

Bonus- the amount of handling required to remove it helps deter you from pulling a "That paint's gotta be dry by now... D'OH"
 
A used engine case glued a square of cardboard makes a dandy quick and dirty stand for storage, painting, and other purposes. Use a big piece of cardboard to hold the stand (and thus the rocket) steady with one hand while spraying paint with the other.

Wear disposable gloves while painting.

Wear a mask while painting, unless you like technicolor snot.

Used engine cases have a thousand uses; keep several on hand.
 
I think I learned this from here somewhere, but an upside-down egg carton nicely cradles tubes, and nosecones pointy-end down too. Cut slots in the egg holder to hold multi-piece fins during assembly.
 

Attachments

  • IMG_20210518_194425273.jpg
    IMG_20210518_194425273.jpg
    79.4 KB · Views: 37
  • IMG_20210521_200256498.jpg
    IMG_20210521_200256498.jpg
    96.6 KB · Views: 35
For those of you making big nose cones:

Do NOT use styrofoam "beadboard" unless you enjoy messes. The extruded foam is messy enough. Beads love to jump out of the beadboard whilst shaping.

Do it outside. Vacuum off your clothes before going inside, or SWMBO may have words.

A couple of 2x6s, two pillow blocks, some shafting, pulleys, and a spare motor will get you a Flintstones lathe that works just fine for foam.

Peel the vapor barrier from both sides before gluing. Glue foam to foam, not foam-vapor barrier-glue-vapor barrier-foam.

Do not use glue that dries (white or yellow). The middle will never set, as air can't get to it. Epoxy or other "curing" glue.

I just discovered that Menards has 4x8 foot sheets of foam from 3/4" to 4" thick. Other places probably have them too. Thick foam saves on the number of discs to be cut.

On the roughing stage, don't press the cutting edge or sandpaper hard against the foam. It will just follow the rough contours and give a non-round nose cone. Hold the cutter so it's hitting the high spots. As they wear down the shape will gradually form properly.
 
Do NOT use styrofoam "beadboard" unless you enjoy messes. The extruded foam is messy enough. Beads love to jump out of the beadboard whilst shaping.

Do it outside. Vacuum off your clothes before going inside, or SWMBO may have words.
SWMBO?
LMAO you should see my dining room table.
"Honey, I promise I'll clean that up before anyone comes by!" is a regular promise I make to my husband.
... Then again, I'm also the one who obsesses about the grass, fixes incidental things, etc... but I'm not gonna lie, he handles the spiders.
 
Back
Top