mtnmanak
™
- Joined
- May 5, 2020
- Messages
- 2,062
- Reaction score
- 2,782
Where did you get your jigs or plans from? Looks like a great idea.
Macklin Missile Works: https://www.macklinmissileworks.com/
They will sell you the kits or the plans. I have the "small" and the "medium" versions. Those two jigs can accommodate BTs from about 1/2" up to 5" in diameter (although 5" is tight). For anything larger, you need their really big jig, which I do not have.
Apogee also sells some of the sizes, but they charge a premium over getting them straight from Macklin: https://www.apogeerockets.com/Building-Supplies/Tools/Guillotine-Fin-Jig
If you don't see what you need on Macklin's site, just email them, they will most likely make it for you, they are great to deal with.

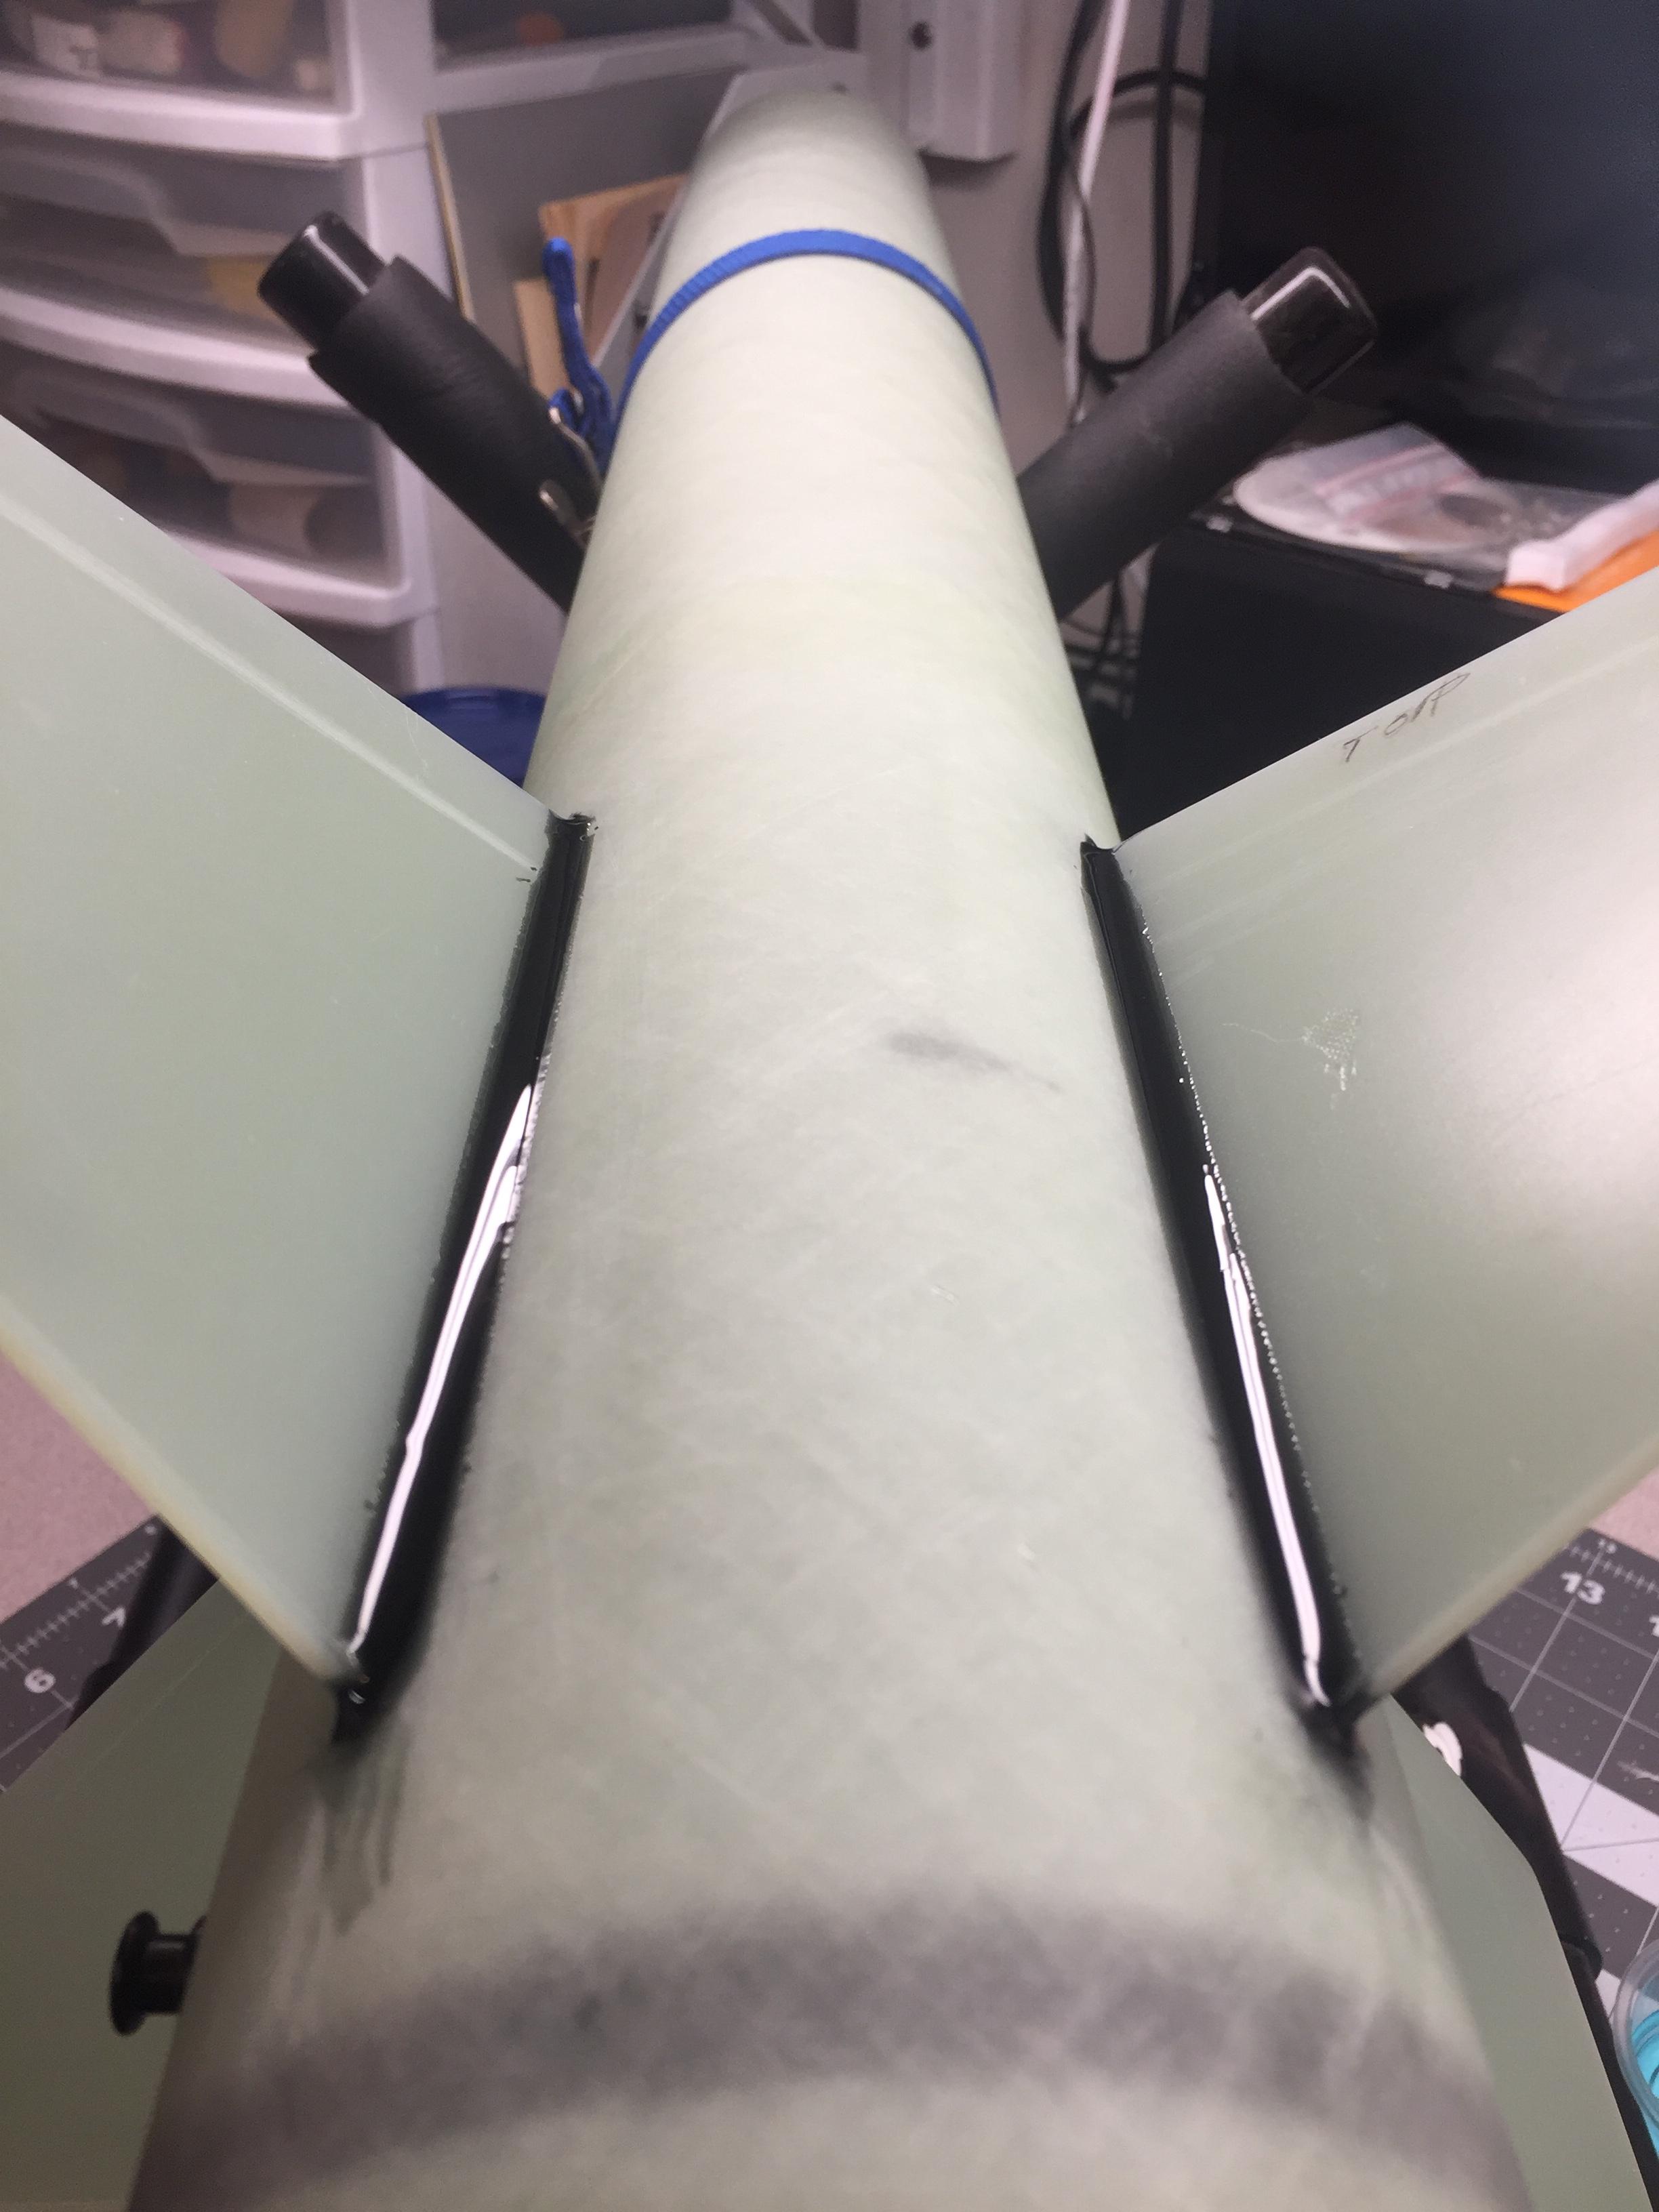
 Everything takes so GD long in my life now, but I figure once the fins are finished that the rest will go a lot faster. Here's the epoxy fillets, as i'm going to hate to cover them up as good as they turned out.