Cardstock Mercury Little Joe in Apogee Newsletter

The Rocketry Forum

Help Support The Rocketry Forum:

This site may earn a commission from merchant affiliate links, including eBay, Amazon, and others.
Crickets...……….

Guess there are no cardstock enthusiasts out there.
Or they're very shy.
Have some time now, so I started this build:
0114200522.jpg

Instructions are confusing, as it intermingles between two different models. Apparently the original on which the cardstock is based had chrome wraps and was 24mm powered.
If you print the .pdfs at actual size it clips off part of the page. I printed everything at "fit to page".
Two centering rings are for an 18mm mount, two are for 24mm. The rolled motor tube is 18mm, so that's what I'm building. Centering rings do not fit the main body tube, too small. Using a shaved down 20-80 fiber centering ring and a second one traced from cardboard.
TBC
 
Last edited:
Nice set of plans. I would probably draw the other tower trusses that you can see through in a darker shade of red so that the cardstock tower appears transparent, i.e. you would see the crossing trusses. And maybe fill in the white space with some light blue gradient, to simulate the sky behind it, or something like that. Here is a rough sketch of the idea on one side of the tower, you could probably do better than this simple PDF markup:

Screen Shot 2020-01-14 at 4.59.41 PM.png .
 
Hey Glen, good to see you back buddy.
Good idea on the tower. I already assembled it, don't trust my freehand drawing skills though.
I'm finding these instructions to be a bit lacking, but I'm trudging on.
I notice that the shade of red for the escape motor nozzles is darker than the red on the tower.
And I have to decide how to color in the orange rectangles and fin tips. Would have been so much easier if the pdfs already had them colored. Will use either felt pen, orange monokote, or paint.
I don't have any foamboard so I'm subbing balsa.
Cut four wedges for the root edges of the fins to glue on to. No template, just measure, cut and shape to fit.
These will be glued to the body tube and the fins glued on, giving them something substantive to attach to.
0114201535.jpg


Another couple of mods: added an engine hook and Kevlar leader to the motor mount.
0114201537a.jpg
Dry fitted capsule and tube/centering rings, need to add a balsa bulkhead to attach the screw eye to.
0114201537.jpg

Rest of tonight, cut, score and assemble the remaining three fins.
Tomorrow, glue fins to body, glue tower assembly to capsule, glue motor mount.
Oh, and roll and glue a launch lug.
Almost there.
TBC
 
For those foil or metallic portions, that is kind of tough and always a challenge to get right. The shaded printable template actually looks pretty good already on regular cardstock paper. You could print a set of those parts on waterslide decal paper, and then cut another part from Trim Monokote, or dryer duct metallic tape if you can get one wide enough. Apply the metallic tape over the paper, then apply the waterslide decal on top. A lot of effort, but the results are usually pretty decent.

Another alternative is to use a printable cardstock metallic paper. This is not as good looking, the paper is more of a pearlescent than metallic, but does have a little sheen rather than shine to it, you can print directly on that with an ink jet printer.

It looks like some of the rolled parts are printed across the grain of the paper, rolled from the short edge, this conserves paper, but it creases when you try to roll it, you can even see some creases in those parts in the pictures in the article. You can try steaming the paper, or breathing heavy on it, before you roll it, but it still may crease. Those parts are best printed along the long edge of the paper, that is the direction of the natural grain of the paper and it will roll without creasing.
 
Last edited:
In the build instructions they used Grafix silver metallic film. It was coated with a Minwax water based acrylic polymer so that it could be printed on. They mention that the "paper purists" can use the non foil option.
So I'm claiming to be a paper purist and take the easy way out.:D
The original build also used dowels to construct the tower. But hey, since the folding paper tower template is in there, I should use it right?;)
Stay tuned folks.
 
I found a b/w picture of the launch of LJ 6 (the second launch) and it appears the tower s/b black, not red.
Little_Joe_6_launch_10-4-1959_from_Wallops_Is._Virginia.jpg


And fluo. orange fin tips and rectangles on the body, as well as the tower tank and bottom of the boilerplate capsule.
Probably more like the Enerjet LJ I did a while back. So I'm calling this sport scale.
And the assembly is complete.

0115201028.jpg

Just need to Sharpie in the orange sections.
No aerospike mentioned in the instructions but I might add one later.
Will give a flight report when I launch this baby.
Hasta la vista.
 
Nice looking build. I still have the Estes kit on a shelf in the bag waiting to get built. This looks like a quick and easy build. Are you planning to clear coat it with a gloss or matte finish?
 
I have half a can of matte clear so I think I'll use that.
Forgot to mention, fillet the fins with white glue instead of yellow for obvious reasons.
What have you been up to Glen?
Miss your builds.
 
I bought a lot of kits last year and am running out of space, so just taking a break. I have been busy with my other musical hobby too. I like the cardstock downscales since they don’t take up as much space. I might try to scale this LJI down to 13 mm, looks like a nice pattern.
 
Last edited:
I make papermodels of birds, and I've learned a few tricks over the years... For parts that are printed on one side, but you can see the unfinished side when the model is completed, you can take a scan of the part, resize it (say by 105%), mirror it, then glue that to the back of the original part. When you trim it, you remove all unfinished material that is visible, and then you have a part that is finished on both sides. Here, I didn't resize the part, but I made the tower structure wider. When you glue it to the backside of the original part, then cut away all the white area, you'll be left with red on both the inside and the outside of the structure (except for where the tab overlaps on the original). I'm not a purist. So, I'd use a piece of hard clear plastic from some packaging (such as tools are frequently encased in) to add strength, by gluing it in from the back.

If I was feeling terribly clever, I'd make a red cone for the top of the capsule, and a conic section to go underneath that, to give the correct round shape.

upload_2020-1-17_8-15-17.png
 
If I was feeling terribly clever, I'd make a red cone for the top of the capsule, and a conic section to go underneath that, to give the correct round shape.
The templates include that option: a red "pac man" capsule top and conical section instead of a printed section on the tower.
But then I would have to make the tower out of dowels!
Horrors! ( I built three towers out of dowels, music wire, or thin plastic strands recently).
I'm all doweled out!;)
 
I was surprised that there are no reference guides on the PDFs to help compute the correct scale value when printing. And the PDFs are just a low-res bitmap (scanned image) rather than actual vector line art, so the quality if not very good. (The bitmap is only 100 dpi which is very low for printing.) Just FYI in case someone else tries to print it out and wonders why the image quality is not very good.


Tony
 
I was surprised that there are no reference guides on the PDFs to help compute the correct scale value when printing.

Yeah, an inch scale should have been included.
And clearer instructions.
I had some parts left over that weren't mentioned in the instructions.
Maybe because there were two options in building this.
Easy way = my build.
Craftsmans' build = metal film, tower built from dowels, 24mm motor mount.
Using standard 8 1/2 x 11 typing paper, printing from the pdf at actual size clipped some of the templates off the edge of the paper. Maybe A4 size would have worked, but didn't want to buy a whole ream of new cardstock for just one model.
And, as I mentioned earlier, how hard would it have been to include the orange in the pdf?
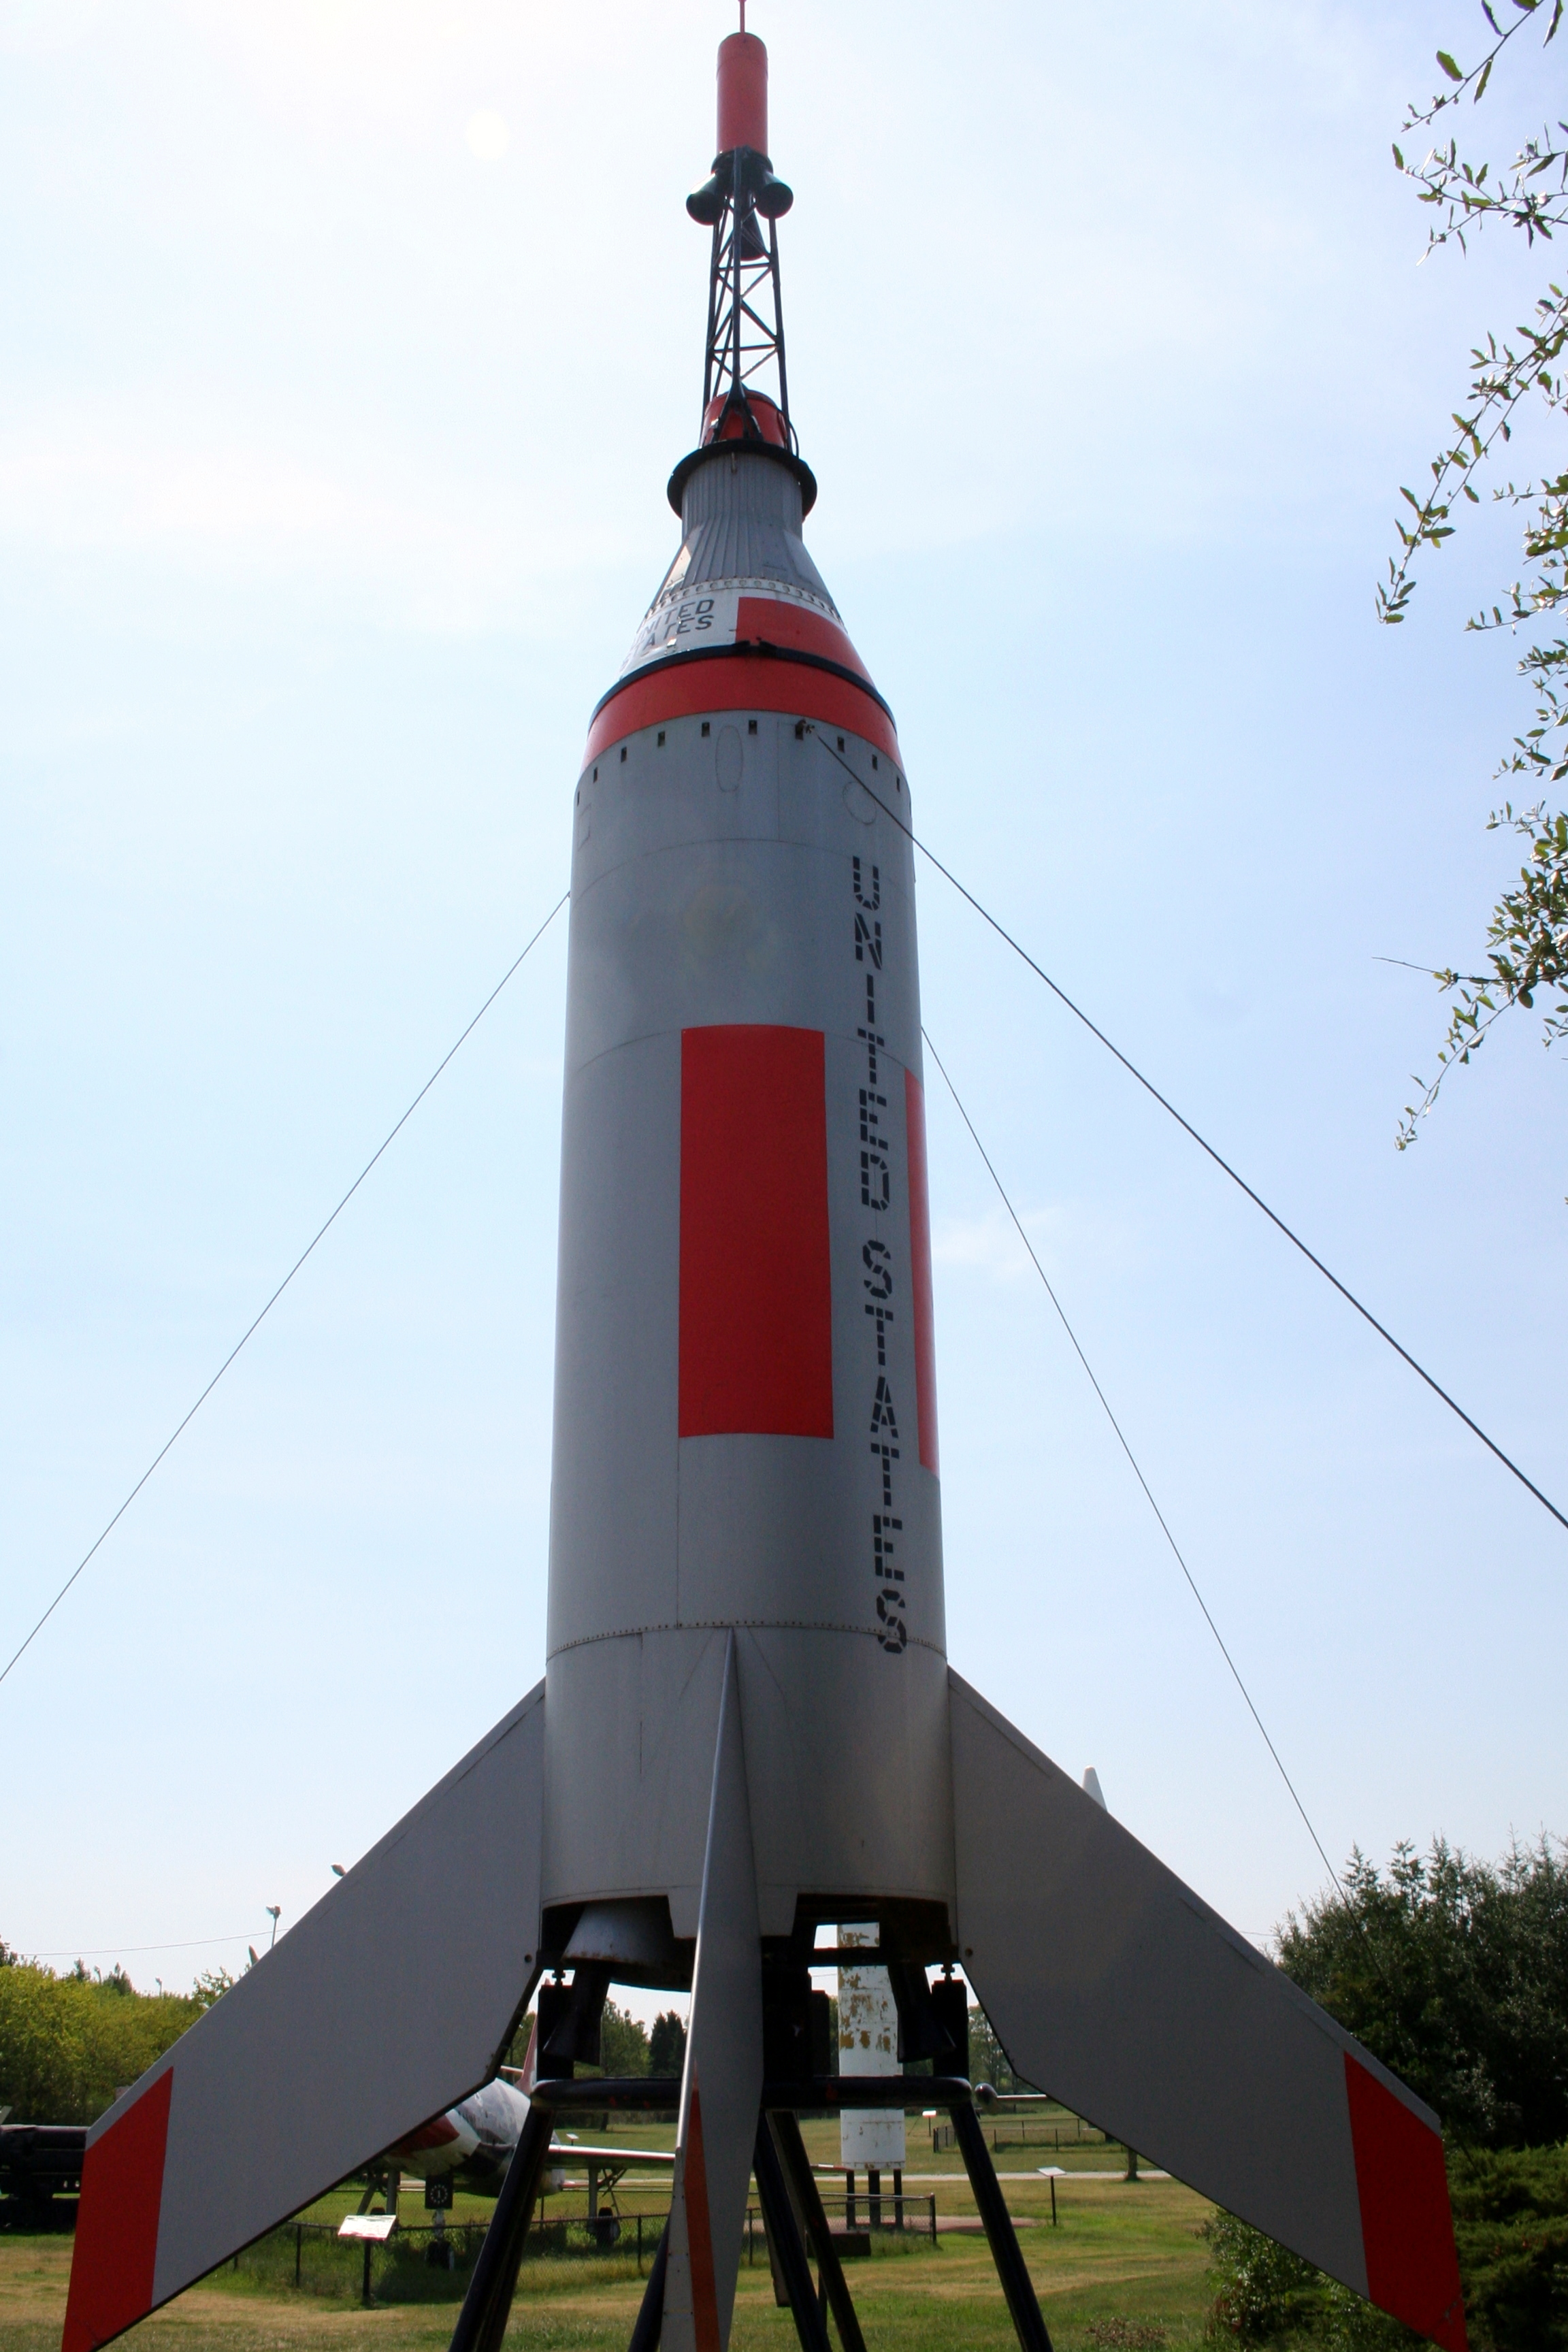
Actual LJ had orange rectangles, three fins with orange tips, one fin with one side orange and one side black, orange on the lower part of the boilerplate capsule, and black tower trusses and motor nozzles with an orange tower tank and black aerospike.
Little_Joe_Air_Power_Power.JPG

And the PDFs are just a low-res bitmap (scanned image) rather than actual vector line art, so the quality if not very good.
Here's a closeup, you be the judge:
0116202047.jpg

Here's a look at the business end:
0116202054.jpg

And a side by side comparison with the Enerjet LJ clone:
0116202041.jpg
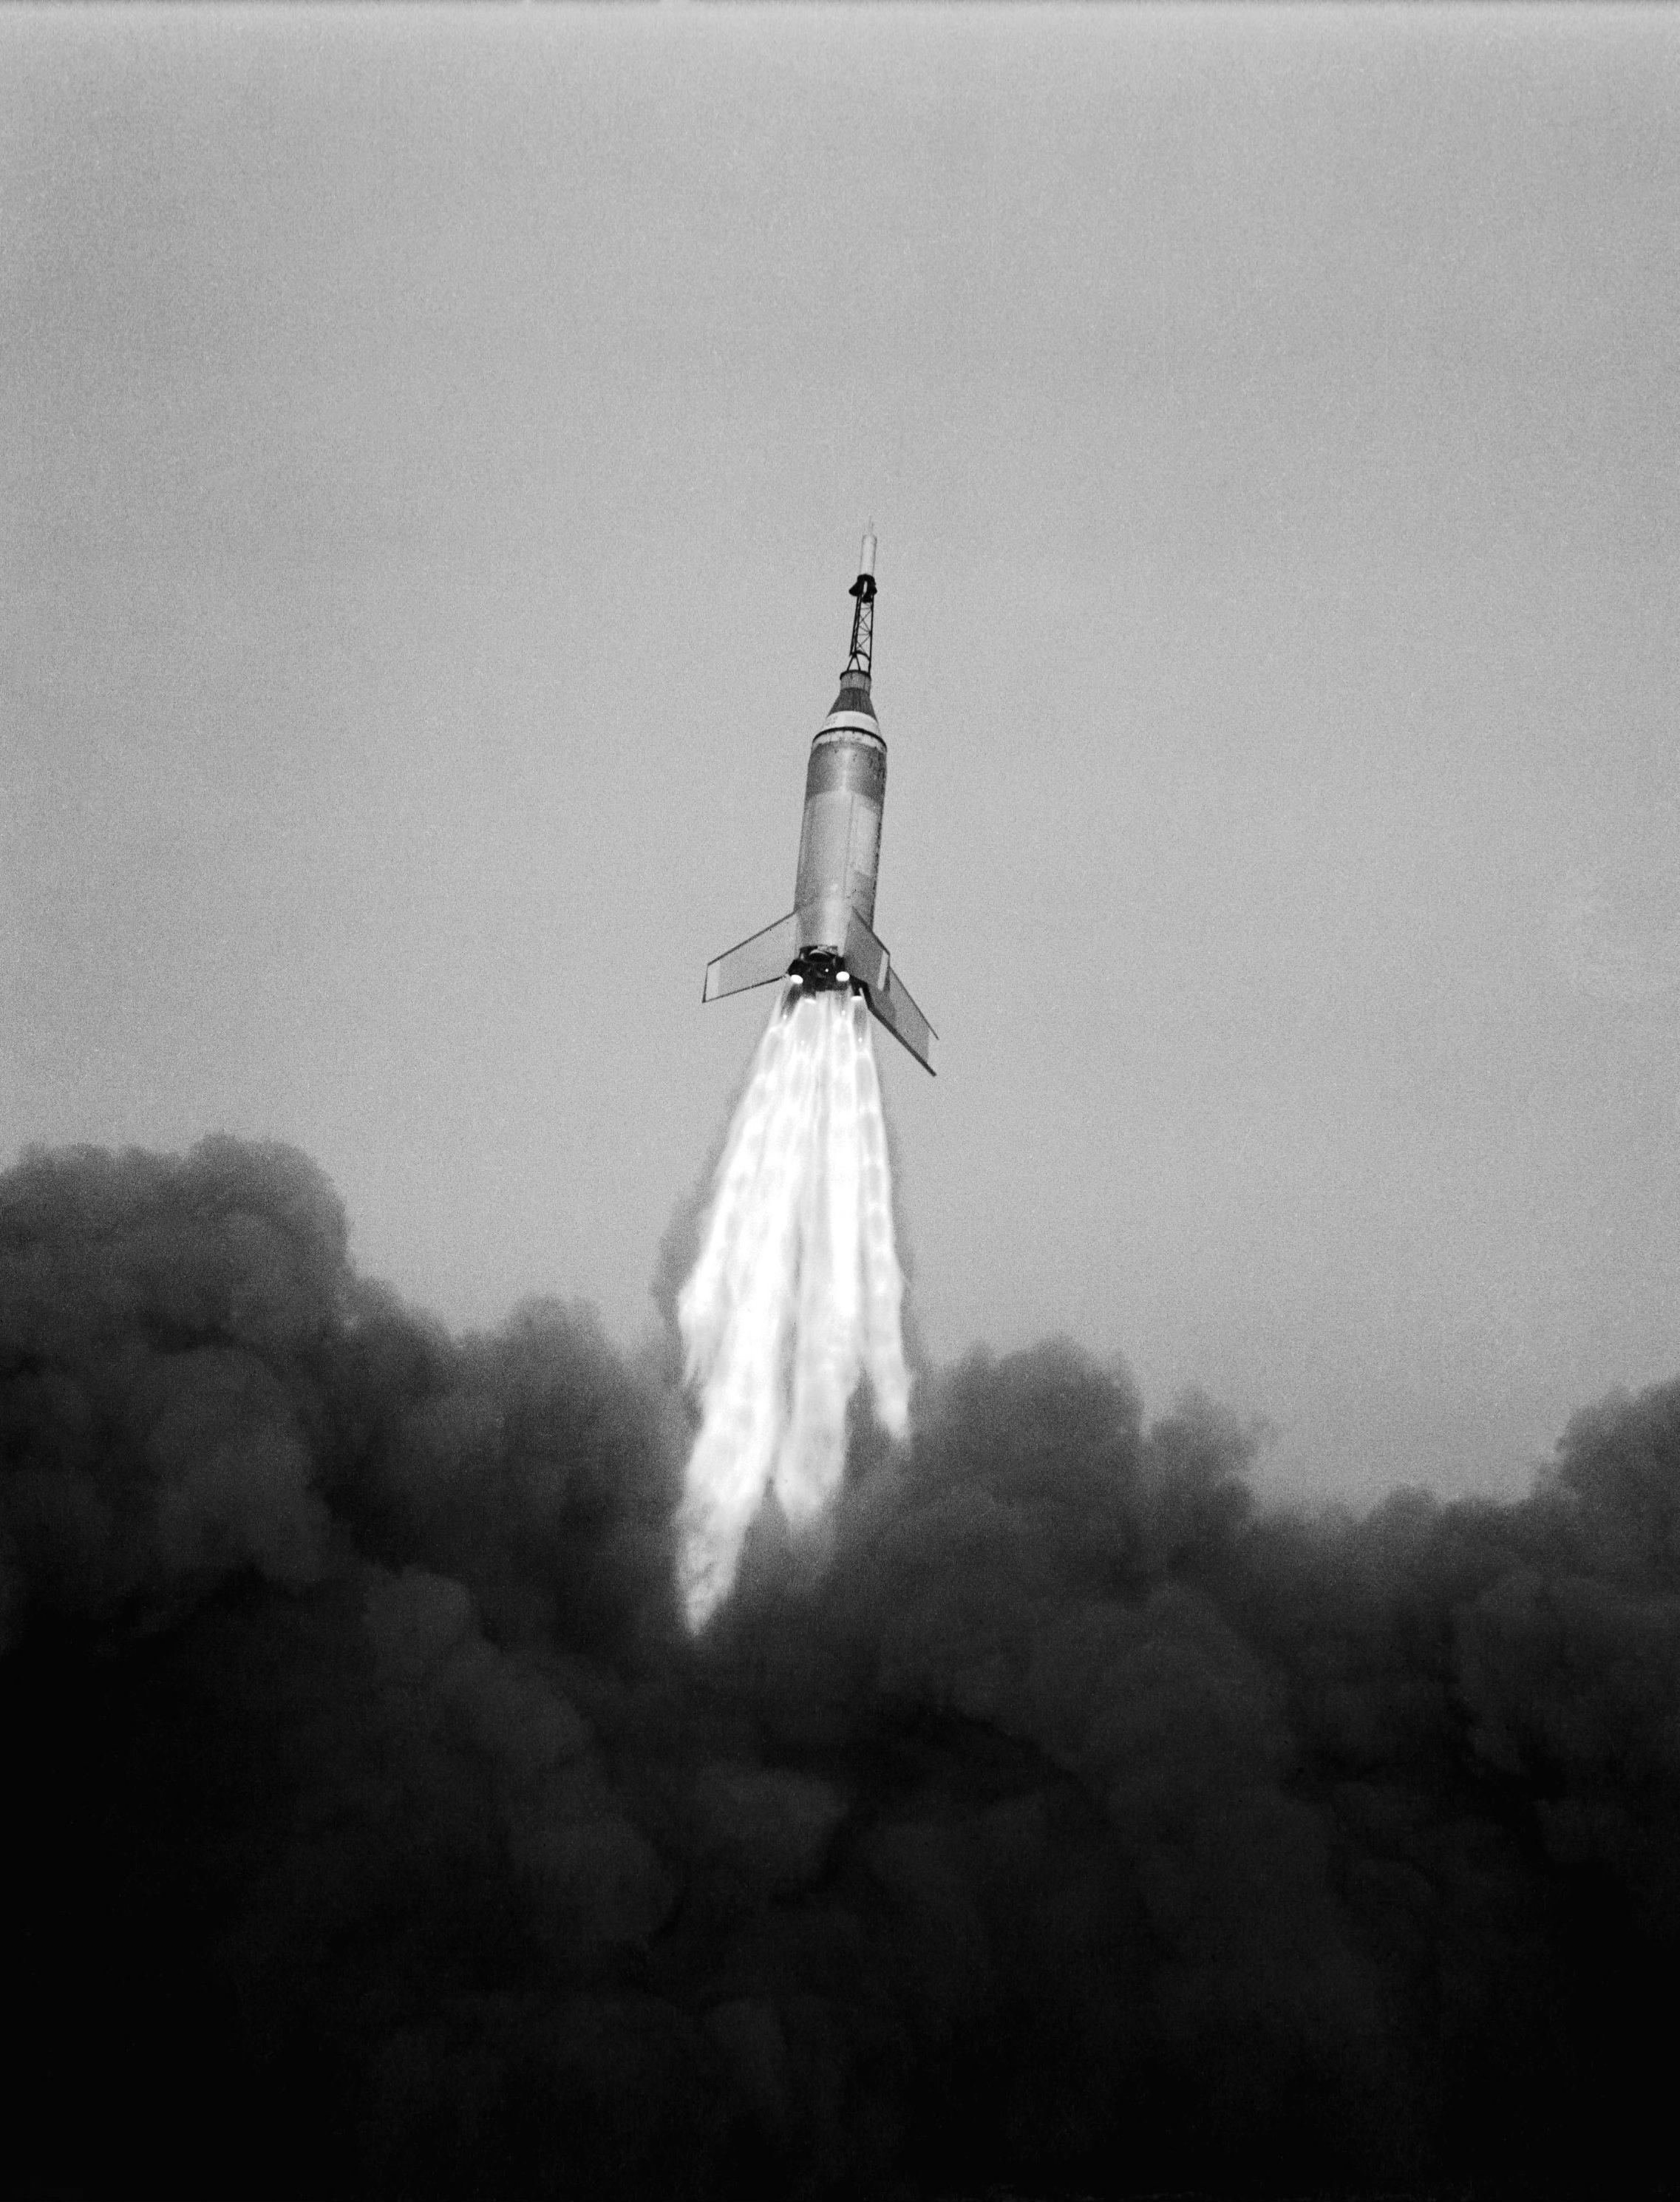
The Enerjet uses the Estes red plastic Mercury capsule and ST-20 tubing. It maidened on a BP E motor. A little bit of coning, but stable.
For the cardstock, since I couldn't do anything about the tower and nozzles being red, I sharpied the tower tank red also, to be consistent. Just need to finish up by sharpieing the lower capsule orange and clear coating. I might do a removeable aerospike.
Laters.
 
Those look just fine printed. The PDF templates are available in vector quality in the original link mentioned in the article.

https://www.rocketreviews.com/scratch-little-joe-6-by-jeff-lane
Thanks for that, those are much better - they are actual vector art. When I printed the others they did not look very good, at least in my opinion on my printer. Unfortunately, the original link did not work, here's one to the vector PDFs:

https://archive.rocketreviews.com/reviews/all/scratch_little_joe_6.shtml

If you open each in Illustrator, the difference is obvious. Glad to get the higher quality versions.


Tony
 
Last edited:
thanks, when I copied and pasted that link, it actually opened up a Google search, with the archive showing up as the first hit, I didn't realize the web address was different.
 
Looks nice. When you hit a cardstock model with clear coat it really locks the colors in.

I wasn't sure why they did not have the segmented vertical UNITED STATES, were there two different versions, or did they just skimp on that detail? I would probably import that template into InkScape and redraw some portions of it.
 
Yeah, it's not the correct font.
There are a few details of this LJ6 model that are not correct. I think that the .pdf designer was looking at b/w photos. As mentioned, the white rectangles and fin tips s/b orange. The tower was orange and black for the LJ6 rocket, but red for the manned Mercury missions. And there should be a black ring towards the bottom of the capsule (seen in the photos in post 7 and 14). But all in all, for a cardstock model, close enough for me.;)
 
Back
Top