The section that is epoxied into the airframe is 10mm thick, the same thickness as the centering rings I printed. It serves as a rear centering ring and a firm attachment for the transition. As for the screws, I used #4 x 1/2in sheet metal screws to thread the transition then used M3 x 10mm.Thanks Ben, I appreciate your further elucidation of your neat tail cone retainer! Are those inlets for 4-40 screws or 6-32? Also, how "deep" is the section that is epoxied into the body tube?
Fred
You are using an out of date browser. It may not display this or other websites correctly.
You should upgrade or use an alternative browser.
You should upgrade or use an alternative browser.
3D Printing What Are You Printing Today?
- Thread starter DRAGON64
- Start date


Help Support The Rocketry Forum:
This site may earn a commission from merchant affiliate
links, including eBay, Amazon, and others.
BryRocket
Well-Known Member
- Joined
- Jun 19, 2017
- Messages
- 516
- Reaction score
- 175
Nozzle sizer uploaded to here:
https://www.thingiverse.com/thing:3408835
I'll try to get a few more things uploaded soon.
https://www.thingiverse.com/thing:3408835
I'll try to get a few more things uploaded soon.
dr wogz
Fly caster
I, sadly, can't comment. We're in the development phase of a project here at work, and have been printing quite a bit; prototype parts & such..
We also just got upgraded to Simplify 3D ver 4.1
We also just got upgraded to Simplify 3D ver 4.1
I have been printing since Saturday trying to finish this Saturn V, the 5th piece of the puzzle will fiunish up tonight!
Parts 1 thru 4 (1 & 2 are assembled)

The command module and the connector brackets are to finish printing this evening.

Parts 1 thru 4 (1 & 2 are assembled)
The command module and the connector brackets are to finish printing this evening.
I have been printing since Saturday trying to finish this Saturn V, the 5th piece of the puzzle will fiunish up tonight!
Parts 1 thru 4 (1 & 2 are assembled)
View attachment 373969
The command module and the connector brackets are to finish printing this evening.
View attachment 373970
Nice, do you plan on painting it and is this a static or launchable model?
I may paint the model, and no, it is static only. The design is actually a snap together, making it a tough design to fly. Makes me really want to print a highly detailed version that breaks down into the proper stages. Here is the model with final comman module permanently installed.

Nice Saturn V.
ksm2001
Well-Known Member
- Joined
- Dec 12, 2011
- Messages
- 322
- Reaction score
- 27
Here are a couple Mars Lander's printed on my QIDI Tech 1 in ABS (white) and PLA (red). The small version was done a while ago, I liked it so much I decided to print the full size version.
Both Mars Lander's were printed from files from Thingiverse designed by mech-G.
The small Lander is scaled down to 56% for 18mm motors using the files from here
The full size Lander will allow 24mm motors and was printed using the files from here
I designed and printed the centering rings in ABS. Kevlar shock cords are epoxied to the motor mount.
I downloaded the decals and printed them on Testors water slide decal paper. 1 coat of gloss clear before installing the decals otherwise they will peel off easily when dry on ABS then another couple coats of clear to protect them.
vcp
Well-Known Member
I may paint the model, and no, it is static only. The design is actually a snap together, making it a tough design to fly. Makes me really want to print a highly detailed version that breaks down into the proper stages. Here is the model with final comman module permanently installed.
I printed that model in ABS, 4-5 years ago, also enlarged but don't recall the % - came out 21" tall. It would be worthy of painting; a really nice model.
swatkat
Down these mean skies, a kat must fly!
Print out 3 tone whistles for rocket race. ")
swatkat
Down these mean skies, a kat must fly!
Printing that should read. Will be F major chord.
Will be F major chord. 
A replacement nose cone for my Mach 1 Rocketry BT50 Black Brant kit build. The nose cone includes space for the FireFly altimeter and a shoulder that threads into the bottom of the nose cone to hold the altimeter in place.
Nice print!
View attachment 374224
A replacement nose cone for my Mach 1 Rocketry BT50 Black Brant kit build. The nose cone includes space for the FireFly altimeter and a shoulder that threads into the bottom of the nose cone to hold the altimeter in place.
Just started a new print; a design which be a 95% printed high power rocket. 2.6" in diameter, 54mm motor mount with interchangeable booster tubes to handle long or short motors (think 54mm long hybrid motors). Fin can printing is under way using questionable gray Amazon Basics PETG...
Present for my mom who's a huge Mickey fan.
Started this print 3PM last Friday using some very suspect Amazon Basics PETG in Gray...

1% an hour since...

Due to the fact the last time I used this gray PETG from Amazon, in which a nosecone completely delaminated after printing, I thought I would try some different settings:
4-layers on walls, top and bottom; .2mm resolution; 50% infill and speed reduced to 39% (CURA). So far, the fin on the right has delaminated .5" on two layers. I am too far along to quit now, in hopes that this print can be salvageable.
This is a 2.6" fincan with a 54mm mount. I have a 17" piece of 54mm motor mount tubeto install. Asuming the rest of the fincan survives the print process, I am going to try and anneal the piece in the oven to strengthen it.
1% an hour since...
Due to the fact the last time I used this gray PETG from Amazon, in which a nosecone completely delaminated after printing, I thought I would try some different settings:
4-layers on walls, top and bottom; .2mm resolution; 50% infill and speed reduced to 39% (CURA). So far, the fin on the right has delaminated .5" on two layers. I am too far along to quit now, in hopes that this print can be salvageable.
This is a 2.6" fincan with a 54mm mount. I have a 17" piece of 54mm motor mount tubeto install. Asuming the rest of the fincan survives the print process, I am going to try and anneal the piece in the oven to strengthen it.
Here's the bottom part of a fin alignment jig for a 98mm CF MD Mongoose. Printed with PLA at .32 layer/fast settings on a MK3. Took just over 4.5 hours to print. Designed in Solid Edge.
Tony


Tony
102 hours and 40 minutes (Started Friday @ 3PM CST)

2.6" dia; 2.6 to 54mm boat tail; 12" tall. This is part 1 of 2 of the booster. The reamining part 2 is a simple tube and coupler yet to be printed.

2.6" dia; 2.6 to 54mm boat tail; 12" tall. This is part 1 of 2 of the booster. The reamining part 2 is a simple tube and coupler yet to be printed.
Here's both jigs as they will be used. I was able to modify the bottom jig to form the front one. The front one is printed in Hatchbox PLA. I didn't do any testing with it - I just threw it on the printer and started printing. Even still it turned out very well although I did have to adjust the first layer while it was printing. I only used 5% infill on the second one and it's still fairly rigid but not quite as much as the bottom one. However once the fins are in place it seems pretty rock solid.
This was one of my main goals for having a printer, to help me make better rockets. So far I'm pretty happy.
Tony

This was one of my main goals for having a printer, to help me make better rockets. So far I'm pretty happy.
Tony
I am really like 3D printed fin cans and nose cones.
I have a number of items left to print, mostly tubes and couplers, here is what I am trying to achieve:

The graphics will be printed in, and then can be filled in with brush paint should I wish it.
The graphics will be printed in, and then can be filled in with brush paint should I wish it.
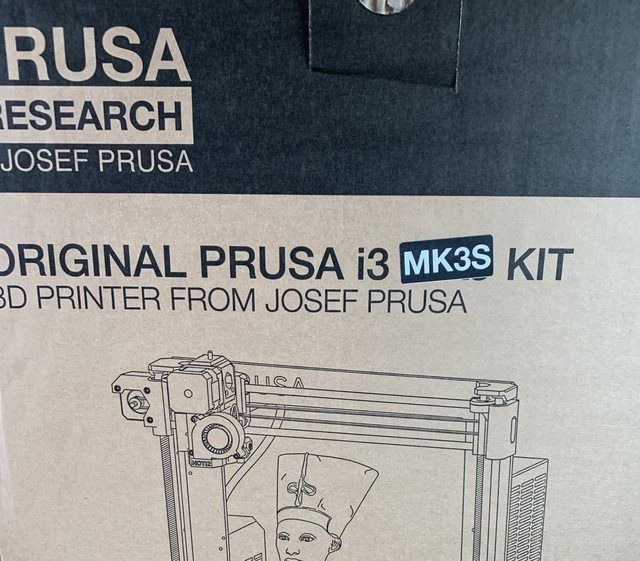
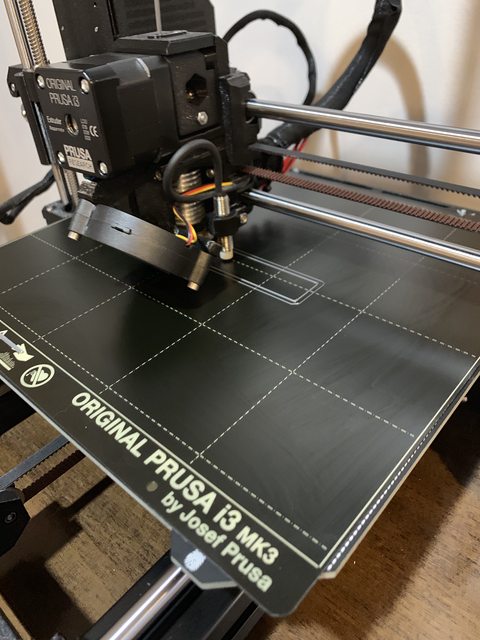
First sample prints on my Prusa i3 MK3S:
I am zeroing in my Z with raven drill templates.
swatkat
Down these mean skies, a kat must fly!
Nice, my CR10 record was 348 hours.Mine wraps around though at 100, or after a filament pause.
I have had about 3000 hours and 3500 km of filament.
First sample prints on my Prusa i3 MK3S:
Nice, welcome to the club!
I have had about 3000 hours and 3500 km of filament.
Man that seems like a lot of filament!
Joel Levinson
Member
- Joined
- Nov 12, 2018
- Messages
- 6
- Reaction score
- 11
I am trying to print an avionics sled.
https://www.thingiverse.com/thing:3379233
I couldn't get the supports out of the holes for the all thread. I tried to drill it out and ended up blowing the drill bit out of the side. Anyone have any tips on printing long holes like that of an AV bay sled?
https://www.thingiverse.com/thing:3379233
I couldn't get the supports out of the holes for the all thread. I tried to drill it out and ended up blowing the drill bit out of the side. Anyone have any tips on printing long holes like that of an AV bay sled?
Try printing it without supports, the top may end up a bit flat but the issue will be mitigated by increasing the resolution so try at .15
I hate supports!
I hate supports!
Similar threads
- Replies
- 4
- Views
- 526
- Replies
- 0
- Views
- 578
- Replies
- 5
- Views
- 573