This build thread is getting much less interest than I expected, but I'm having fun writing it anyway. I had previously intended to document the fin skinning and assembly now, but I've changed my mind and will do the nose cone, which is the most challenging skin job. I was surprised how big these nose cones are, about 11" long not including the shoulder.
Anyway: first we need to prep the nose cone. The gun ports on the bottom need to be filled in, and all the various channels (other than one) may
optionally be filled. I figured I'd fill them all, why not? Well the reason why not turns out to be that it's a lot of work for not much benefit. I prepped my Trajector nose cone first, filling in all the channels (again, except the special one). After filling, it looked like this:

I then decided not to fill the channels on the Cosmic nose cone just to save the effort. Then I swapped the two, so for this build I'm using the fully filled Trajector nose cone pictured above.
Filler/primer and black gloss paint followed. My paint job turned out to be not nearly as smooth as I thought while I was painting. After seeing how challenging skinning the nose was on the Trajector, I knew I didn't want a bumpy paint job to cause me misery on this one, so I gave it a good wet-sanding with 1500 grit and then applied a coat of Future to give the vinyl a nice glossy surface to grip. The nose cone was now looking pretty darned good and ready to skin:

The first skin piece is the hardest, as it must conform to the area around the cockpit. Having struggled a bit with this on the Trajector, I figured I could do better the second time. First I decided to pre-curl it, like I'd do with a transition, thinking maybe it would help it hold its shape better:

This seemed like a good idea but I don't think it made the slightest difference. Here it is after application:

I didn't get a particularly good alignment of the two ends of the wrap (call-out on the right), I give myself a B- for this. In the middle you can see a spot where I slipped with the Sharpie when I was blackening the edges of the skin. Turns out that will be covered later anyway, so it's a don't-care.
The light-colored pieces near the cockpit are carefully cut off, leaving this:

Next up comes the tip piece and the "glare shield" that goes on top, mostly covering the top seam:

The glare shield didn't want to stay all the way down, so I sealed down the edges with Scotch Satin tape. John originally told me that clear tape is one way to affix skin edges, and to my surprise it worked really well on the Trajector so I was ready with it this time. It disappears against the skin almost completely. This close-up of the glare shield has a piece of tape on both sides holding down the edges, can you see them?

Next the rear wrap goes on...

...and now I'm ready for the cockpit windows, which gave me a lot of trouble on the Trajector. One improvement here is that due to the black background, the front cockpit windows are done as a single piece that wraps over the top, rather than two separate pieces as on the Trajector. That means fewer edges to lift.
")
I applied the pieces and the main change I made this time was that I burnished the living crap out of the edges with the curved back of a Sharpie (I've been doing that to all the edges on the nose cone). Knock on wood, the cockpit windows have stayed put so far. I'll keep an eye on them.
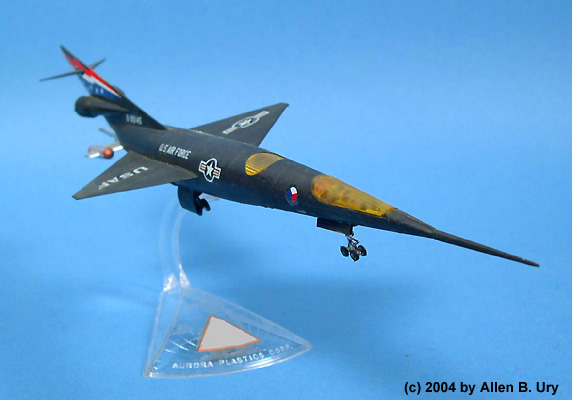
Here's the finished nose cone. All told, there are 8 pieces of skin and (if I counted correctly) 6 pieces of corrective tape. I screwed up a bit here and there, but the end result is a handsome finished cone:

The nose cone skinning process is very carefully thought out. I would be interested to know how long it took John to settle on the whole sequence, and the exact shape of all the pieces. It must have taken many iterations.