My Cosmic Interceptor Build

The Rocketry Forum

Help Support The Rocketry Forum:

This site may earn a commission from merchant affiliate links, including eBay, Amazon, and others.

kgcgold

Well-Known Member
Joined
Oct 19, 2016
Messages
57
Reaction score
0
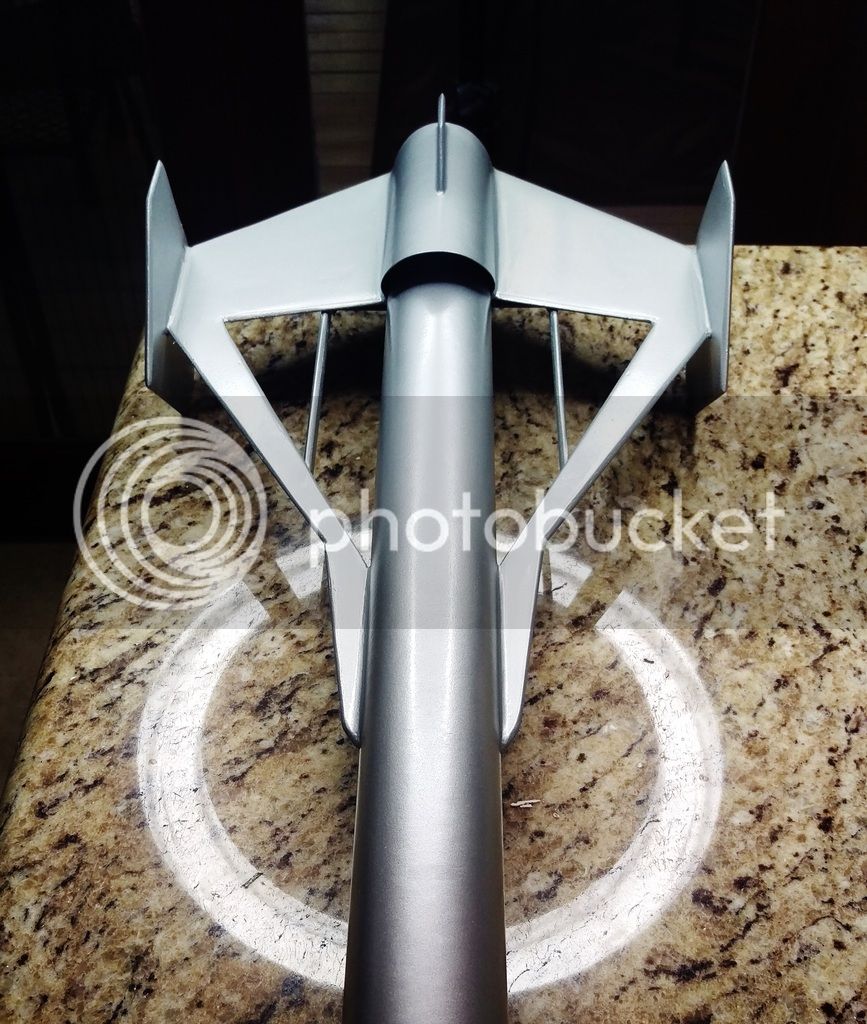
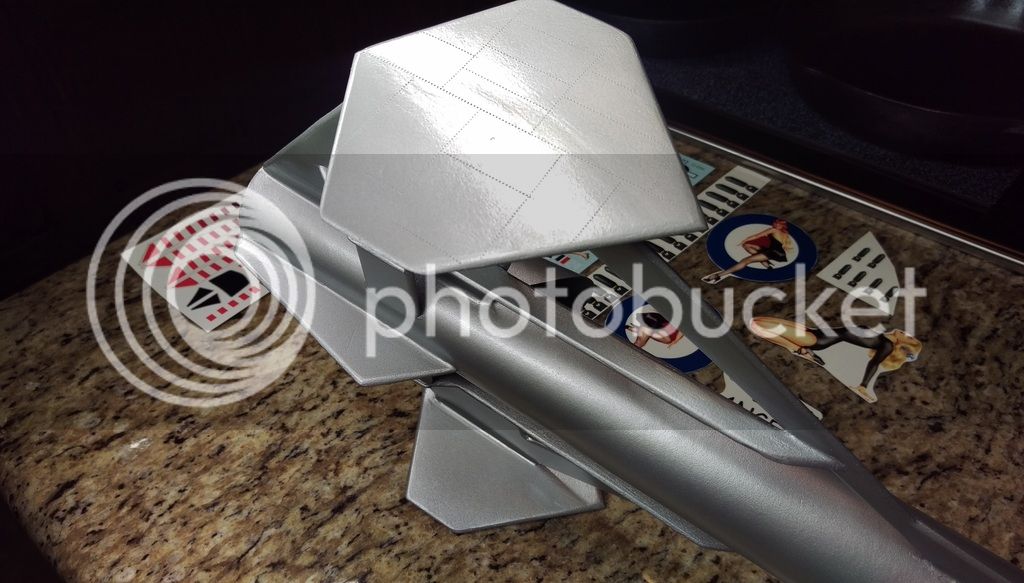
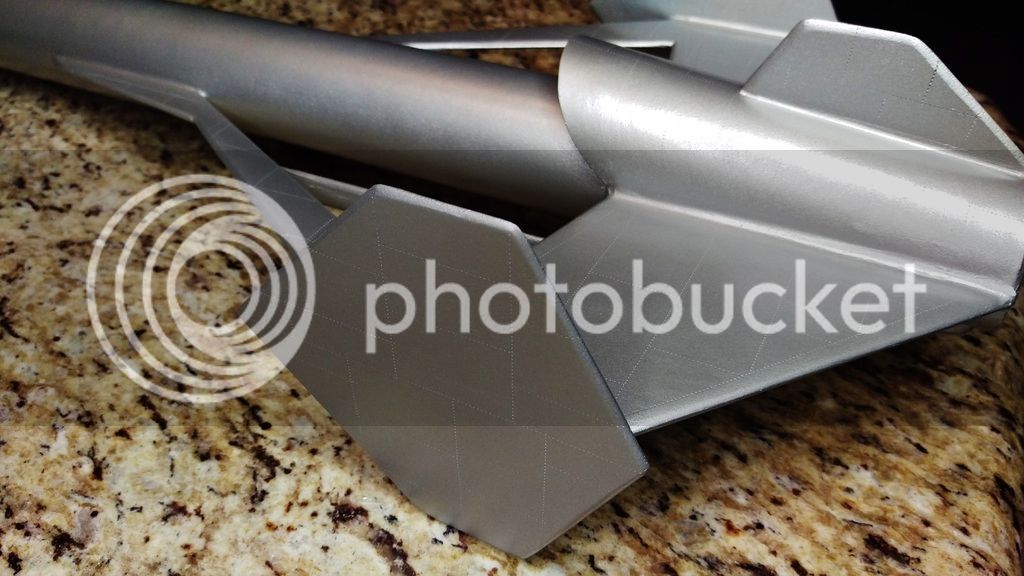
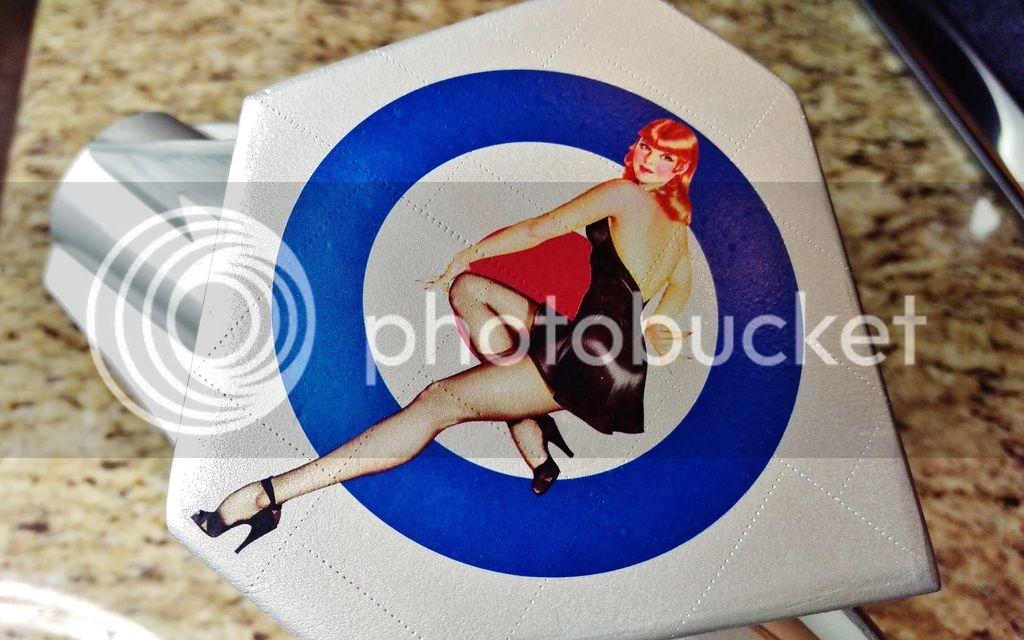
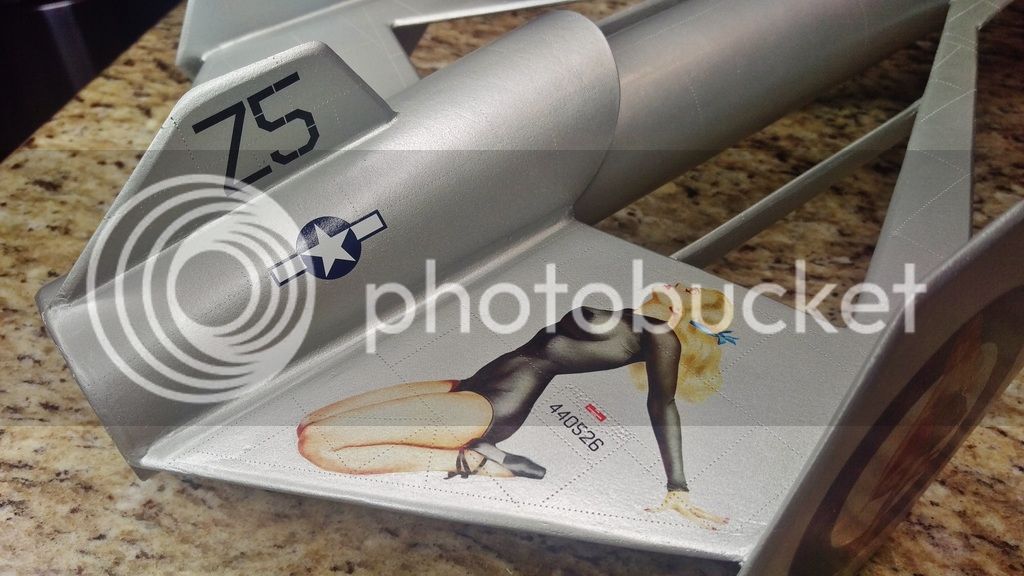
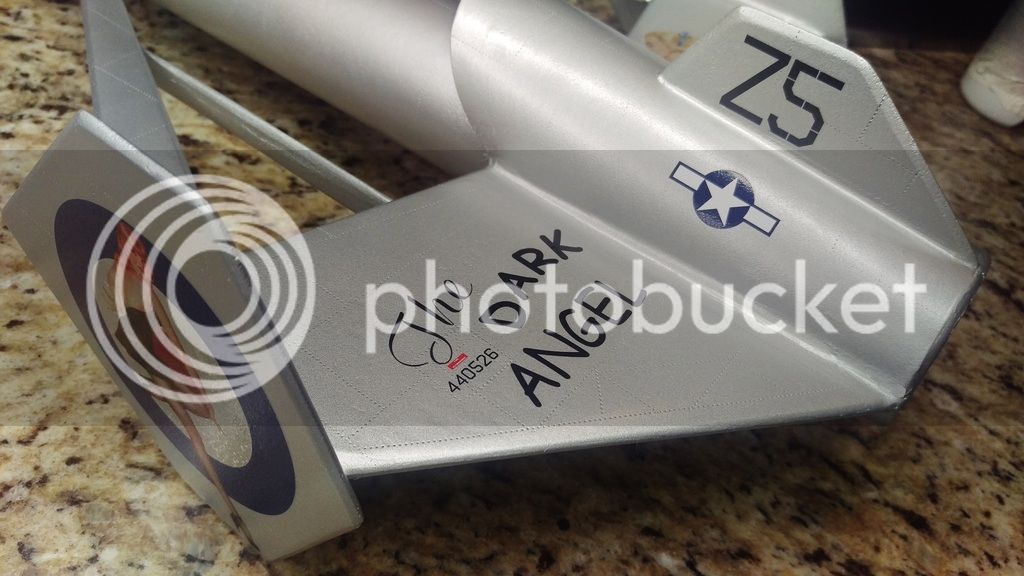
So here we go... I don't know if this was a good idea or not, but I'm committed now...
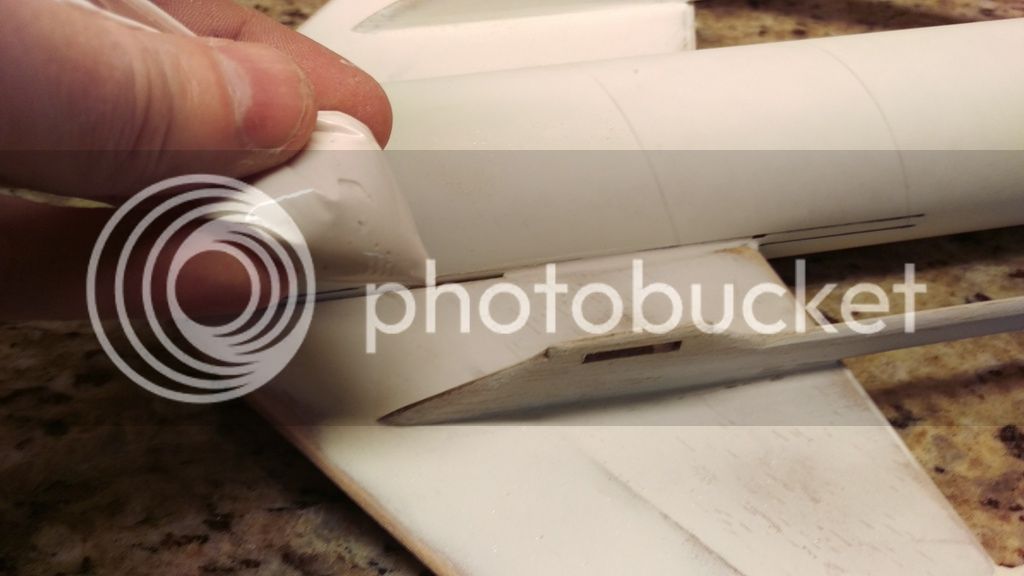
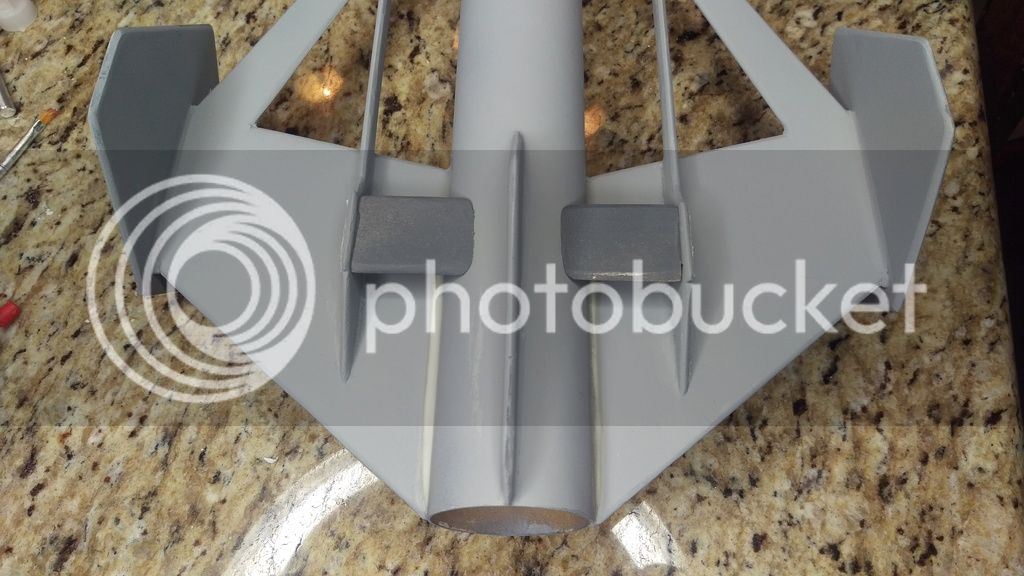
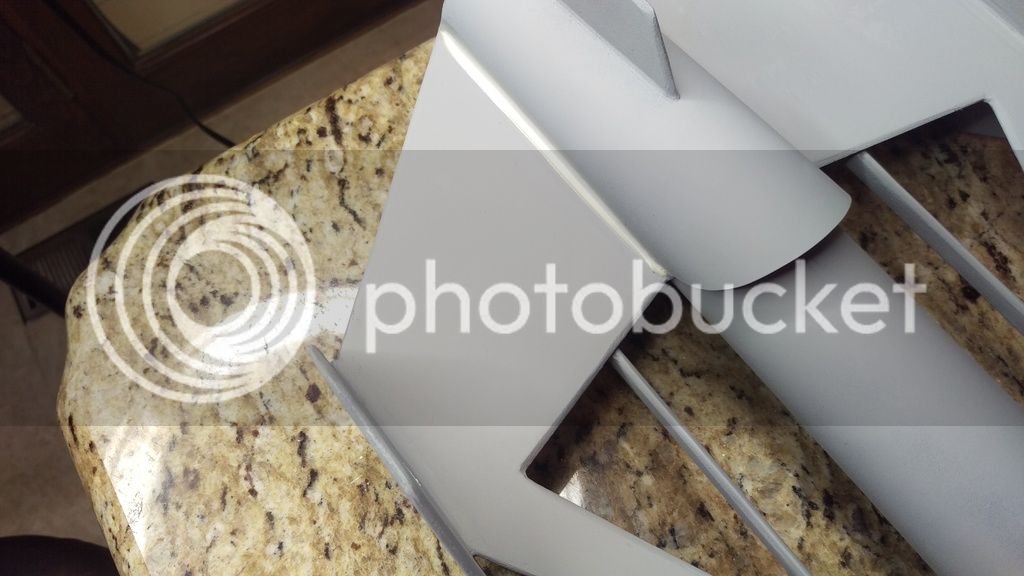
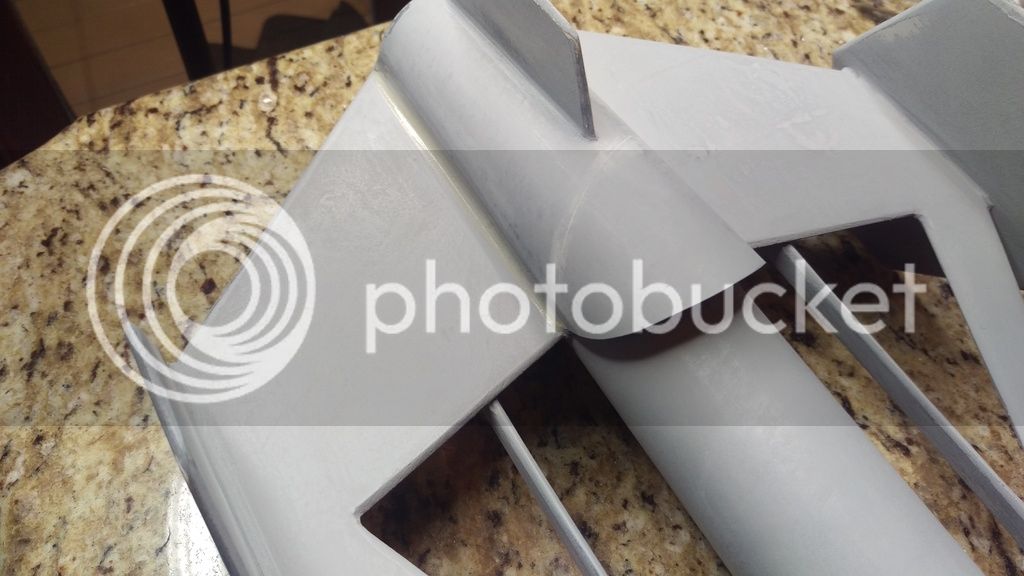
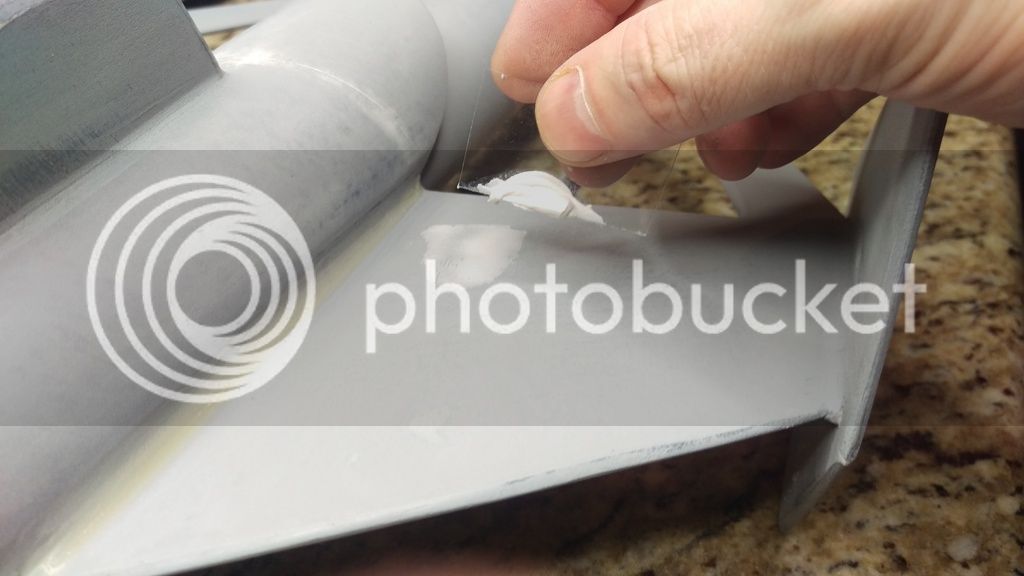
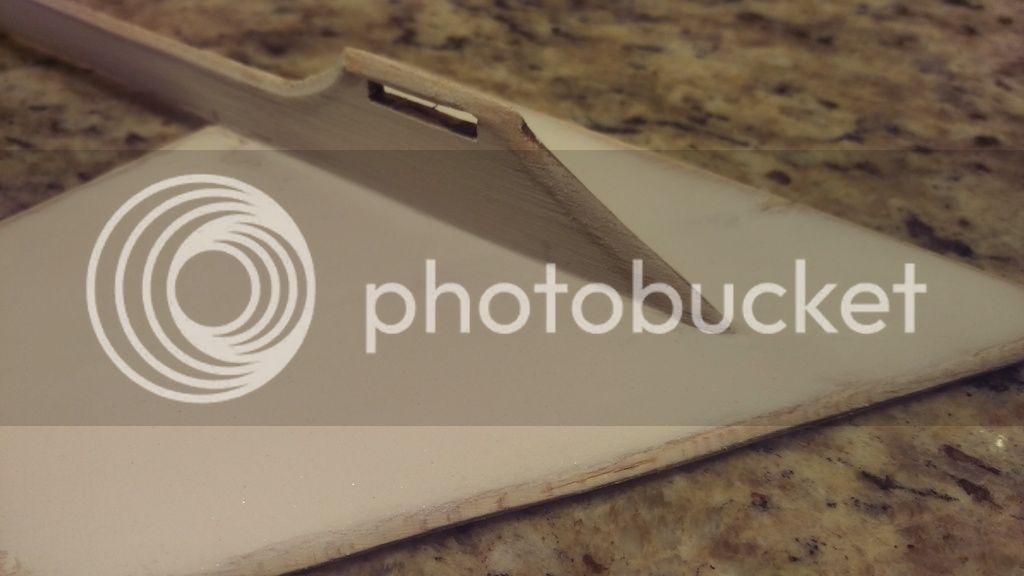
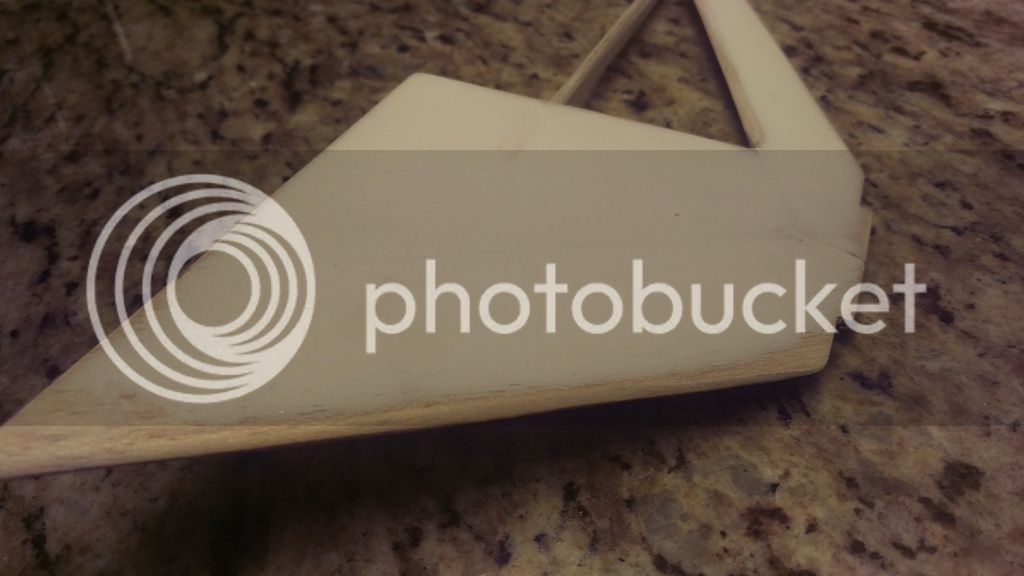
Spackling;

Pluses: Very easy to sand / Very precise control of surface / Only one coat needed

Negatives: Very messy / You will be sanding outside, then changing clothes

Has anyone else tried spackling, and have any idea what I will come across as I continue?
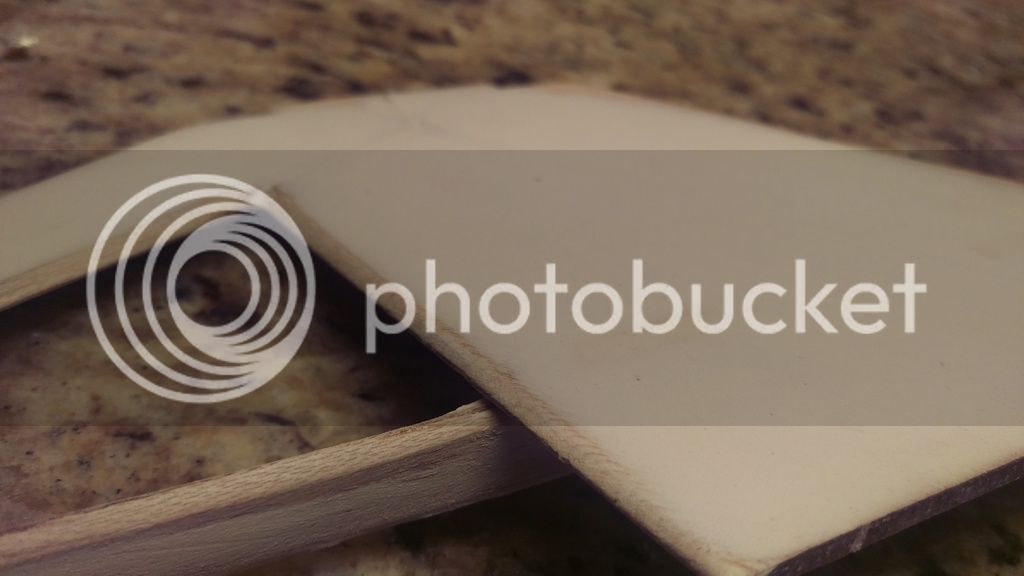
:cool:


IMAG0961_zpshqs7nhjy.jpg


IMAG0963_zpssyekwwdr.jpg


IMAG0964_zps9nqjlzhy.jpg
 
Last edited:
I've tried it. Not that much though. I wonder if it would be more prone to cracking when the fins flex.

I would think that you'd want as thin a layer as possible, just enough to fill the wood grain.

The Cosmic Interceptor is a cool kit. Really comes to life once all the decals are on.
 
I've tried it. Not that much though. I wonder if it would be more prone to cracking when the fins flex.

I would think that you'd want as thin a layer as possible, just enough to fill the wood grain.

The Cosmic Interceptor is a cool kit. Really comes to life once all the decals are on.

You definitely want to either make sure the entire kit is together before applying the spackling, or at least use a different technique for the body, because wood glue does not stick to spackling, I had to use Krazy glue.

I think I'll be okay, it seems to be hardening...

I've used this process on connection locations between fins and body, and haven't seen any cracking yet after firing, I just haven't used it over an entire wing, but will definitely do some extensive experimenting.

If everything goes as planned, I'd like to do my own colors and decals, something dark maybe to show off the finish...
 
I am getting pretty good results from testing... Without paint, under stress, I'm not getting any cracking, and it appears the spackling is quite flexible, certainly more flexible then the balsa itself...

IMAG0971_zpshiiwdjfx.jpg
 
Still rough, but coming along...

IMAG0972_zps1szsyc95.jpg
 
Last edited:
It gets worse before it gets better...

IMAG0973_zpsfizbhd4d.jpg


I wanted to leave these wing supports off until after paint, and then blend them in later, but no...... The wings kept flexing and cracking at the body...


IMAG0977_zps983rxnh6.jpg


Probably another day of priming, touch up and sanding, before paint... I'm thinking German steel, but haven't decided if I'll do any fins another color...


IMAG0975_zpsgxk0lcau.jpg
 
Last edited:
I think I finally found my primer. Goes on well, sands well, and shows every imperfection in the surface after sanding, but yet fills nicely.

IMAG0979_zpstokg97wg.jpg


IMAG0978_zpsulgdxvk7.jpg


IMAG0981_zpsm2ophugv.jpg
 
Last edited:
Model Master's German Steel... Love this color...

IMAG0987_zpssjdt5lnz.jpg
 
Last edited:
You sir, know how to take good model pictures.
Any chance to fly them yet?

Nothing some light and a cell phone camera can't do...lol But just like anything, improving as we go along... :)

We try and get out and shoot them as often as we can. Today we shot an Alien Invader, a Freefall with the parachute guy in there, my boy loves that one, and a Shuttle Xpress with the two gliders that disengage.

This is my first shot of a launch, and now I know why other members suggest a higher shutter speed and quality...lol Next time will be better...

VIDEO0089_0000024988.jpg
 
Test, test, test...

Is this the way to go about this? The scale seems off number one, and two, I'm not so sure of the quality. Then again, looking at the windows, I could be wrong about the scale, it could be right.

Decals don't seem to be the way to go about it, and I'm not sure I could airbrush it to the quality I'm looking for...

Any suggestions????

IMAG0988.jpg
 
Last edited:
Just a small delay on this build. I'm waiting for some decals to come in before I move any further, that way I can map out my entire plan before moving forward.

I purchased from an eBay seller by the name of "pinupsplus" who has some really neat pinup decals if you haven't looked through his inventory, you might take a moment to do so.

s-l1600_zpsjruaejif.jpg
 
I think the scale looks right, I'm just not sure I'd want to perforate my wood that much.

It would take a lot of time, and add some un-necessary weight - though negligible, but I would probably go the route of glue dot rivet heads instead if that's what you're attempting.

Or... Perhaps use a fine tip permanent black ink marker and just make uniformly spaced dots, then clear coat over it. That may be the simplest way to go.
 
I decided to go ahead with the rivets, and it's going to look fantastic! I think I have my plan laid out for the finished product, so here we go...

IMAG0992_zpsvwejyvad.jpg
 
Well, I stand corrected... That looks fantastic! And the perforations don't appear deep enough to be of structural concern. Great job!
 
How did you make the rivets? Its a pleasure to watch your builds and techniques.

Thank you AfterBurners and Amersterdam...

I used a rivet modeling tool. I had looked at all different options from airbrush to decal options and even raised applications, but for this specific build I decided on this route that turned out to be the right choice.

I use painters tape to mask a guide line, and use that to follow with the tool. I still have another evening on the rivets process, but it looks even better in person, it gives it depth and a more realistic look...

You can see some of the Waterslides I'm planning to use in post #16 before clear and polish process.

Thanks for keeping in touch, having fun.

Here's that tool:

rivetmaker2.jpg
 
These decals are awesome, I've never used such high quality ones before. They are water activated, and are really strong, yet when they go on they look like the art was painted on, not a decal. You can't see the edges, especially in person, and the detail is amazing. You'll see clearly in this example that even the pattern of the leggings are clearly made out...

IMAG0999_zpsclp6vuzx.jpg
 
Last edited:
Maybe you'll have fin flutter when it
reaches a high peak,it may bring her down?.:rolleyes:
 
Name reveal; "The Dark Angel"

Coming along, getting some of the art on, much more to go before clear. But so far I'm pretty happy...

IMAG1002_zpsv1gh2ffh.jpg


IMAG1004_zpskjftdnk1.jpg
 
You should also check out Stickershock. Mark is a really cool guy to work with and does a lot of custom work. I think he pretty much handles everyone's decals needs on this forum. If you have a future project and want custom vinyl he is the go to guy. His website is below.

https://stickershock23.com/

BTW - Outstanding work on your build. Really like the work you do and the excellent attention to detail
 
Where did those water-slides come from? That truly is amazing quality. Did you use and Micro-Sol/Micro-Set?

While vinyl can look great, it still has a very noticeable raised edge that water-slides do not have. Personally, except for a full body wrap, I'd reserve vinyl for use as a masking product.
 
Where did those water-slides come from? That truly is amazing quality. Did you use and Micro-Sol/Micro-Set?

While vinyl can look great, it still has a very noticeable raised edge that water-slides do not have. Personally, except for a full body wrap, I'd reserve vinyl for use as a masking product.

You'll see in post #14 that I ordered them from pinupsplus on eBay. They are really amazing to work with. They are the same thickness as normal waterslides, but no curling, no wrinkling, they feel ten times stronger, and the quality of the colors is amazing. I don't know how they do it, I may have to contact them to ask but, awesome. When they go on you cannot see the edges, especially in person. Even with a bright light and a camera close up it's hard to tell. Now once the clear goes on, it will look like they were painted on.

I looked at some of the wraps, and I don't think I'll ever use that process, those seems are ugly.

The only difference with these waterslides over others is, once I pulled them from the water I had to peal the backing by hand, they wouldn't slide, but that was simple...
 
You should also check out Stickershock. Mark is a really cool guy to work with and does a lot of custom work. I think he pretty much handles everyone's decals needs on this forum. If you have a future project and want custom vinyl he is the go to guy. His website is below.

https://stickershock23.com/

BTW - Outstanding work on your build. Really like the work you do and the excellent attention to detail

I did talk to Mark, and he had some great ideas, and I will touch base with him on further projects, but the process with this one just went another direction...
 
Back
Top