Odo
Well-Known Member
- Joined
- Jul 24, 2013
- Messages
- 623
- Reaction score
- 2
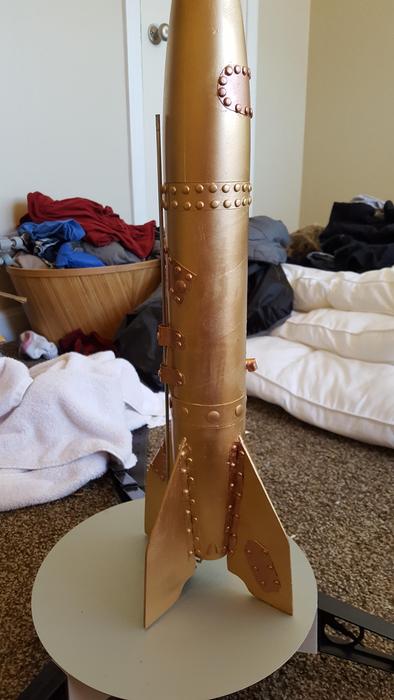
Ill be posting pictures of my steampunk V2 build in here as I progress, ive already finished building the actual kit (Finished it as of three years go, never got around to decorating it until now  ) and at the moment im working on riveting and other details. I think i MIGHT be done with the riveting and such as it stands, im not sure, I might think of something else to add before the paint goes on.
Anyway, on to the pictures:


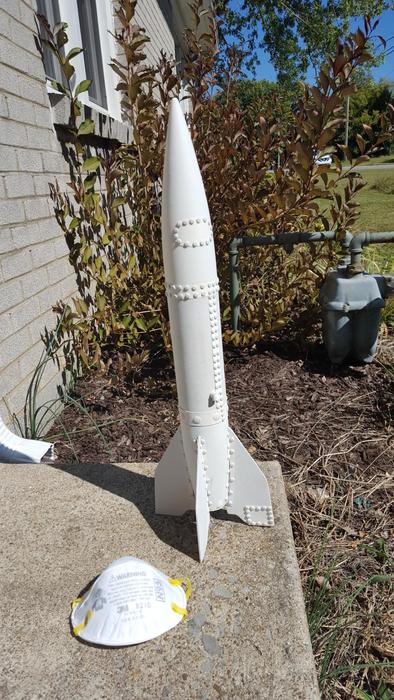
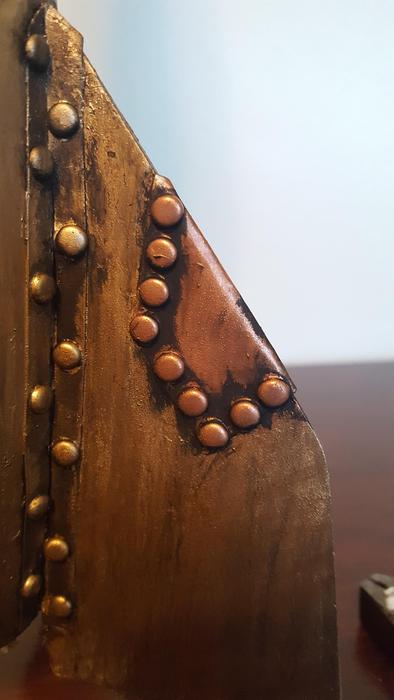
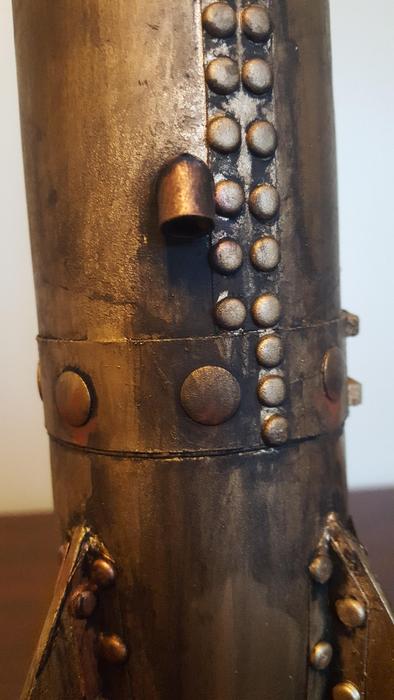
These are just plastic rivets glued onto cut up pieces of card stock. There is a handful of balsa features but not too much.
Ive used (so far) a total of 355 rivets. My world is rivets and glue :surprised:
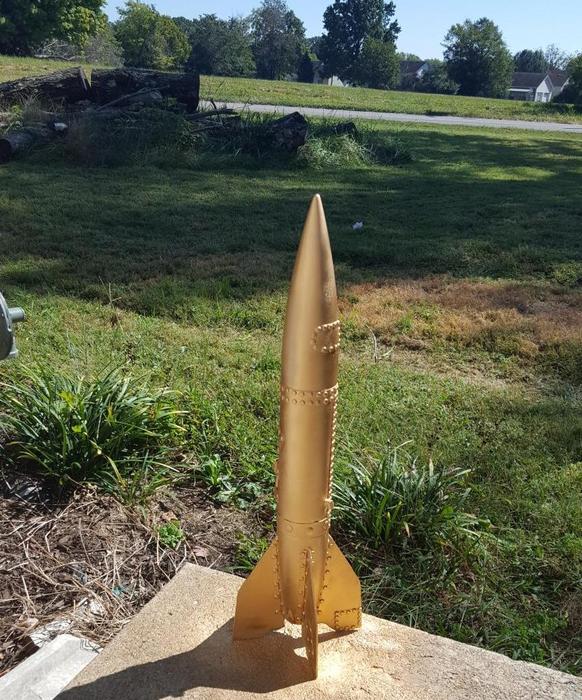
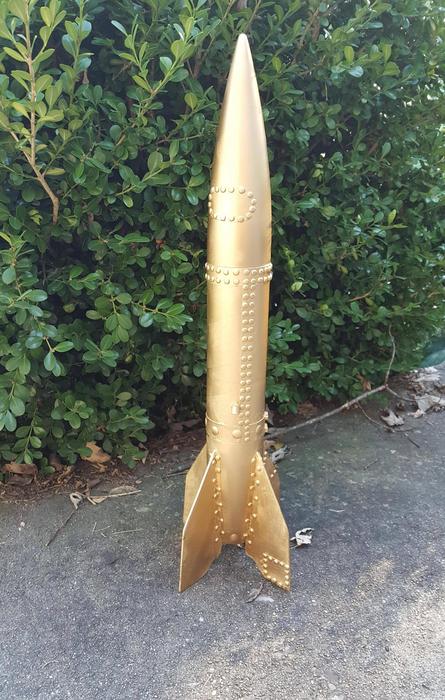
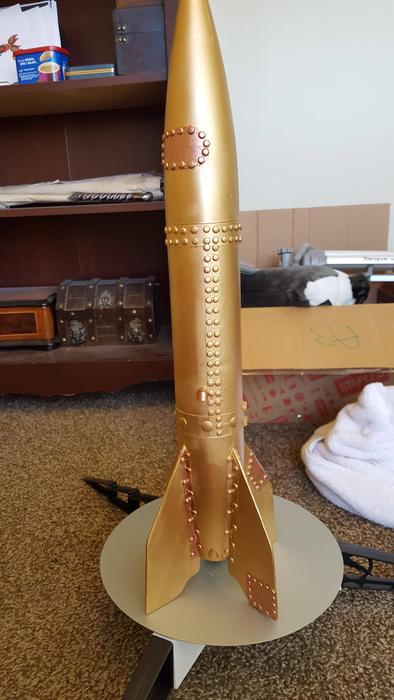
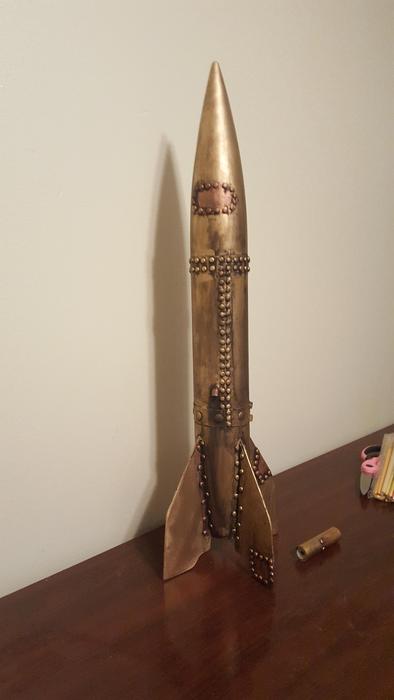
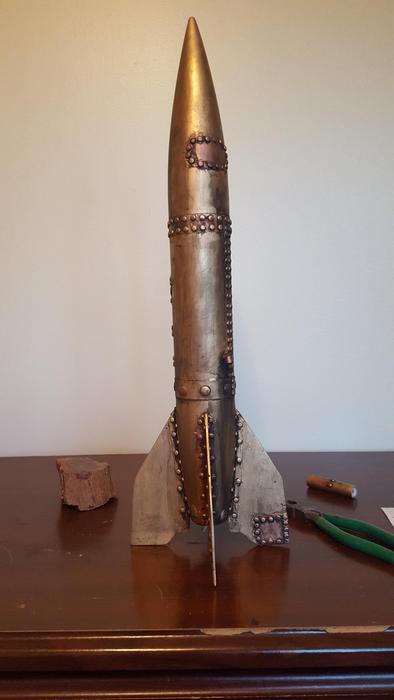
Here is the color scheme Im going to be going with, Im still doing a bit of practice on mock ups to get the technique down, but the general idea is black wash and rusting over gold paint.

Let me know what you guys think and if theres anything I should add")
) and at the moment im working on riveting and other details. I think i MIGHT be done with the riveting and such as it stands, im not sure, I might think of something else to add before the paint goes on.Anyway, on to the pictures:
These are just plastic rivets glued onto cut up pieces of card stock. There is a handful of balsa features but not too much.
Ive used (so far) a total of 355 rivets. My world is rivets and glue :surprised:
Here is the color scheme Im going to be going with, Im still doing a bit of practice on mock ups to get the technique down, but the general idea is black wash and rusting over gold paint.
Let me know what you guys think and if theres anything I should add
Last edited: