Haven't had time to keep up any sort of a build log - maybe I'll get to posting soon, but I thought you guys might like this:
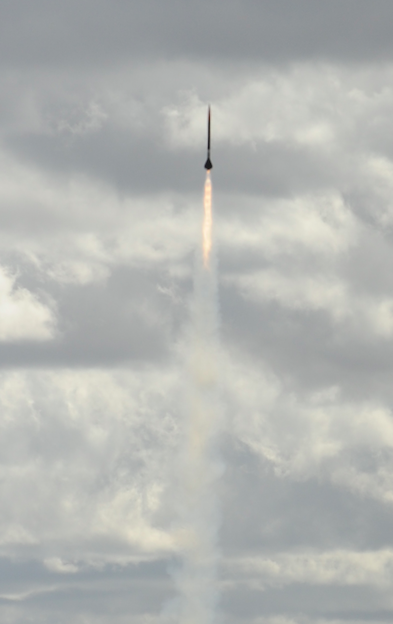
Stats:
5lb fully loaded
106G max acceleration
17G max deceleration
Top speed / Burnout: Mach 1.88 @ 384 ft AGL
Coasted to 13,048 ft AGL
Finished:

On the pad:

Sorry for the bad video - I was a bit preoccupied to focus on recording.
[video=youtube;0kqEIX0QdG8]https://www.youtube.com/watch?v=0kqEIX0QdG8&t=32s[/video]
Still hoping to get some drone footage plus some video from the 360 degree cameras sitting right next to the pad as well as on the flight line.
If anyone has any more pictures/videos of my launch at October Skies, please let me know!
Stats:
5lb fully loaded
106G max acceleration
17G max deceleration
Top speed / Burnout: Mach 1.88 @ 384 ft AGL
Coasted to 13,048 ft AGL
Finished:
On the pad:
Sorry for the bad video - I was a bit preoccupied to focus on recording.
[video=youtube;0kqEIX0QdG8]https://www.youtube.com/watch?v=0kqEIX0QdG8&t=32s[/video]
Still hoping to get some drone footage plus some video from the 360 degree cameras sitting right next to the pad as well as on the flight line.
If anyone has any more pictures/videos of my launch at October Skies, please let me know!