The Crushed Tube Tutorials Thread...

The Rocketry Forum

Help Support The Rocketry Forum:

This site may earn a commission from merchant affiliate links, including eBay, Amazon, and others.

K'Tesh

.....OpenRocket's ..... "Chuck Norris"
TRF Supporter
Joined
Mar 27, 2013
Messages
22,529
Reaction score
14,925
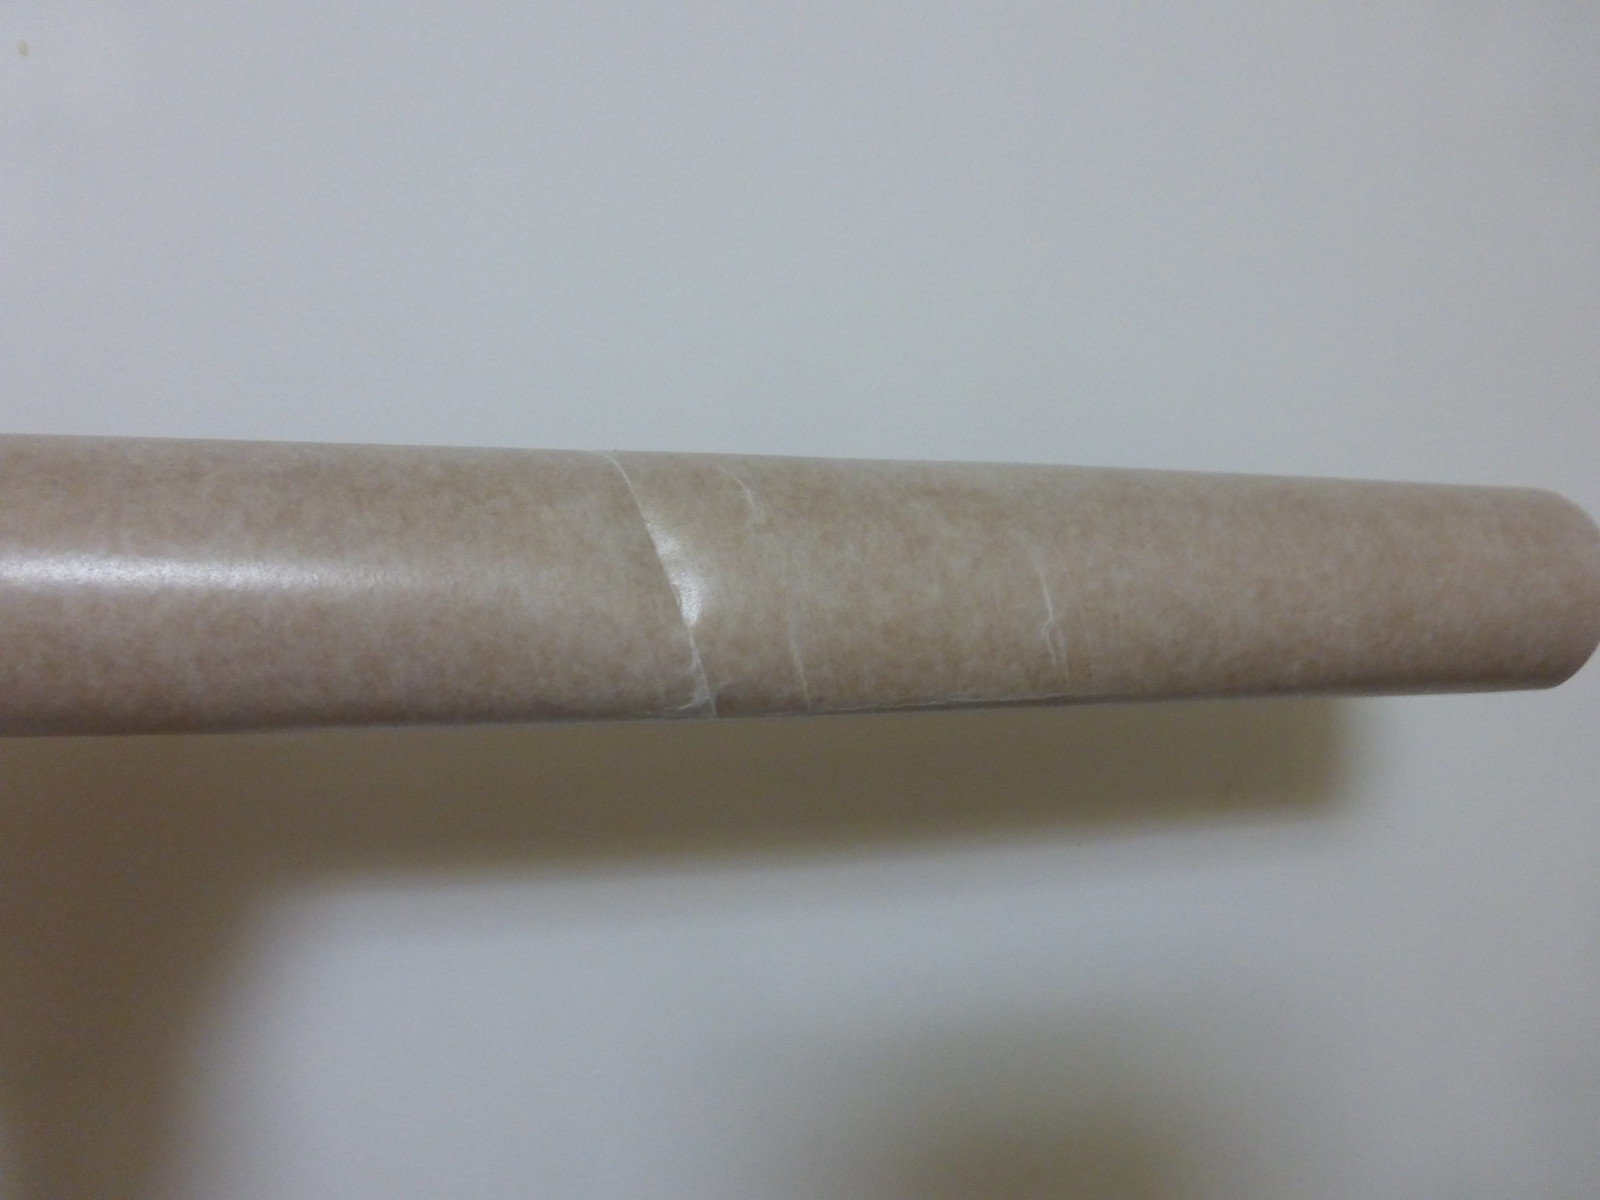
Ok, there's a lot of guys out there that say there are methods of repairing body tubes that have been damaged (out of round and/or creased (with wrinkles). I used to live in Missouri... You know The Show Me State... Ok... Someone please show me how it's done.

I'd love to see a tutorial on LPR body tubes such as Estes sells (say a BT-60), PSII type body tubes (2.5" or larger) or other heavy walled tubes, and of course HPR type cardboard body tubes (4" or so). And to make this more interesting... fiberglassing is not an option.

I'd also love to hear about how the MPR/HPR tubes hold up after the repairs (shreds afterwards would not be considered a successful repair). I realize that these might be compromised. So, trying to exceed the sound barrier is not a requirement. it just has to be able to be flown again and recovered in flyable condition.

Thanks!
 
I can only comment on MMX, LPR and MPR repairs of .013" and .021" wall Craft body tubes by Estes, Centuri, Quest, BMS, Kliskit, E-Rockets and Totally Tubular.

First the crush, crimp or wrinkle location makes a difference on HOW the repair is done.

For the "run of the mill" mid-body crimp. the repair is nothing more then the addition of a body tube coupler pushed into place, centered as close to the crimp as practical with a HD push rod close to the diameter of the body ID.
First Step is to use the HD push rod to straighten out the crimp as best we can from the inside. Than using a long dowel with a cotton ball tip as an applicator mix and apply a good 30minute epoxy thin layer arround the crimp area (All the way around). 3rd step is to push a matching size body tube coupler into and as close to centering it on the crimp. When the epoxy has cured fill and re-finish the outside of the rocket. Some refinish the rocket completely, some add a Band-aid sticker or decal over the spot, some add a body band at the site.

Front end Lawn Dart repairs are a bit trickier: Depending of if the body tube is simply crushed, Accordian folded or torn.
If torn: the first thing is to reshape the tube as close as possible using an internal dowel or mandrel (bodies T2 to BT-101) with wax paper single wrap around the mandrel re-glue torn area(s) with Wood Glues and CA's where necessary to get the tube back to a single body with a round profile. Try to match up spiral wraps as closely as practical. Fill & sand, refinish as desired.
For accordian crushed tubes it is sometimes necessary to add a layer of Thin "Onino Skin" or thin Tracing vellum to the affected area using water thinned white or clear wood glue. The is usually over wrapped with a layer of Wax paper and heavy cardstock held with thich rubber bands at least overnight. Once the wood glue has dried this area can be filled as sanded as needed. There will be at least one edge line that can be feather sanded out, filled and repainted if desired. Personally I usually wrap such areas with Chrome adhesive backed mylar (Trim Monokote) as a reinforcing and attractive layer.
Once all the OD stuff as been completed the ID of such accordian folded tubes must be Thin CA soaked, and sanded smooth. This sometimes requires a bit of resizing on the interior of the tube and the NC shoulder as well.

That's my 2c worth. Hope it helps.
 
I do just about whatever it takes if I really need the tube. If it is just crushed with no major creasing or tearing, a centering ring can go there, then I can fill and sand the outside to be concentric. Sometimes I'll stuff a long section of coupler stock in there to fix it.
I have recently made a device that can be pumped full of air, then you put a balloon on the end of a tube, and insert it into something before squeezing a trigger that inflates the balloon with either gas or liquid. It will allow me to work from the inside of complex shapes and places I can't normally go, but should also make a really cool repair tool. I'm making some really cool molds of faceted Fins and Wings for 2.6" BT-80 scale models. If it works out, I'll do a build thread, but I'll also be able to get folks custom fins that will be very lightweight and very rigid. They won't be good over Mach, but they will be for TLP Style BT-80 based models, with the angles and details included.
Who does not want for some nice fin kits for there TLP Kits?
 
I can only comment on MMX, LPR and MPR repairs of .013" and .021" wall Craft body tubes by Estes, Centuri, Quest, BMS, Kliskit, E-Rockets and Totally Tubular.

First the crush, crimp or wrinkle location makes a difference on HOW the repair is done.

For the "run of the mill" mid-body crimp. the repair is nothing more then the addition of a body tube coupler pushed into place, centered as close to the crimp as practical with a HD push rod close to the diameter of the body ID.
First Step is to use the HD push rod to straighten out the crimp as best we can from the inside. Than using a long dowel with a cotton ball tip as an applicator mix and apply a good 30minute epoxy thin layer arround the crimp area (All the way around). 3rd step is to push a matching size body tube coupler into and as close to centering it on the crimp. When the epoxy has cured fill and re-finish the outside of the rocket. Some refinish the rocket completely, some add a Band-aid sticker or decal over the spot, some add a body band at the site.

Front end Lawn Dart repairs are a bit trickier: Depending of if the body tube is simply crushed, Accordian folded or torn.
If torn: the first thing is to reshape the tube as close as possible using an internal dowel or mandrel (bodies T2 to BT-101) with wax paper single wrap around the mandrel re-glue torn area(s) with Wood Glues and CA's where necessary to get the tube back to a single body with a round profile. Try to match up spiral wraps as closely as practical. Fill & sand, refinish as desired.
For accordian crushed tubes it is sometimes necessary to add a layer of Thin "Onino Skin" or thin Tracing vellum to the affected area using water thinned white or clear wood glue. The is usually over wrapped with a layer of Wax paper and heavy cardstock held with thich rubber bands at least overnight. Once the wood glue has dried this area can be filled as sanded as needed. There will be at least one edge line that can be feather sanded out, filled and repainted if desired. Personally I usually wrap such areas with Chrome adhesive backed mylar (Trim Monokote) as a reinforcing and attractive layer.
Once all the OD stuff as been completed the ID of such accordian folded tubes must be Thin CA soaked, and sanded smooth. This sometimes requires a bit of resizing on the interior of the tube and the NC shoulder as well.

That's my 2c worth. Hope it helps.


I like it!
 
Here's a sample of what I'd like to see if it's possible to fix...


It's the 19.75" long body tube from the current version of the Mercury Redstone (1921).

Then there's the fin can from the PSII Part Of Zon that I have. Damage is similar. Problem is, the damage doesn't photograph well.
 
I'd stick a dowel in there and try to push the dent back out. Then reinforce the inside of the tube with a small square piece of paper and some white glue.
 
Last edited:
If the damage is a longer area than a standard coupler, I've also taken a spare tube and slit it along its length, and cut some extra off as if you were making your own coupler. Then use the epoxy method micormeister describes to install it.

Of course, most of these methods require you to have couplers or spare tubes. At which point if the rocket isn't build yet then replace the tube in the first place.
But these are good techniques to repair damage after the rocket is built
 
K'Tesh - I know you have limited access to parts, tools, etc. there in China. Could you tell us what you have to work with? That way, we can help come up with a solution you can replicate there.
 
Here's a sample of what I'd like to see if it's possible to fix...


It's the 19.75" long body tube from the current version of the Mercury Redstone (1921).

Then there's the fin can from the PSII Part Of Zon that I have. Damage is similar. Problem is, the damage doesn't photograph well.

K'Tesh:
That is exactly the kind of damage I was talking about in the first method in my pervious post. If the area is longer then a standard coupling, BMS, and E-hobbies have 34" Couplings in most of the standard Estes body tube sizes. The only draw-back to this method is it does add a bit of extra mass to the model. In the case of the Mercury-Redstone it shouldn't matter one bit. Further the use of epoxy on the inside helps form a smooth transition from below the repair to coupling area so it won't hang up the recovery system.
I've used this method on models that looked a lot worse then that, after the repair the external finish at the repair site is undetectable.

Alfabrewer has a very good point; Most of us know your stationed in china with few if any resorces as far as Model Rocketry goes. If we knew what you have on hand or can access it would make working out a suggestion a lot easier. Do you have access to a hobby shop or exchange that can or will order one-offs for you for BMS or E-Hobbies?
 
K'Tesh

How about getting a hollow metal tube and have it turned down to fit the inside of the tube .

soak the damaged section of airframe,

once good and soft slide the turned down section of pipe inside the damaged tube .

Wrap a section of aluminum foil around the outside of the damaged airframe.

then wrap a layer of duct tape around the aluminum foil.

insert the complete setup inside a oven set on 100 degrees and dry tube completely

remove tape and foil and gently slide out the metal core .

I have never done this but it is worth a try ?
 
Back
Top