Vacuum Bagging on the Cheap (and ultra-light competition fin stock)

The Rocketry Forum

Help Support The Rocketry Forum:

This site may earn a commission from merchant affiliate links, including eBay, Amazon, and others.

TheAviator

Well-Known Member
Joined
Jan 18, 2009
Messages
936
Reaction score
123
In general, the vacuum pumps that people sell for doing vacuum bagging are meant for large parts for full-scale applications on aircraft and cars. For our much smaller models, I didn't feel like spending $200+ on a vacuum setup. So this is what I came up with instead. I picked up a little diaphram pump of Amazon for $20 and a starter set of vacuum bag supplies from ACP Composites. Here's the Bill of Materials:

ItemLinkPrice
12V Diaphragm Vacuum Pumphttps://www.amazon.com/gp/product/B08ZBFK8SS/ref=ppx_yo_dt_b_search_asin_title?ie=UTF8&psc=1$24
18" Vac Bagging Kithttps://store.acpcomposites.com/vacuum-bagging-kits$22
EZ-Vac Bag Connectorhttps://store.acpcomposites.com/ez-vac-bag-connector$14
10 ft. Neoprene Tubinghttps://store.acpcomposites.com/neoprene-tubing$18
Generic 12V Power Supply (>1A)Find something on Amazon or scavenge an old wall wart<$10
TOTAL<$88

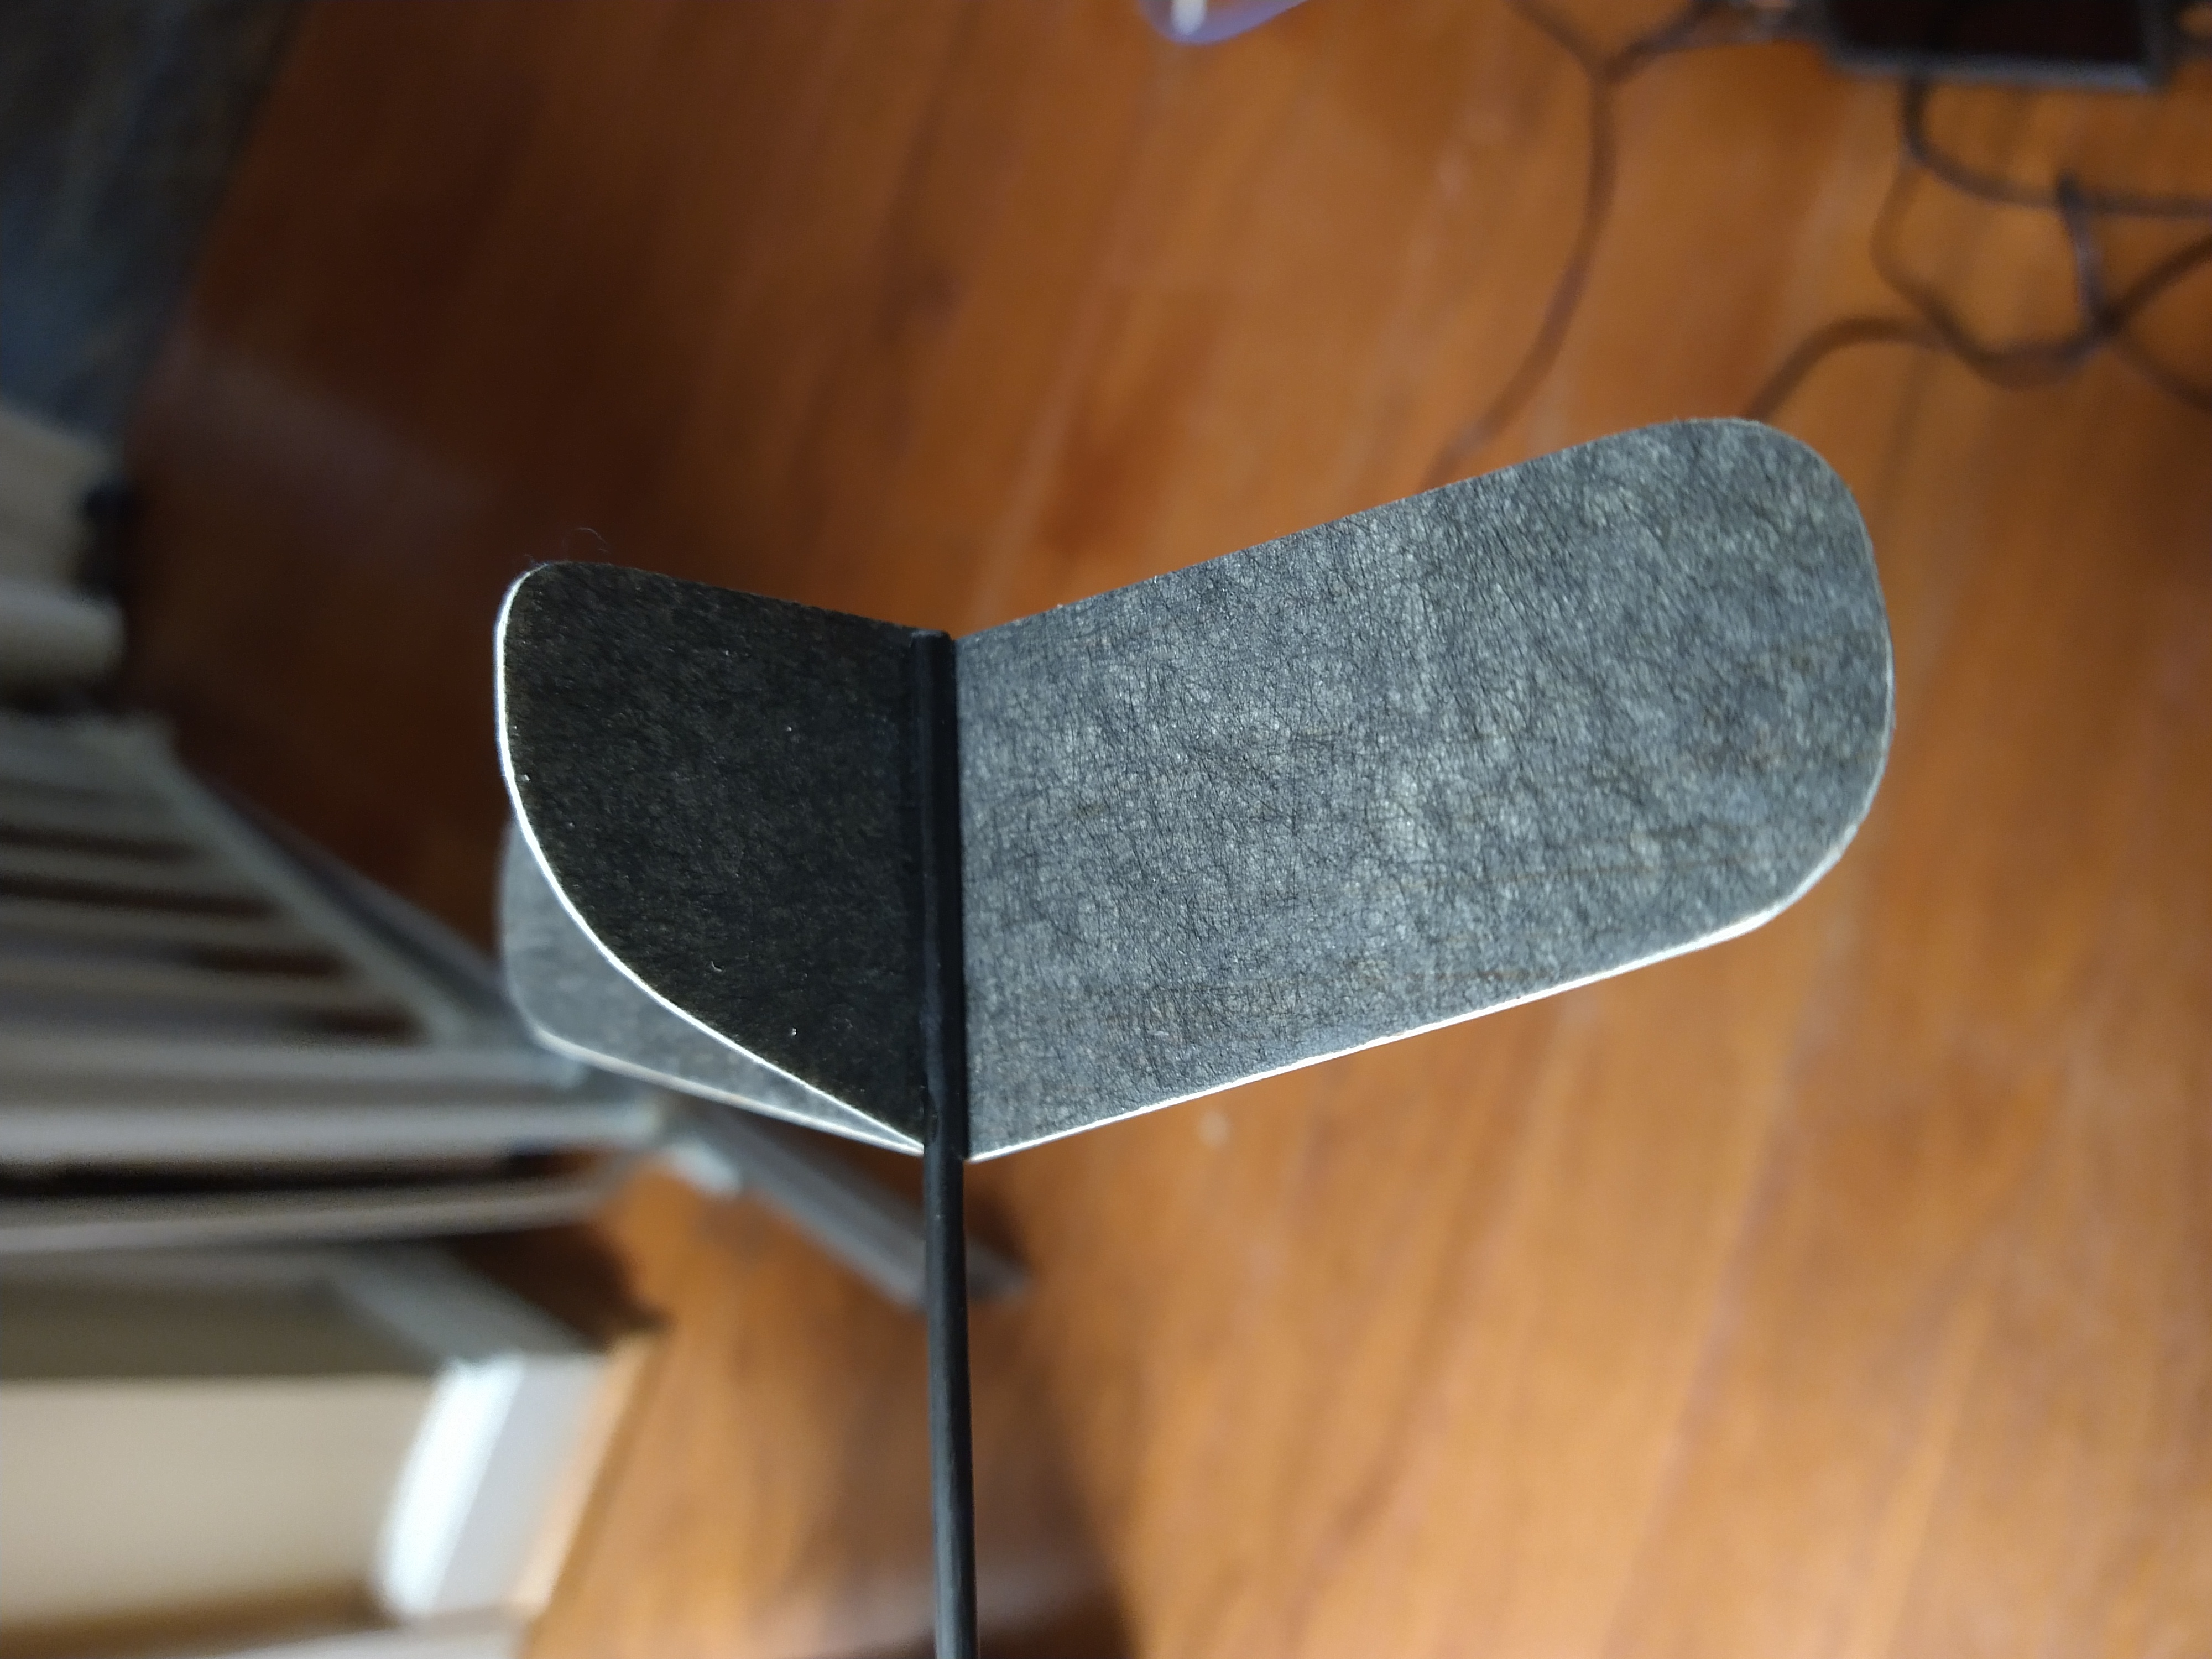
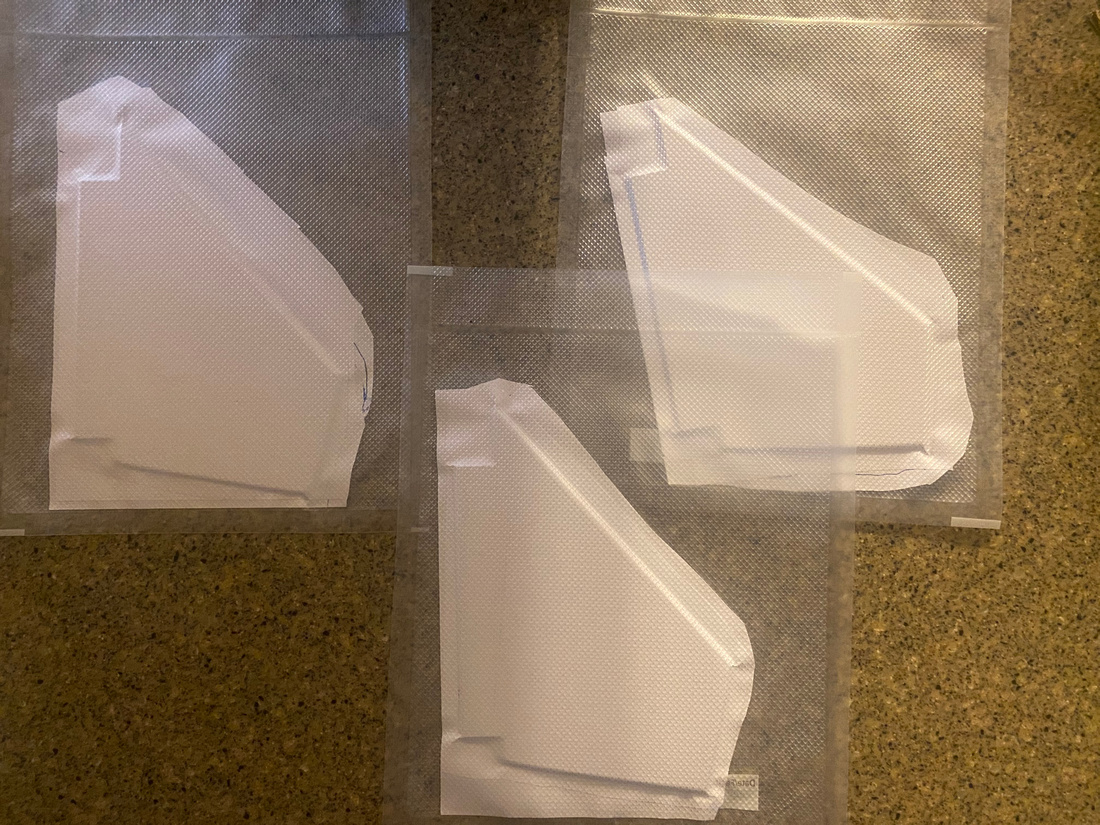
As you can see, I'm out less than $100 and it seems to be working pretty well so far. This is my first test with it; I'm laying up a layer of 8 g/m**2 carbon veil on either side of a piece of light 1/32" balsa to make fin stock for my contest models. The flow rate on the pump is high enough that you don't need to wait forever for it to pull vacuum, but slow enough that you have time to adjust the bag as it sucks down. The pump is also positive displacement, so if you need some time to adjust the bag, you can just shut it off, adjust, and then restart without air flowing back into the bag. You can also see in the second photo that I'm lazy and just cut the connector off an old 12V power brick and used test leads to connect it to the motor. Hey, it works...

IMG_20211218_195120858.jpg
IMG_20211218_184816962.jpg
 
While your setup may not pull 30hg it will pull enough for general rocketry purposes, which is somewhere around 18 to 20 hg. for about $50 more regular Harbor Freight single stage vac pump can be had and they generally work well enough. I started with a Food Saver, they work well too, the canister attachment hose allows it to be used with standard vac bagging accessories.
 
While your setup may not pull 30hg it will pull enough for general rocketry purposes, which is somewhere around 18 to 20 hg. for about $50 more regular Harbor Freight single stage vac pump can be had and they generally work well enough. I started with a Food Saver, they work well too, the canister attachment hose allows it to be used with standard vac bagging accessories.

I tried a Hazard Fraught pump once, but it was not oilless and fumed everywhere. It was also loud. This little pump works well, is oilless, and very quiet. It's over in the other room and it's just a small hum. If I put my headphones on, I can't even hear it. The listing shows 22" Hg, and I'd believe that. It's compressed the breather nicely. That's 10 psi or so, nothing to sneeze at.

Agreed that this isn't going to match a pro setup, but that's not really the point.
 
I am nowhere near this level but out of curiosity can you use one of these with an air compressor if you already have one?

https://www.harborfreight.com/air-vacuum-pump-with-r134a-and-r12-connectors-96677.html

What Rich said, but also consider that my pump and power supply were about $35 and it's a quiet setup and only uses about 10W of power to run continuously. At 3 gallons per minute flow rate, though, you do need to be vigilant in making sure your seals are decent, because it won't tolerate as much of a leak as a higher power setup.
 
I built a system based on a diaphragm pump, reservoir, pressure switch and a few relays and valves for doing veneer work years ago. It works great with rocketry stuff too and is so peacefully silent compared to other pumps. I charge the reservoir, pressure switch shuts it off and when I'm done setting the bag up, just open a valve, it sucks the bag down quickly and the pump kicks on. After it hits the right level (26-28"/hg, I think, but its been a while - could be lower) it cuts off and only kicks on when the pressure builds due to a leak or something. The veneer work I was trying needed 12-36 hours in the bag, so running a screaming pump or having a perfect seal wasn't an option.

The design wasn't my own, it was something I found on a woodworking site and it has proven useful many times for other projects. I do have an air conditioner/oil type pump I use when higher vacuum is needed, but if low-mid vacuum is acceptable, I go to the diaphragm system first every time.

It is currently in my storage unit, but if desired, I can take some pics and post them later. Adding the valves, reservoir and pressure switches isn't free, but it takes the system to a totally different level.

Also, ACP makes great stuff for bagging. I bought various bags, end-seal snaps and other products from them. They are my go-to source for that type of stuff, so glad you found them!

Sandy.
 
I found a Varian roughing pump on ebay, and a rebuild kit later, I have an awesome vacuum setup.
I've done a car top for a friends Corvette.
 
The design wasn't my own, it was something I found on a woodworking site and it has proven useful many times for other projects. I do have an air conditioner/oil type pump I use when higher vacuum is needed, but if low-mid vacuum is acceptable, I go to the diaphragm system first every time.

I got mine (the EVS kit) from "Joe Woodworker":
https://www.joewoodworker.com/veneering/welcome.htm
 
I built a system based on a diaphragm pump, reservoir, pressure switch and a few relays and valves for doing veneer work years ago. It works great with rocketry stuff too and is so peacefully silent compared to other pumps. I charge the reservoir, pressure switch shuts it off and when I'm done setting the bag up, just open a valve, it sucks the bag down quickly and the pump kicks on. After it hits the right level (26-28"/hg, I think, but its been a while - could be lower) it cuts off and only kicks on when the pressure builds due to a leak or something. The veneer work I was trying needed 12-36 hours in the bag, so running a screaming pump or having a perfect seal wasn't an option.

The design wasn't my own, it was something I found on a woodworking site and it has proven useful many times for other projects. I do have an air conditioner/oil type pump I use when higher vacuum is needed, but if low-mid vacuum is acceptable, I go to the diaphragm system first every time.

It is currently in my storage unit, but if desired, I can take some pics and post them later. Adding the valves, reservoir and pressure switches isn't free, but it takes the system to a totally different level.

Also, ACP makes great stuff for bagging. I bought various bags, end-seal snaps and other products from them. They are my go-to source for that type of stuff, so glad you found them!

Sandy.

That's quite the tricked out setup! I'll probably get to that point over time. I will probably need finer control if I want to do wings or something similar.

I got mine (the EVS kit) from "Joe Woodworker":
https://www.joewoodworker.com/veneering/welcome.htm

I've heard of that setup. Quite a bit larger and more powerful than I need, but a great resource none-the-less!
 
I've used a foodsaver for papering the fins on an Apogee Aspire. I used 30m epoxy instead of wood glue. I did one fin at a time, left them in the bags about 15m then took them out. I used my Vacmaster once in a pinch but that's for vacuum sealing meat so I tend not to use it for anything else. I've never used kevlar, carbon fiber, or fiberglass. Someday I'll have to get over that and upscale.
 
I've used a foodsaver for papering the fins on an Apogee Aspire. I used 30m epoxy instead of wood glue. I did one fin at a time, left them in the bags about 15m then took them out. I used my Vacmaster once in a pinch but that's for vacuum sealing meat so I tend not to use it for anything else. I've never used kevlar, carbon fiber, or fiberglass. Someday I'll have to get over that and upscale.

That would work great! Only comment I have is that you generally want to use a laminating epoxy for doing laminating work. It is much thinner, so it absorbs into your reinforcement material more readily, and it's easier to control the resin-to-fiber ratio (important for weight). I use US Composites 635; it's cheap and easy to use in my experience. They also will sell you smaller quantities than other suppliers, so it's easy to play without spending too much $$.
 
That would work great! Only comment I have is that you generally want to use a laminating epoxy for doing laminating work. It is much thinner, so it absorbs into your reinforcement material more readily, and it's easier to control the resin-to-fiber ratio (important for weight). I use US Composites 635; it's cheap and easy to use in my experience. They also will sell you smaller quantities than other suppliers, so it's easy to play without spending too much $$.

That makes perfect sense. I haven't fully entered the realm of building with fiberglass and other non-wood products so noted and I will try it again.

Here are the balsa fins in the bag. The ridges from the bag dented the paper but I easily filled the checkering with primer. The second set of fins were CNC cut from a different wood (not by me) and they proved to be almost indestructible (so far)

p4111227663-5.jpg


Wood fins after a vertical return to earth from a about 4,000' :) <Edit, the story of my life today, I keep forgetting that the altitude data was wrong because the cal data wasn't recoverable, it only made it to a little under 3,000'>. The fins have been sawed out of the 3D printed fin can and are installed in the replacement rocket. The fins are airfoiled, came in two pieces that had to be epoxied together. Following that I papered them (with the 30m epoxy I mentioned). They are stout and the only recognizable part of the rocket.

p3547008326-5.jpg


Remains saved for a proper cremation ceremony

p3547006873-5.jpg


Data recovered from the remains of the TeleMetrum. If anyone want to fly it again. I'd part with it. I don't recommend that though I may install it as baggage, ie no ejection functions would be used but it would be powered up. It's failed twice. Once was user error, wrong igniters, and once was using it after it layed out in the desert for 2 months without properly testing user error.

It made a pretty arc on the graph

p3647645821-5.jpg
 
I like this setup. It looks like it’s adequate for a lot of uses and sounds affordable.

I’ve used the Foodsaver technique. Apparently people get tired of their Foodsavers and donate them to charity, so you can often find them at thrift stores. Mine was $5.99. The Foodsaver bags cost a lot more than the machine. Also, sometimes the gaskets that allow the Foodsaver to seal around the bags get leaky and the vacuum is not as strong. Those gasket are easily replaceable with compatible gaskets I found on Amazon.
 
Back
Top