Fliskits Honest John

The Rocketry Forum

Help Support The Rocketry Forum:

This site may earn a commission from merchant affiliate links, including eBay, Amazon, and others.

peter_stanley

Well-Known Member
Joined
Apr 11, 2009
Messages
222
Reaction score
1
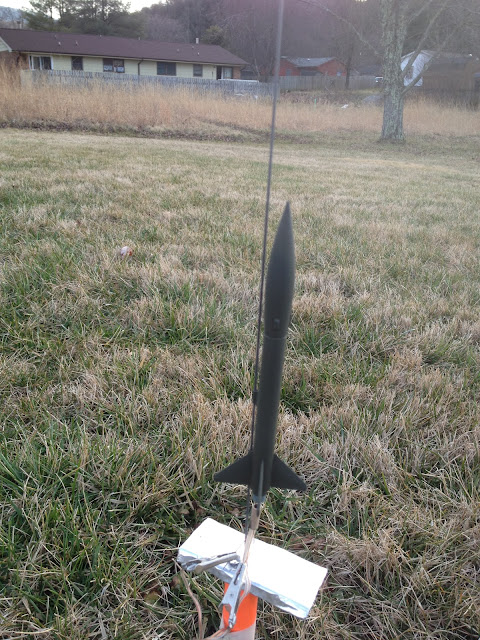
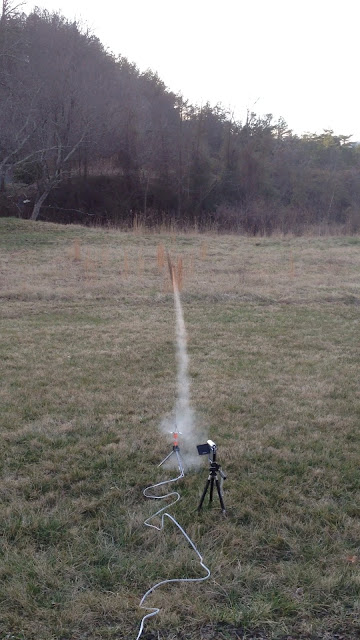
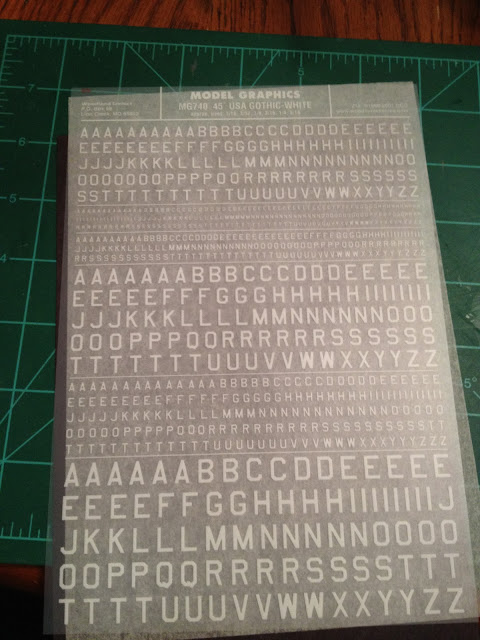
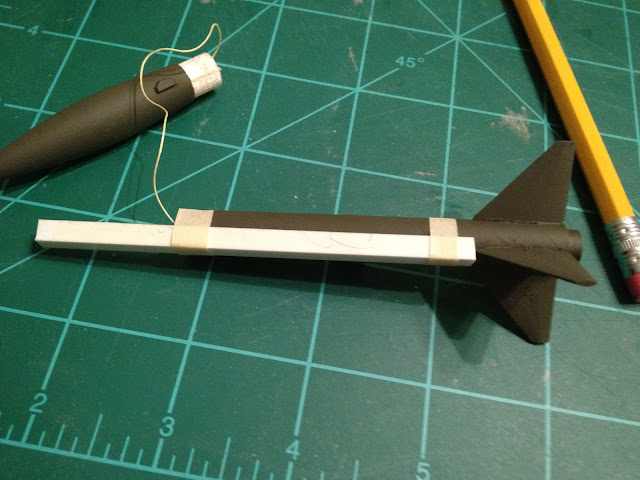
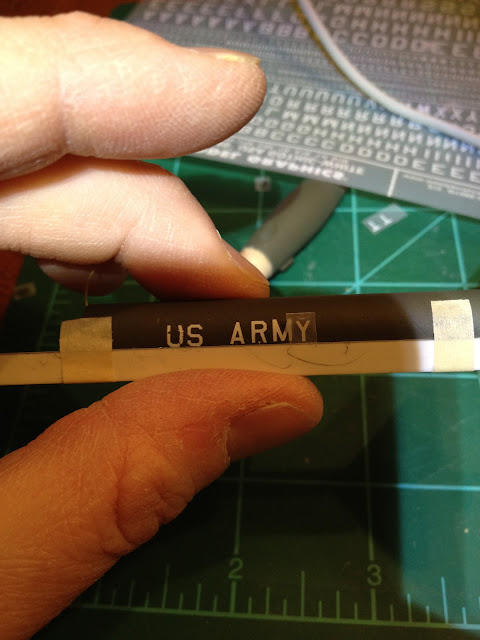
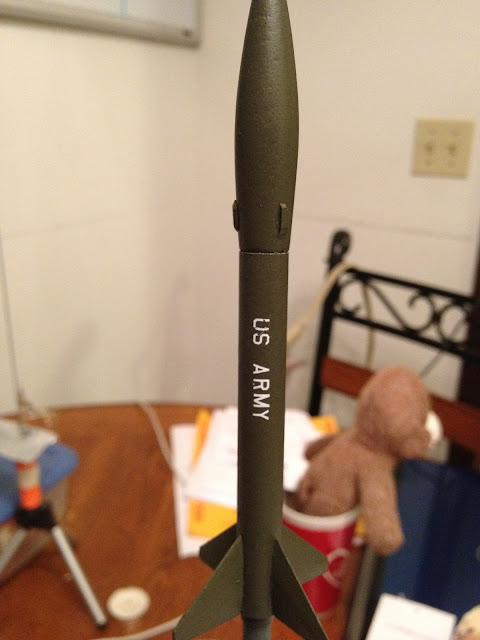
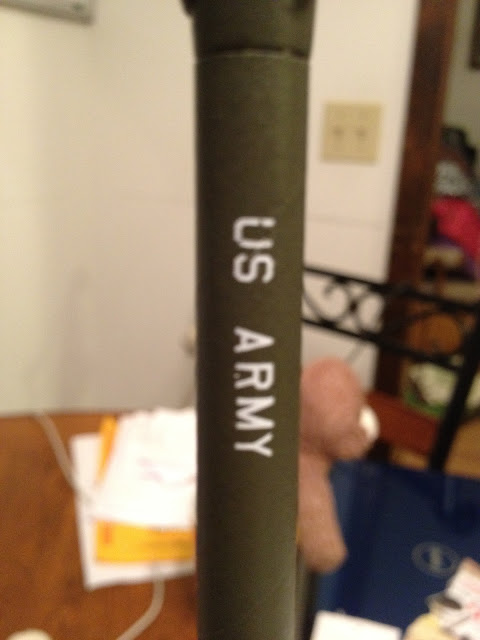
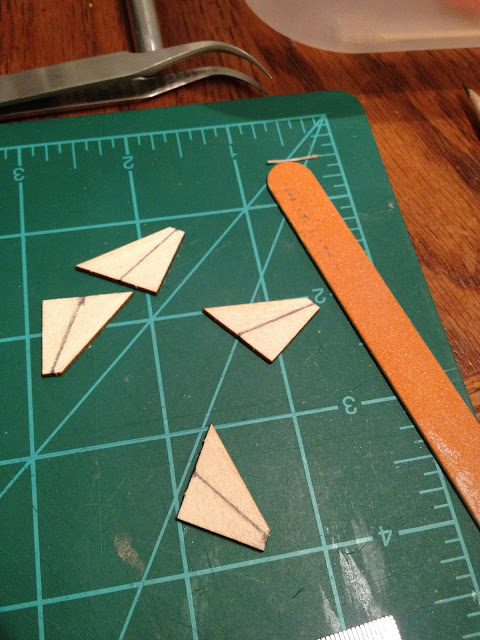
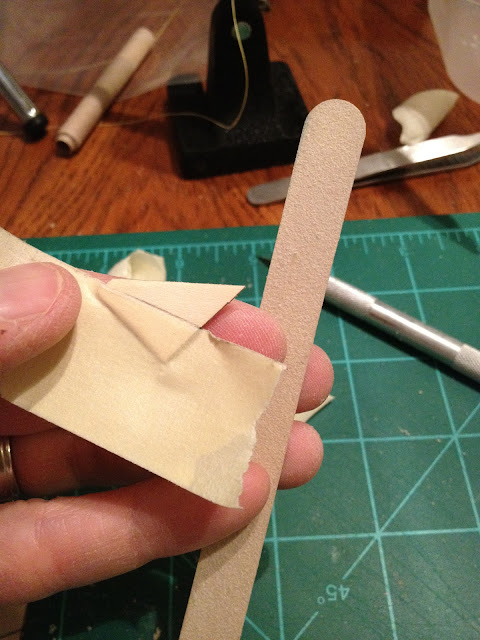
Here are some build pics of my MTTM Honest John from Flistkits. This kit was fun to build, but I did struggle with tapering the fins. My method didn't seem to work so great. I taped one side of each fin, and then sanded with a fingernail file. Some turned out ok, others look over or under shaped. Maybe I rushed it. I made some spin motor housings out of plastruct sheet (I think .03"). I rough cut them with a hobby knife. I used the 'most likely to lose in the grass' paint scheme, hoping I'll see the orange streamer after it lands. I'll add some lettering if I can find some that is white and 1/8" or 1/16". I'm not sure if it's made or not, will check HobbyTown. Anyway, here's what I have so far.

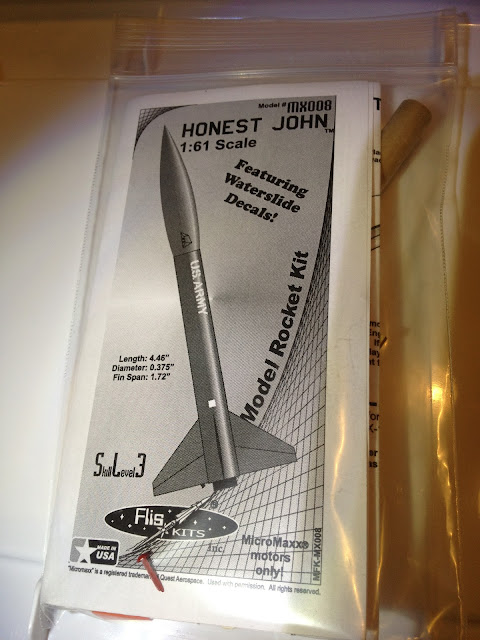
Here is the package.
IMG_0541.JPG


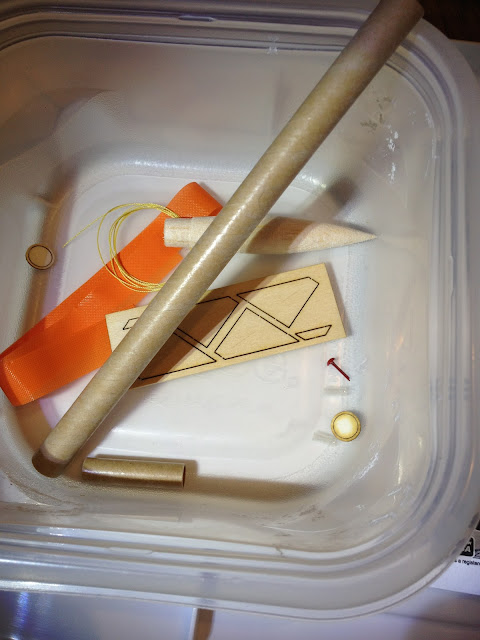
I followed MarkII's advice and put all the parts in a small container.
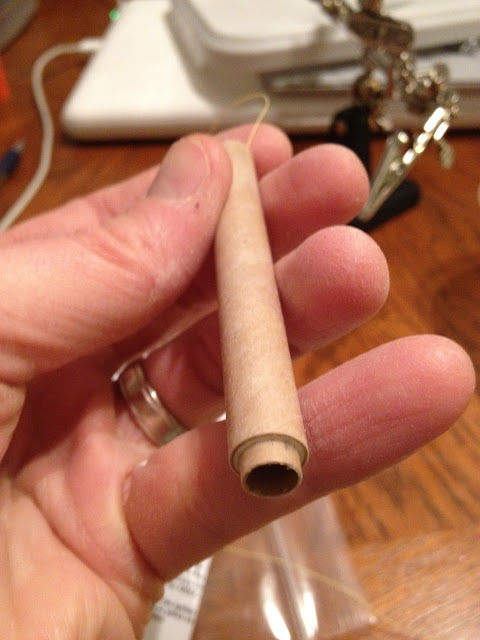
IMG_0542.JPG


The motor mount.
IMG_0562.JPG


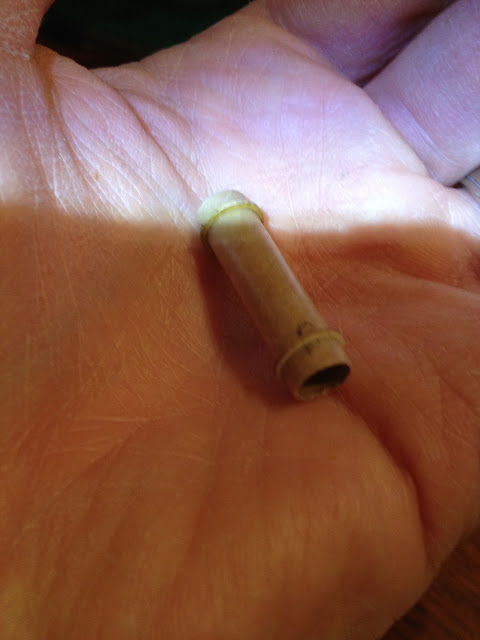
After tying kevlar thread to the motor mount and gluing it into the body tube.
IMG_0565.JPG


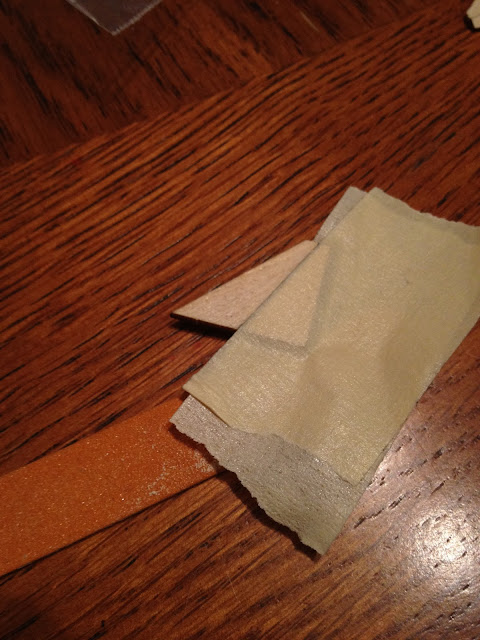
Here are the fins and my lame attempt to shape them.
IMG_0567.JPG


IMG_0568.JPG


IMG_0569.JPG


IMG_0570.JPG


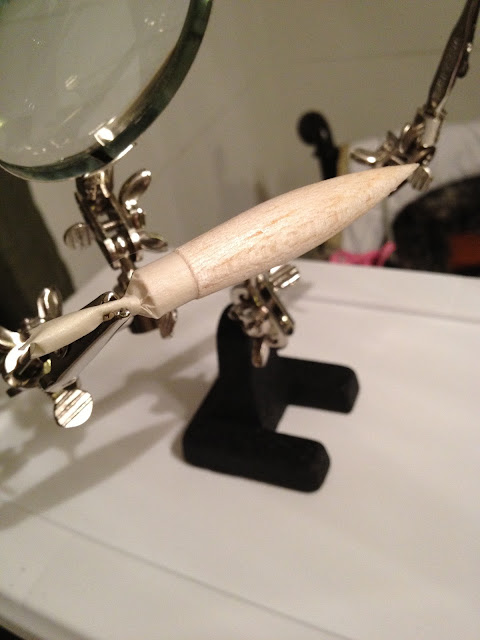
I put several coats of sealer on the nose cone.
IMG_0544.JPG


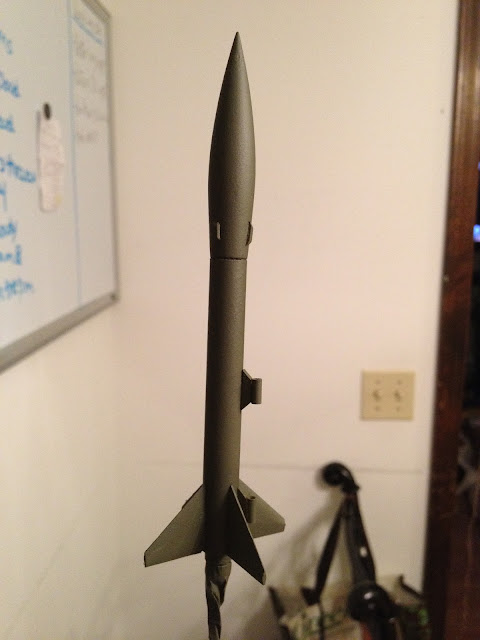
The assembled rocket.
IMG_0578.JPG


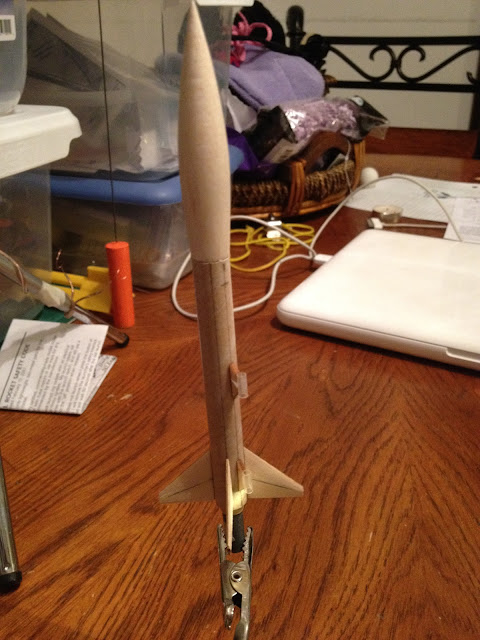
Spin motors and primer added.
IMG_0606.JPG


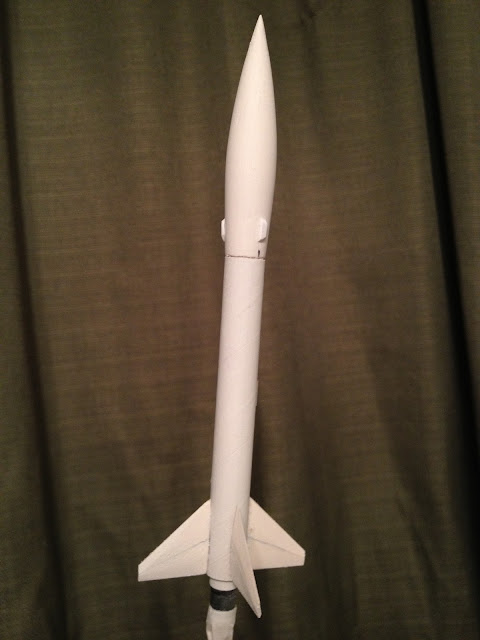
Paint job is trade off of simplicity vs. ease of finding after launch.
IMG_0614.JPG
 
If you use the standard blaze orange streamer that Jim includes, it's not hard to find. I've launched mine several times in a large grassy area and just watch where it goes. I haven't lost a micro yet, knock on balsa...
 
Best bet for finding them is to have someone about 40-50 feet back (or have someone else launch it and YOU get back). MUCH easier to follow up from a distance greater than the 15 feet at the end of the launch leads... :)
 
If you do any MMX flying, the Flis Honest John is a must-have!

After being dissapointed with the performance of the Quest RTF MMX, the Flis HoJo was the first MicroMaxx model I had that flew to a very respectable altitude.
It has flown more often than any other MMX model I have.

I finished it like my old Estes Honest John. Certainly not true scale decor, but who cares.

HonestJohnMMX01.jpg
 
Looks very good to me also!
Ya might want to try using Glit-Sticks, small T-Bars or square balsa blocks with sandpaper attached to get a sanding block that's very stiff for sanding bevels. makes applying even pressure a bit easier particularly on tiny parts like micro fins.

Hopefully your orange streamer will stay Up long enough to spot where she lands, I decided to go with a bit easier Test round colors Red/white & black.

Good Job on the spin motors, I did pretty much the same thing using 3mm styrene.

Should be a fine addition to your micro flying fleet. Hope to see some flight pics soon.

Thanks for the suggestions. I can see where something stiffer would help. The finger nail file flexed a lot. I haven't looked yet, but do you happen to know a good place to find tiny white lettering? I want to put US Army on the side.

Thanks.
 
Thanks for the suggestions. I can see where something stiffer would help. The finger nail file flexed a lot. I haven't looked yet, but do you happen to know a good place to find tiny white lettering? I want to put US Army on the side.

Thanks.

Smallest paratype or chartpak dry transfer letter I've seen lately was about 3/16" in white. Avery might also have some small press type dry transfer lettering but I haven't seen anything in the 1/8" or smaller size for a long while. Not that I've been looking either....I usually print my decals on my Alps printer these days.

Back in the dark ages we used to hand letter on brushed clear coat applied to the waterbased adhesive side of the old 2" wide water wetted brown packing tape. after the lettering dried another coat of brushed on clear then used them like waterslide decals. Especially useful for making white military markings. I believe the water based paper wraping tape is still available at the old time hardware stores. Might be worth looking into if you can't find dry transfer or tiny white vinyl letters.
You might also ask at your local Hobby shop what after market decal sheets they might have...Perhaps you'll find a sheet of various Army white markings in different scales???

If you visit the www.squadron.com web site, a search of their rather extensive decal sheet selection might turn up something useful. It's sort of a pain searching but once you get the general hang of their site layout you may get lucky?
 
Last edited:
I never really check here ,but glad I did !

That`s the cutest thing I`ve ever seen and probably one of the coolest !

Nice build ,and I can imagine not the easiest either.

I may have to look into that one ;)

Take care

Paul T
 
I never really check here ,but glad I did !

That`s the cutest thing I`ve ever seen and probably one of the coolest !

Nice build ,and I can imagine not the easiest either.

I may have to look into that one ;)

Take care

Paul T

Thanks Paul. I'd love to see your treatment of this kit if you decide to build it. I've been following your TLP build threads, and am impressed with what you've done. I've learned a lot too.
 
Thanks Paul. I'd love to see your treatment of this kit if you decide to build it. I've been following your TLP build threads, and am impressed with what you've done. I've learned a lot too.

I think Paul Likes the Olive drab production round coloing of Missiles.

I preferred using the 3 color Test round markings. didn't need any white decals either;) heres a couple pics the you might want to save for future Scale Data use.

MM 377_MM Honest John M31A1 1_80 Scale T3 (Fliskit)_04-28-11.JPG

MM 377p01a_Honest John Test round_(RW&Blk) M31A1c_01-11.jpg

MM 377p02c_Honest John Test round_2pic (RW&Blk) M31_56.jpg
 
Last edited:
Nice....
I have 3 other Honest John's, ModelRockets.us 2.6", MadCow fiber 2.6", and Estes Mini Honest John.

Time to place an order with Flis for the MMX version......
 
Man that thing is tiny..and very COOL !

That little bugger seems to really rip off the pad.Hope you don`t lose it.


Paul T
 
Man that thing is tiny..and very COOL !

That little bugger seems to really rip off the pad.Hope you don`t lose it.


Paul T

I was a little worried that I might, but had no trouble tracking it. Plus it landed about 30 feet from the pad :) The orange streamer really helps.
 
I finally got a hold of some white lettering for the Honest John. Hobby Town had dry transfer letters that ranged from extremely tiny to about 1/4" all on the same sheet. This is my second attempt at dry transfer and not sure if I'm doing it right. I think it turned out ok, but not near perfect. The U gave me the most trouble. I probably should have re-done it.

My approach was to align the letters with a piece of plastic angle that was taped to the side. I cut each letter out individually and slid the plastic just underneath the angle to hold in place. I then rubbed over the letter with a pencil. After putting them on I sprayed some Krylon Matte finish over everything.

Here are some pics.

IMG_0785.JPG


IMG_0786.JPG


IMG_0787.JPG


IMG_0791.JPG


IMG_0793.JPG
 
I finally got a hold of some white lettering for the Honest John. Hobby Town had dry transfer letters that ranged from extremely tiny to about 1/4" all on the same sheet. This is my second attempt at dry transfer and not sure if I'm doing it right. I think it turned out ok, but not near perfect. The U gave me the most trouble. I probably should have re-done it.

My approach was to align the letters with a piece of plastic angle that was taped to the side. I cut each letter out individually and slid the plastic just underneath the angle to hold in place. I then rubbed over the letter with a pencil. After putting them on I sprayed some Krylon Matte finish over everything.

What I have done in the past, with dry transfer letters, is to align them, in reverse (backwards) on a length of scotch tape. I can make all the adjustments I want until I have it perfect.

Then you simply place the entire thing, transfer letter, tape and all, on the model. Rub (transfer) the letters, then remove the entire backing, tape and all.

fwiw... :)
jim

Awesome! Thanks for the tip Jim. I knew there had to be a better way.
 
Back
Top