I finally got to the ground tests, and they worked great on the first try. for the apogee charge, I put 0.8 grams of powder in the charge holder in the main chute cap, and I decided to use 3 shear pins:
[YOUTUBE]QtZ_n6YLeXI[/YOUTUBE]
I think I'll go up to about 0.9 grams for the flight. For the main charge I used a 0.3 gram charge. The video looks kind of funky because I used scraps from my main chute construction that weren't tied to anything, in case the rather loose piston suffered blow-by.
[YOUTUBE]ZvArlXVj88s[/YOUTUBE]
I would reduce the charge somewhat, but this will work fine and I already have more of this size made. If the apogee charge doesn't get the cone all the way off, a larger charge on the main chute should complete the job.
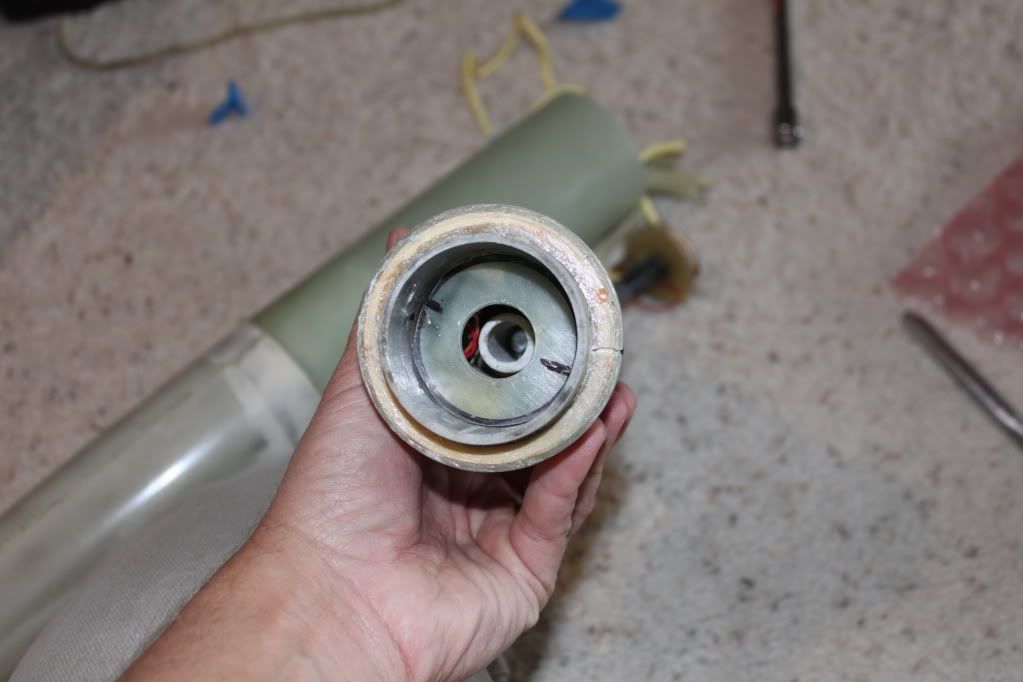
Here are a bunch of of other photos documenting the build:
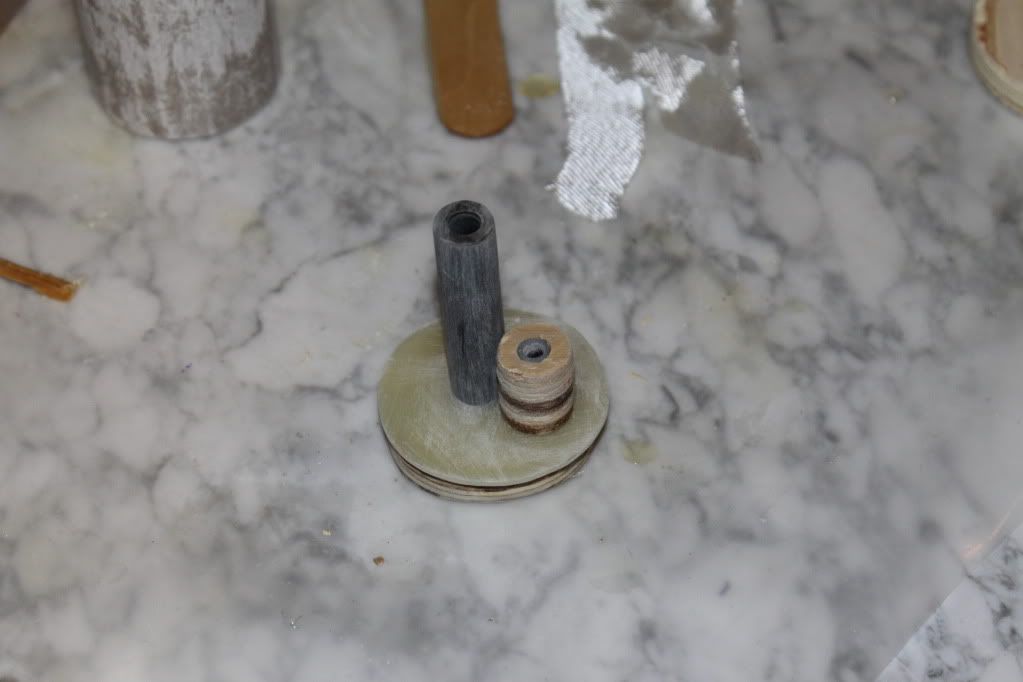
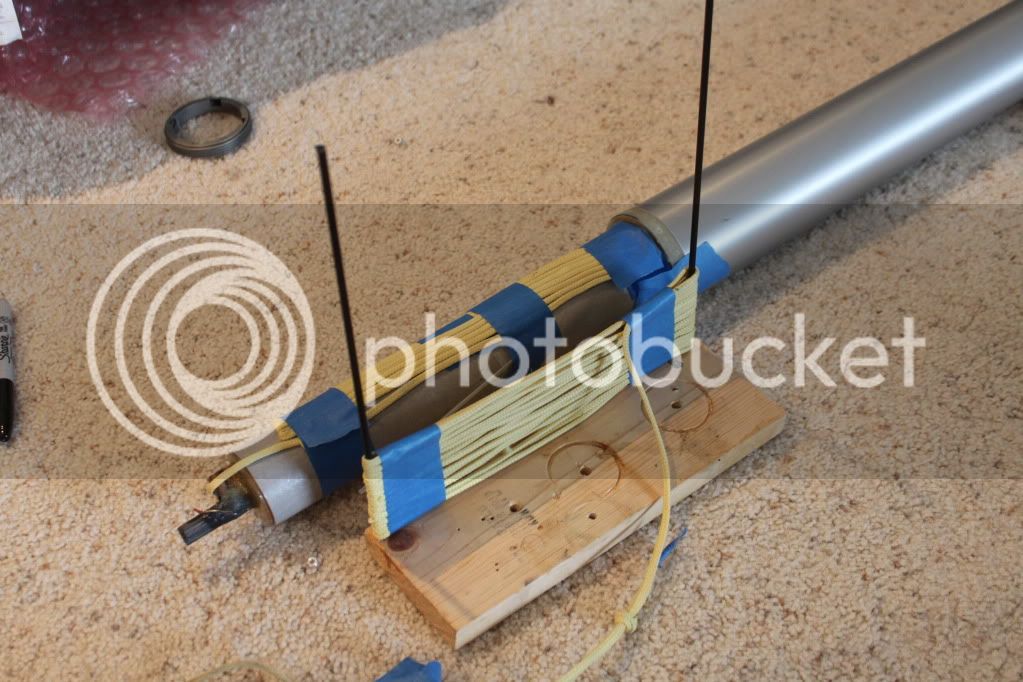
After doing the above, and anticipating needing to do it several times as I fine-tune the charge sizing, I decided to make a little fixture to speed things along:
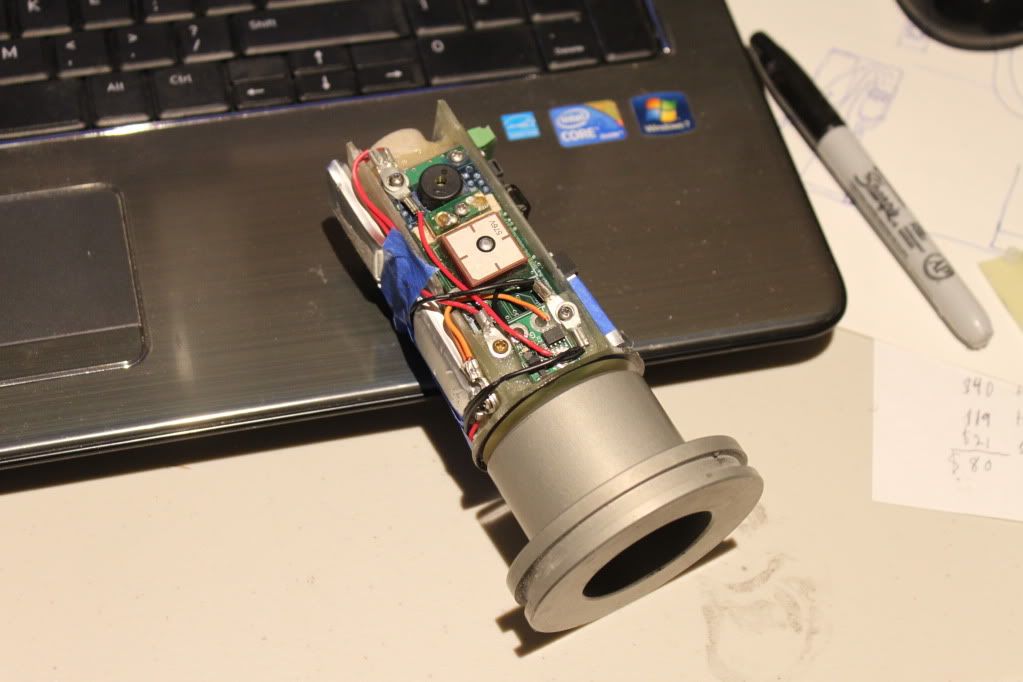
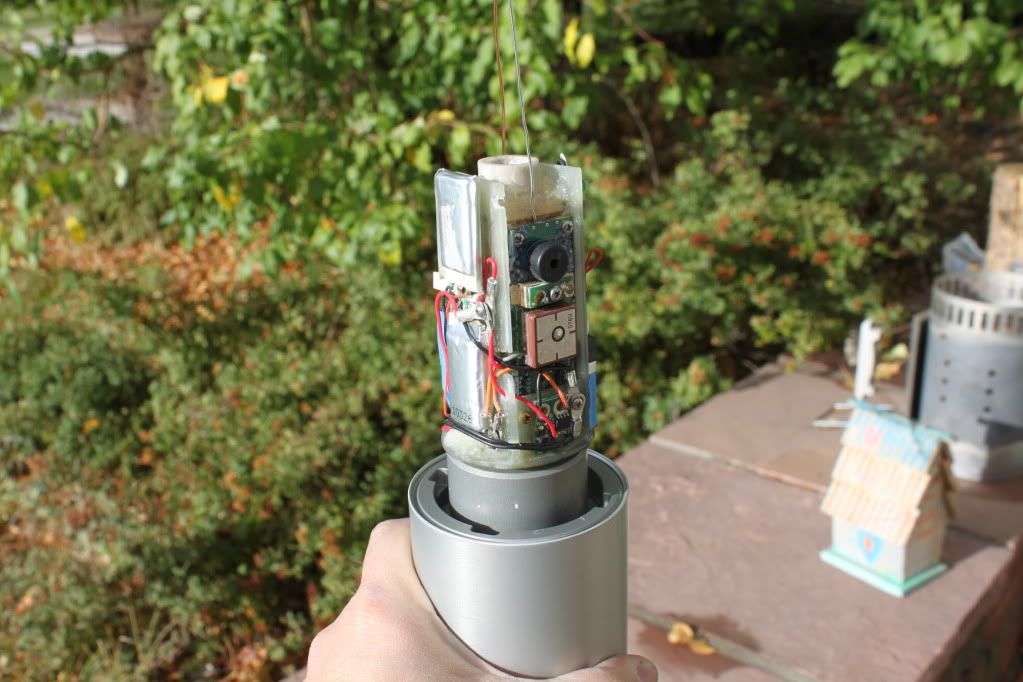
With the finally-complete electronics core inside the av-bunker (It fits!):
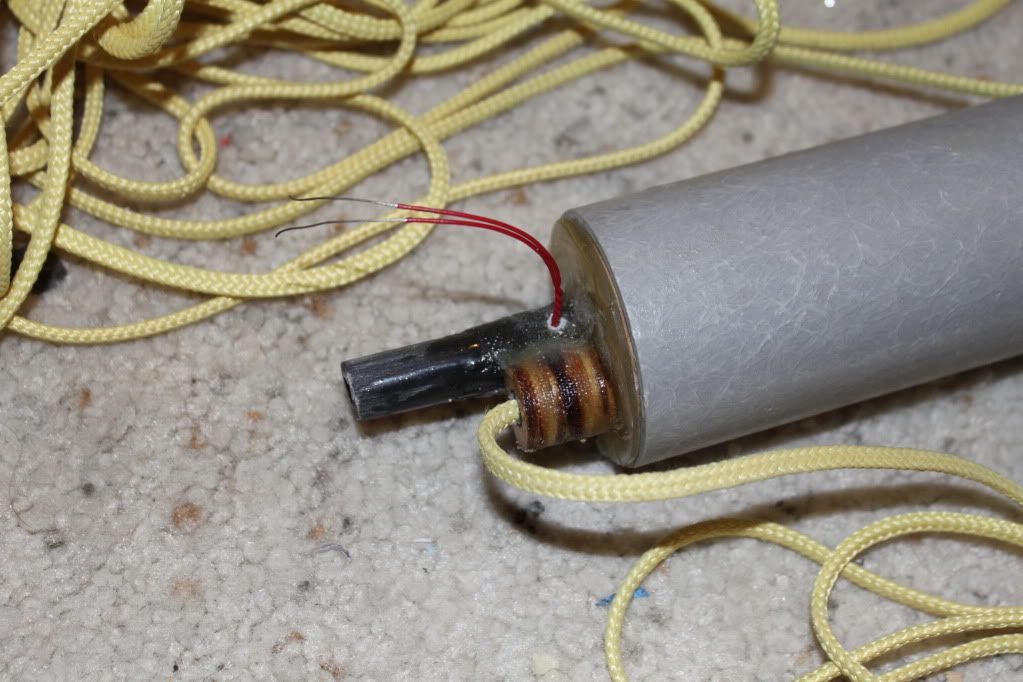
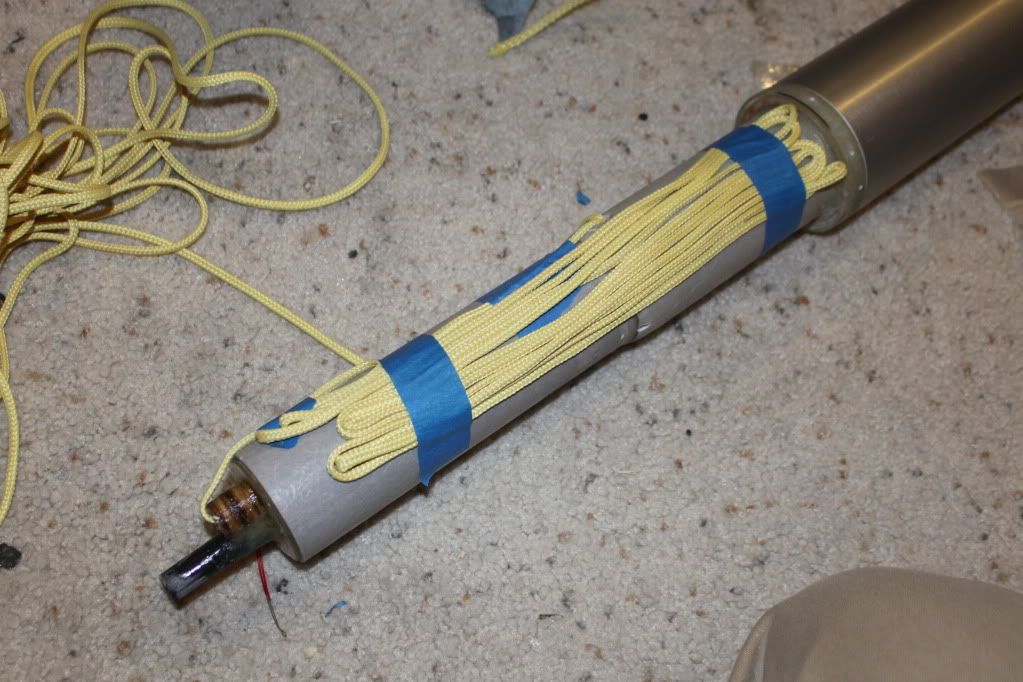
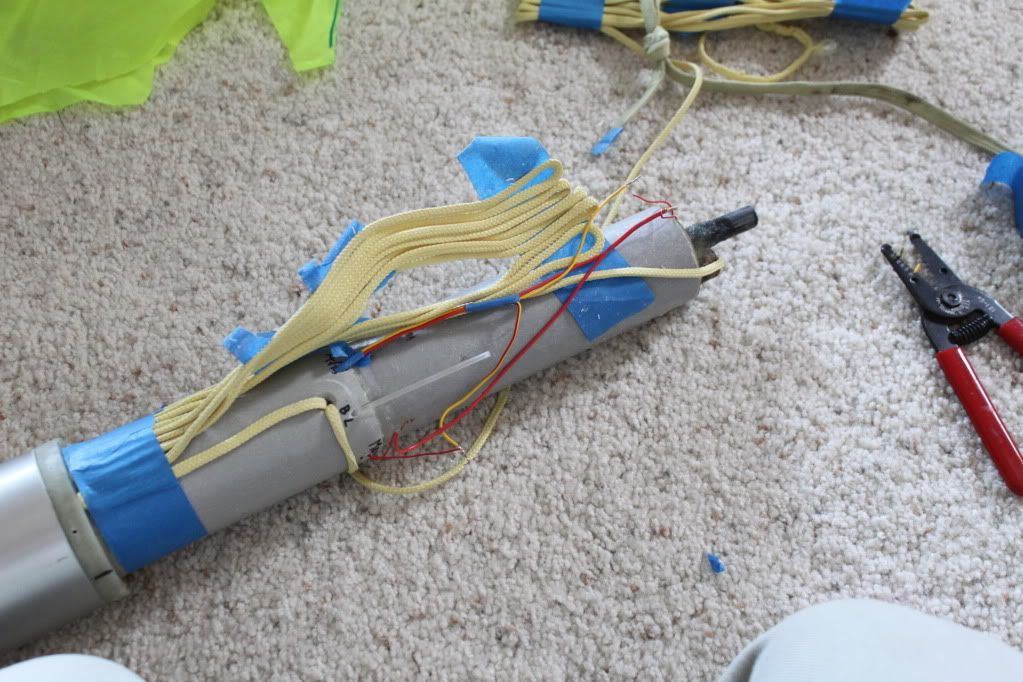
Prepping the deployment test wiring:
https://i281.photobucket.com/albums/kk205/adamsona/Level%203
/IMG_3089.jpg
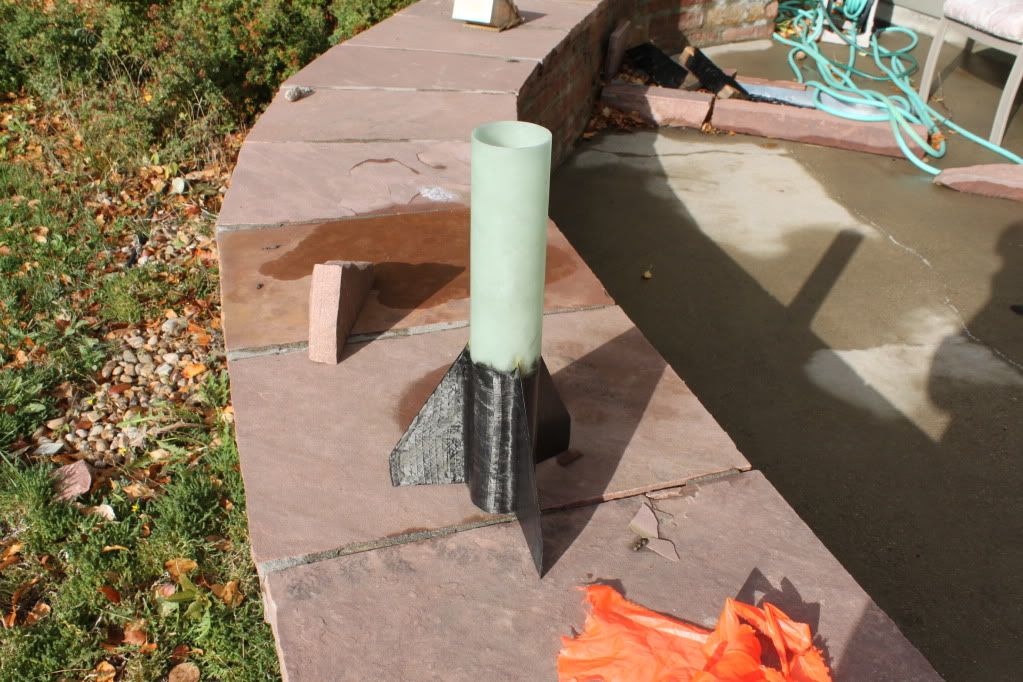
The sun came out just in time for the deployment test, and the optical illusion shot of the fins, which look horribly un-smooth due to in-plane waviness of the uni carbon fibers (They're actually smooth and flat):
This is after baking the fin can in my kitchen oven for a couple of hours at 210F. I'll be interested to see how they fare at Mach 2.5 or so tomorrow.
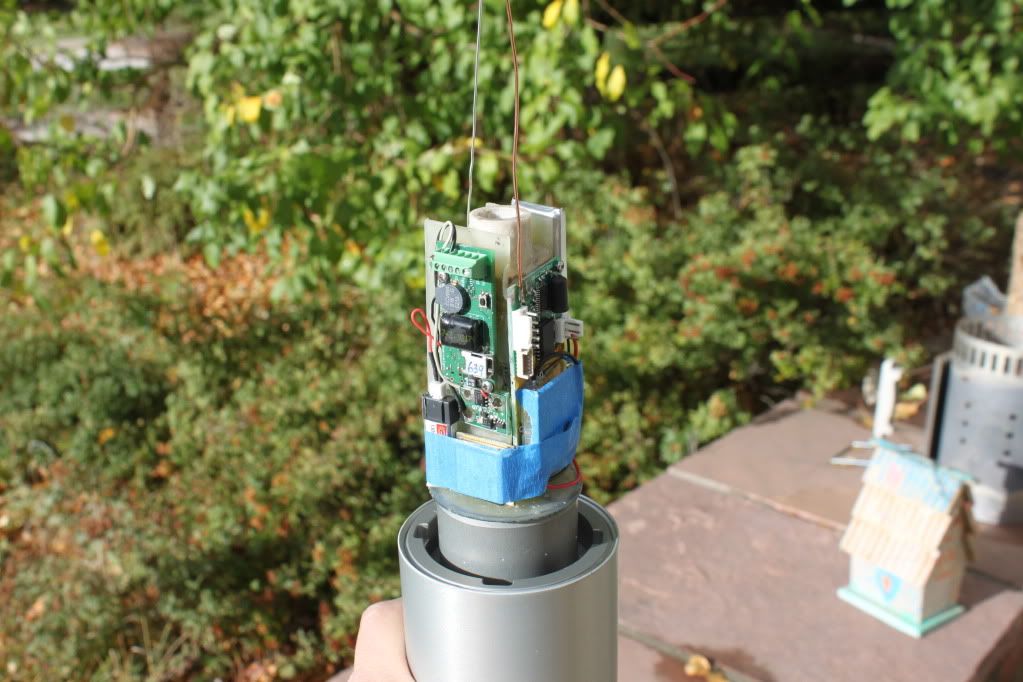
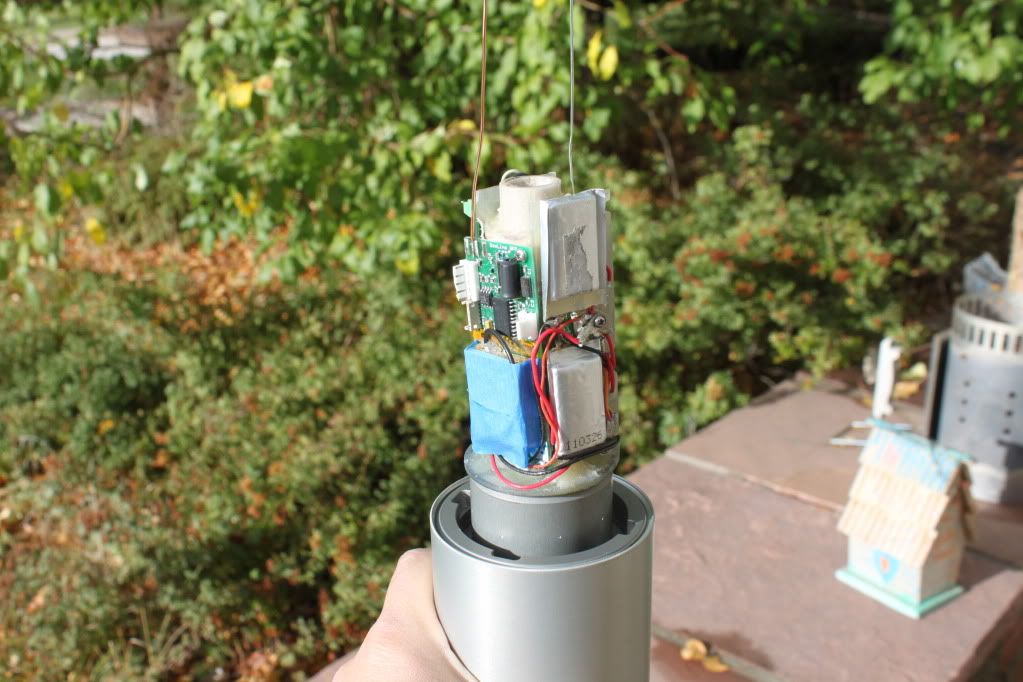
Now for the avionics core:
Raven, Raven battery, magnetic switch and Beeline GPS antenna on the left.
Beeline GPS board on the left
2 parallel 350 mAhr cells for the radio battery
Telemetrum and magnetic switch on the left.
Looks like the batteries have recharged now, so it's time to get back to prepping for tomorrow. I hope to get the av-bay assembled with shock cords in place, and then just bolt it down and load the main chute once I borrow the 4-grain case.


")