Not intended as a hijack but it didn't make sense to start a second thread. Here is my build as I put it together for my website. If not already demonstrated in my previous posts, I am very happy with Jim's kits and you may notice a "Long Overdue" that is in the process of construction in the background of some of the photos. On to the build...
Opening the package I found all parts to be of high quality for the size. Speaking of their size, the parts for this thing were tiny. I was actually quite scared to breath to hard around them.
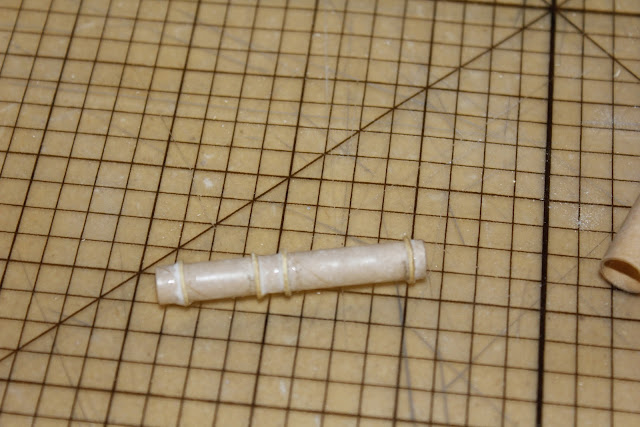
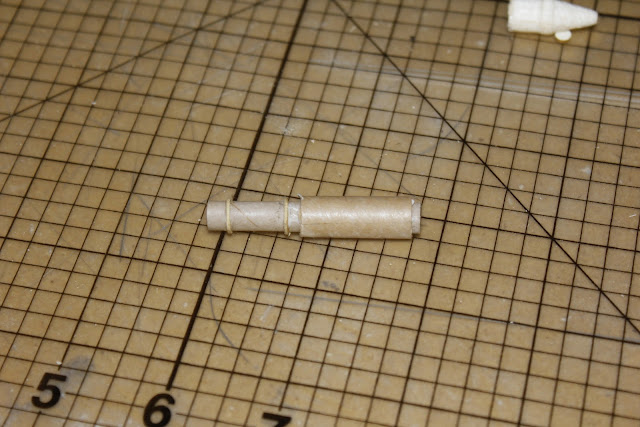
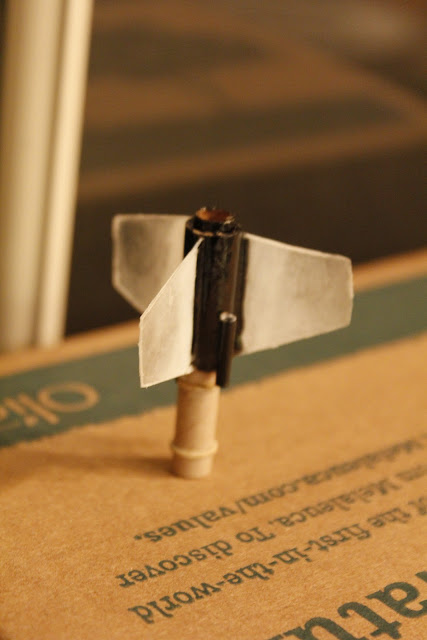
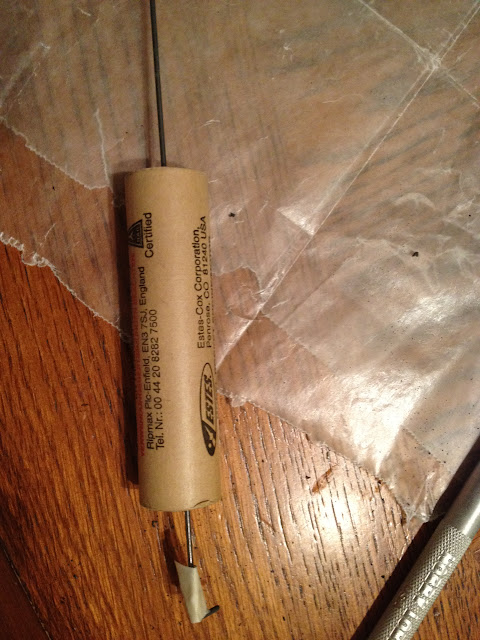
The first two steps of construction are to insert a very small motor block into the small motor mount tube and then to apply four centering rings on the tube. I found that a great deal of care was required to do this and utilized only a very light film of white glue for each. With each centering ring in place and the glue dry a short section of main body tube was slid into place. Once complete, this will be the fin can and rear eject pod.
Next up it was time to take care of the fins and launch lug. A paper fin pattern is provided on the instruction sheet that can be transferred to some clear plastic stock. I found this step to be somewhat difficult as my hands are not very steady and I was out of fresh #1 blades for my hobby knife. A great deal of sanding with 220 grit sandpaper was required to get them somewhat uniform and I would have followed up with some 600 grit if I had some left. The launch lug was easy enough to apply. Thick CA was used for both and some CA fillets were also applied.
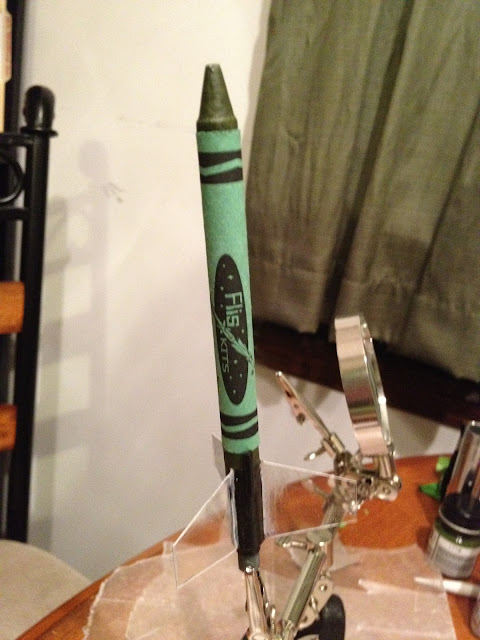
The supplied kevlar shock cord was attached to the nose by forcing a knot into the balsa and then adding a fair amount of CA. Once the CA cured the nose was secured to the body tube with wood glue and 3 coats of sanding sealer were applied to the nose.
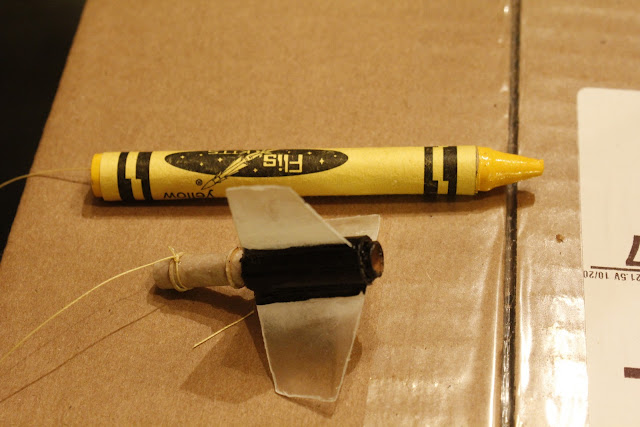
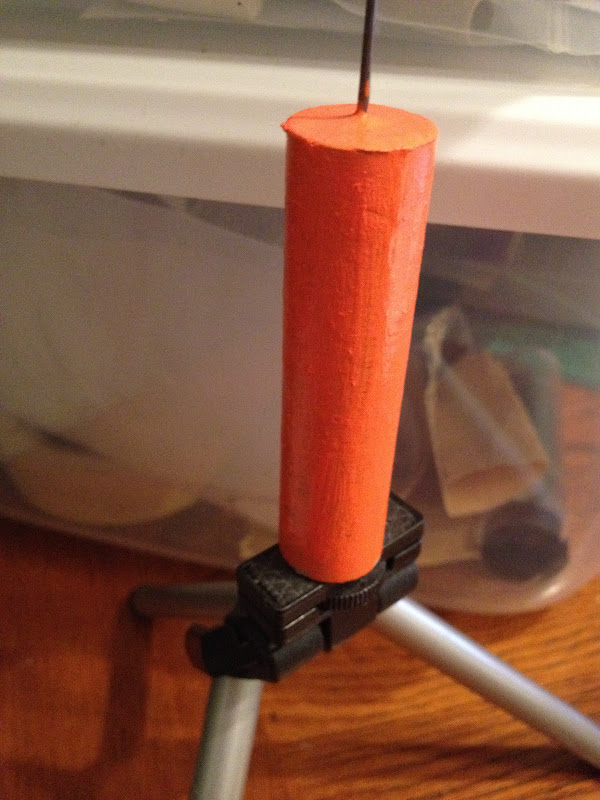
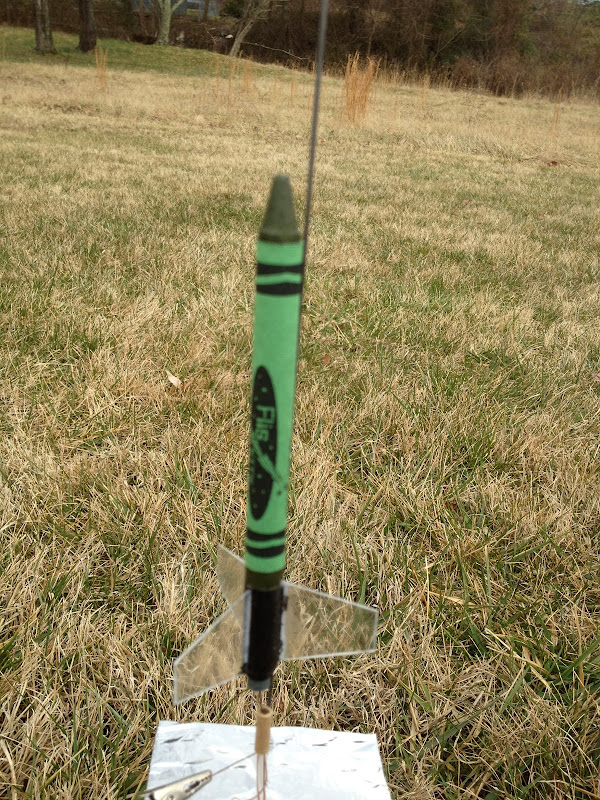
It's time now for some paint and it was kind of fun to break out some Testors paints on a rocket. A little bit of yellow on the nose and bottom of the main body tube and some black on the fin can. Ideally the fin can would have been flat black but gloss was all I had on hand. Also, remember that I have never had great finishing skills.
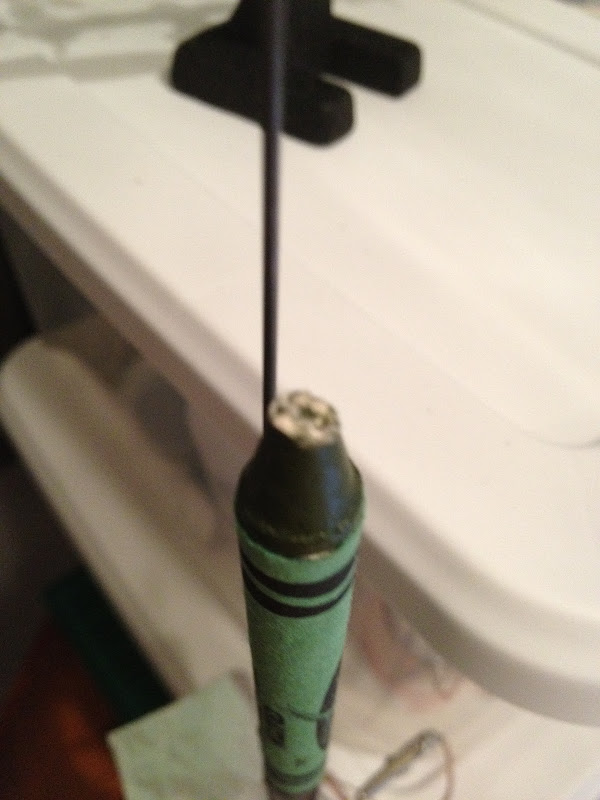
With the paint dry, the "wrapper" was cut to size with a hobby knife and a very thin layer of white glue was spread upon the entire surface before it was wrapped around the body tube and allowed to dry. The kevlar shock cord was then tied to the top of the motor tube just aft of the fore centering ring and a few drops of thin CA were applied to maintain the knot and it's position on the tube. All that remains it to attach the streamer.


")
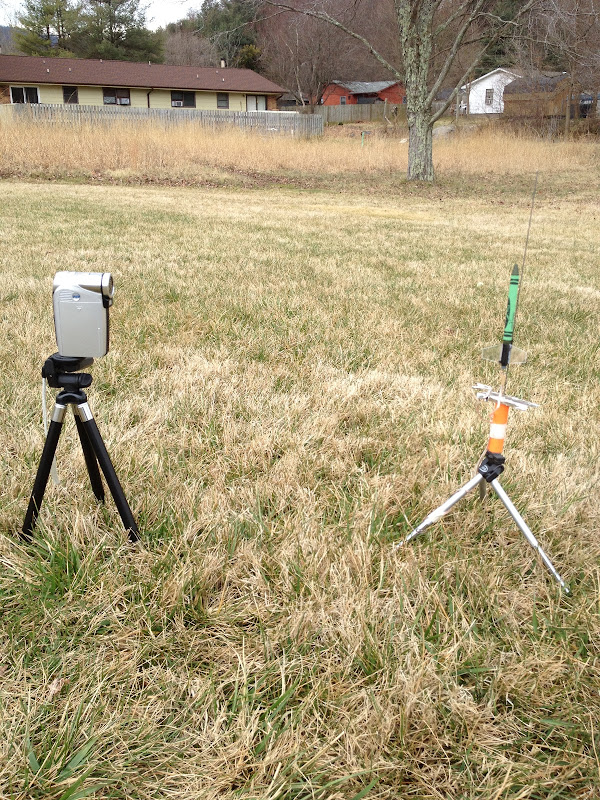
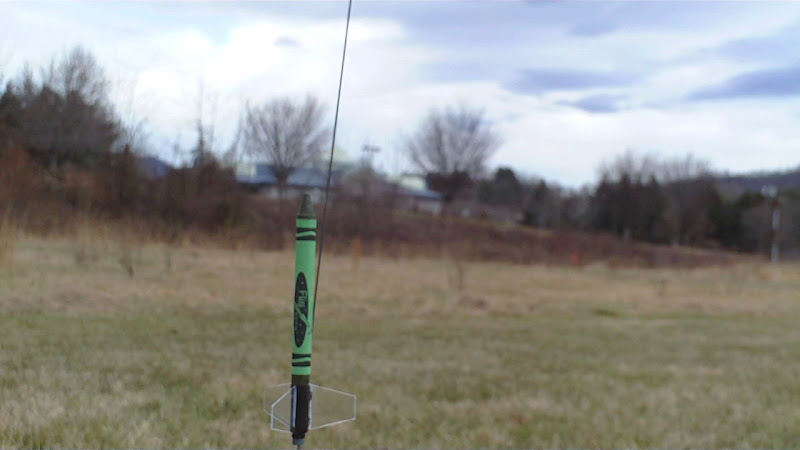


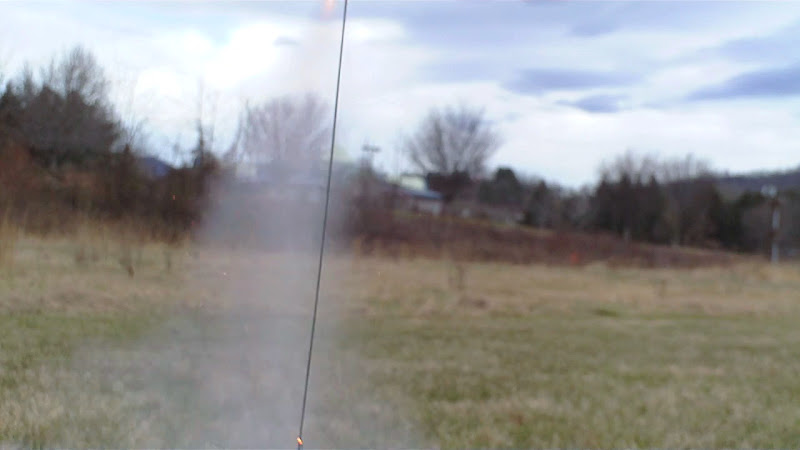


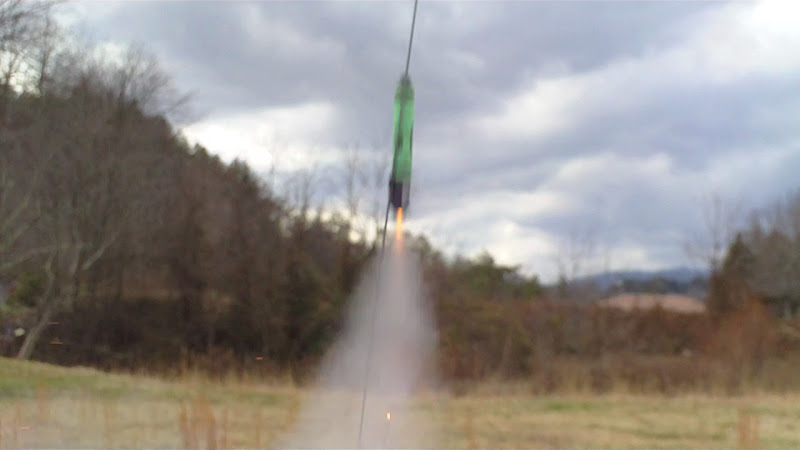
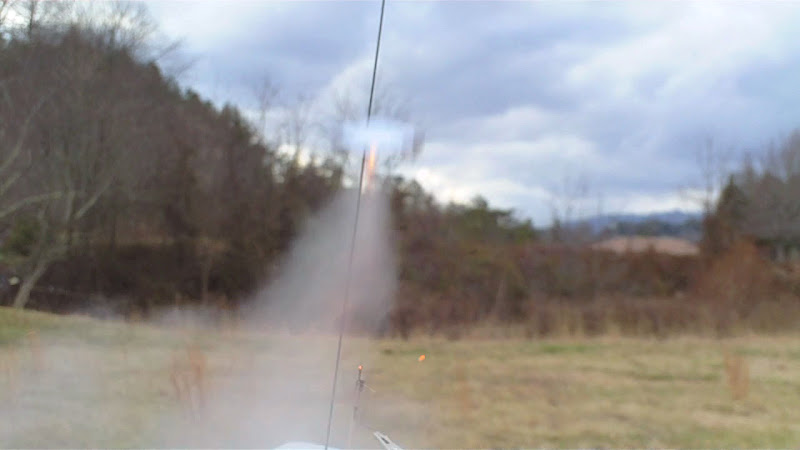
 on pad_11-19-11.jpg")