Size Matters Scratch Built

The Rocketry Forum

Help Support The Rocketry Forum:

This site may earn a commission from merchant affiliate links, including eBay, Amazon, and others.

bandman444

Well-Known Member
Joined
Feb 6, 2010
Messages
2,313
Reaction score
279
Location
Renton, Washington
Sorry if this isn't the first time you have seen this thread or one the the successive threads but this is my largest scratch built to date and you all (TRF Community) have saved this project many times already.


When this project was first dreamt up it was a 7.5 inch tube, a 7.5 inch nosecone, some fins, and was to fly on a "I" motor (my highest certification level). When I received the parts mid-August weighed everything and quickly realized that I would have to get some help to launch it on an "J" or "K".


Enough yapping!

Pictures

IMG_0984.jpg


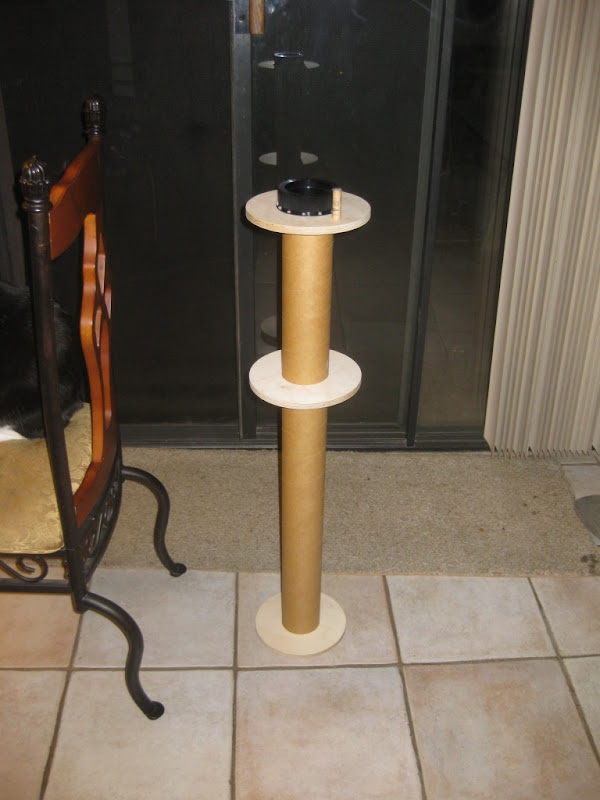
Thats the motor mount with an Estes "A" motor on top. That is a nice Aeropac flange 75mm retainer mounted to the last ring. I really love the look of those aeropac retainers.

attachment.php.jpg


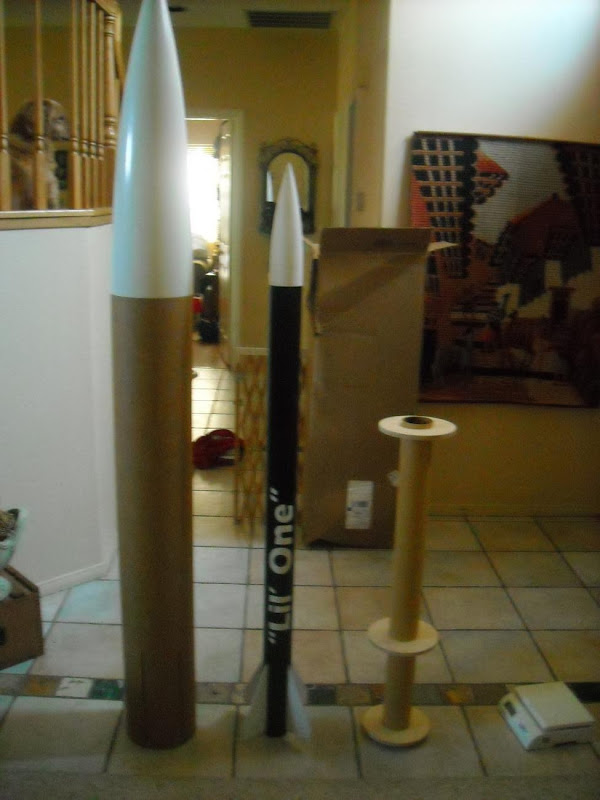
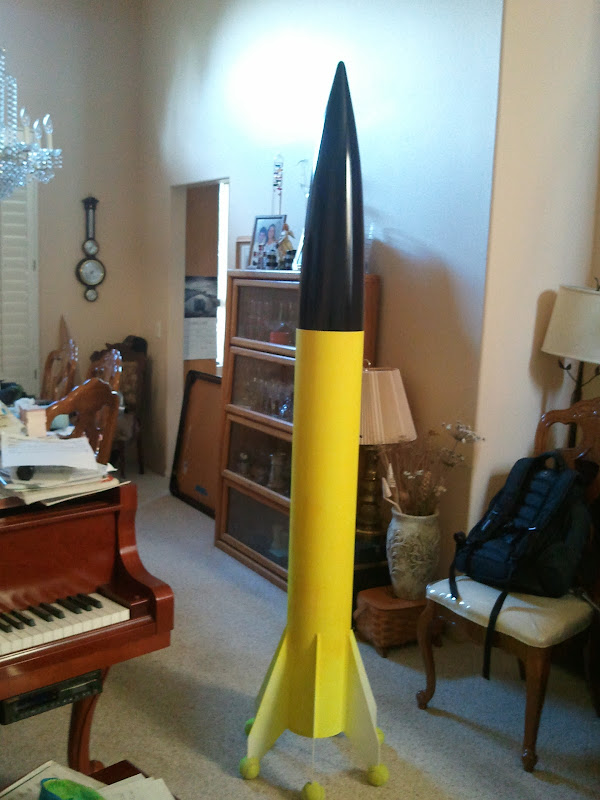
Thats the motor mount next to my Level One rocket then next to the bare airframe.

IMG_0985.jpg


Tell me thats not cool looking! I can't imagine it with a 75mm motor in it..RAWR! haha


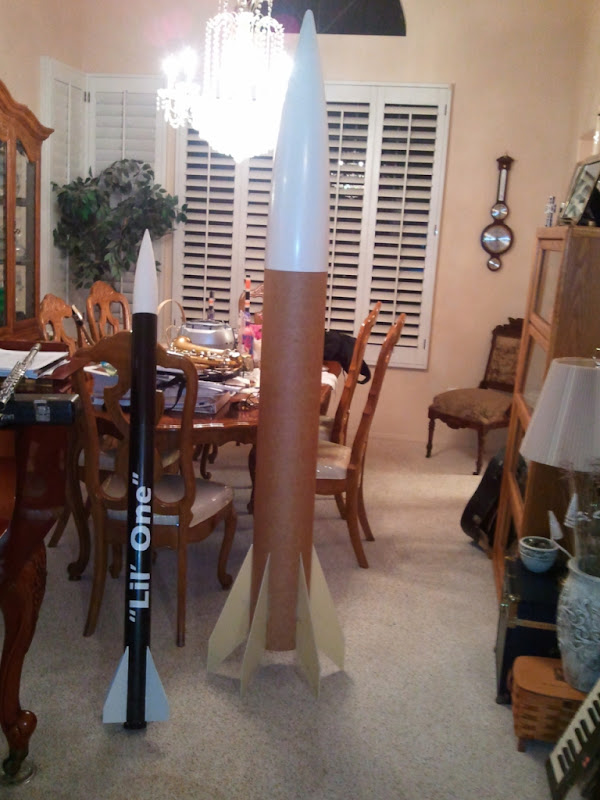
Ok So heres the full rocket with fins standing full length at 82" tall (6ft 10")

2010-09-21%2021.42.57.jpg


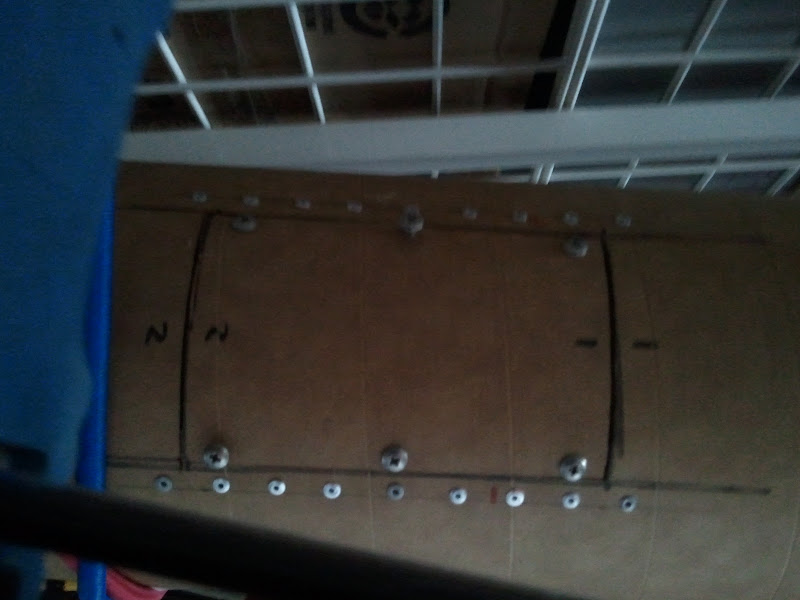
Another goal I had for this project was to include an AVbay in the Body of the tube. Since the last centering ring is 36" up from the aft of the airframe there is alot of wasted space between the forward centering ring and the centering that sits right above the the LE of the fins. So I drew some lines and used a Dremel to cut out a 4x6 hatch.

2010-10-13%2021.44.49.jpg


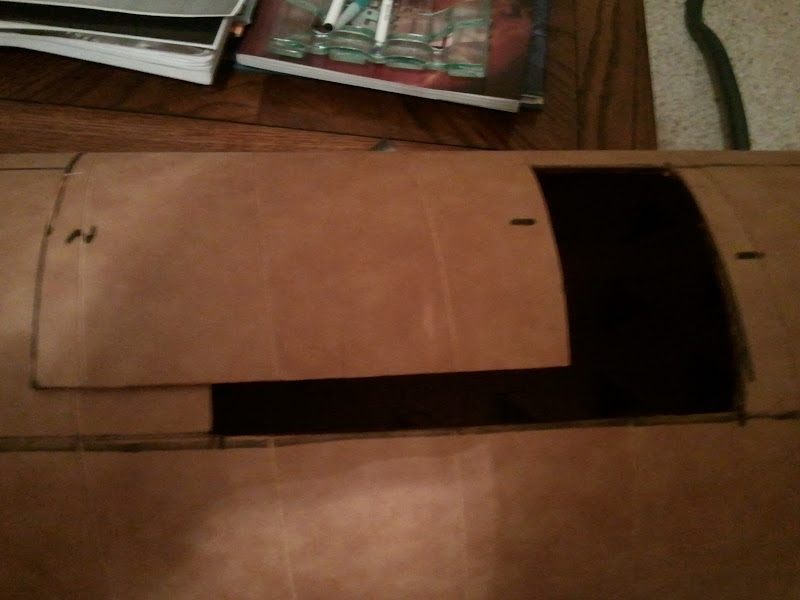
Its not perfectly straight as it was my first time using the tool but it will work really well. I made a brace out of aluminum and riveted it to the wall I don't know why I used that many rivets but better overkill than underkill.

I then tapped the brace where the holes I drilled were and added 6 screws and that thing is NOT coming off!!!.....But the problem will be on launch day if something happens it might take a while to get off. I know! And I'm working on it.

Oh forgot a picture here you go

2010-12-29%2012.02.41.jpg


Well I think thats it on this rocket.

Still to do:

Paint obviously

I'm either going to buy some nice BlastCaps or make my own. (two will be on the forward centering ring and will be connected to my altimeters in the lower AVbay area) (I hope that made sense)

Getting the avbay set in stone.

Filling the deep spirals in the PML Airframe with my newly found Elmer's wood filler

I anal about pointy nosecones and I will be adding an about 3" extension to the nose cone (its not going to be sharp or anything just....well pointier)

24x24 Nomex should be coming soon and I want launch it once single deploy and then for NSL fly it all out with a Tender descender and a deployment bag...

I don't really know enough about the two yet to feel comfortable using one but hopefully you guys and the guy at ROC can help bring me up to speed!

Thanks for looking and don't forget to check out some of my other build threads.
 
Last edited:
Well, let's see... Looks like an L2 rocket. Assuming though you can't get your L2 due to your age? Too bad.
 
I like it. I am sure someone out there will step up and help you put that bird in the air.

I take it your plan with the electronics is just single event?

Or, are you considering going with tender descender in the future?
 
I'm not familiar with the tender decender right now and so what I want to do is fly it once single deploy with dual altimeters (missleworks rrc2x-primary, MAWD one sec-backup) for redundancy, and just soot the main out at apogee. I hope for no wind because as I said the descent will be slower than normal to protect the swept fins.

so to answer your question, yes to both. Altimeters for single deploy, and later possibly a tender decender.
 
24x24 Nomex should be coming soon and I want launch it once single deploy and then for NSL fly it all out with a Tender descender and a deployment bag...

I don't really know enough about the two yet to feel comfortable using one but hopefully you guys and the guy at ROC can help bring me up to speed!

Thanks for looking and don't forget to check out some of my other build threads.
Is that a real thing? or are you referring to the defy gravity tether descender?


Braden
 
That's really a cool looking rocket. You're doing a great job. Please don't think me arrogant, but I noticed you built the rocket and then decided to fill the spirals in the tube. I've found it is a real time saver and much easier if you do this before mounting the fins.
 
Since you are putting in the electronics bay anyways another option to the tender descender I've seen are chute cannons. I'm no expert though, it was a huge group project and I had little to do with the recovery other than helping fold the immense 28' dia chute.

It's probably too late to incorporate that into this build at this point but might be worth looking into for knowledge's sake especially if you are going to build more like this in the future.

-Dave
 
I've done a little searching to not much avail, so I will ask.

Are chute cannons basically just smaller body tube sub assemblies each packed with a parachute, so that you can deploy each parachute separately, without having to separate the body tube multiple times?
 
I've done a little searching to not much avail, so I will ask.

Are chute cannons basically just smaller body tube sub assemblies each packed with a parachute, so that you can deploy each parachute separately, without having to separate the body tube multiple times?

I have seen chute cannons designed as one ridiculously long motor tube, with the parachute in the top of the motor tube.

Check out the PDF for the polecat 10" fat man instructions at whatsuphobby.com


Braden
 
Actually I think what he was referring was being able to eject a parachute out of a side hatch? Ok well hmmmm....hold on.... (rereading)..idk? he will come back with what he meant soon

If anyone wants to donate to my "Big motor for Big rocket fund" you pay and you can pick what ever motor you want! (that will lift this rocket over 2000')
 
Last edited:
Man...I wish I had pictures of the entire process to help explain it better. The way we did it was (keep it mind this was a HUGE chute trying to fit it into a small tube) was to fold up the chute as small as possible in about a 4' long section no more than 6" in diameter. Before inserting it into the 6" tube we put it into two halves of a 6" coupler cut lengthwise with the cords dangling out the top. We called this the "burrito." Before inserting the burrito into the cannon we put in a section of bulkhead glued to a 6" long piece of 6" coupler. The charge pushed on the bulkhead/piston which thus pushed on the 2 long halves of 6" coupler out of the cannon. To ensure that the couplers would slide out easily graphite powder was applied to the inside of the cannon.

In the 2 flights where this system was used the first deployed the main at 1300 when it was coming in ballistic. The accel. alts were installed backwards so they never detected apogee. The second flight the main came out right at apogee. I think it was because the burrito just slid right out of the cannon when the booster pointed down.

The main challenge I see to cannons is keeping the chutes in place until the charges fire.

-Dave
 
So i'm just about done with this rocket before its ready to paint (and Mark-ify it)

I need to look into ground testing for ejection charges. I live in CA and am worried about lighting off BP in my backyard. (Oh the irony)

Also I need to know about shear pins...the nosecone is really loose...so I know they are needed (And for other reasons) Where do I buy them? How many? What size?

The official motor for its maiden flight will be a AT K700, nothing but raving reviews by anyone thats seen it, and picked by the motor purchaser.

I will be borrowing a motor casing on site from Jack Garibaldi.

I'm starting to get really excited!
 
Sweet! So I got the first dose of color on her, and im anxious to get the amazing decals on it.

Heres a picture of the progress so far.

2011-02-04%2016.15.27.jpg


the Nosecone is done but the body tube will need one more coat


Now for the design.

Mark of stickershock23.com made the decals and they are amazing.

I havent worked with Mark before now and let me tell you he is so committed to making sure YOUR project turns out its amazing!

Anyway here the design. Met my goals of being in-your-face-geeky, and portray the theme in a clearly non-sexual manner (remember I am a High School student, surrounded by High Schoolers)

So attached is the design drawing from Mark.

Also you will note that I have to paint the fins black, and that the fillets are large (A little over 1" radius).

I can't decide to paint the fillets black or start from the top of the fillets, or I guess even half way up them? What are your thoughts!

Bryce

size matters-1.jpg
 
Looking good! Test your BP charges during the Superbowl...

They'll just think your a overambitious fan! :D
 
Sweet! So I got the first dose of color on her, and im anxious to get the amazing decals on it.

Heres a picture of the progress so far.

2011-02-04%2016.15.27.jpg


the Nosecone is done but the body tube will need one more coat


Now for the design.

Mark of stickershock23.com made the decals and they are amazing.

I havent worked with Mark before now and let me tell you he is so committed to making sure YOUR project turns out its amazing!

Anyway here the design. Met my goals of being in-your-face-geeky, and portray the theme in a clearly non-sexual manner (remember I am a High School student, surrounded by High Schoolers)

So attached is the design drawing from Mark.

Also you will note that I have to paint the fins black, and that the fillets are large (A little over 1" radius).

I can't decide to paint the fillets black or start from the top of the fillets, or I guess even half way up them? What are your thoughts!

Bryce

Sweet looking design!

I would just paint the fillets black as well...


Braden
 
So i'm just about done with this rocket before its ready to paint (and Mark-ify it)

I need to look into ground testing for ejection charges. I live in CA and am worried about lighting off BP in my backyard. (Oh the irony)

Also I need to know about shear pins...the nosecone is really loose...so I know they are needed (And for other reasons) Where do I buy them? How many? What size?

The official motor for its maiden flight will be a AT K700, nothing but raving reviews by anyone thats seen it, and picked by the motor purchaser.

I will be borrowing a motor casing on site from Jack Garibaldi.

I'm starting to get really excited!

Ejection charge size: General rule of thumb I use is half the body tube diameter in number of grams of BP..4" tube=2g of BP..

Shear pins for nose cone..I use 2-56 nylon flat head screws either 3/4" or 1" in length..You can probably get a packet of 20 at one of your local box home improvement stores..I would use 3 as a minimum..

Nice yellow coverage on your paint! :) Are those tennis balls at the fin tips?:confused::eyepop:
 
The ROC launch is next week and the long range weather forcast looks good. Are you still going to launch next weekend?
 
Last edited:
Back
Top