azzie
Well-Known Member
- Joined
- Jun 7, 2012
- Messages
- 200
- Reaction score
- 2
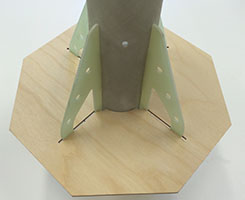
I'm lucky to have one of the last kits from BaddAzz rocketry - Defender MkIII. It's a 54mm fiberglass rocket with 38mm motor mount and the coolest nose cone and fins I've ever seen.
This is how the kit looks like:


This will be a very slow build thread, so that I get to enjoy every minute of it")
This is how the kit looks like:
This will be a very slow build thread, so that I get to enjoy every minute of it
Last edited: