


Squawsach
Well-Known Member
- Joined
- Sep 28, 2013
- Messages
- 109
- Reaction score
- 0
My dad was looking at some mailing tubes and thought why not make a rocket from these. We talked about it and decided to give it a try. The mailing tubes in question were 3.00" ID and a regular 3" nose cone intended for rocket airframes fit pretty good. Dad has made jigs for cutting centering rings, bulkheads, and fin slots. The plywood for the fins, bulkheads and fin slots was purchased at Hobby Lobby while on sale. This was shaping up to be a low budget build. The nose cone and chutes were about the only Rocket items used in the build.
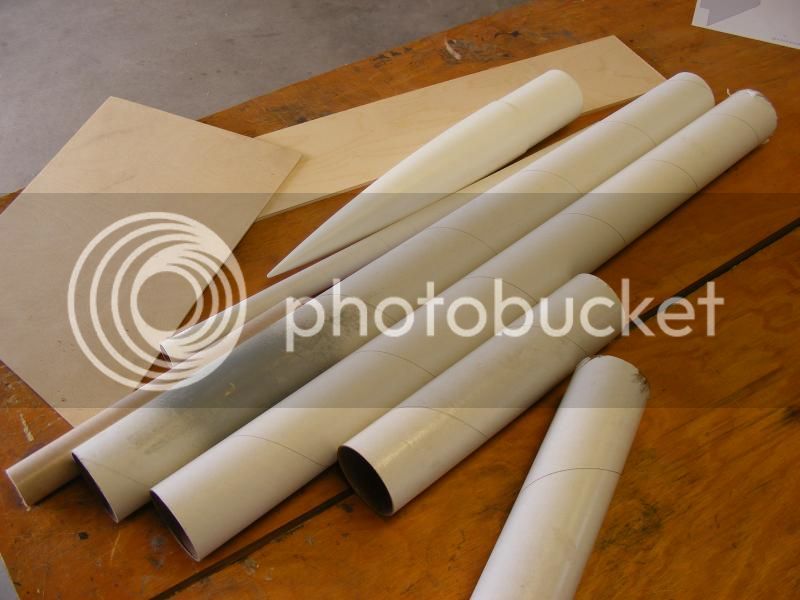
We wanted to make a dual deploy rocket with a 38mm motor mount We cut the tubes with an 80 tooth blade on a 12" miter saw. I was very surprised by how cleanly the mailing tubes cut. All the cut tubes were treated inside and out with sanding sealer.
The sanding sealer helped keep some of the fiber fuzz under control as we worked with the mailing tubes.
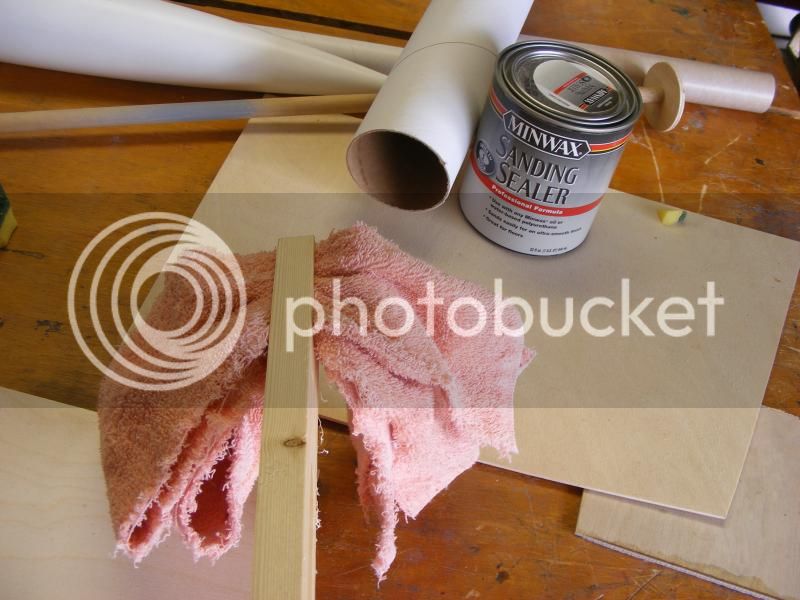
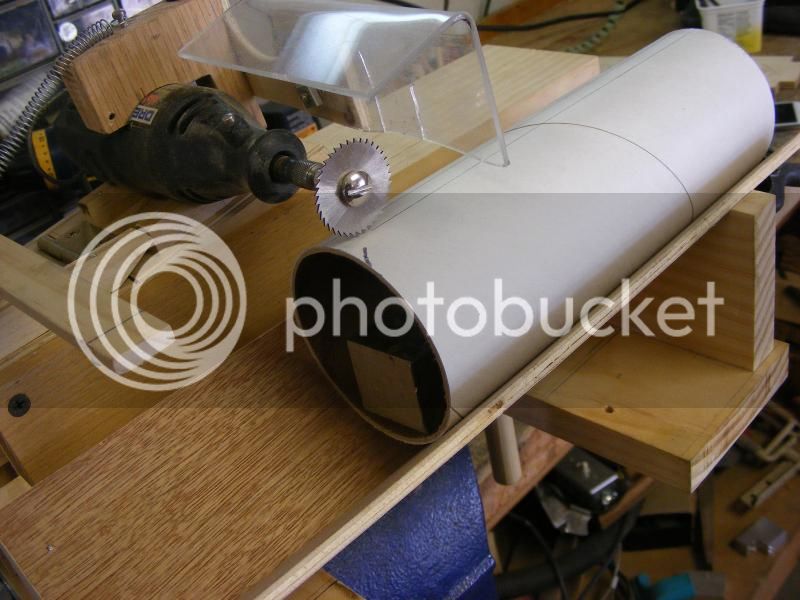
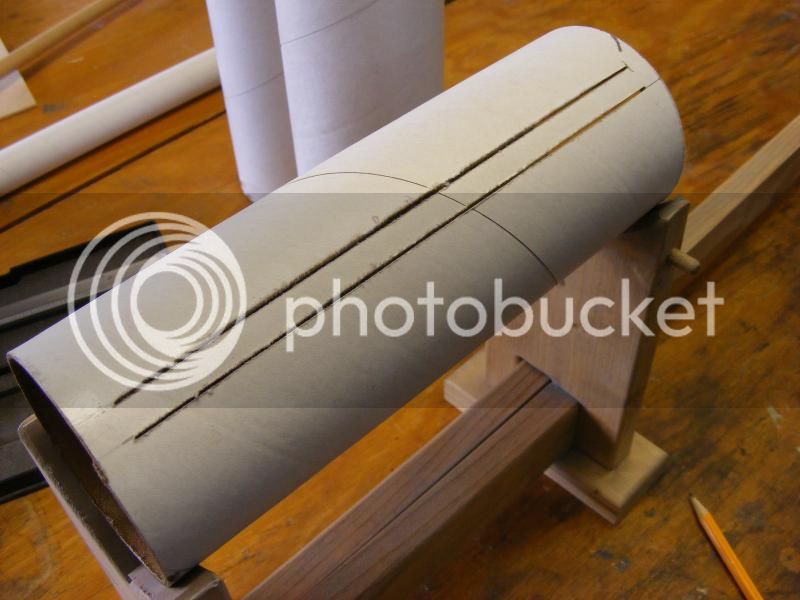
We used the fin slot jig to cut .40" strip from the mailing tube in order to make couplers. The coupler seem was tacked with CA and glued with 5 min epoxy on the inside of the tube.
The centering rings and bulkheads were cut on the drill press. Fine tuning the O.D. was done with the help of a sanding jig my dad made.

The fins were cut of 1/4" 5 ply plywood. I don't think much of the plywood Hobby Lobby sells but this piece was very straight and it looked as if it would work nicely for fins.
We have all the pieces in place now. It looks kinda like some of the kits I have purchased.
We have about $35 in the project counting the nose cone, so far.

We wanted to make a dual deploy rocket with a 38mm motor mount We cut the tubes with an 80 tooth blade on a 12" miter saw. I was very surprised by how cleanly the mailing tubes cut. All the cut tubes were treated inside and out with sanding sealer.

The sanding sealer helped keep some of the fiber fuzz under control as we worked with the mailing tubes.

We used the fin slot jig to cut .40" strip from the mailing tube in order to make couplers. The coupler seem was tacked with CA and glued with 5 min epoxy on the inside of the tube.


The centering rings and bulkheads were cut on the drill press. Fine tuning the O.D. was done with the help of a sanding jig my dad made.


The fins were cut of 1/4" 5 ply plywood. I don't think much of the plywood Hobby Lobby sells but this piece was very straight and it looked as if it would work nicely for fins.
We have all the pieces in place now. It looks kinda like some of the kits I have purchased.

We have about $35 in the project counting the nose cone, so far.


