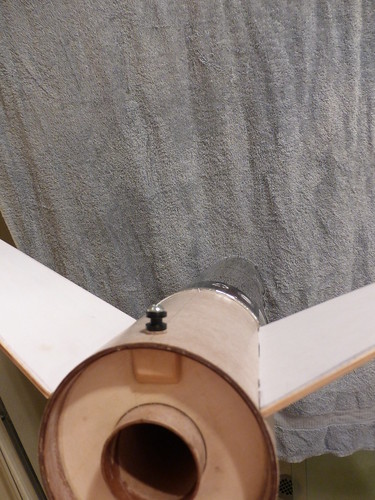
Cut out the fins, and sanded them to shape yesterday.
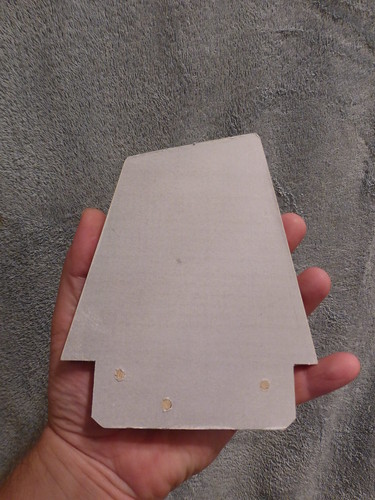
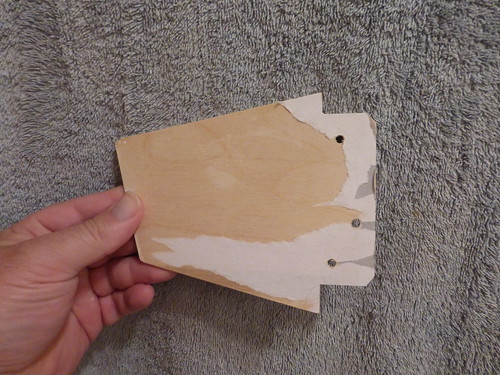
I took my paper template from OR and glued it to one sheet of the ply, then pinned the three sheets of ply together by drilling them with a 3/16" bit and using a dowel to keep them together while I cut them with my scroll saw. A little sanding, and they're looking good. As I didn't seal the edge of the papered fin, it came loose, and I'll have to replace it (it looked awful when I tried to glue it down again).

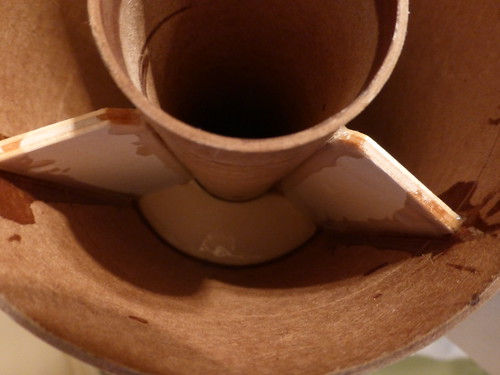
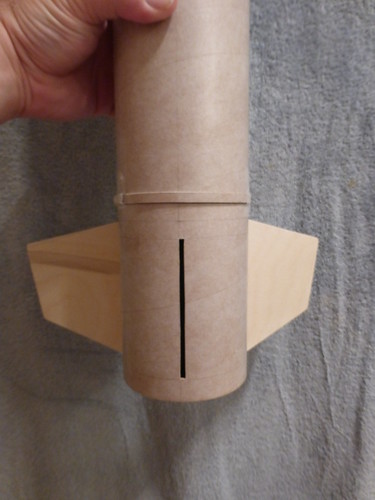
I had been debating about stretching the rocket to the full 34" of body tube, but when Landru's solution to the nosecone's shoulder came up, I decided to use the extra length for the coupler. I cut the body tube down and slotted the tube for the fins...
I also used made a special detail part. Of course this will mean that I need stand-offs for the launch buttons... Such is life.
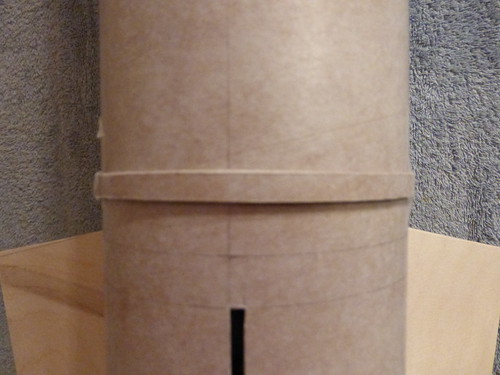
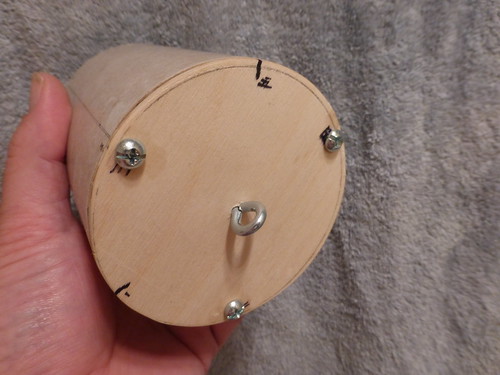
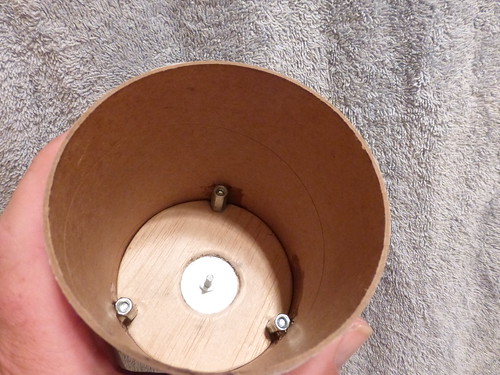
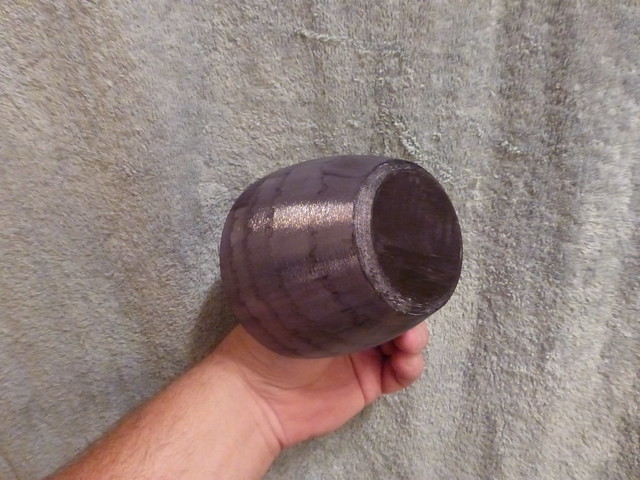
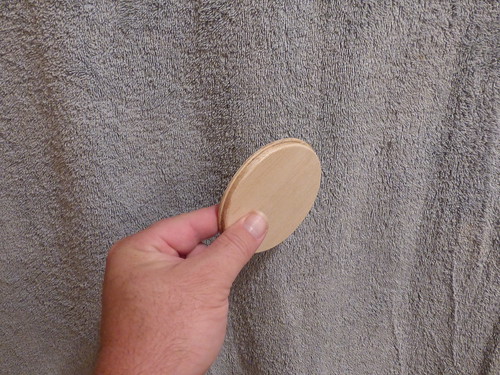
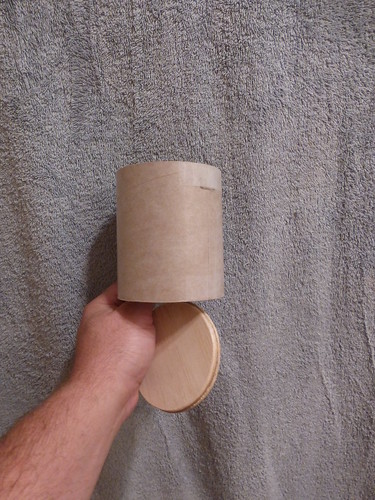
Since I ordered Landru's nosecone, I needed a coupler, and rather than pay for one (and wait for shipping), I opted to make one from the extra body tube that I had. I made an end cap for it using 1/8" birch ply, and the plug from 3/16" balsa. They're not perfect (as in laser cut) but I'm sure that they'll work.
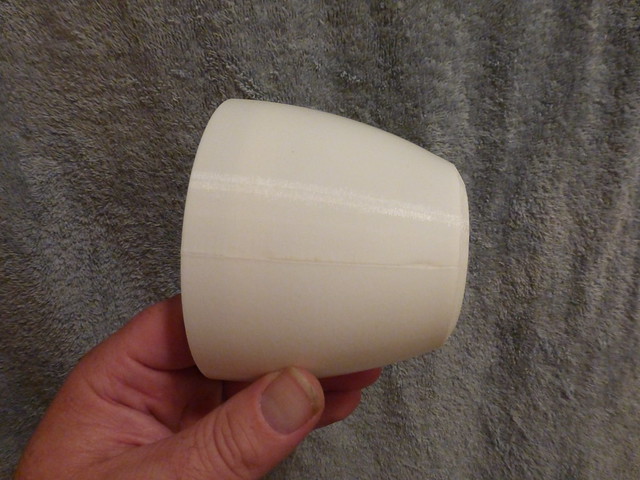
Now, if I could only get that nosecone, I could cap this off quickly.
Oh, I've opted not to install a baffle, as the internal space for the parachute is kinda cramped, and I don't have the space to put the kinds of gaps between parts that I feel are needed for repeated safe flights... I guess I need a bale of dog barf.


 op:
op: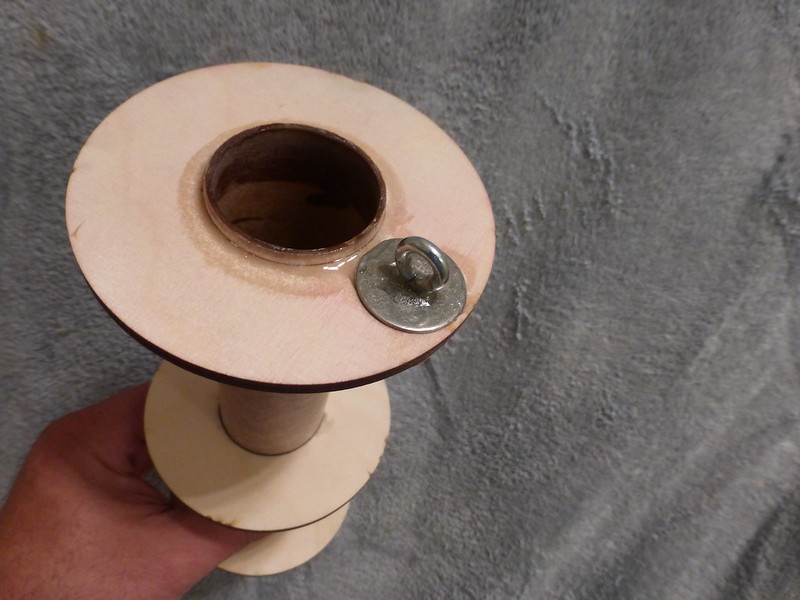

.jpg")
.png")


.jpg")