


Pyropetepete
Well-Known Member
- Joined
- Jan 27, 2014
- Messages
- 902
- Reaction score
- 9
Saw the finset 1 from Bill and wanted to use them to make my L1 kit. Something sporty but cool looking. I had Bill cut me a set for 4'' to 38mm and send to Dave @ ARR. Bill's original topic https://www.rocketryforum.com/showthread.php?65350-3D-ROCKETRY-gt-Fin-Sets-lt
I've become a fan of Blue Tube 2.0 and Dave at ARR. He listens, does what you want, how you want and is mega helpful. So that's what was used to build.
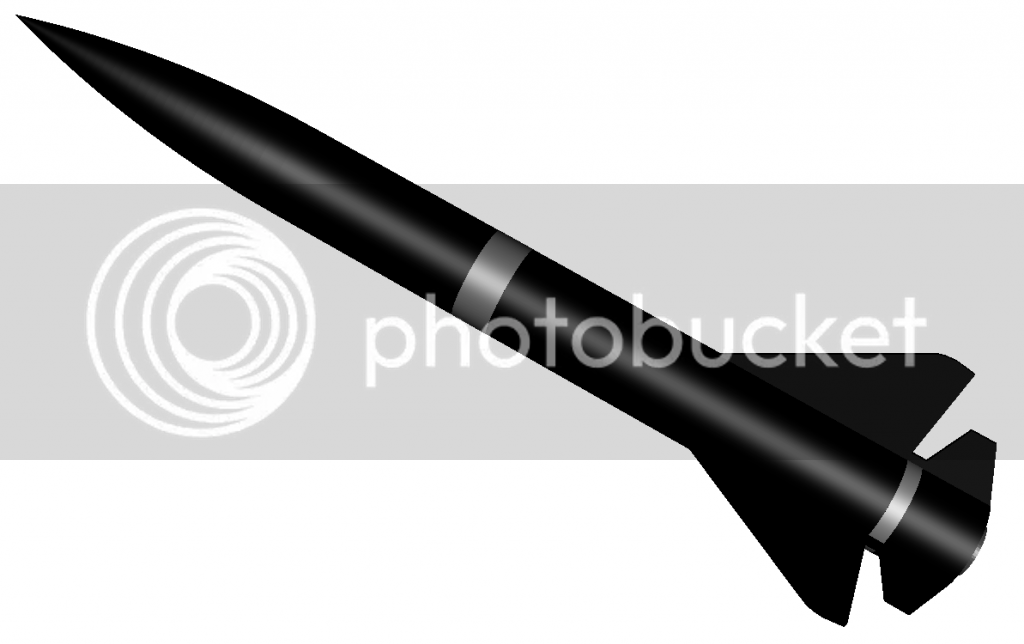
Bill had a small render of the fins as a rocket which I wanted too use....
I wanted a bit of a tail cone, asking around here I was advised of a PML tail cone. 4'' to 75mm is what I've used here.
All the parts have arrived from Dave, I ordered some extra items as well. Sadly HRMS hit me £75 on customs. This was an expensive order. Time for a parts layout
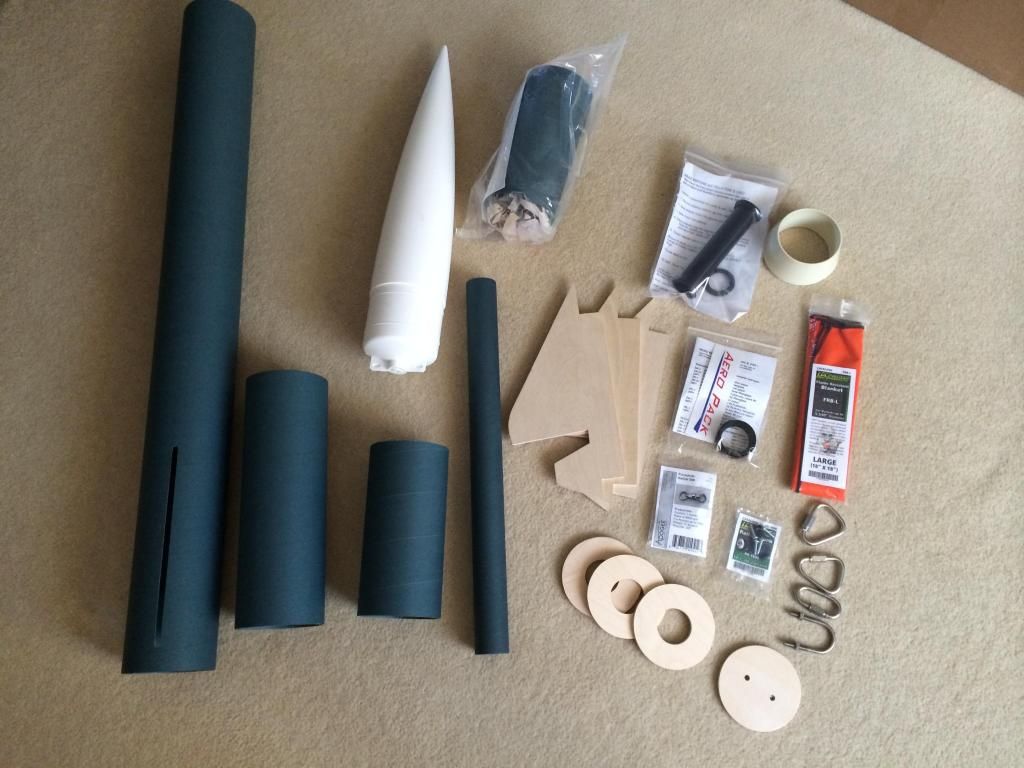
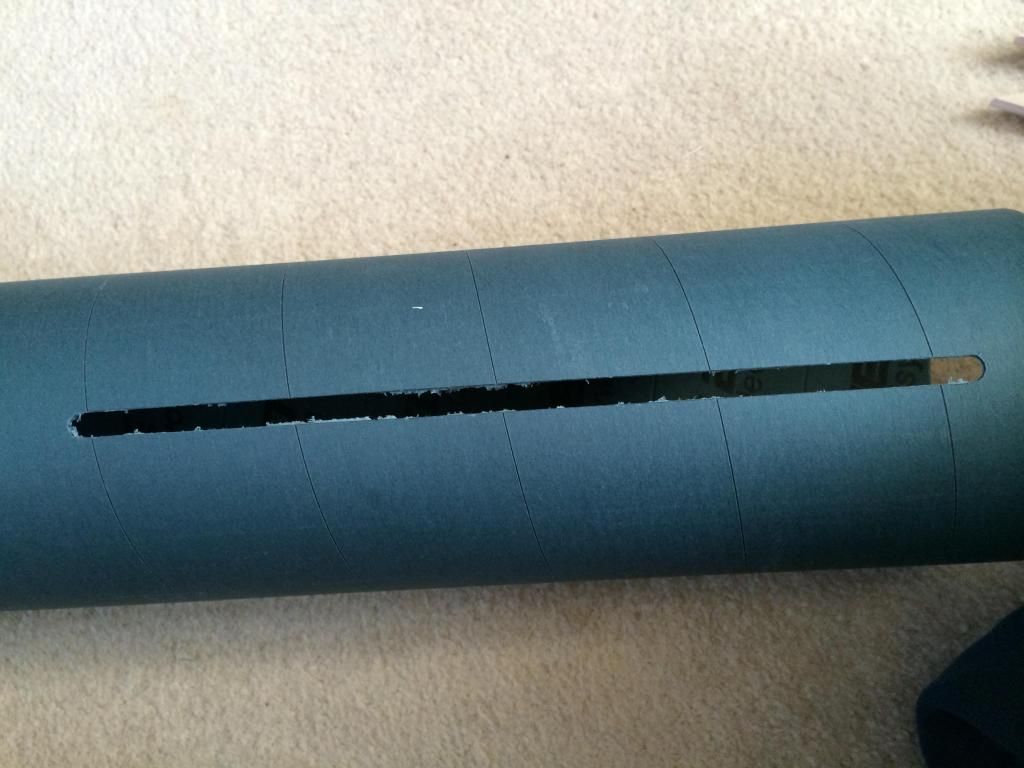
4'' x 36'' Slotted main
4'' x 12'' Payload bay
4 x 8'' Coupler
4 x 8'' AV bay
19'' 38mm MMT
4'' PML Nose cone
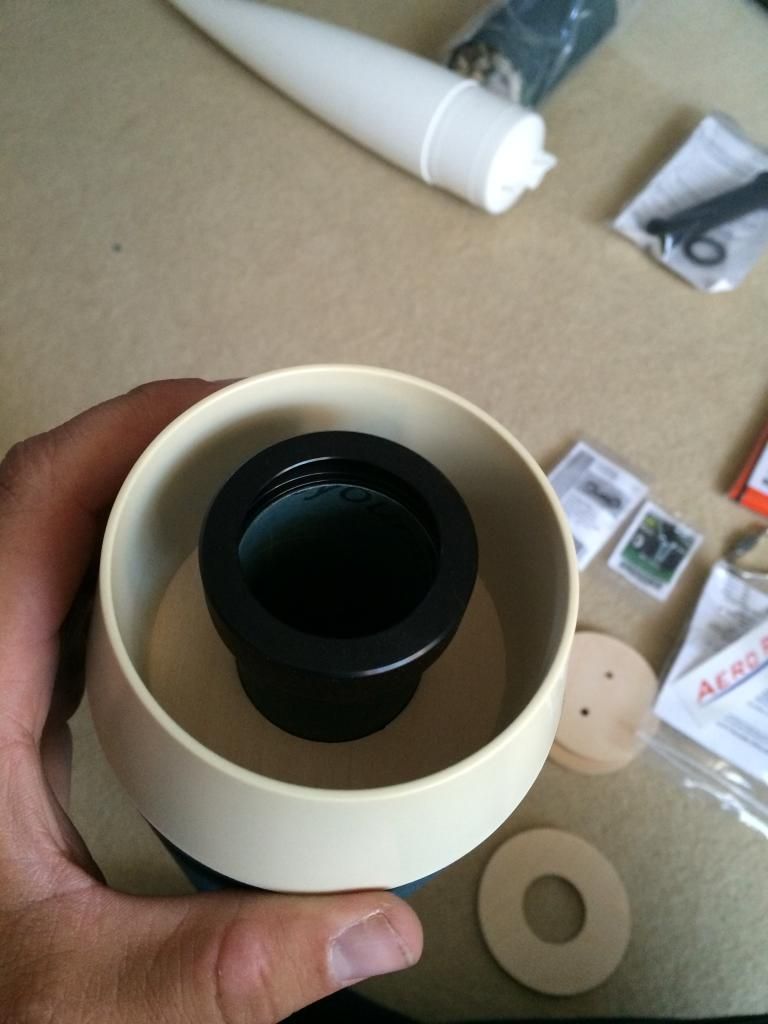
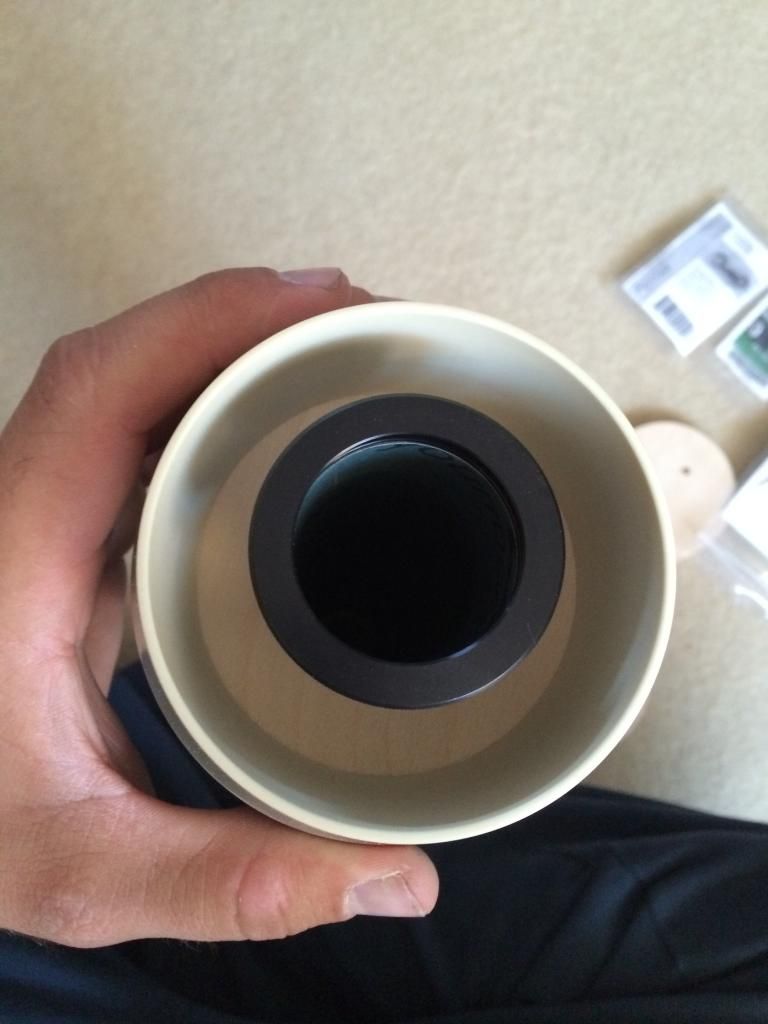
4'' - 3'' Tail cone
3x 4'' to 38mm CR's
Bulkheads
38mm Aeropack
38mm - 29mm Aeropack adapter
Nomex heat blanket
1010 Rail buttons
Swivel
2x 6mm Delta link
6mm Quick link
6mm Ubolt
Lets check them fins from Bill
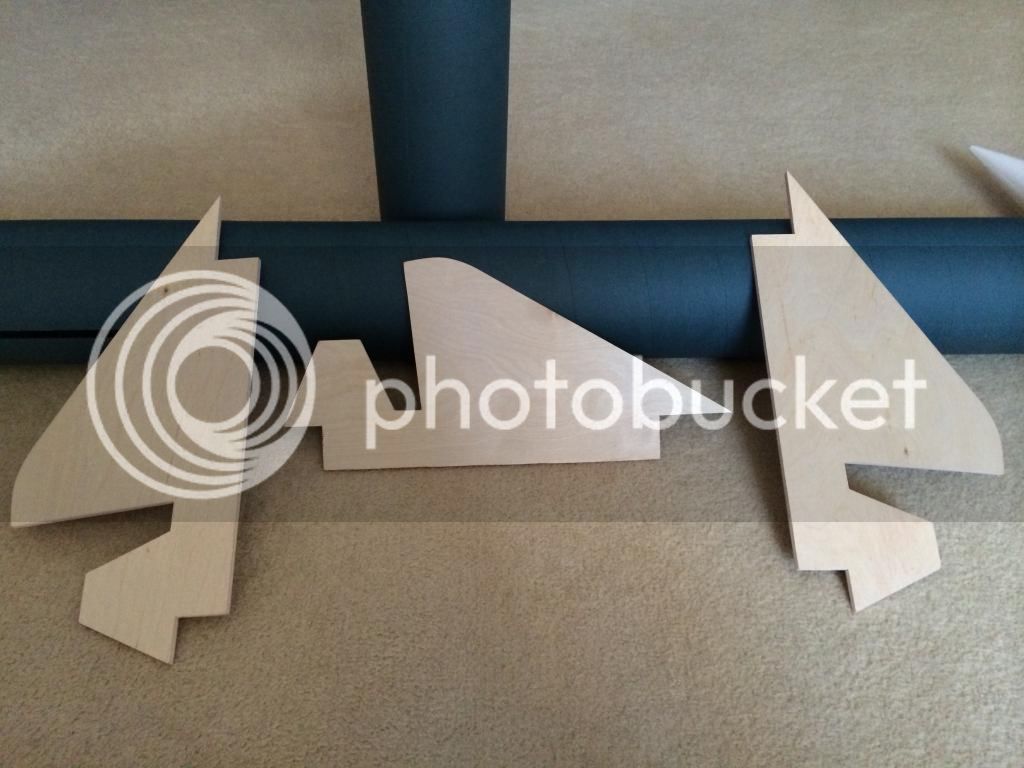
Quick file to tidy the slots up and square the ends off, this was the before shot
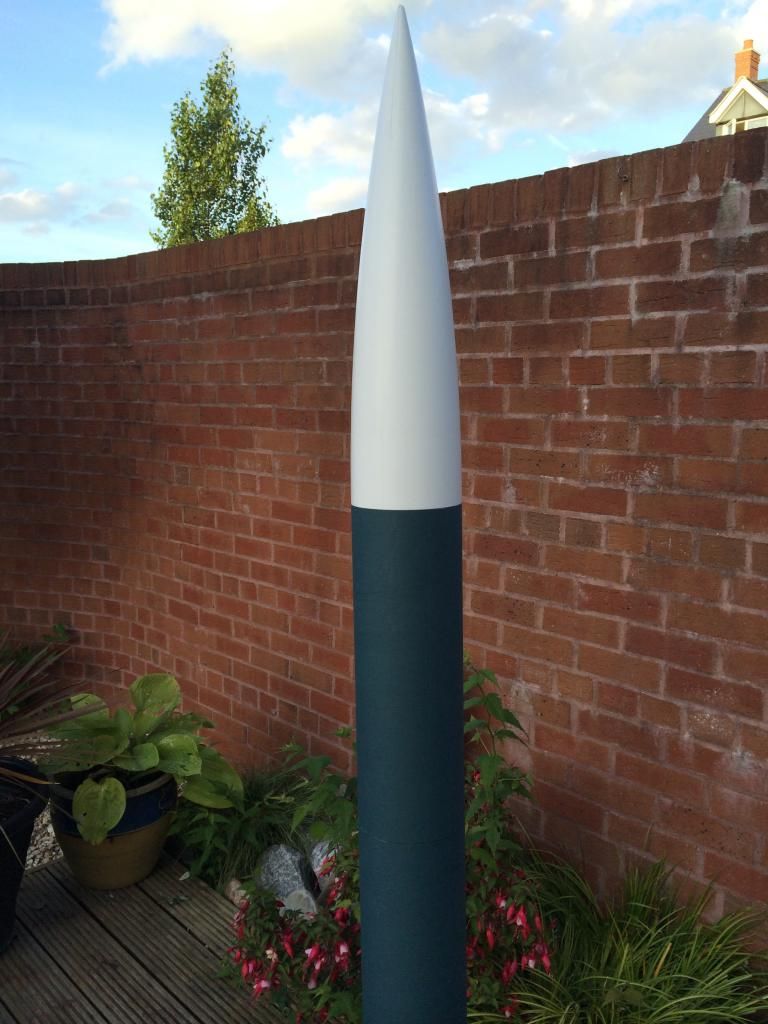
Time for a cheeky dry fit, 66'' in length

Close up of payloadbay
Fins and tail cone
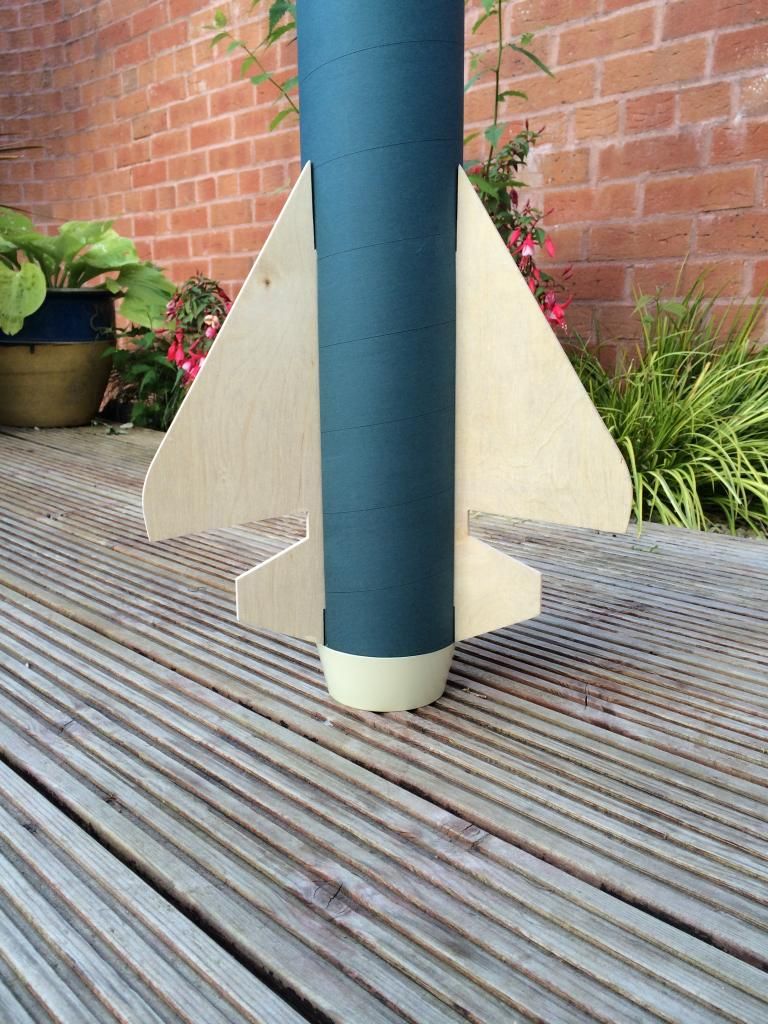
This is why i went with a 4'' to 3'' tail cone. Allows enough space to do the 38mm Aeropack but it looks better
I've an Av Bay to hand as thinking of using this so I can have options of dual deployment. I ordered both option to cover my self. I can fly the rocket as a single with no issues.
Need too sort out my shockchord and thinking Ted AKA Onebadhack as this dude rocks and I ow it too him. Cute as well.
The fin can will get foamed as well, make it last.
Thanks Pete
I've become a fan of Blue Tube 2.0 and Dave at ARR. He listens, does what you want, how you want and is mega helpful. So that's what was used to build.
Bill had a small render of the fins as a rocket which I wanted too use....

I wanted a bit of a tail cone, asking around here I was advised of a PML tail cone. 4'' to 75mm is what I've used here.
All the parts have arrived from Dave, I ordered some extra items as well. Sadly HRMS hit me £75 on customs. This was an expensive order. Time for a parts layout

4'' x 36'' Slotted main
4'' x 12'' Payload bay
4 x 8'' Coupler
4 x 8'' AV bay
19'' 38mm MMT
4'' PML Nose cone
4'' - 3'' Tail cone
3x 4'' to 38mm CR's
Bulkheads
38mm Aeropack
38mm - 29mm Aeropack adapter
Nomex heat blanket
1010 Rail buttons
Swivel
2x 6mm Delta link
6mm Quick link
6mm Ubolt
Lets check them fins from Bill

Quick file to tidy the slots up and square the ends off, this was the before shot

Time for a cheeky dry fit, 66'' in length

Close up of payloadbay

Fins and tail cone

This is why i went with a 4'' to 3'' tail cone. Allows enough space to do the 38mm Aeropack but it looks better


I've an Av Bay to hand as thinking of using this so I can have options of dual deployment. I ordered both option to cover my self. I can fly the rocket as a single with no issues.
Need too sort out my shockchord and thinking Ted AKA Onebadhack as this dude rocks and I ow it too him. Cute as well.
The fin can will get foamed as well, make it last.
Thanks Pete
Last edited:
")


