Sharon's 4" Jimbo Jart

The Rocketry Forum

Help Support The Rocketry Forum:

This site may earn a commission from merchant affiliate links, including eBay, Amazon, and others.

Hardline

Ecstatic and Joyous
Joined
Oct 24, 2012
Messages
663
Reaction score
237
Location
Goodyear, AZ
Since I want to drag race CJ at Airfest I figured I better get building this rocket.

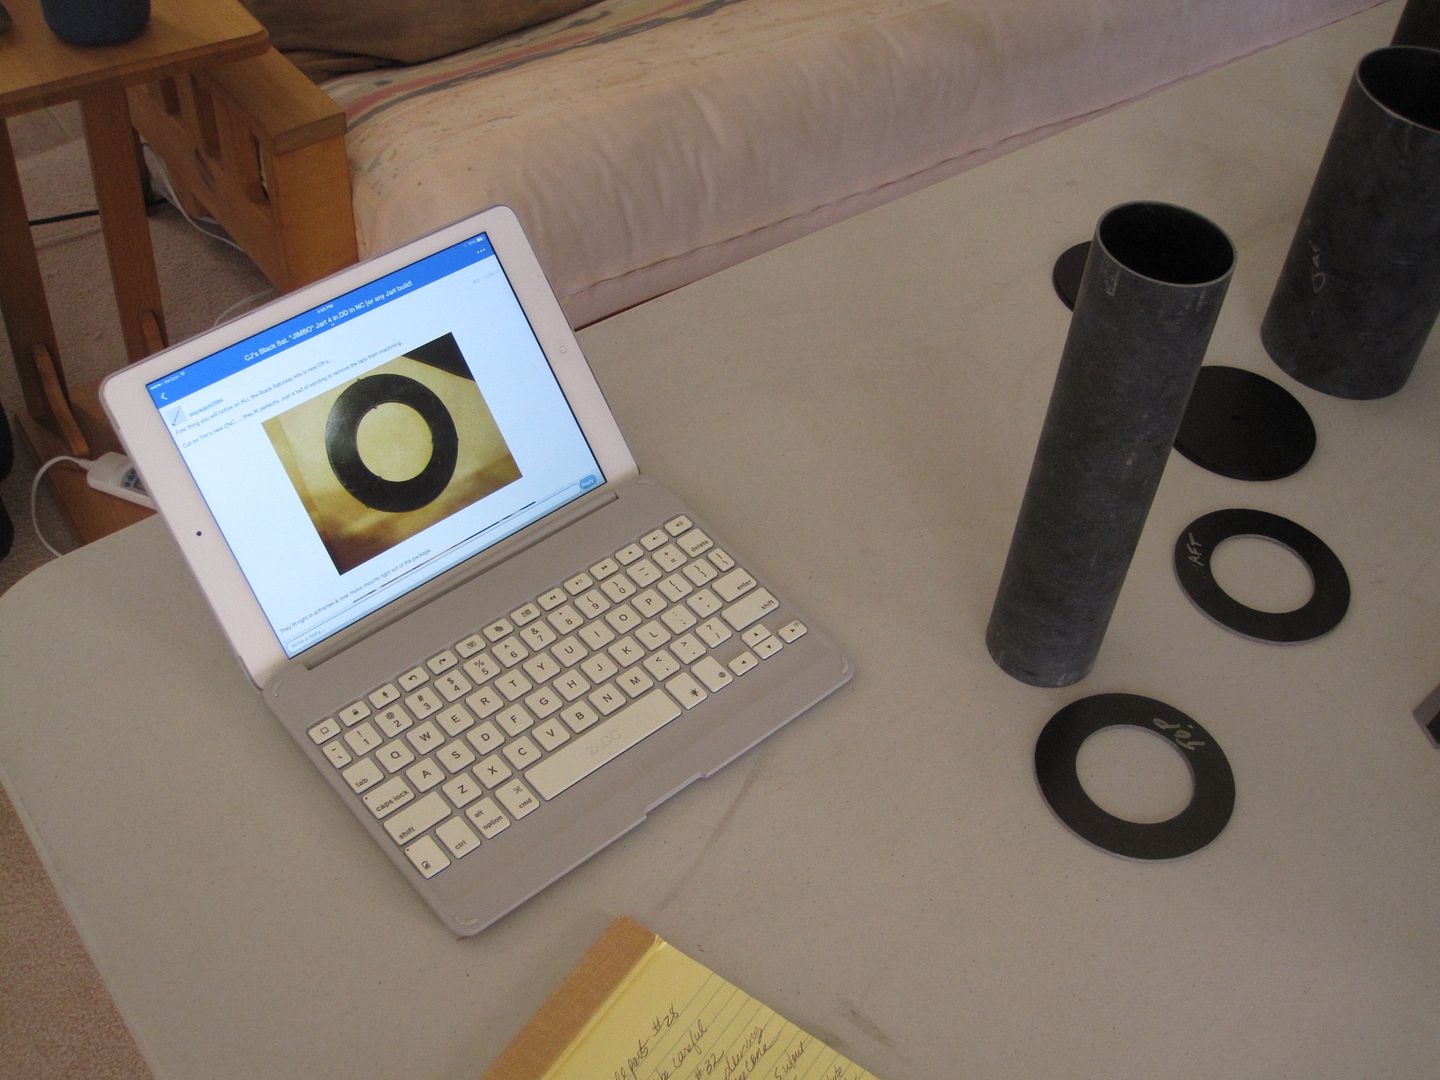
The first thing was to review his Jimbo Jart Thread and made a series of notes to myself
008.jpg


A sample of these notes are: remember to add bulk plate while fitting coupler to nose cone; read posts 71 and 79 before sticking fins; and be sure and get a skull decal from CJ for my Jimbo Jart. Not sure what that says about my priorities......

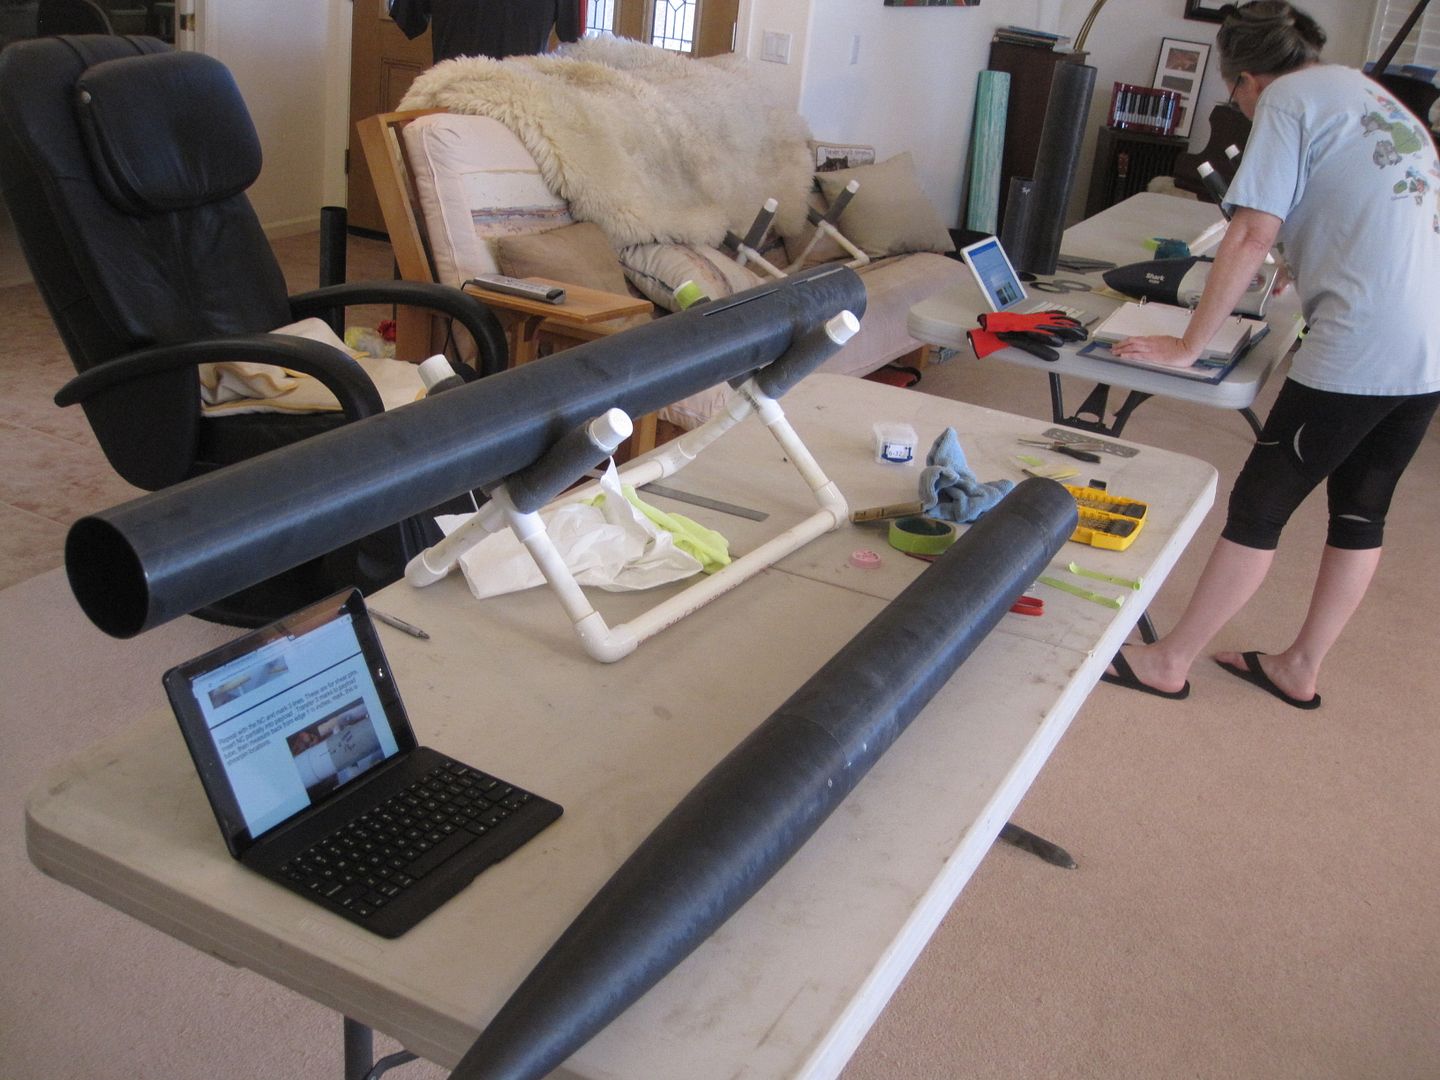
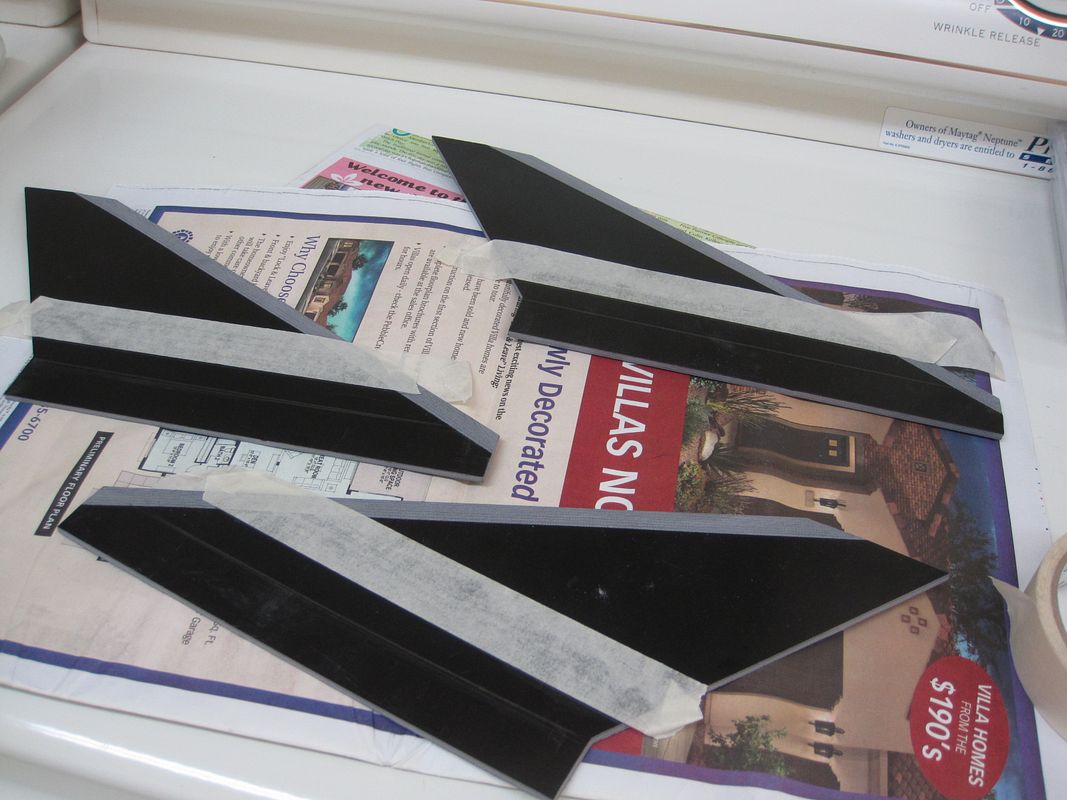
Started around 4pm and washed parts, sanded the CNC machine tabs off, smoothed the edges in body and parts. Then sanded and test fit centering rings and fins, numbering the fins and slots:
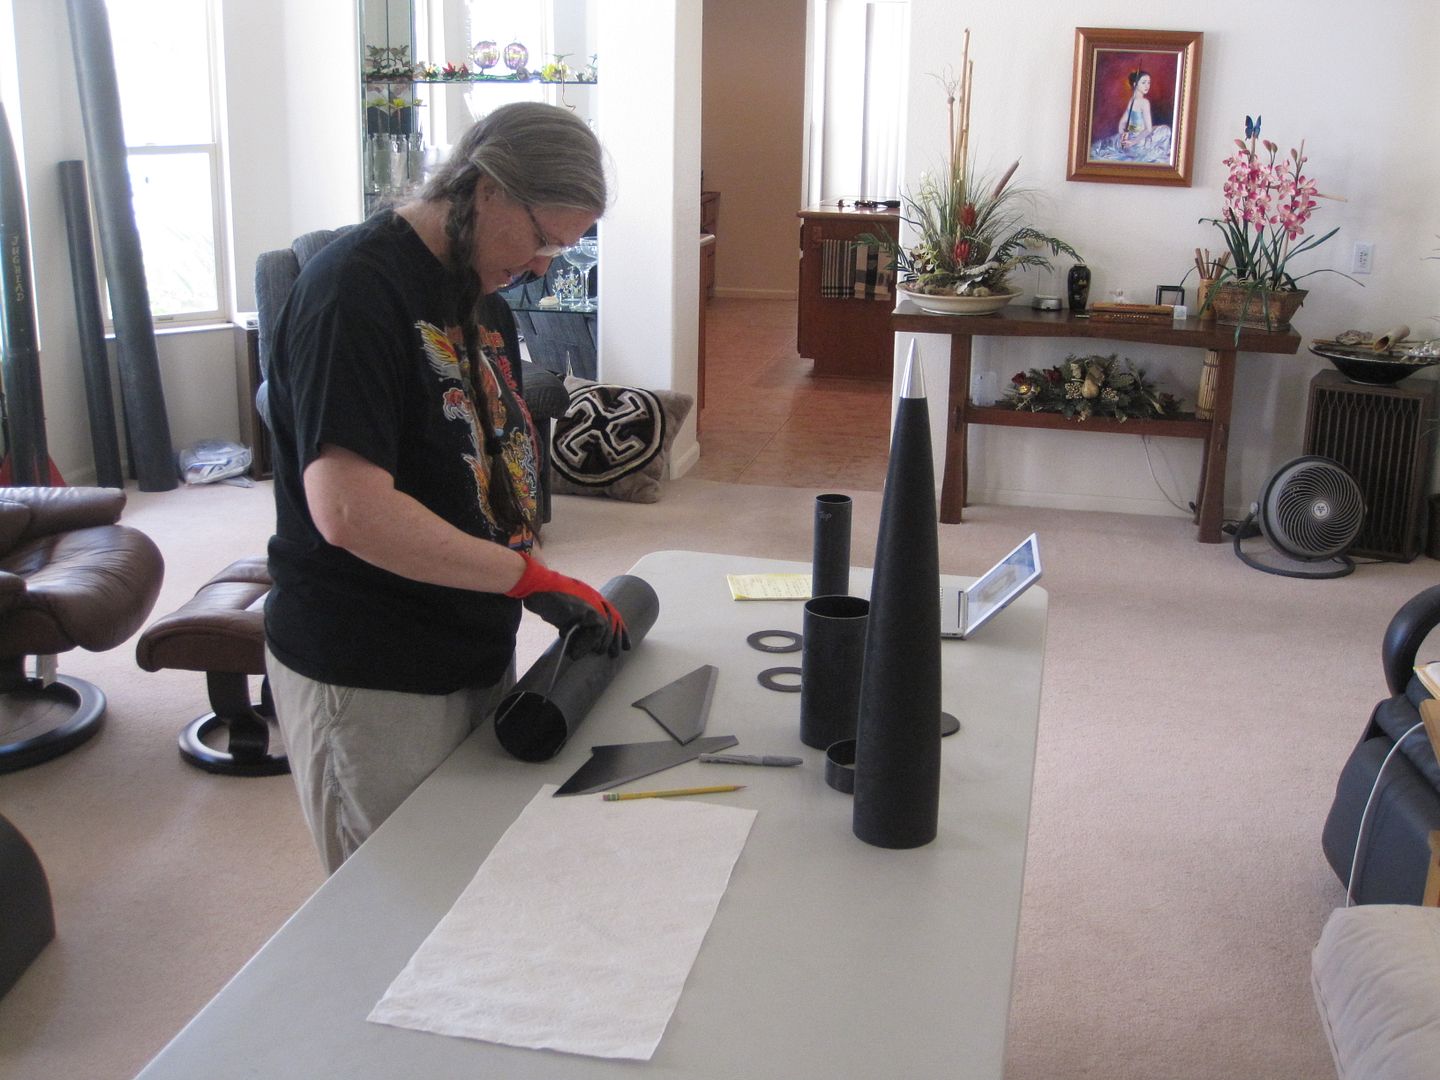
007.jpg


At this point I am following Post #32

https://www.rocketryforum.com/showthread.php?60755-CJ-s-Black-Sat-quot-JIMBO-quot-Jart-4-in-DD-in-NC-or-any-Jart-build!/page2&highlight=jimbo


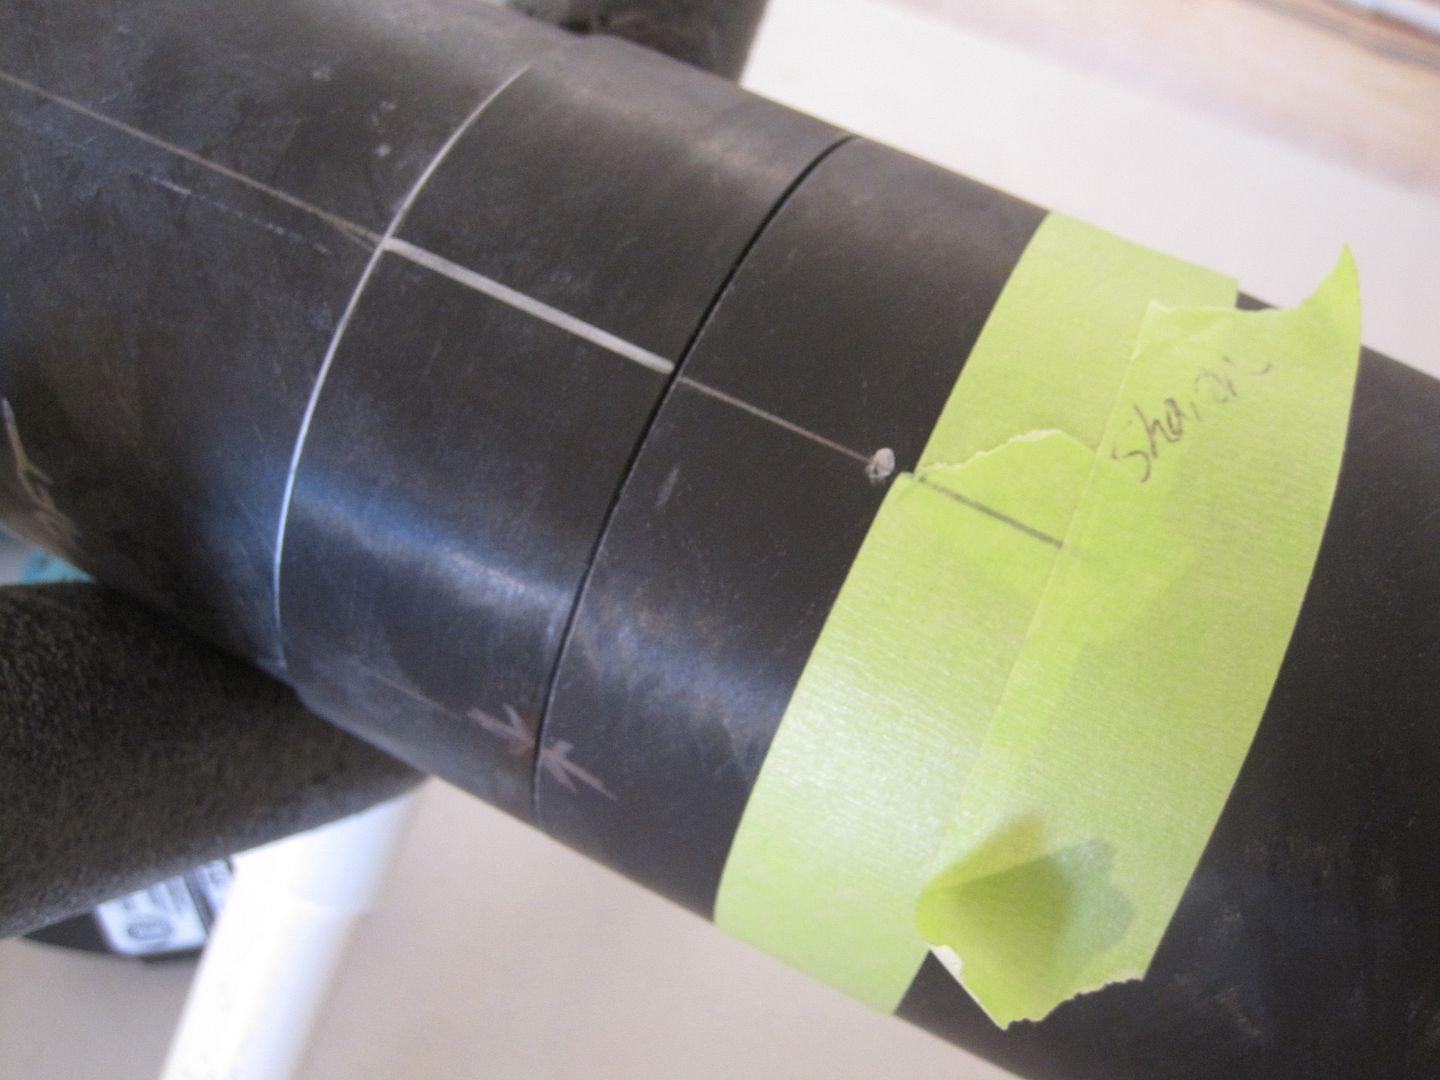
Inserting the coupler into the aft portion of the fin can I drew fin line marks for future shear pins and vent placement. Then transferred the marks from the coupler to the vent band. I used a piece of tape to keep the vent band on the coupler while making marks so it wouldn't move while I was handling it.
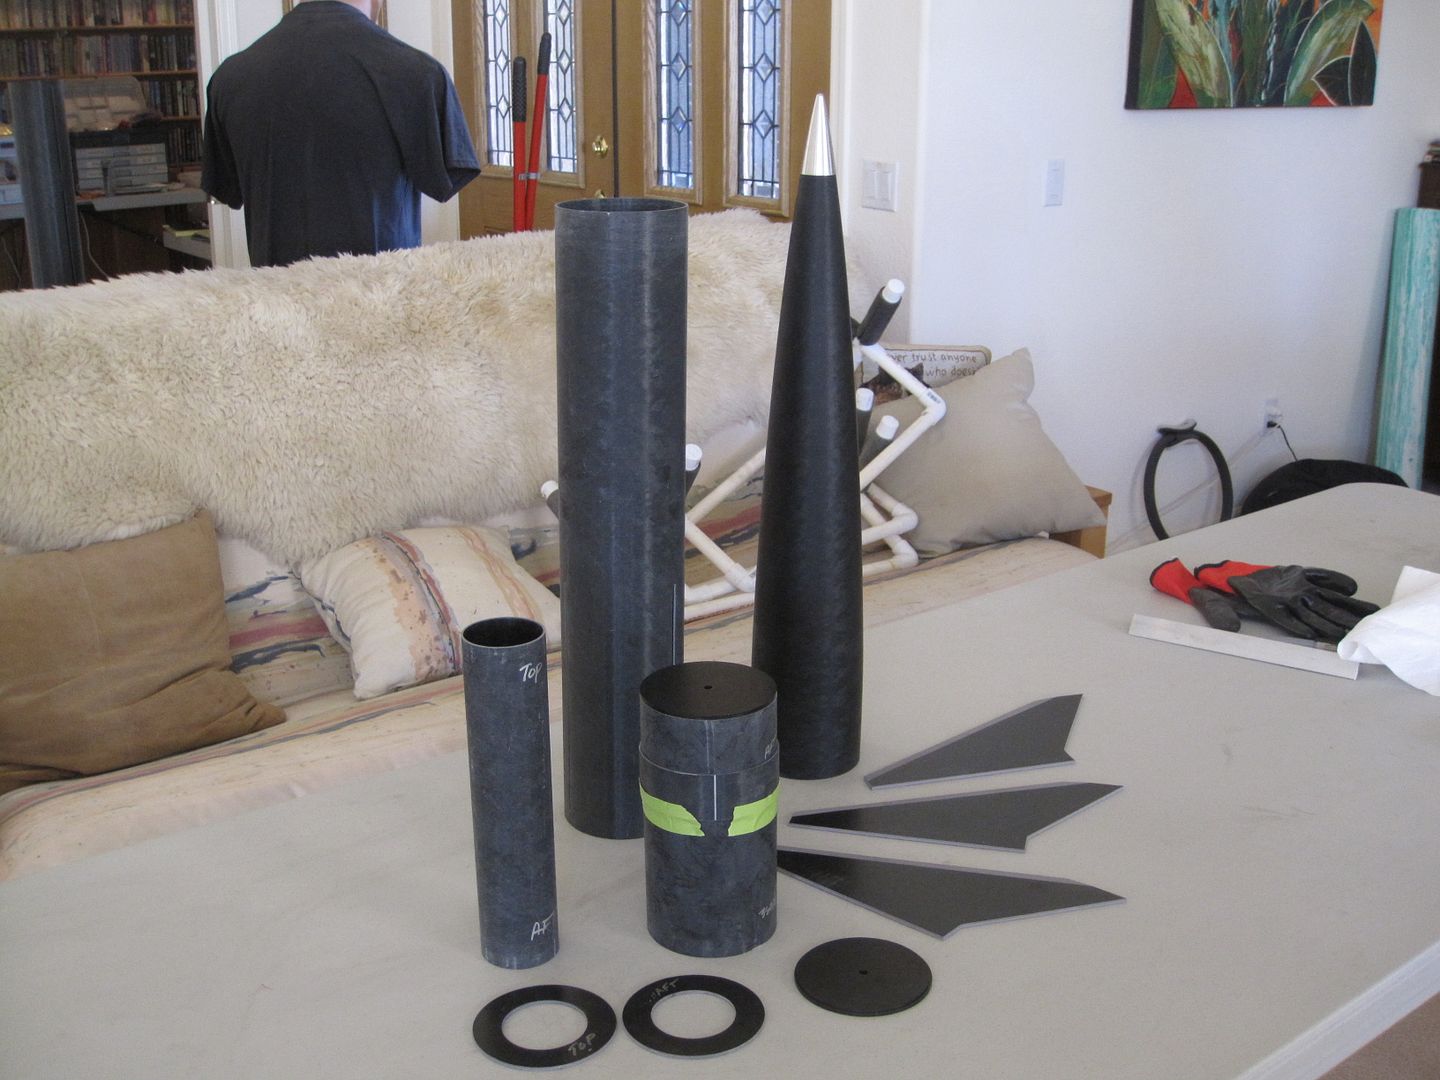
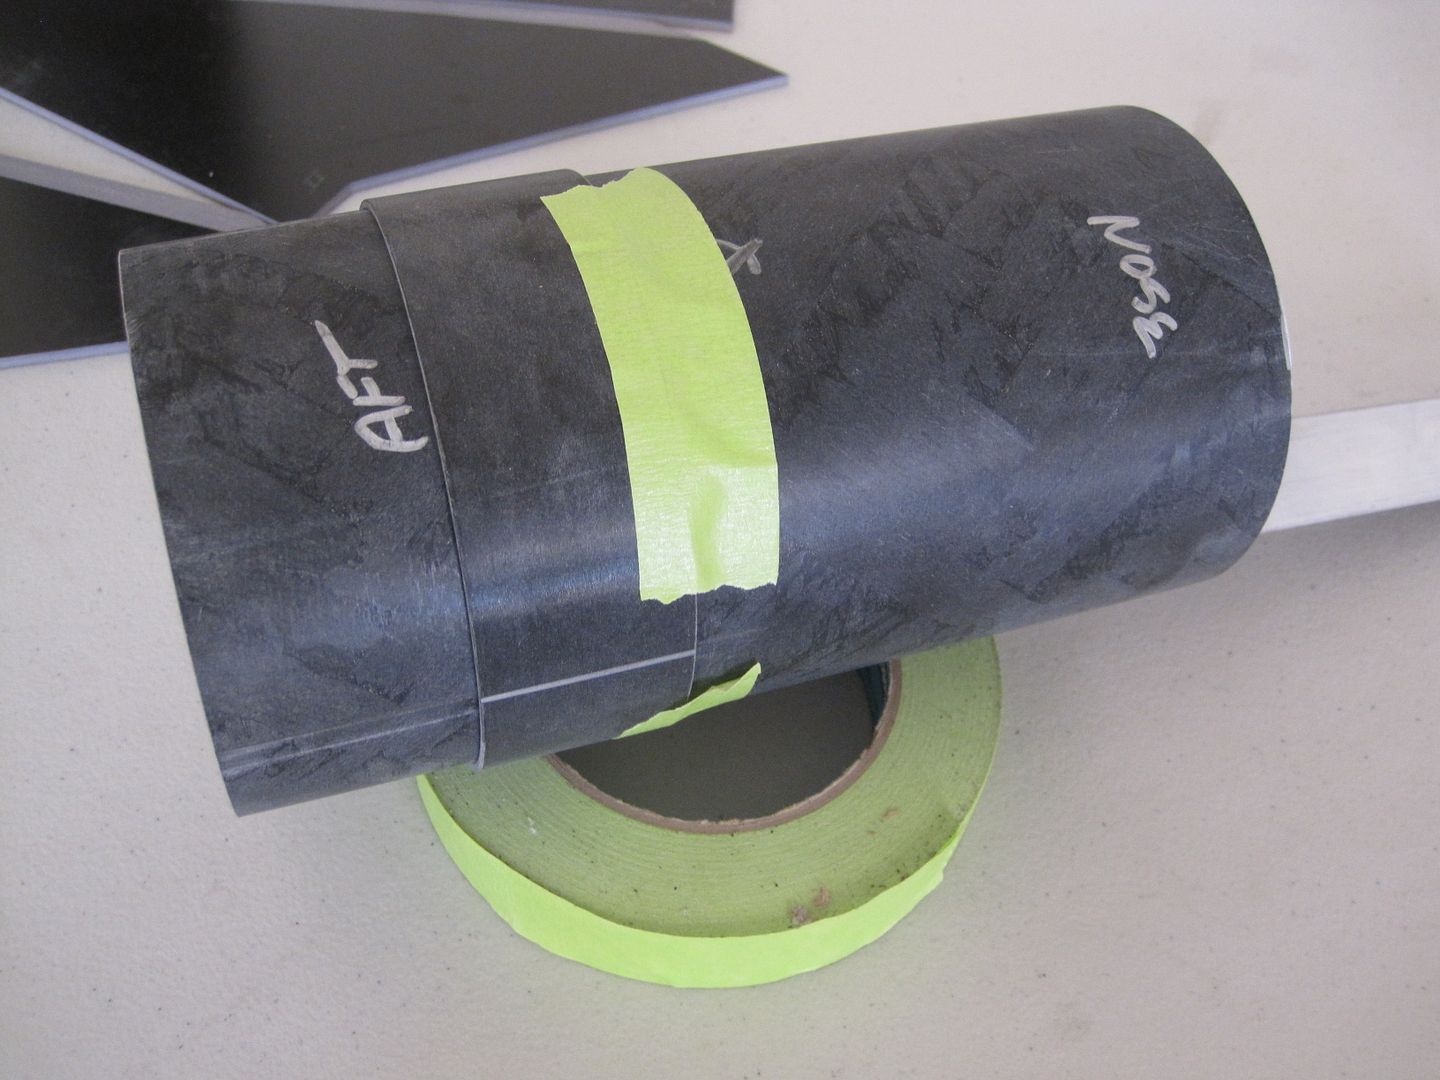
011.jpg


012.jpg


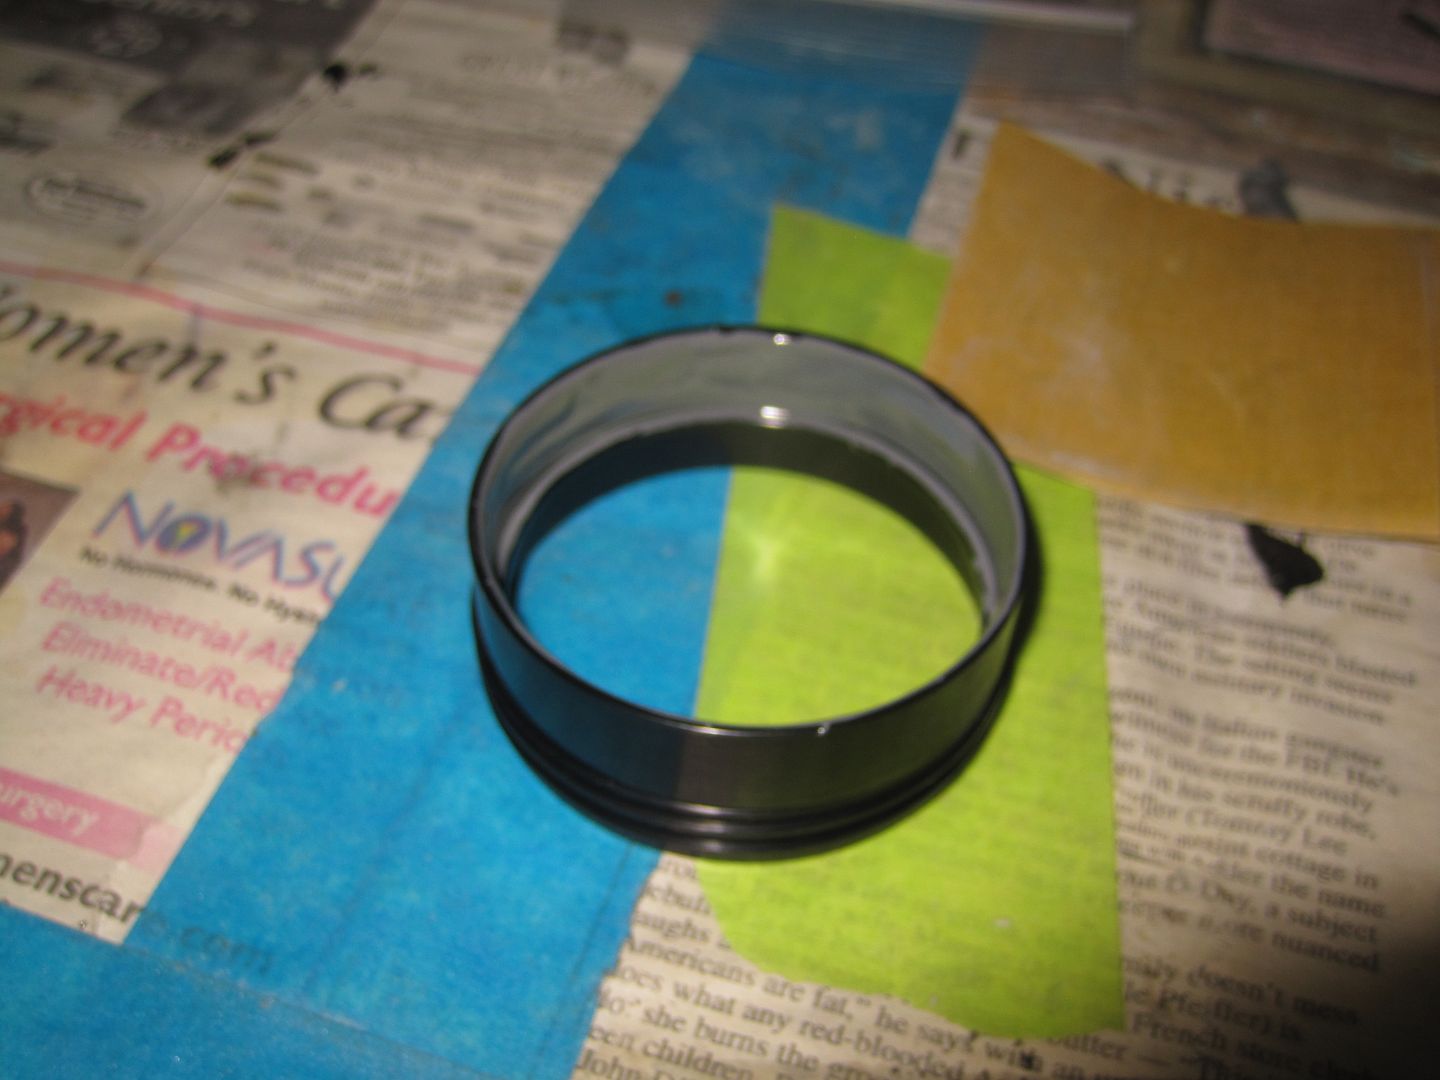
Putting the bulk plate on the nose side of the coupler I inserted the coupler into the nose cone to a snug but not too tight fit and drew a line with a silver sharpie around the coupler where it met the nose cone. I also marked where the vent band fit the best to the nose cone.
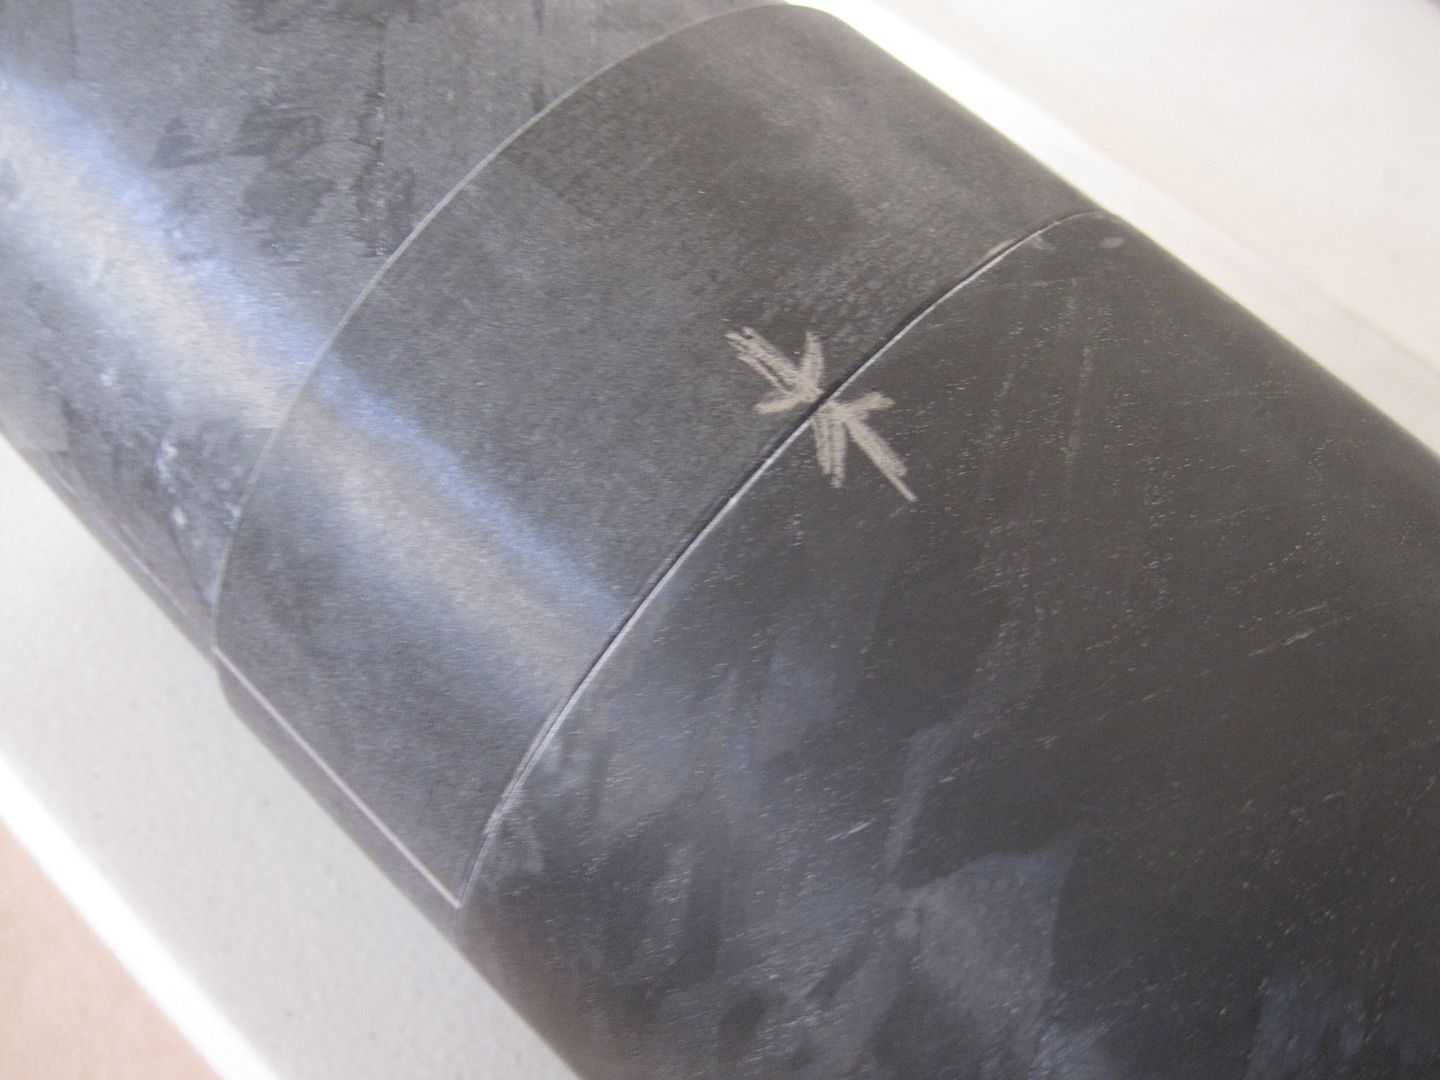

013.jpg


Putting a piece of tape where the silver line was, I added the vent band and marked a silver line around the aft end.

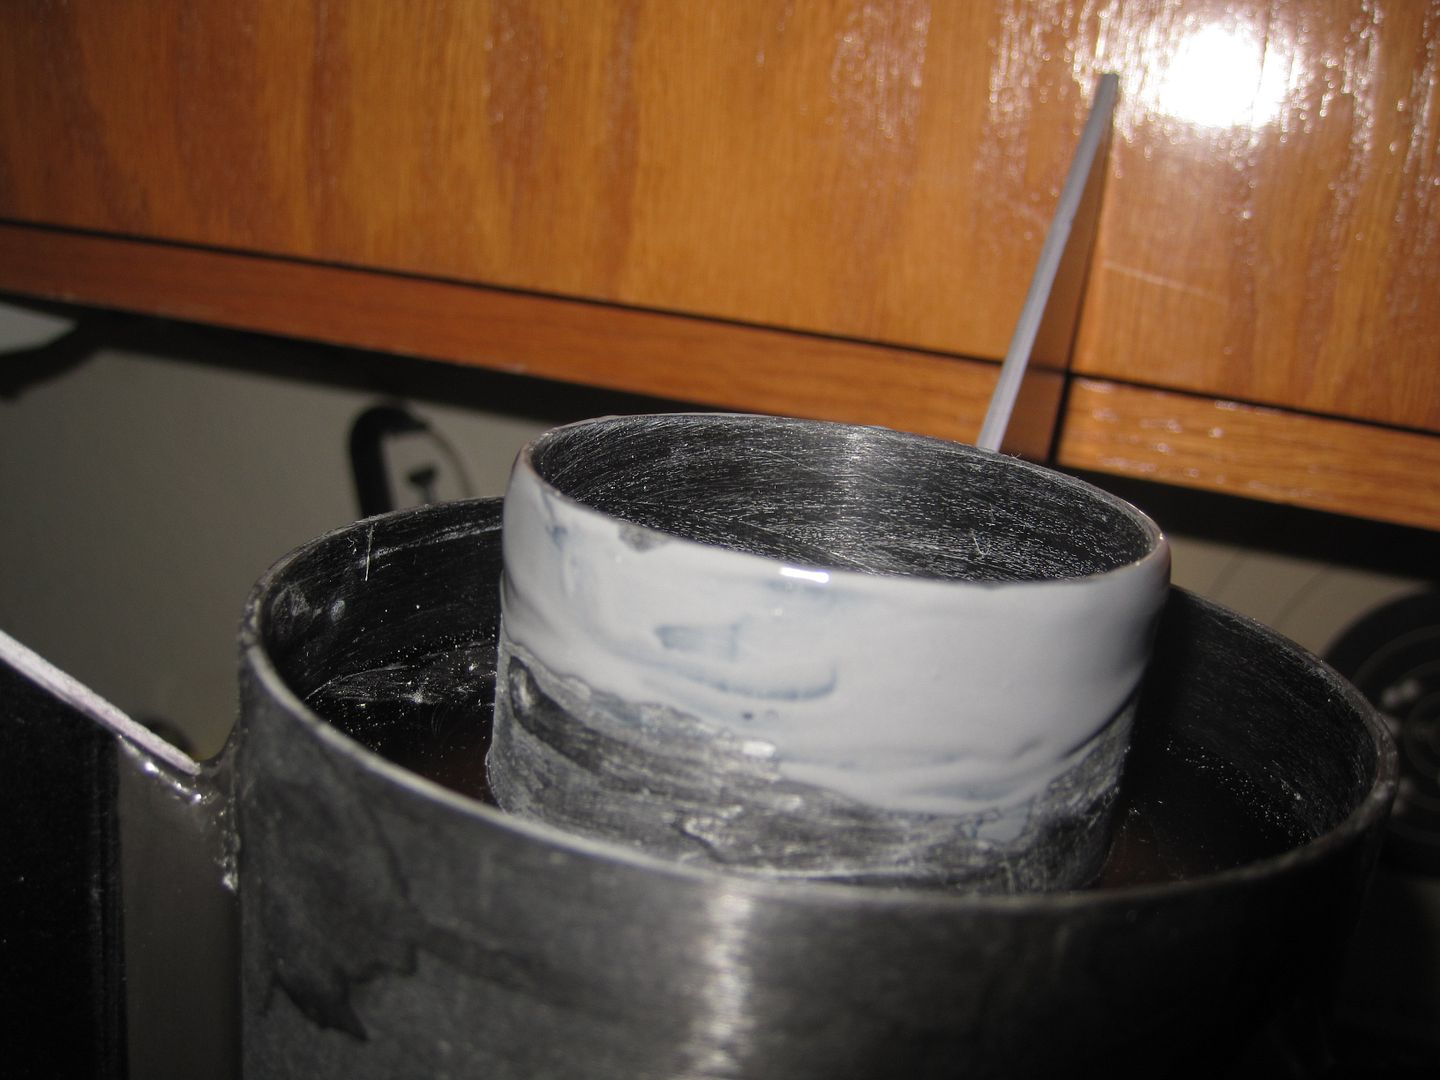
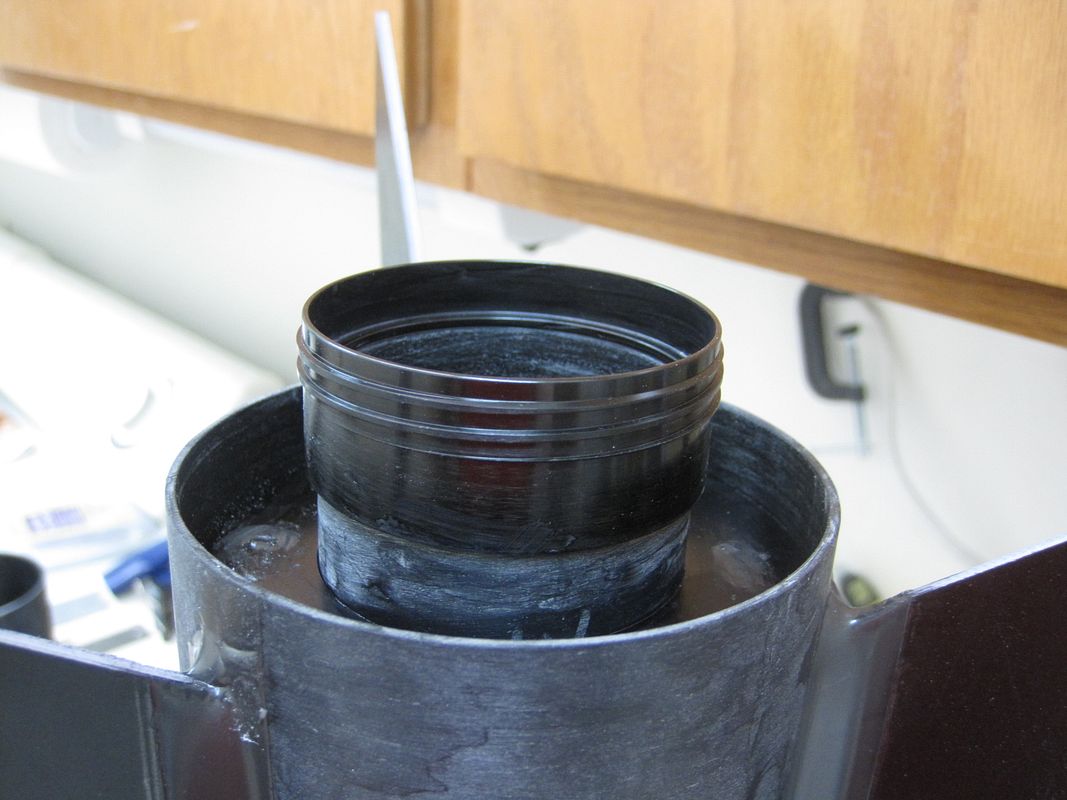
At this point I moved to our Epoxy station (aka laundry room), removed the tape, sanded inside the vent band and sanded on the coupler between the silver lines to "excite the molecules" then wiped with alcohol and then brushed on 30 minute Epoxy and using a twisting motion I put the switch band in place. Clean up was easy with a little alcohol and pulling the tape up after about 15 minutes. Checked it with the nose cone to make sure I got it right, then put the coupler/switchband in the curing oven, aka outside in 107 degree Arizona temperature. At this point it was 5:15pm. I guess I'm not the fastest builder out there....:facepalm:

Wayne got into the act by bringing out his Wildman Extreme to start building and picked up my nose cone instead of his for test fitting. Needless to say: :gavel:

Tomorrow I'll start on #36 of CJ's Thread .....
 
Last edited:
Nice to see you building again !

You always do your research and thoroughly test fit before commiting to epoxy..reminds me to do the same.

My first FG build .. sanded slots til fins would drop through.. then roughed up fins for epoxy .. now they are loose in the slots .. :facepalm:

Will be watching to see how you get the HEDR av bay and electronics to mount up .

Kenny
 
I'm watching. Miss you guys!

You are hard to keep up with. I've been following your Airframe build for the 54/4000 Loki Thread, fascinating.

Nice to see you building again !

You always do your research and thoroughly test fit before commiting to epoxy..reminds me to do the same.

My first FG build .. sanded slots til fins would drop through.. then roughed up fins for epoxy .. now they are loose in the slots .. :facepalm:

Will be watching to see how you get the HEDR av bay and electronics to mount up .

Kenny

I'm still thinking about how I'm going to set up the av-bay, pretty sure going with my standard Stratologger but think I'm going to use magnetic switch such as I did on the 3" BlackStar instead of my twist/tie method I used on my Wild Thang.
 
Got back to it after a day of smoking fresh side and a whole chicken with the smoker I got Wayne for our Anniversary and it is basically drill holes day.

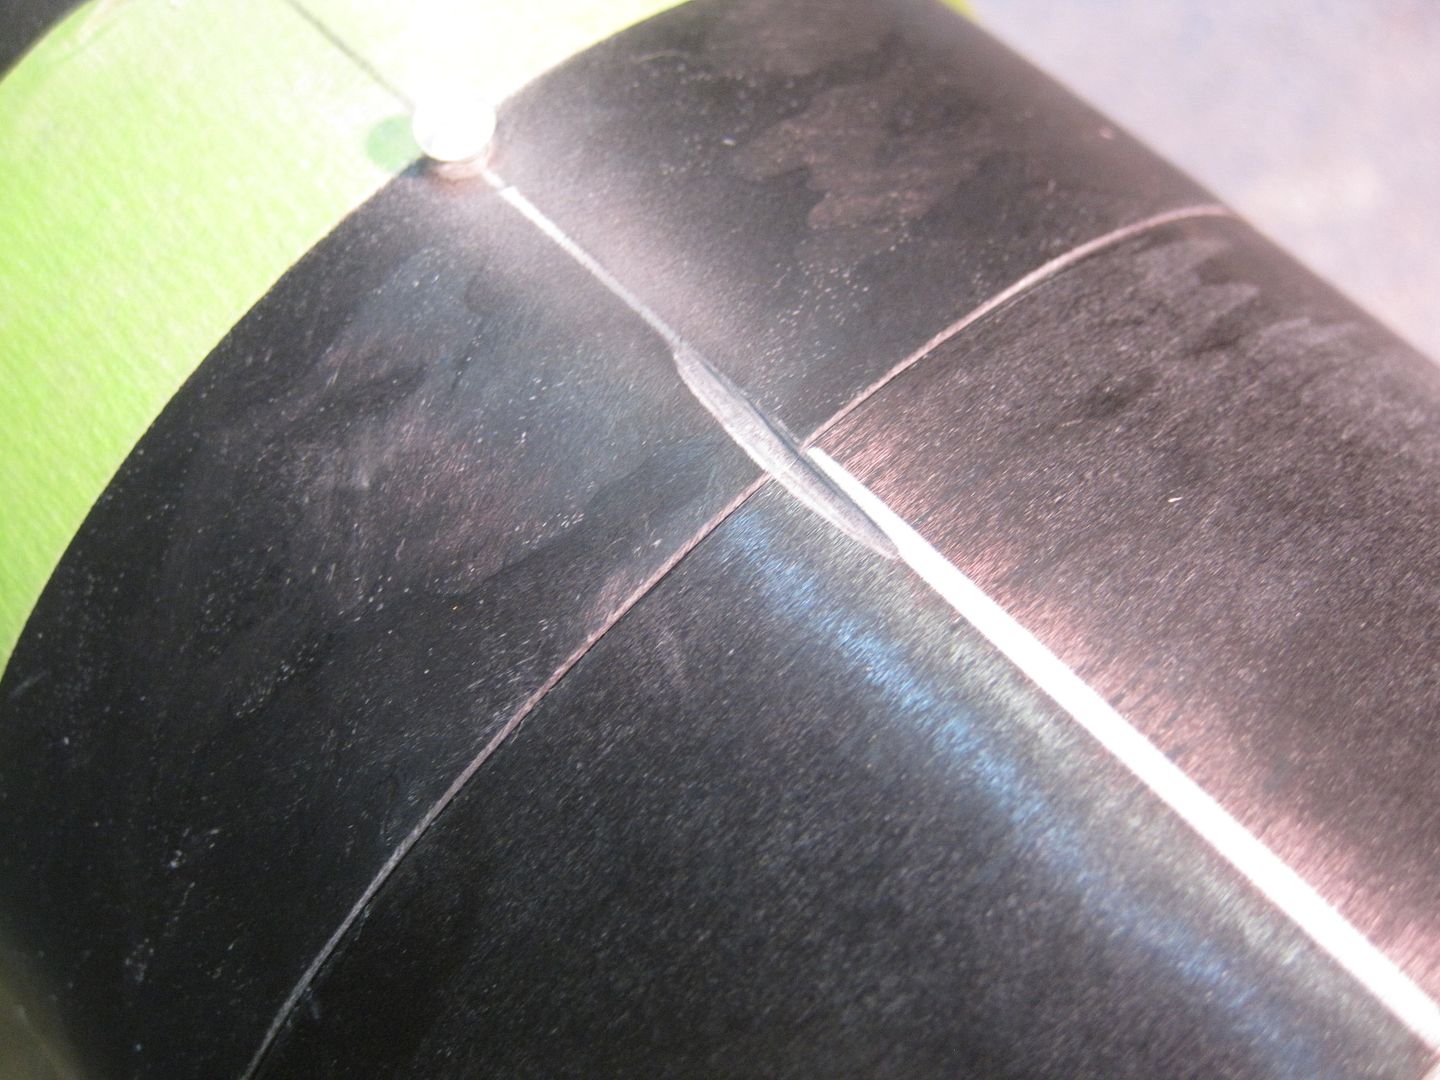
Reviewing CJ's post #36 in his Jimbo Jart Thread I made my shear pin holes by transferring the positions off the ventband onto the nose cone about 1" from the edge of the cone, then rotated the ventband/coupler assembly in-between those lines and made marks for my static port holes on the vent band. Rotating back I used a 5/64ths bit to drill shear pin hole #1, smoothed it with a rat tail file and inserted a nylon 2-56 shear pin. Rotated to position #2, repeat, rotated to position #3, repeat. Once done, I used the dremel to make an "index" mark between the coupler and nose cone to make it easier to line them up in the future.

042.jpg


046.jpg


Switched to a 5/32 git and drilled my 3 static port holes through the switch band.

Proceeded to #49 of CJ's Thread and RATS! Forgot to drill the nose cone vent hole, back to the 5/64th bit and measuring up 6" from the edge of the nose cone only drilled one hole.

Took apart the coupler/nose cone and put the coupler into the fin can. Made marks for 2 shear pin holes 180 degrees from each other, drilled and placed shear pin the the first, flipped it and drilled and placed the second, then made an index mark across the top of the fin can/coupler assembly to help with the future alignment marks for those shear pins.

Switched to a 1/8th bit and drilled a vent hole 6" from the top of the fin can then marked ejection holes and with the 1/8th drill bit drilled through the aluminum bulk plates.

All this took from 4:30 pm to 6 pm again proving I'm really slow. But I measure about a gazillion times and Wayne and I were both using the drill at the same time and the punch, the measuring tools, etc.

We were also competing for the camera, so not so many pictures. At least he brought out another table for his build.

048.jpg


Looking good Sharon! Your going to love the HED setup, it is easy to prep and the rocket always lands close by. I flew Pegasus using HED two times to 9k and one time 12k ,it landed less than .4 miles away each time. Maybe You, Wayne, and I could have a Jart drag race at Eagle Eye in the winter. Looking forward to seeing the finished product, keep up the good work! :clap:
 
I still don't get it. I'm slow.

Is this dual deploy from one airframe break and all the electronics in the nose? If so, I am a huge fan.

The electronics are inside the nosecone coupler and the parachute is inside the nosecone. You pop the nosecone at apogee and then you pop the nosecone coupler from the nosecone at your desired altitude. I will get you pictures but I can't find my camera right now.
 
I still don't get it. I'm slow.

Is this dual deploy from one airframe break and all the electronics in the nose? If so, I am a huge fan.

This could work on your MD carbon fiber rocket you are making for that Loki 4000 motor. With a 7:1 nosecone, you could put all the avionics in the coupler and still have room for the main in the top of the N/C. CJ does a good job of describing it in his build thread here:
https://www.rocketryforum.com/showt...n-NC-or-any-Jart-build!/page2&highlight=jimbo
 
Monday, June 30th I was able to get another few hours into the project.

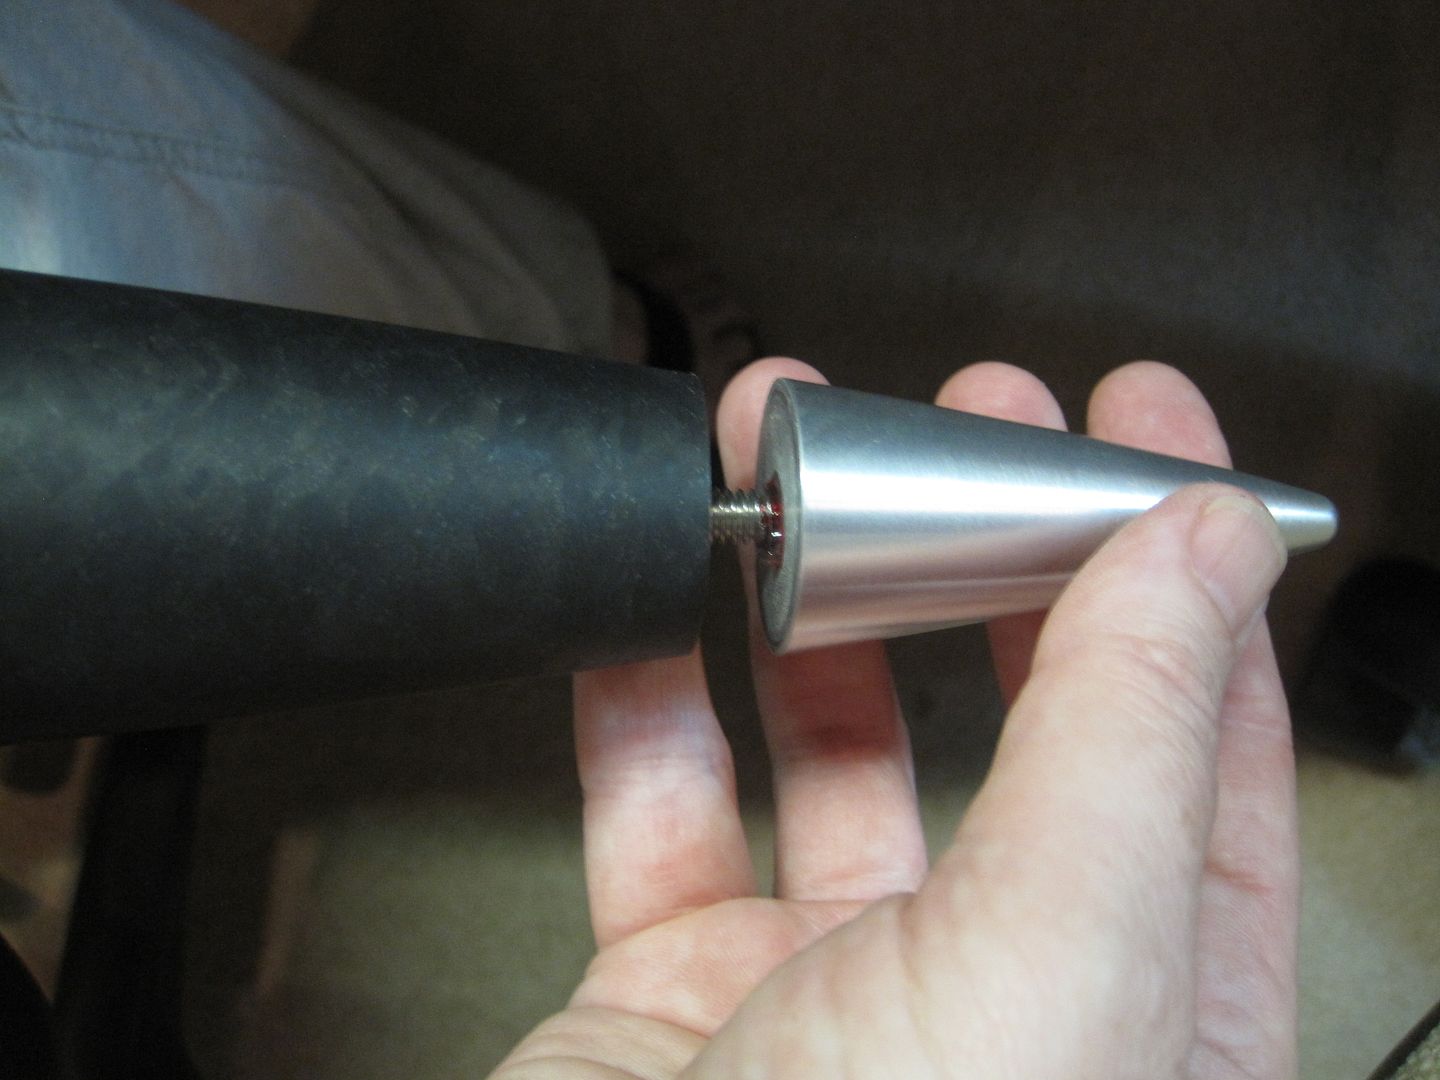
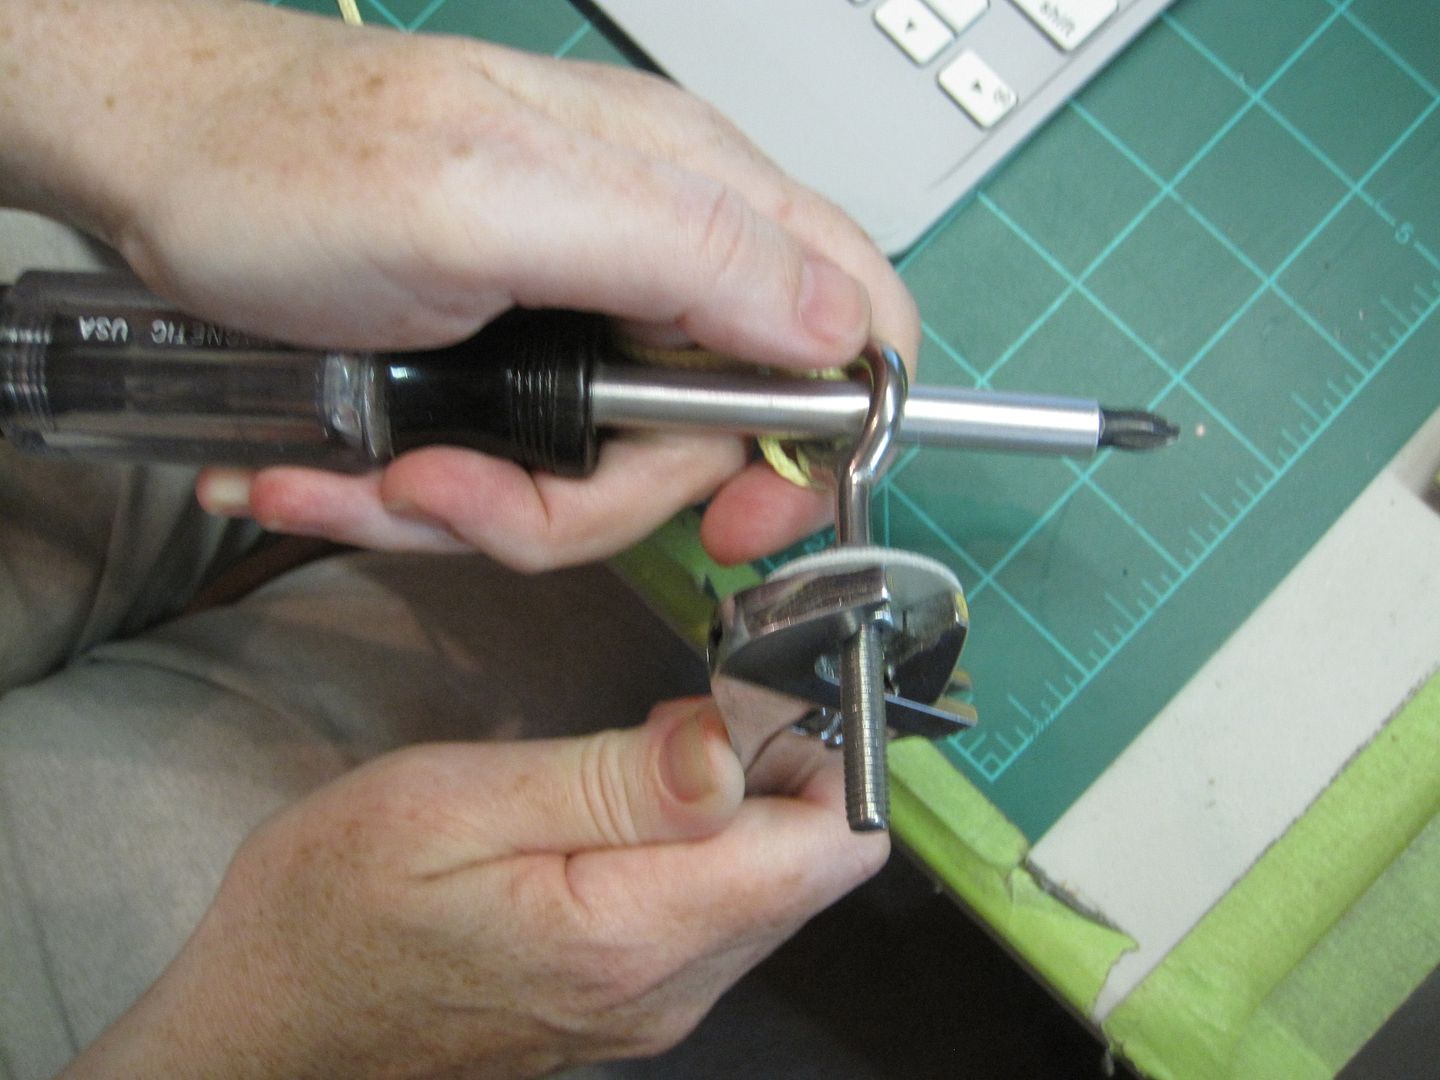
Following #51 of CJ's Jimbo Jart Thread I took apart the Nose tip

004.jpg


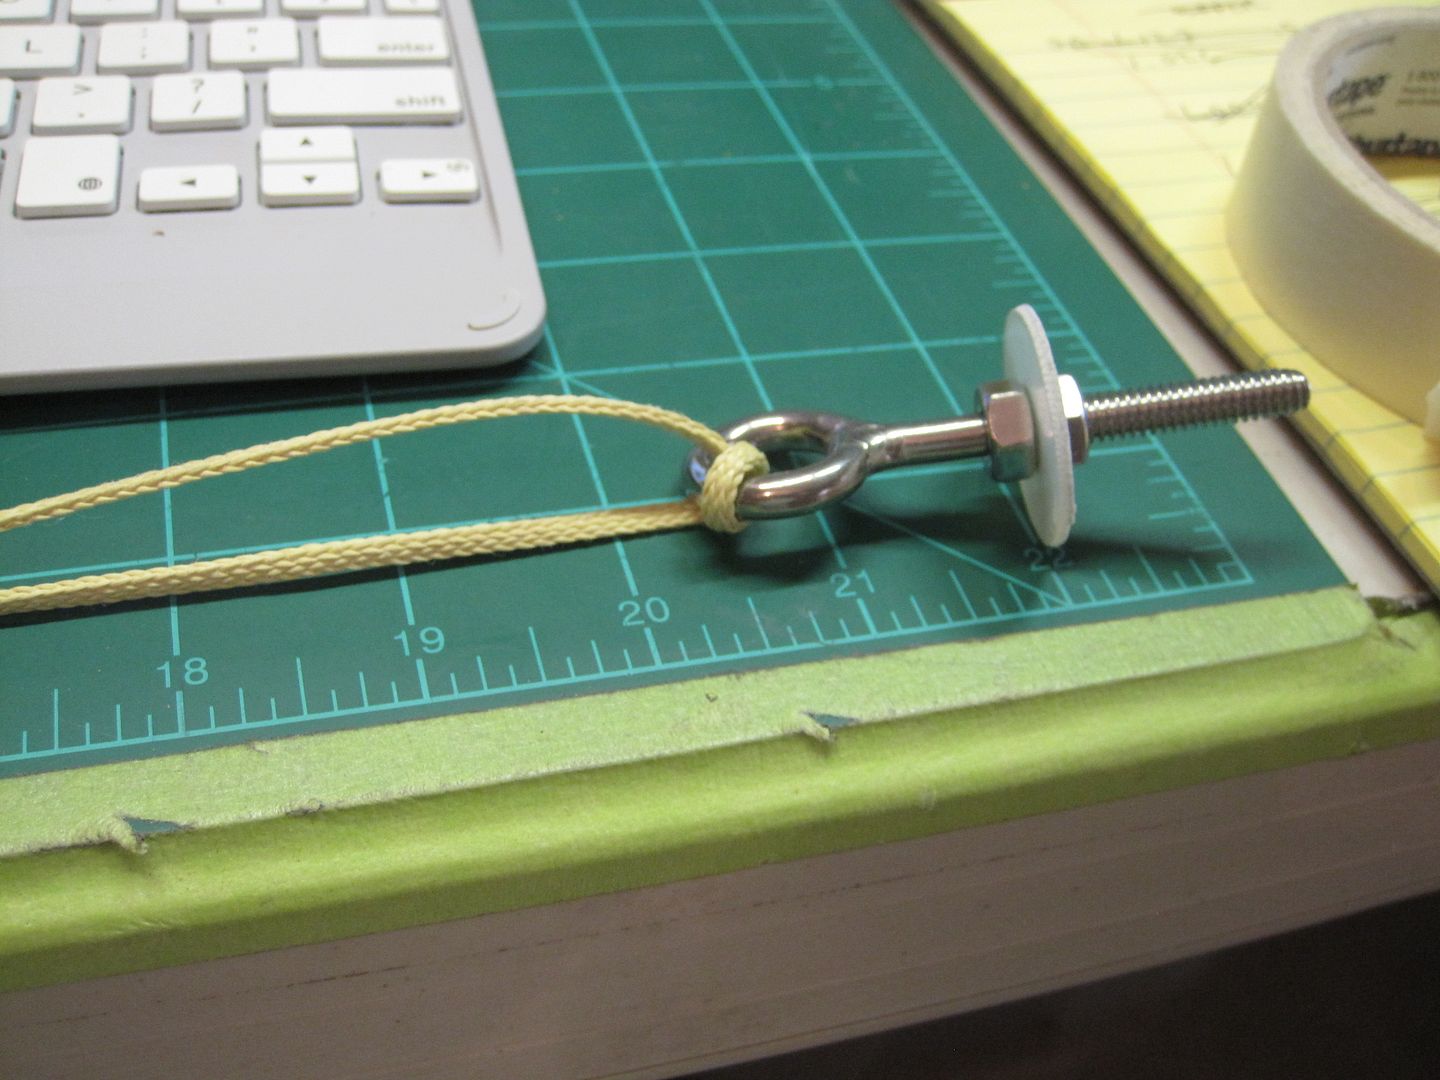
Added fiberglass washer, 14" welded stainless steel I-bolt with two nuts

003.jpg


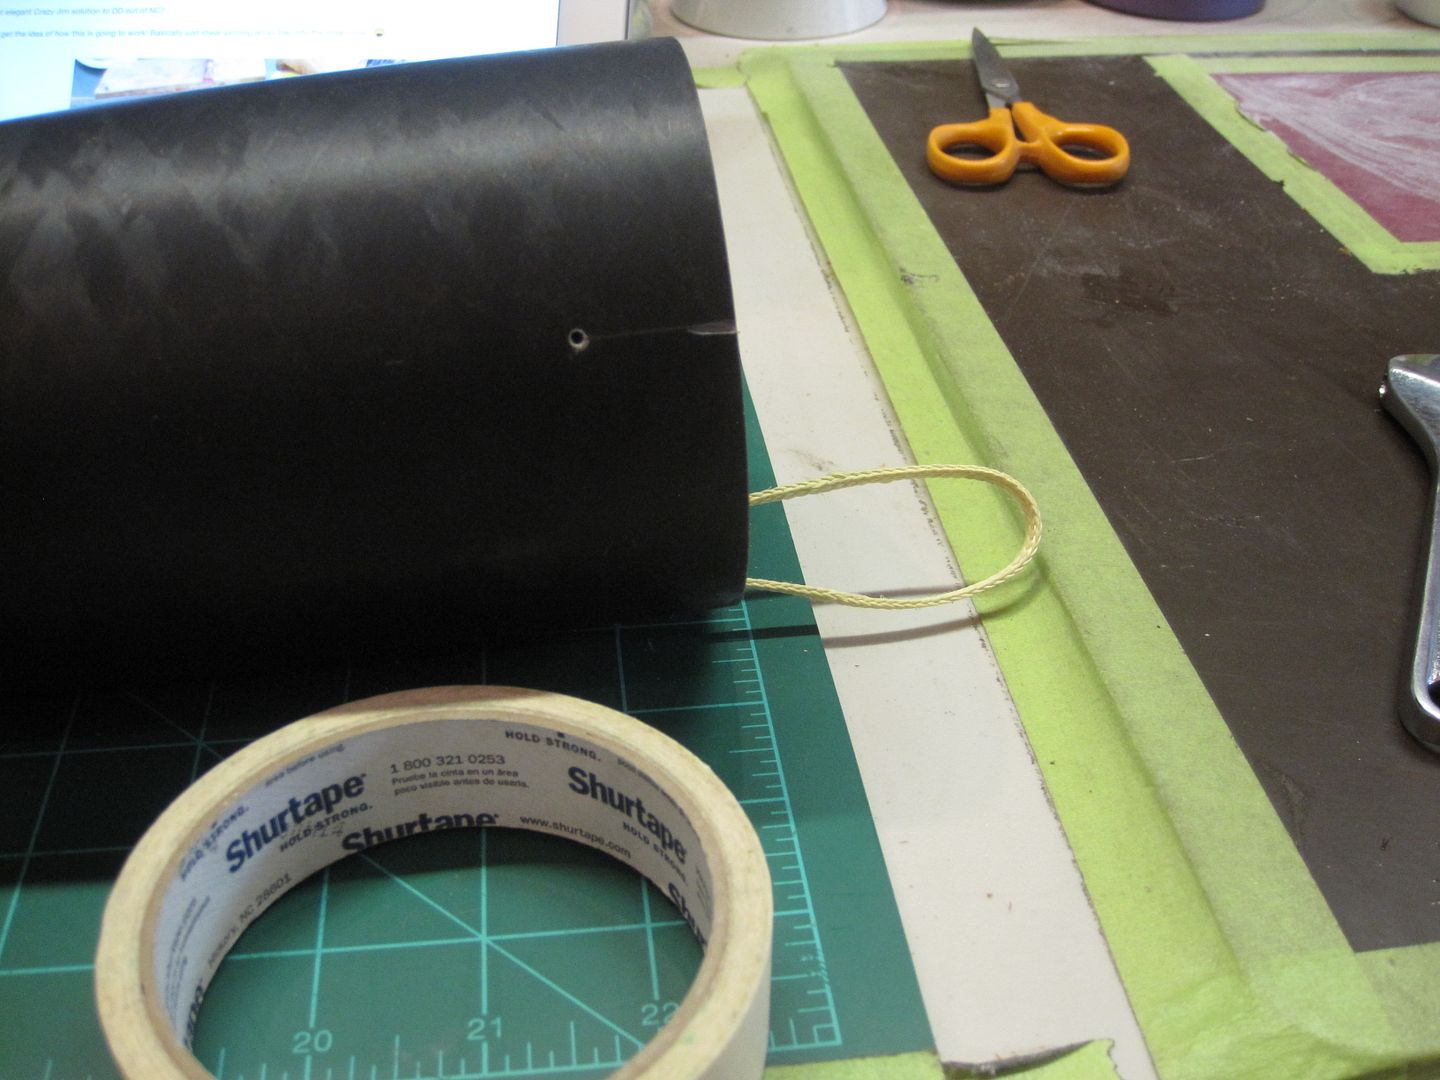
Ran an 1/8th" kevlar cord through the I-bolt and reassembled the nose cone, locking the threads with red locktite.

002.jpg


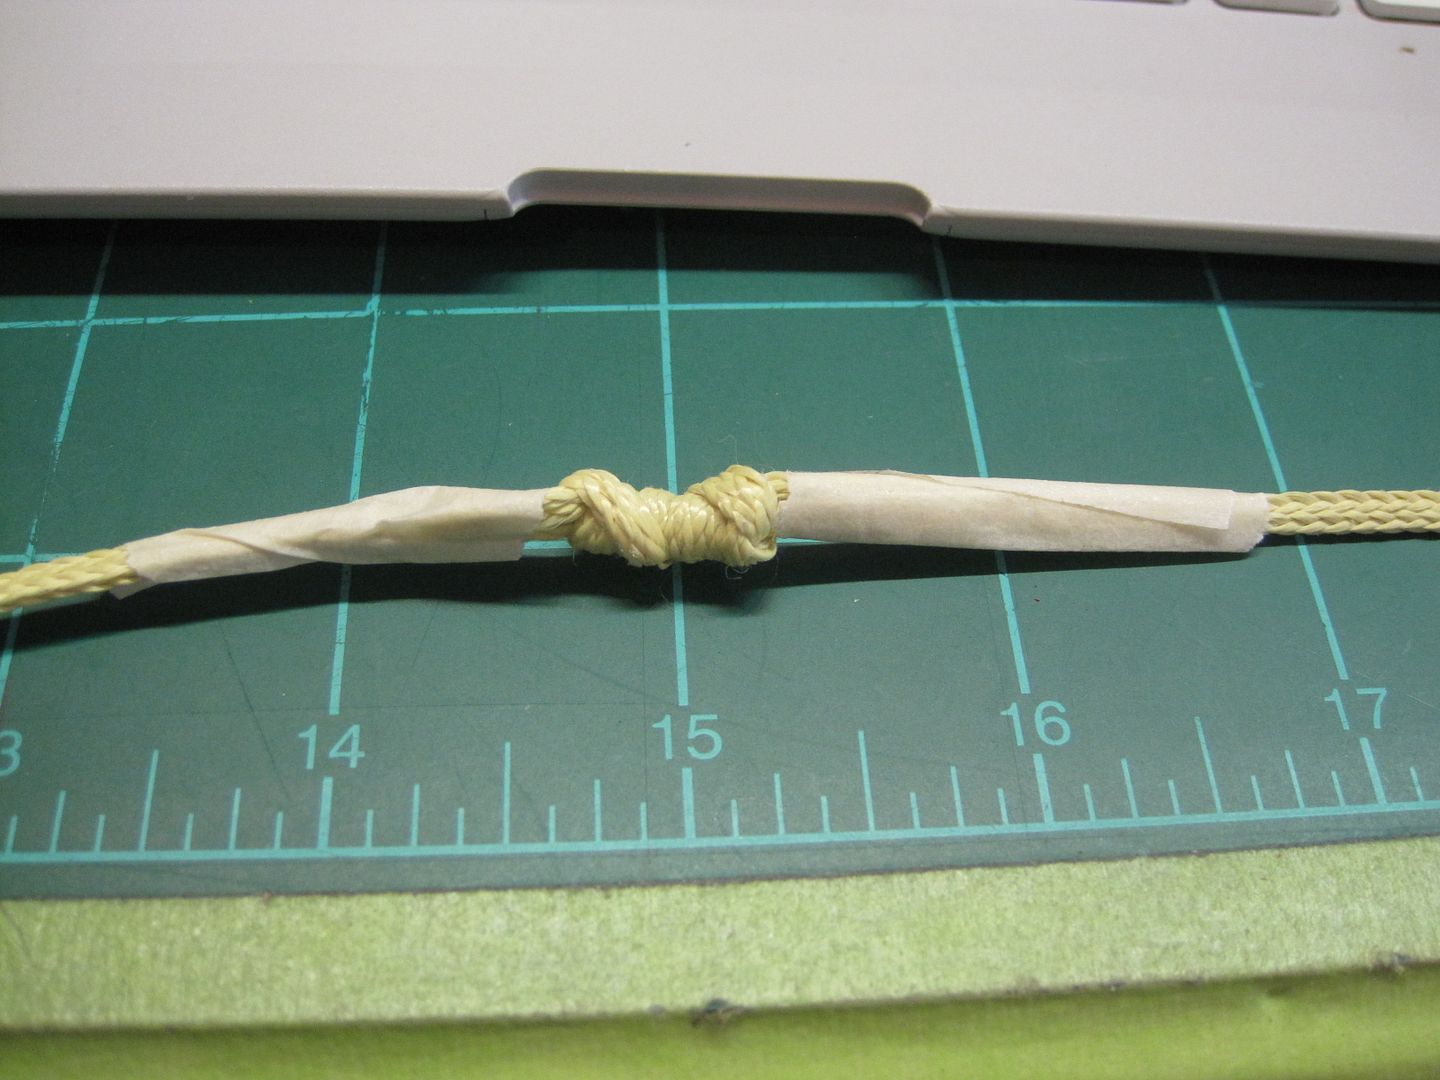
Then tied a "uni" knot and taped the ends so I can replace the kevlar in the event it breaks

001.jpg


Ok. Nose cone done

005.jpg
 
Last edited:
On to item #70 where I start to put the fin can together.

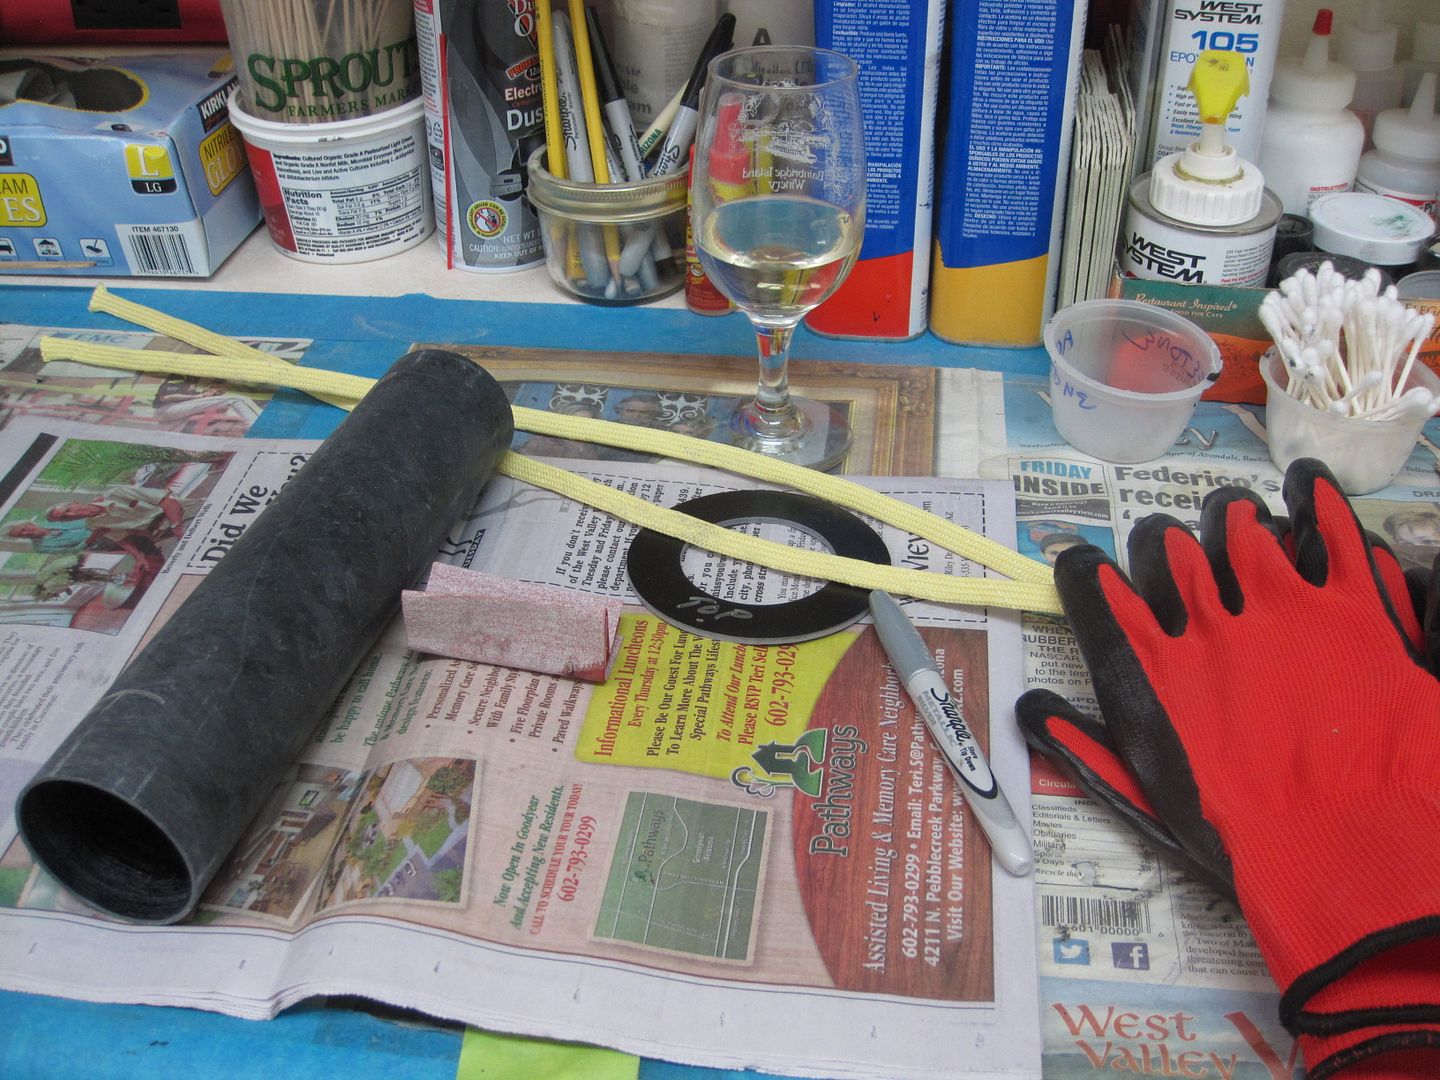
Measured a length of 1/2" flat strap kevlar

006.jpg


Sanded the entire motor mount tube and the centering rings, wiped it all off

EDIT: Next build draw the fin slots on motor mount tube at this point and tape off lines to keep epoxy off

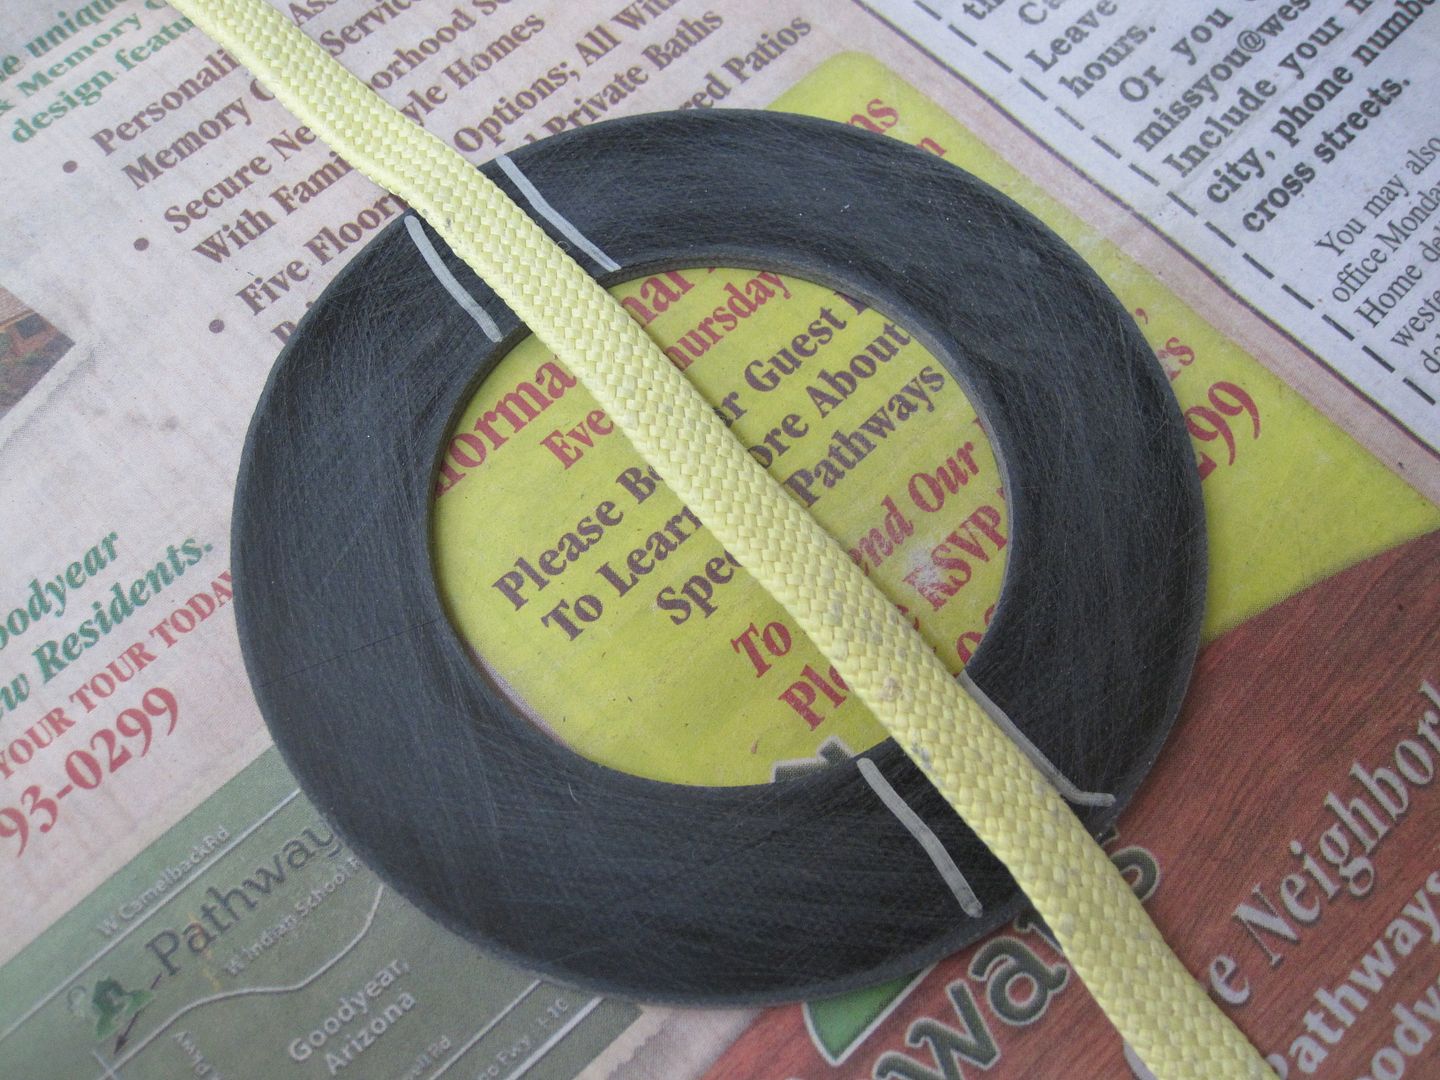
Then laid the kevlar over the forward centering ring and marked the edges

007.jpg


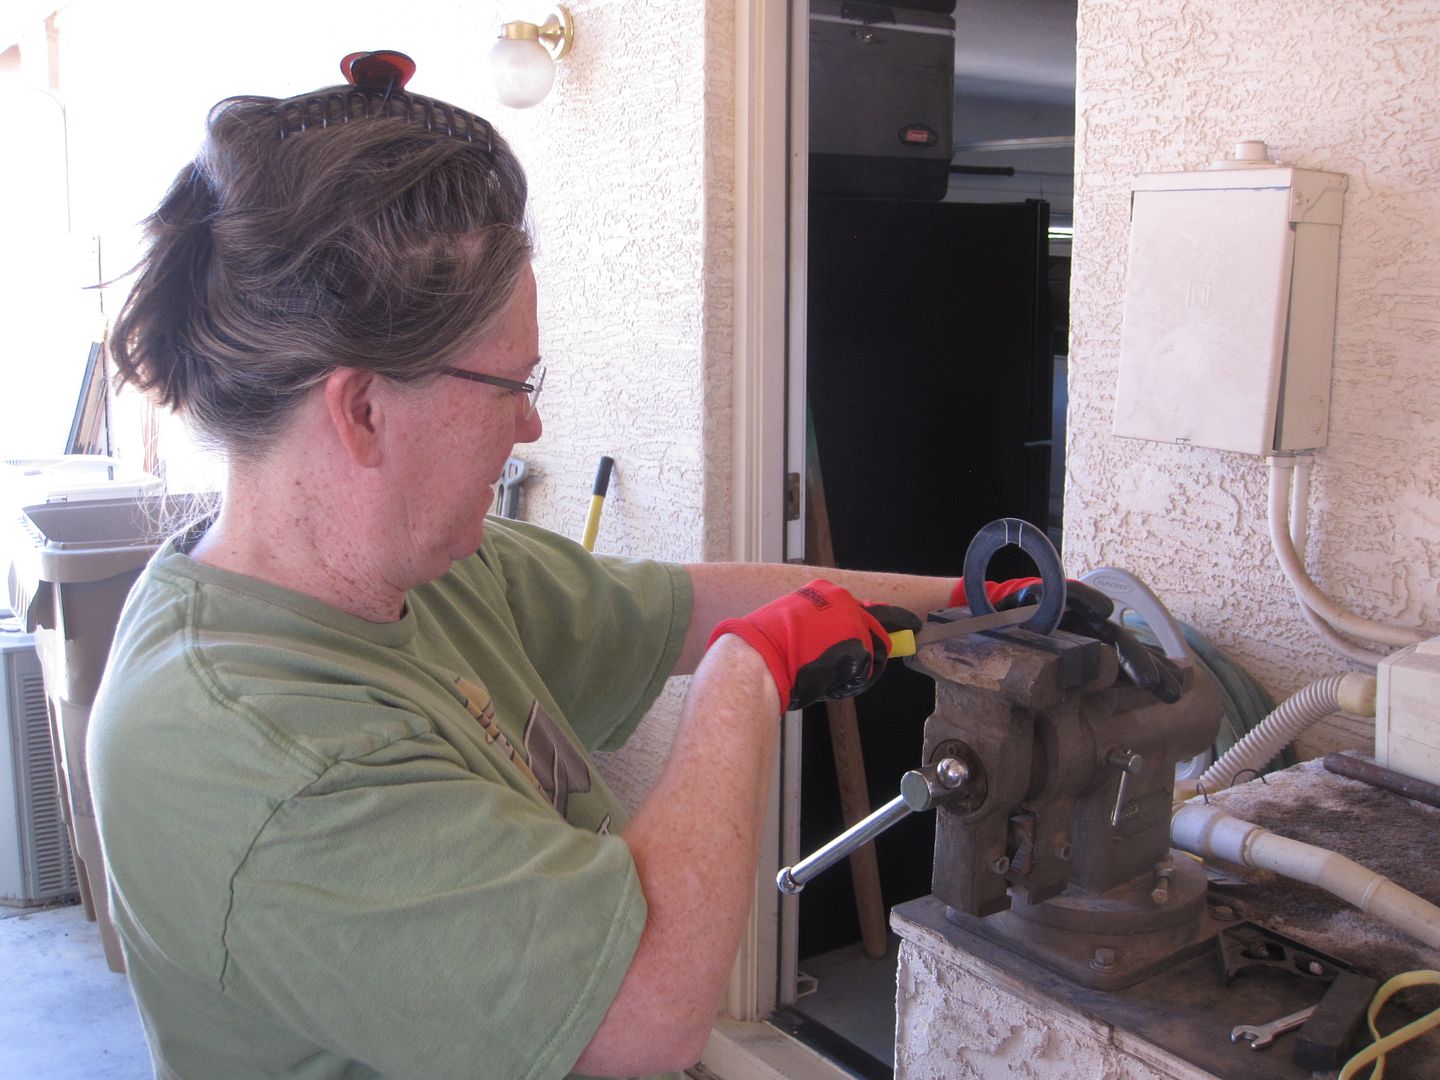
Then filed notches to fit.

009.jpg


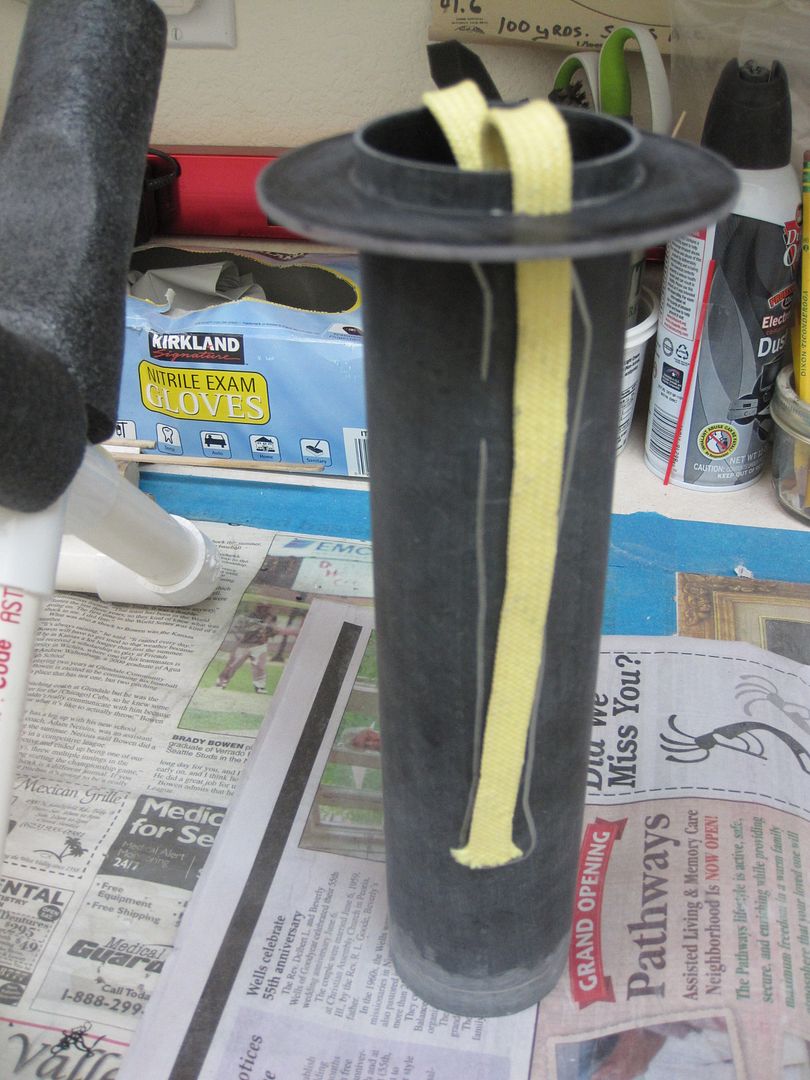
put the strap and centering rings on the motor mount tube and marked where the strap. Notice drawing straight lines isn't my forte:

010.jpg


I added the rear centering ring and the aeropack retainer for sizing and fitting and marked their locations accordingly.

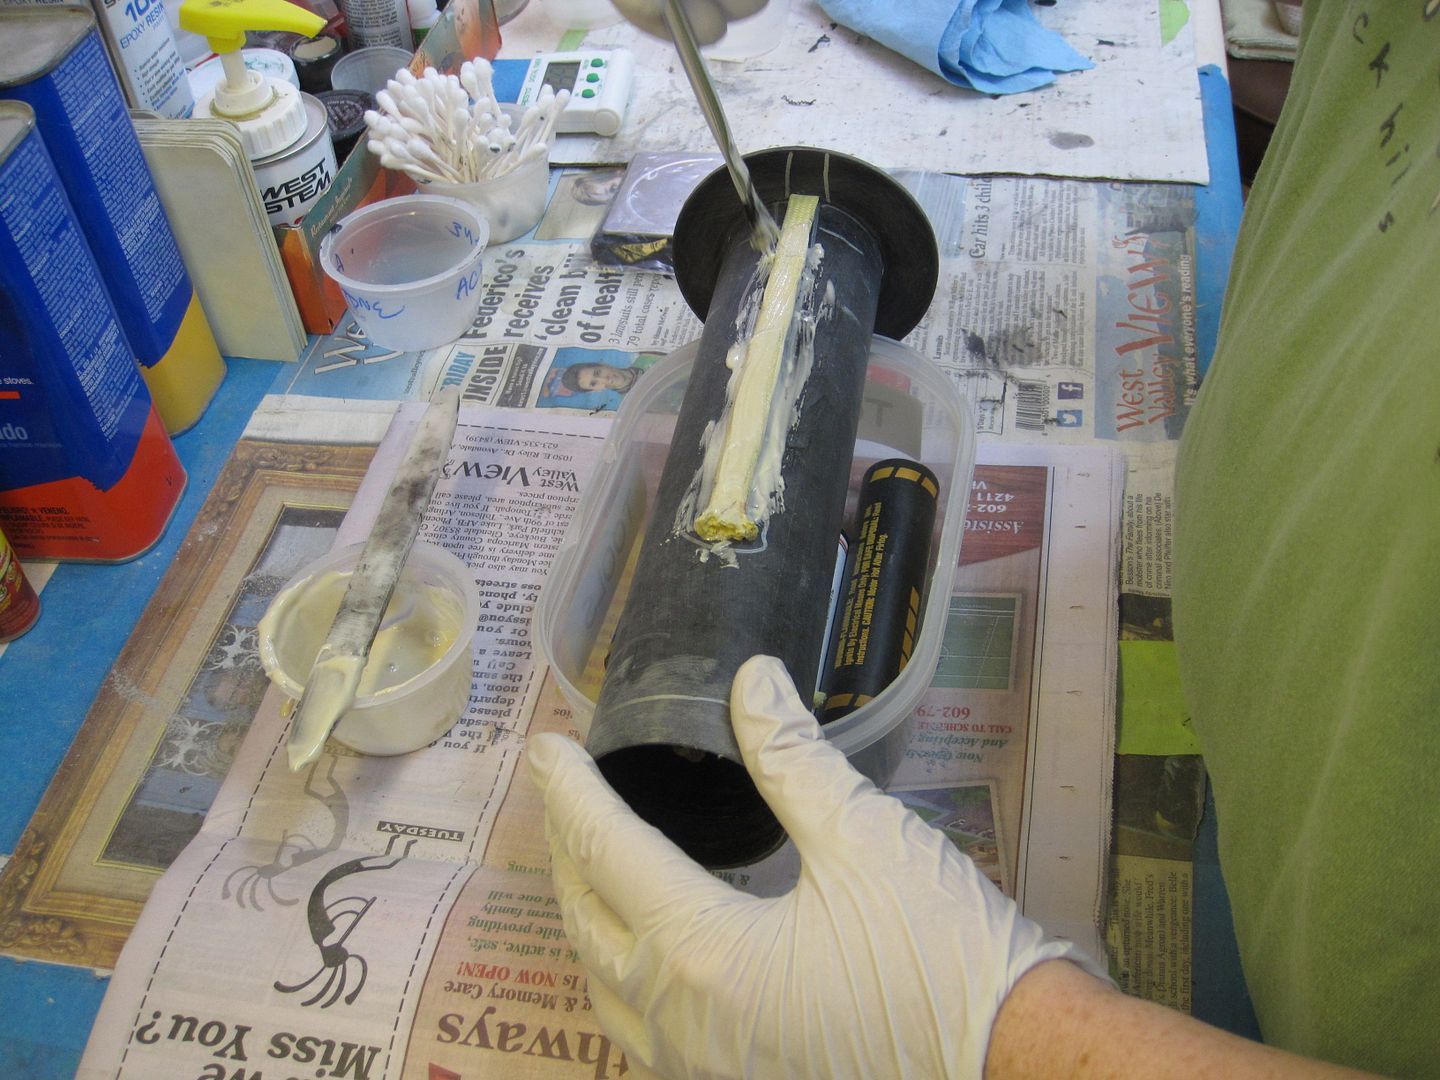
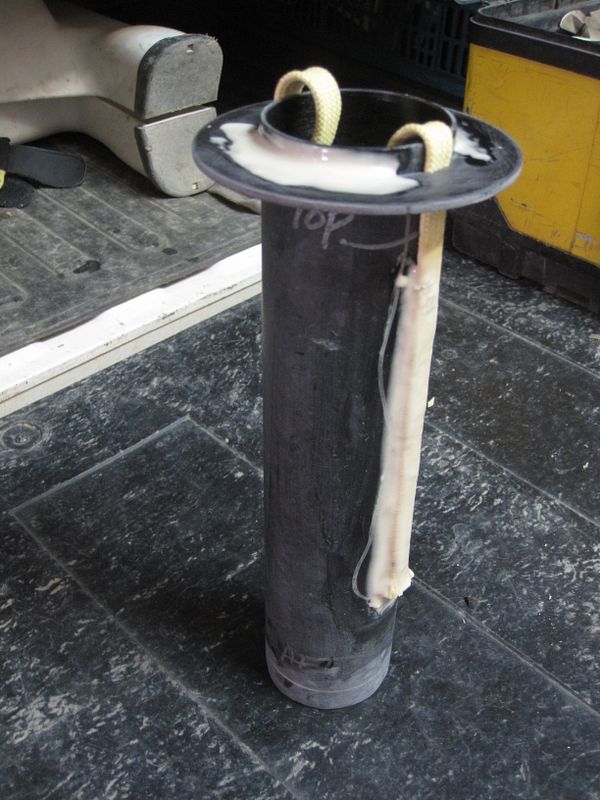
Then mixed up 30 grams of Rocket Poxy and encapsultated the kevlar strap and ran a fillet around the top of the forward centering ring and set it out to dry.

011.jpg


012.jpg


013.jpg


and that was it until today.
 
Last edited:
4th of July was spent properly, taking time off from work (hard to do when your office is upstairs). Wayne and I smoked two whole chickens, 4 Black Rock fish, a bunch of potatoes and a batch of fresh side (bacon). After brining, smoking, cleaning, and (finally!) eating we were bushed.

But Today was Fin Can Day!

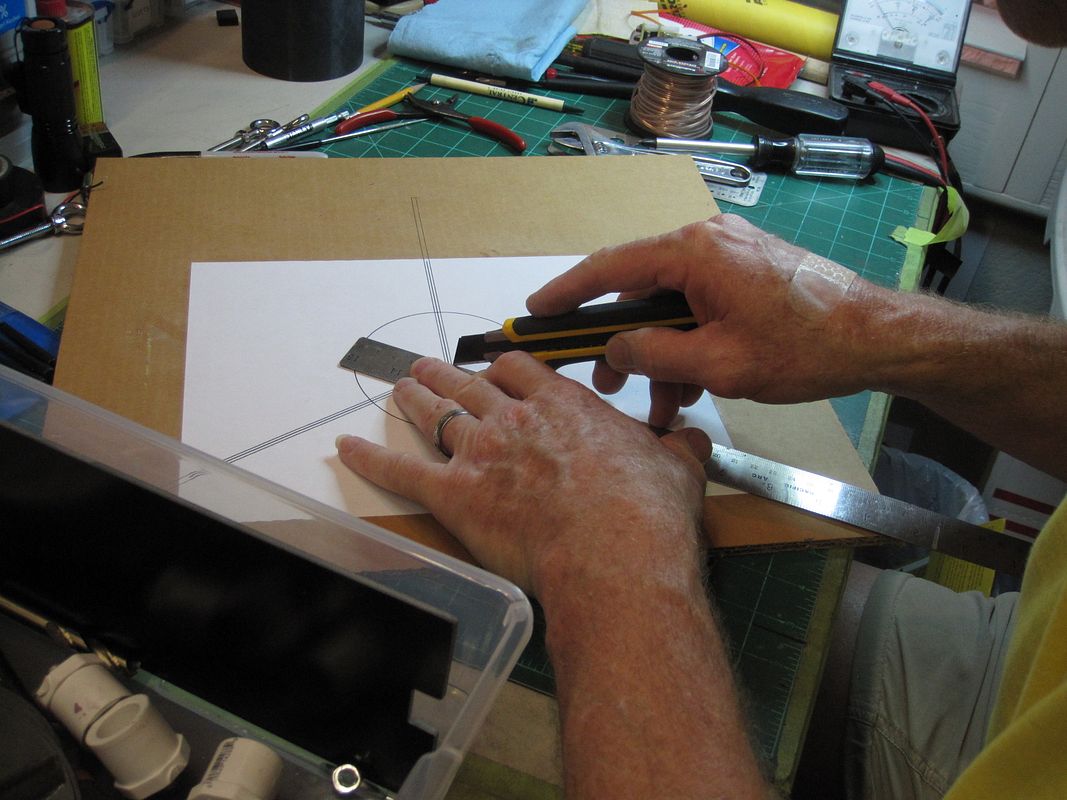
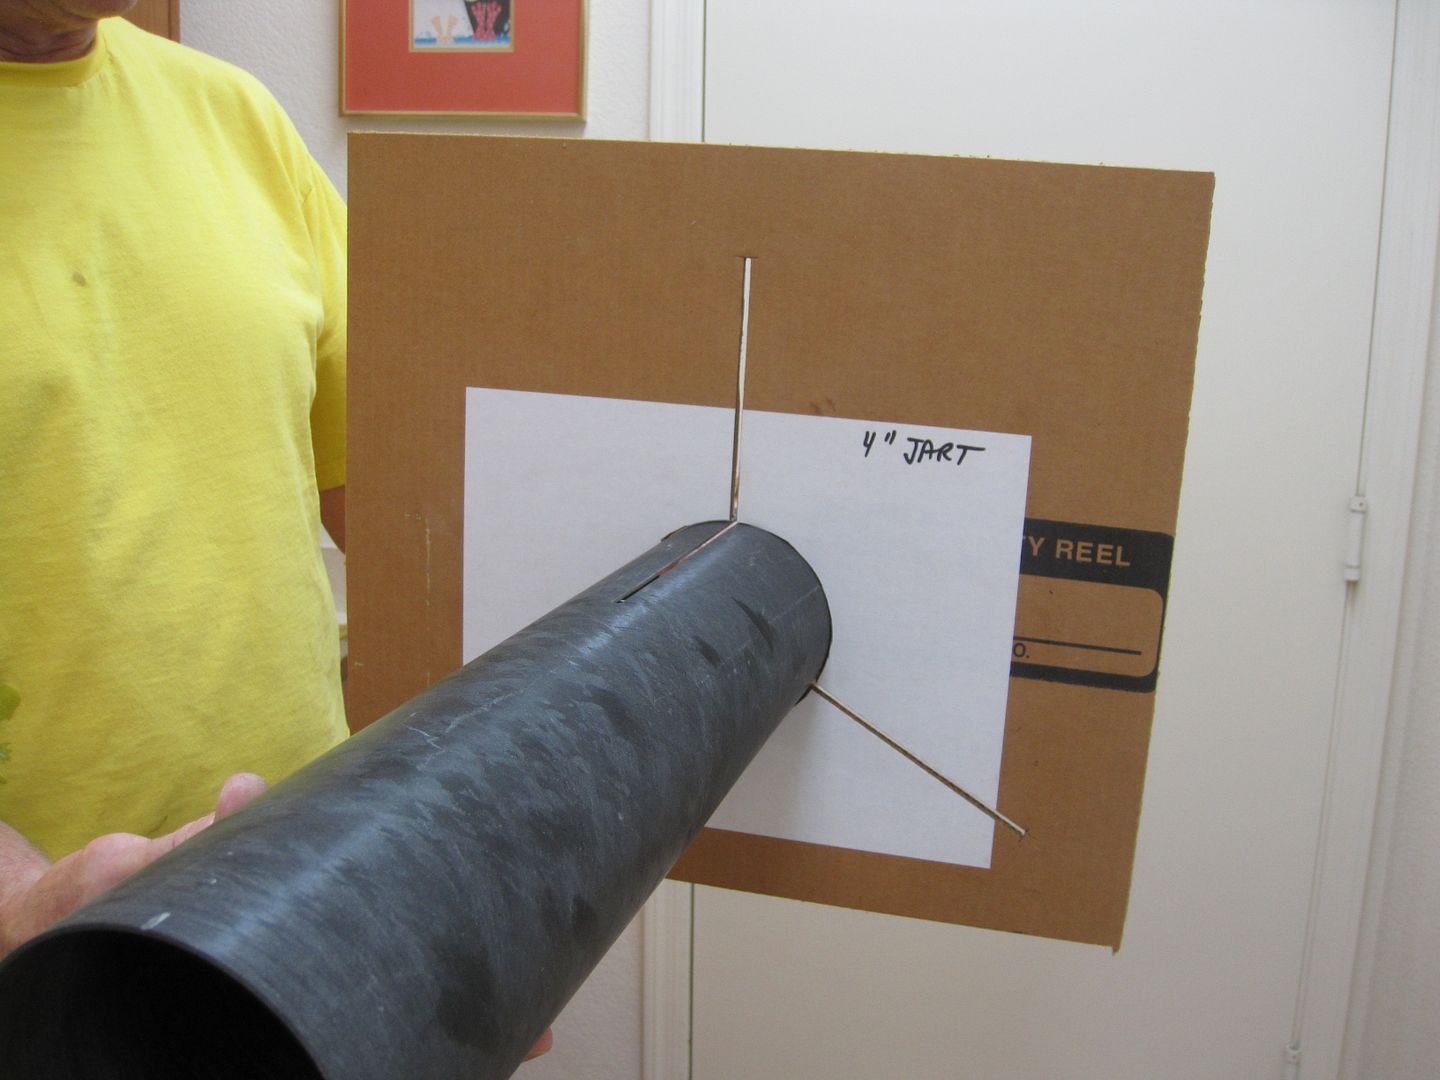
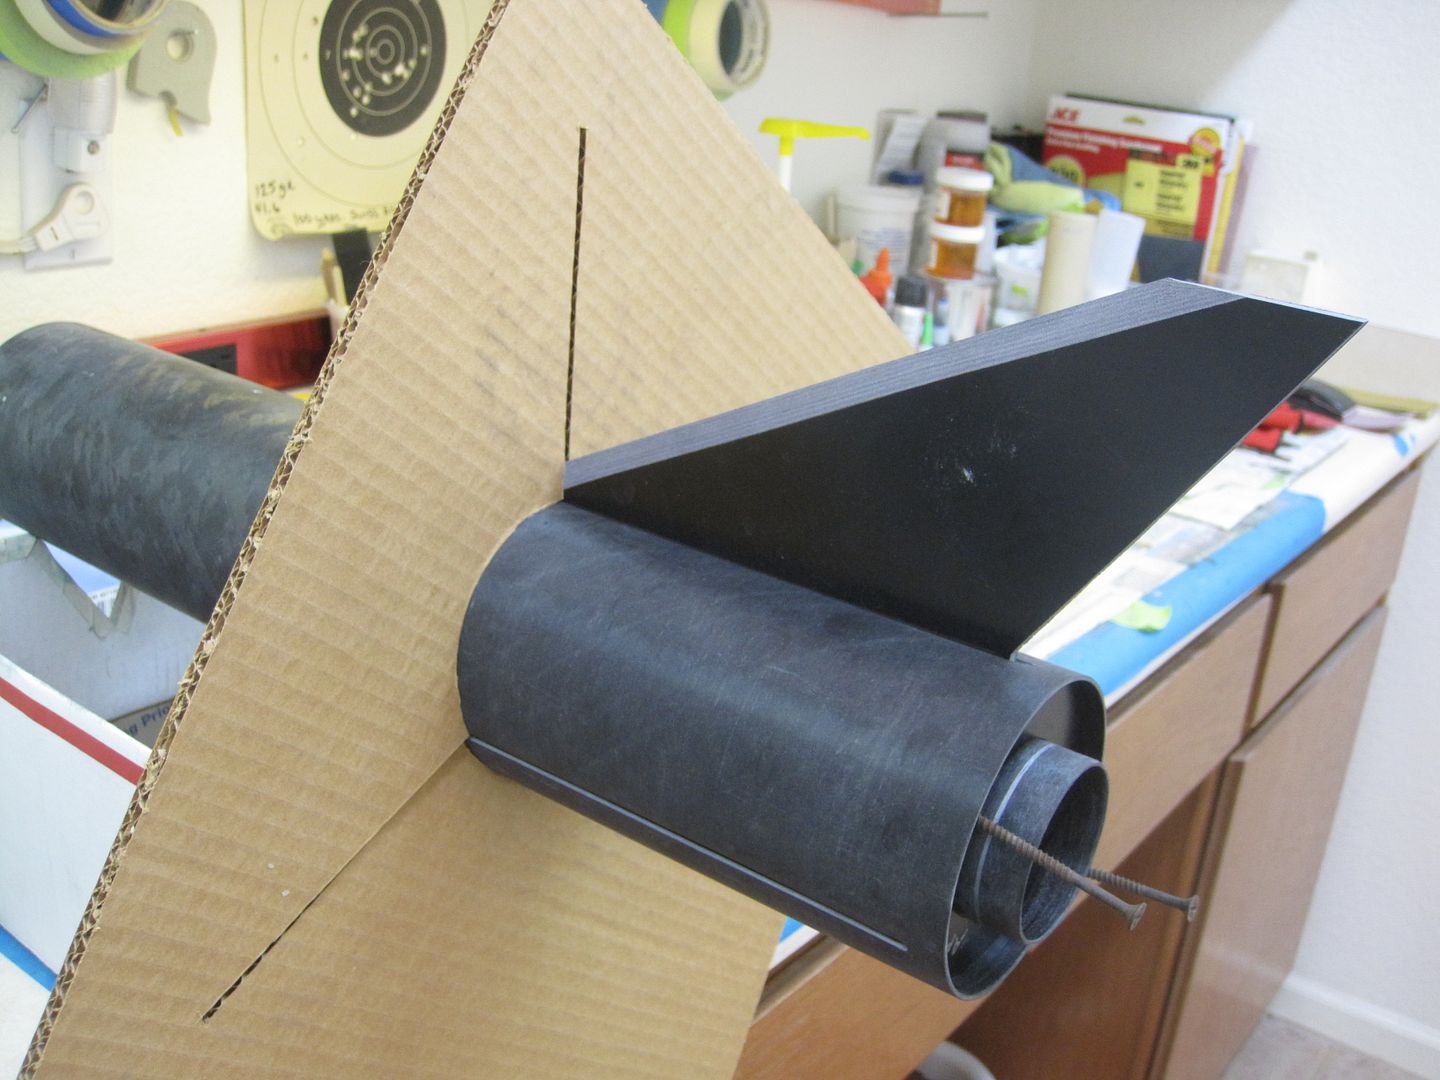
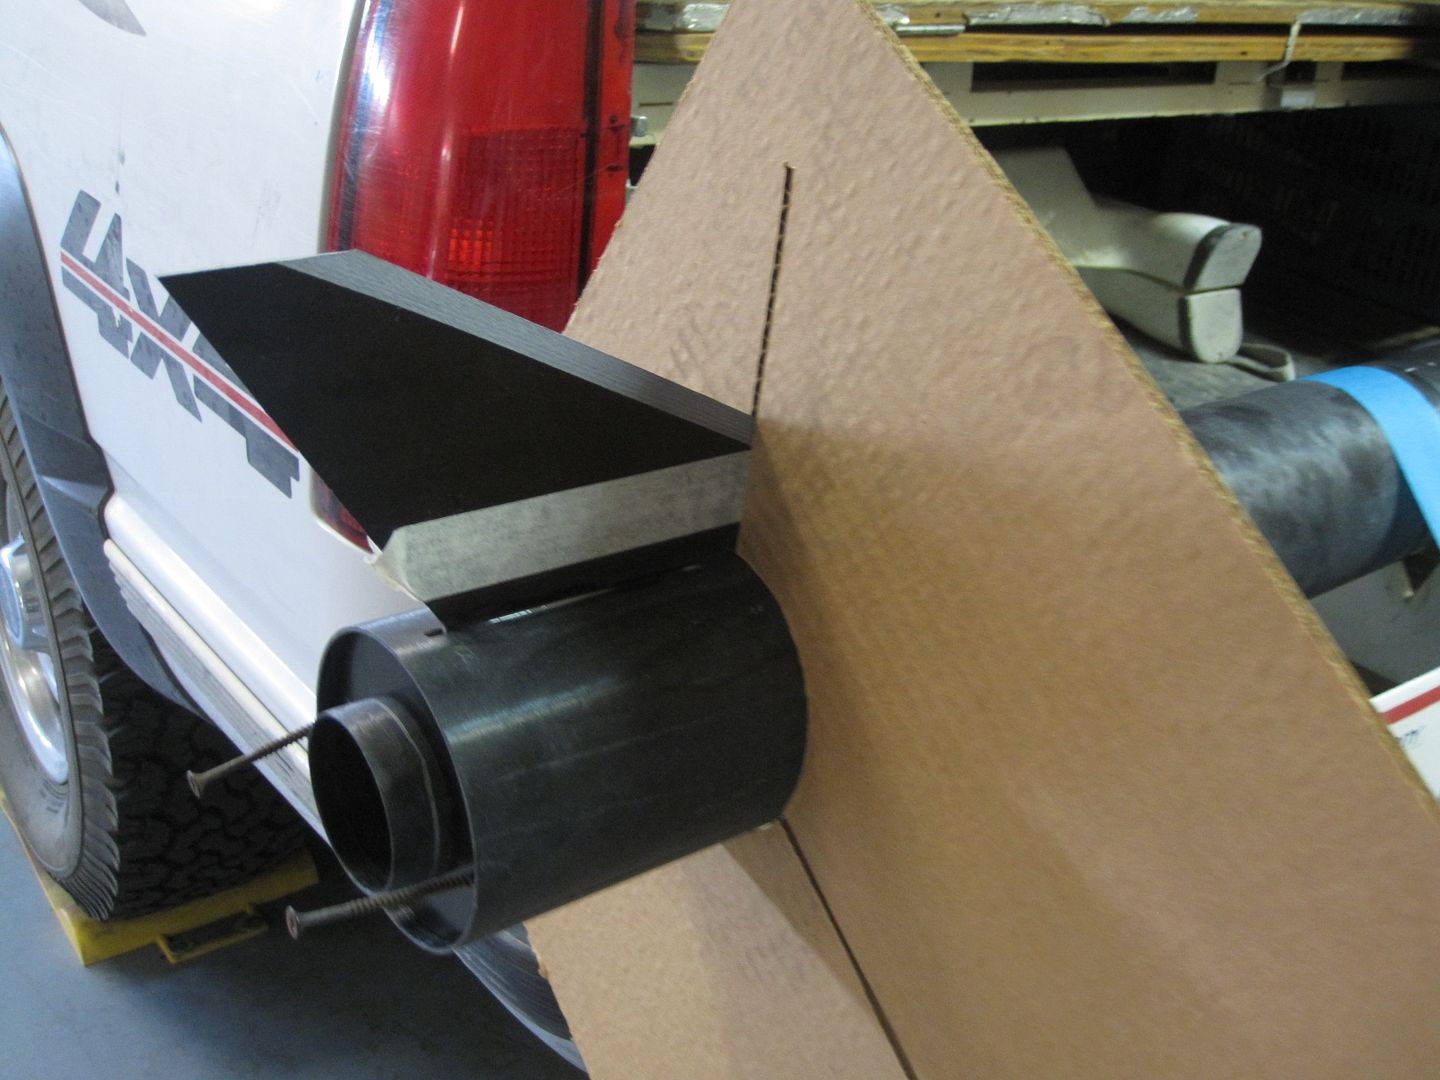
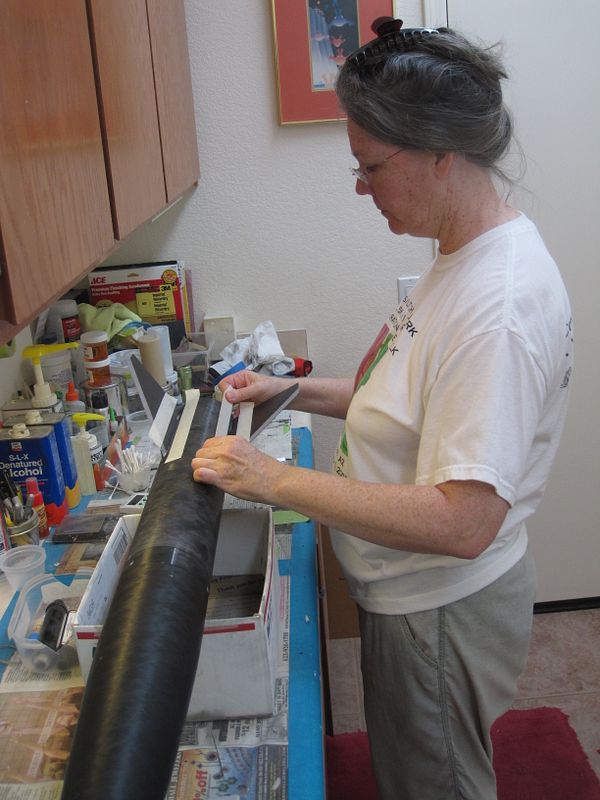
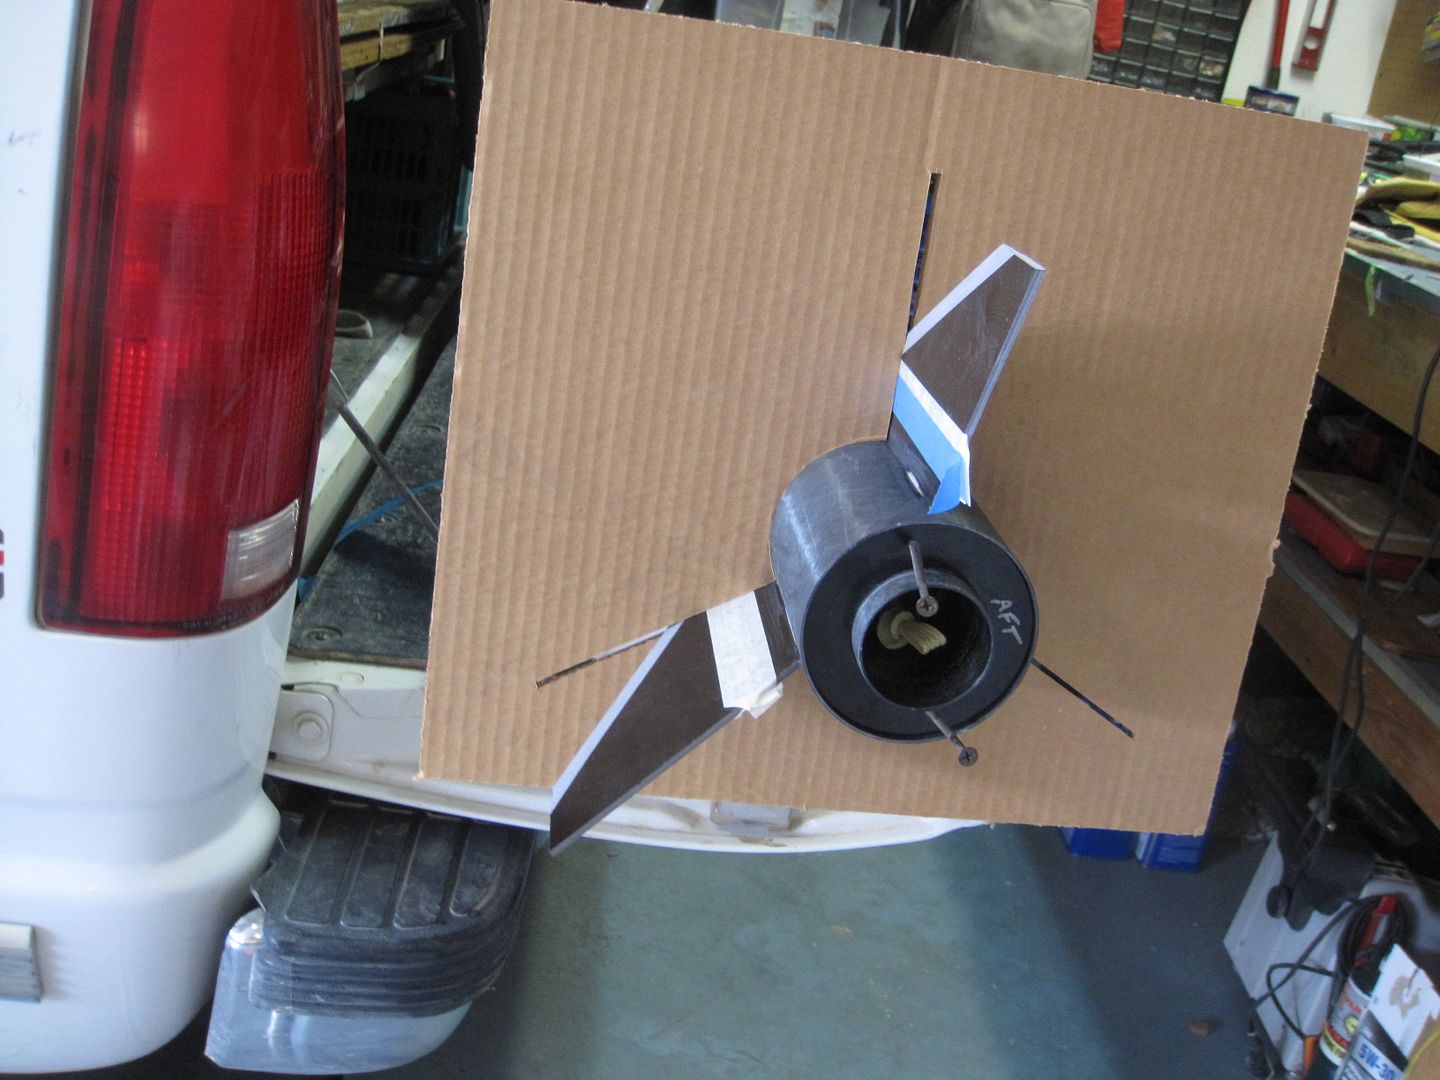
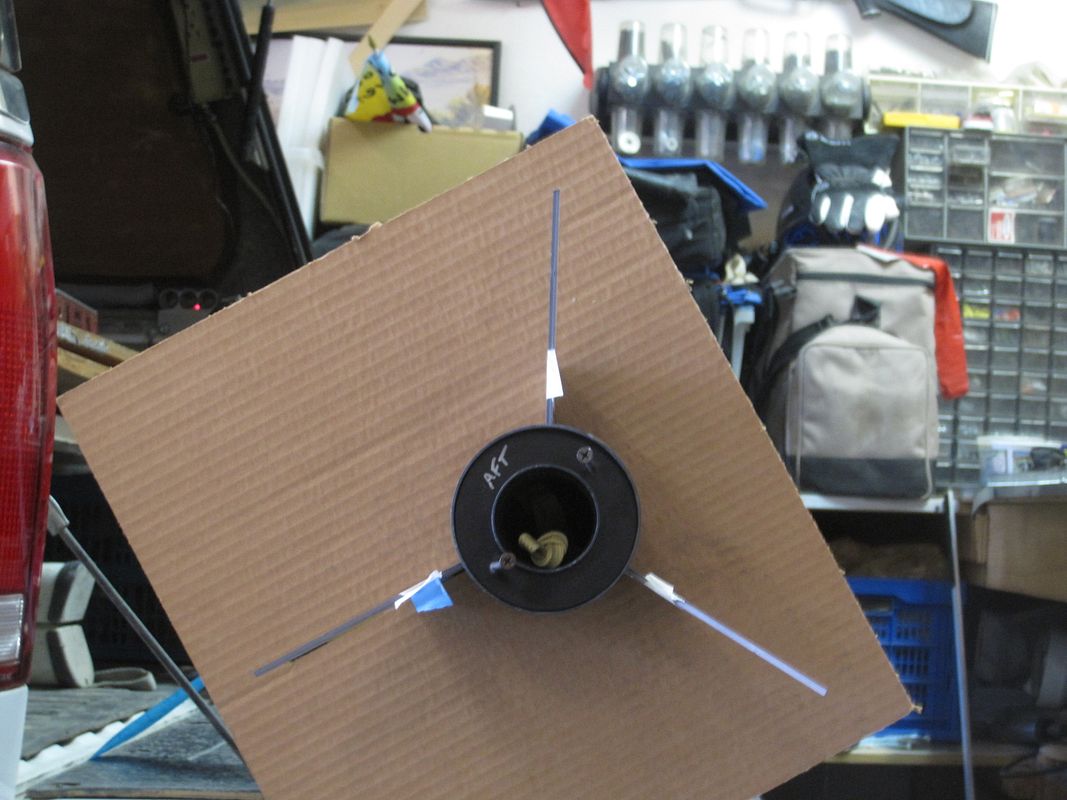
Went to payloadbay.com, measuring accordingly and printed a guide. Wayne put it on cardboard and cut it out for me (I did mention I have trouble with straight lines.....)


027.jpg


028.jpg


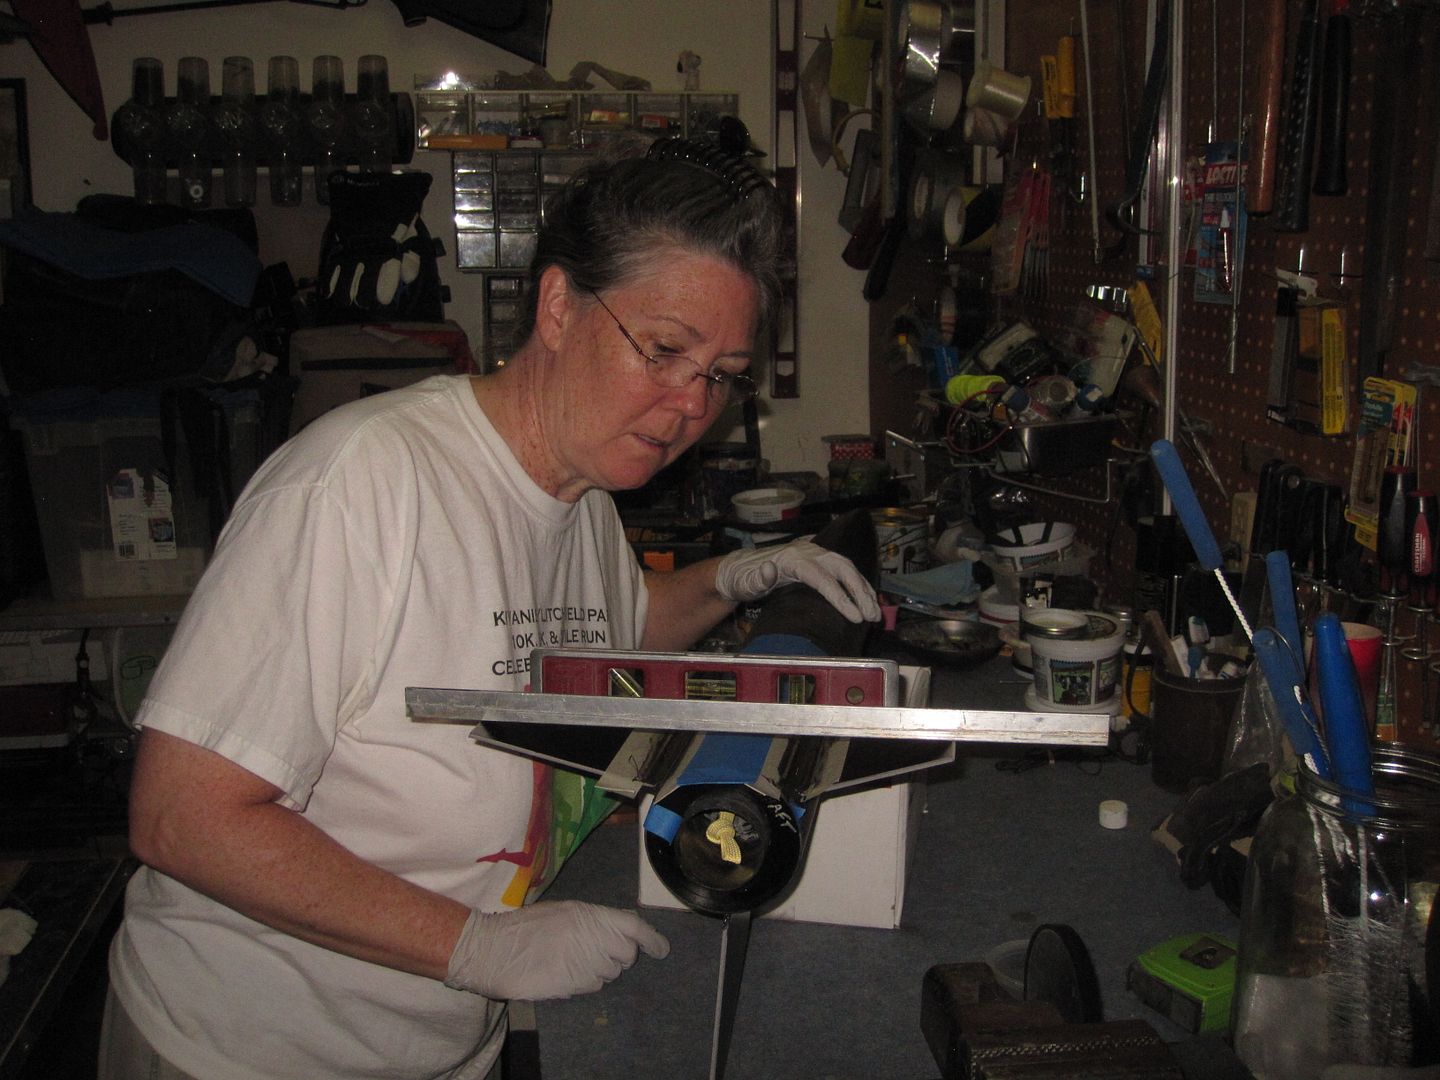
Inserted the motor mount tube into the fin can and screwed two wood screws into the rear centering ring so I could get it off again and drew lines on the motor mount tube through the fin slots to make sure I had rotated where the fins go away from where the encapsulated kevlar was. I needed to sand down just a little bit of epoxy (damn straight lines!) on the motor mount tube by on the the straps.

EDIT: Next build draw these before placing the kevlar, then tape over the lines to keep kevlar off - add to lesson learned list.....

029.jpg


Then I taped off the fins and sanded and drew my fin lines so I know when I put the fins in I had the seated all the way down to the motor mount tube

030.jpg


The curing oven, I mean the garage, was nicely hot and so I mixed up 30 grams of Rocket Poxy, resanded the root area of the first fin, wiped it off with acetone, buttered the root edge and set the fin and adjusted the fin guide:

031.jpg


Went upstairs to the office and did a job and came back and did fin #2

032.jpg


back upstairs to do another job and then back down for the last fin

034.jpg


Time for lunch: Smoked Chicken casserole (imagine that)
 
Last edited:
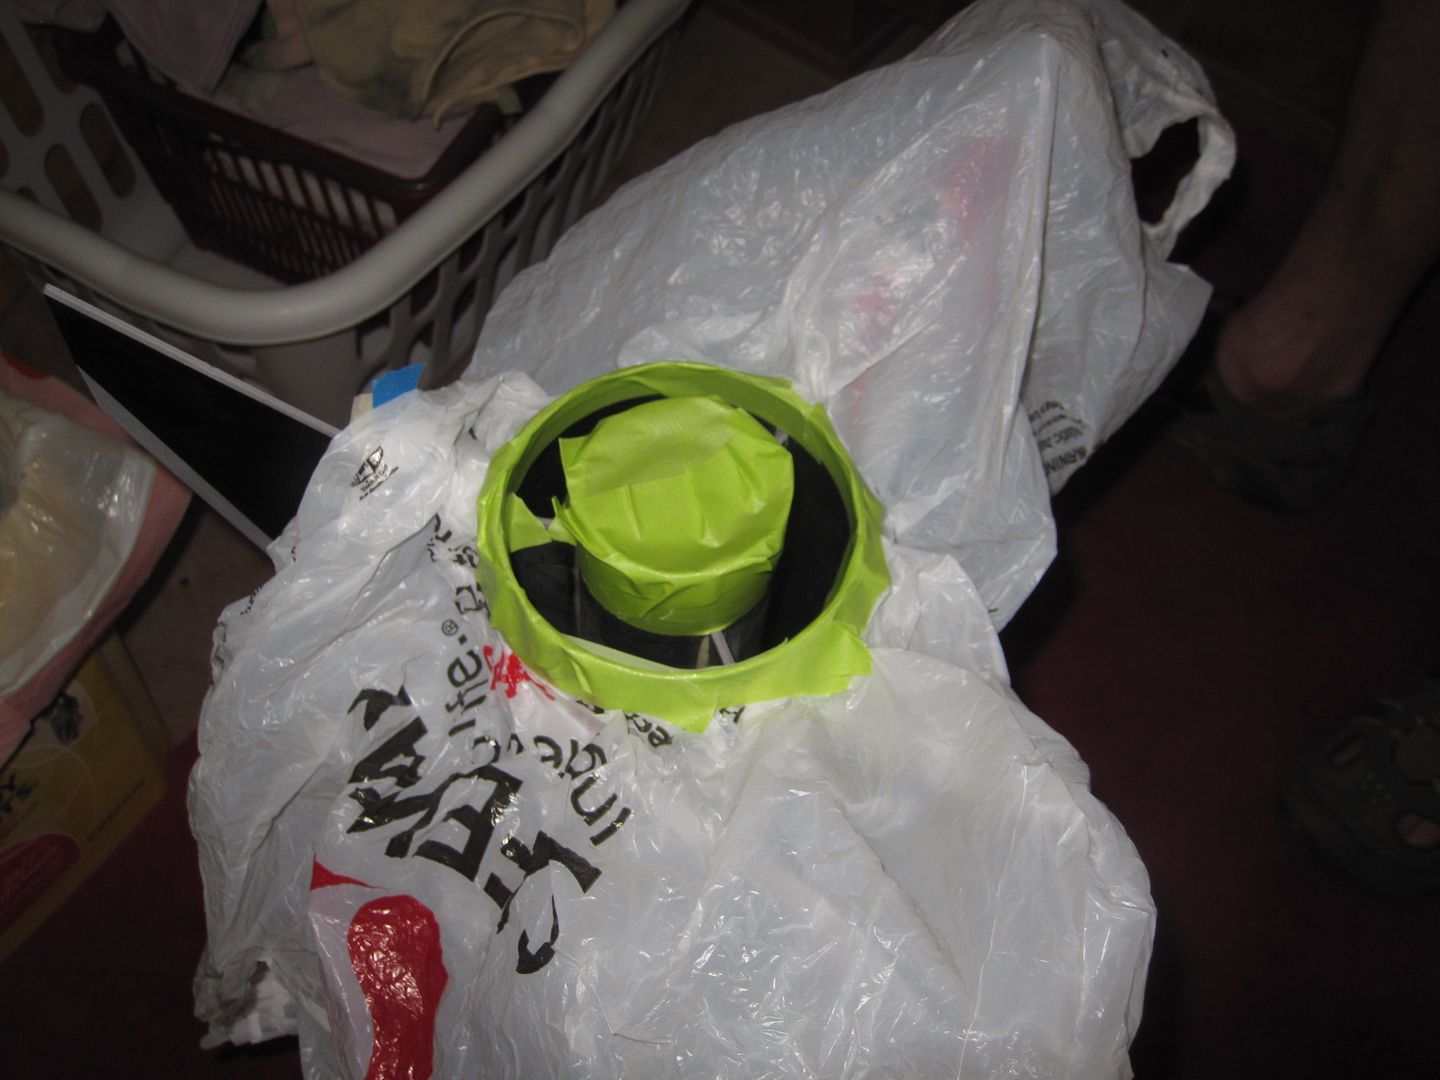
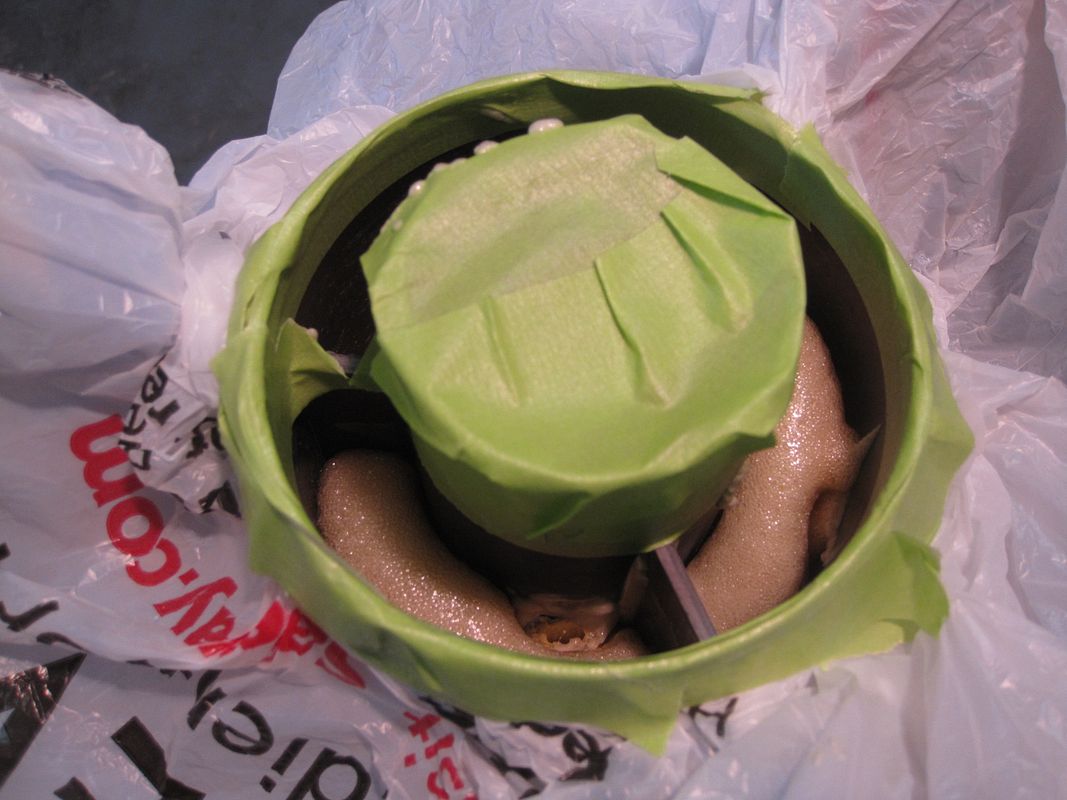
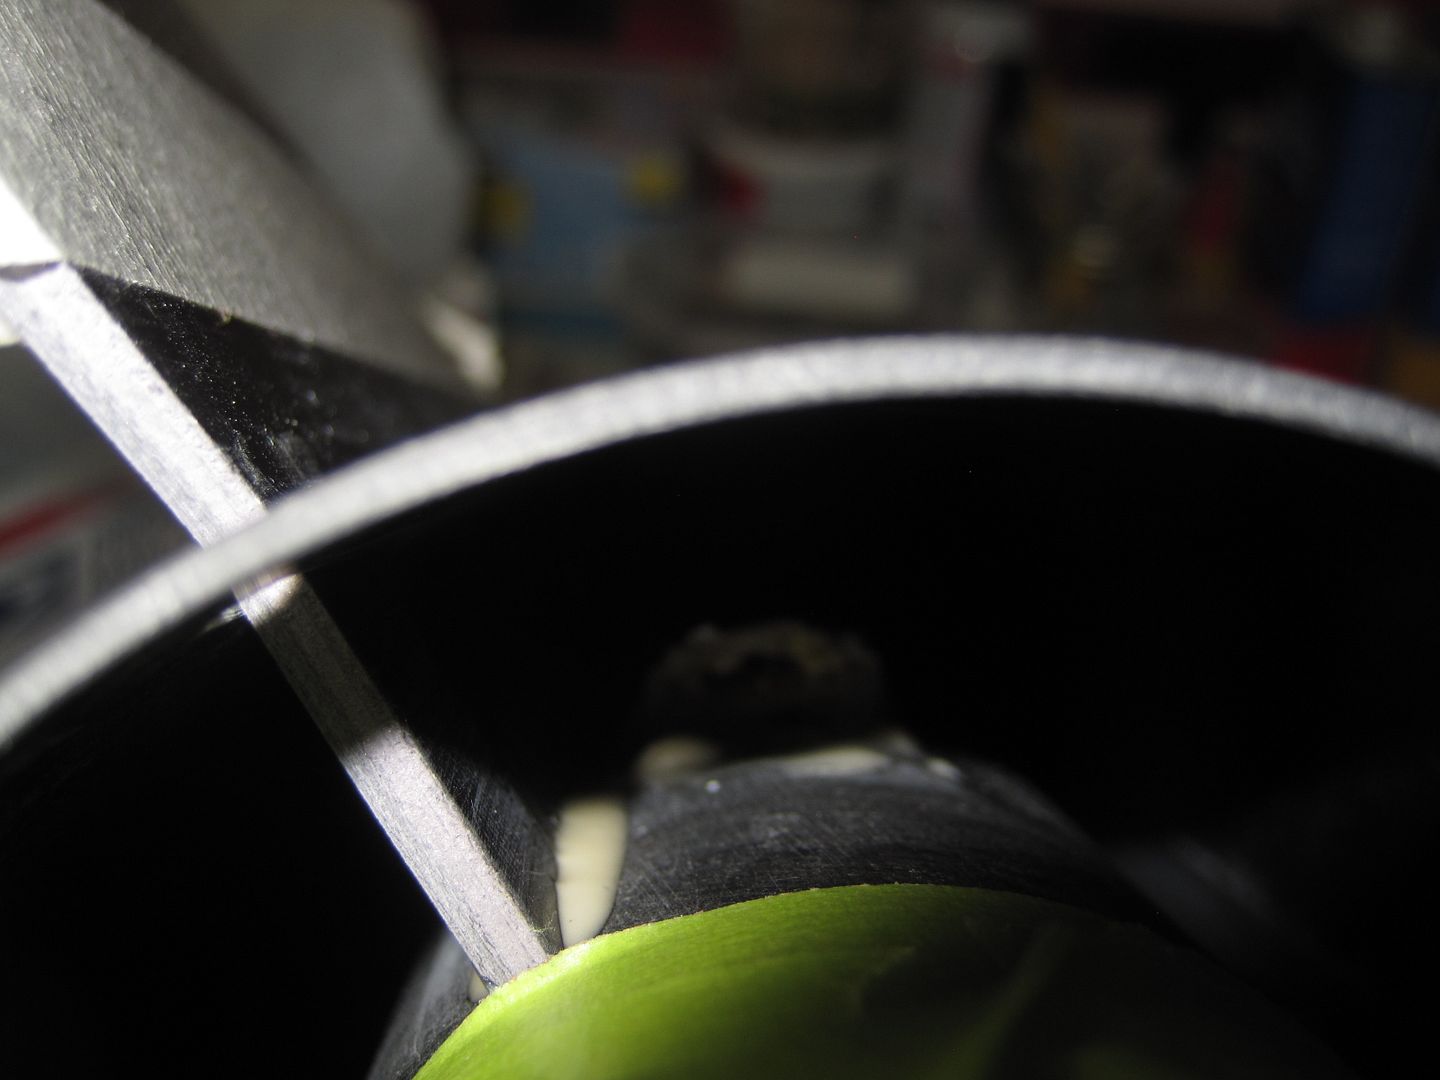
So, get back from lunch and take off the rear centering ring and assess my internal fillets. I looked at it and determined that I was not going to do internal fillets a la CJ, but to just foam it part way.

042.jpg


So, taped it all up, including the front of the forward centering ring

044.jpg


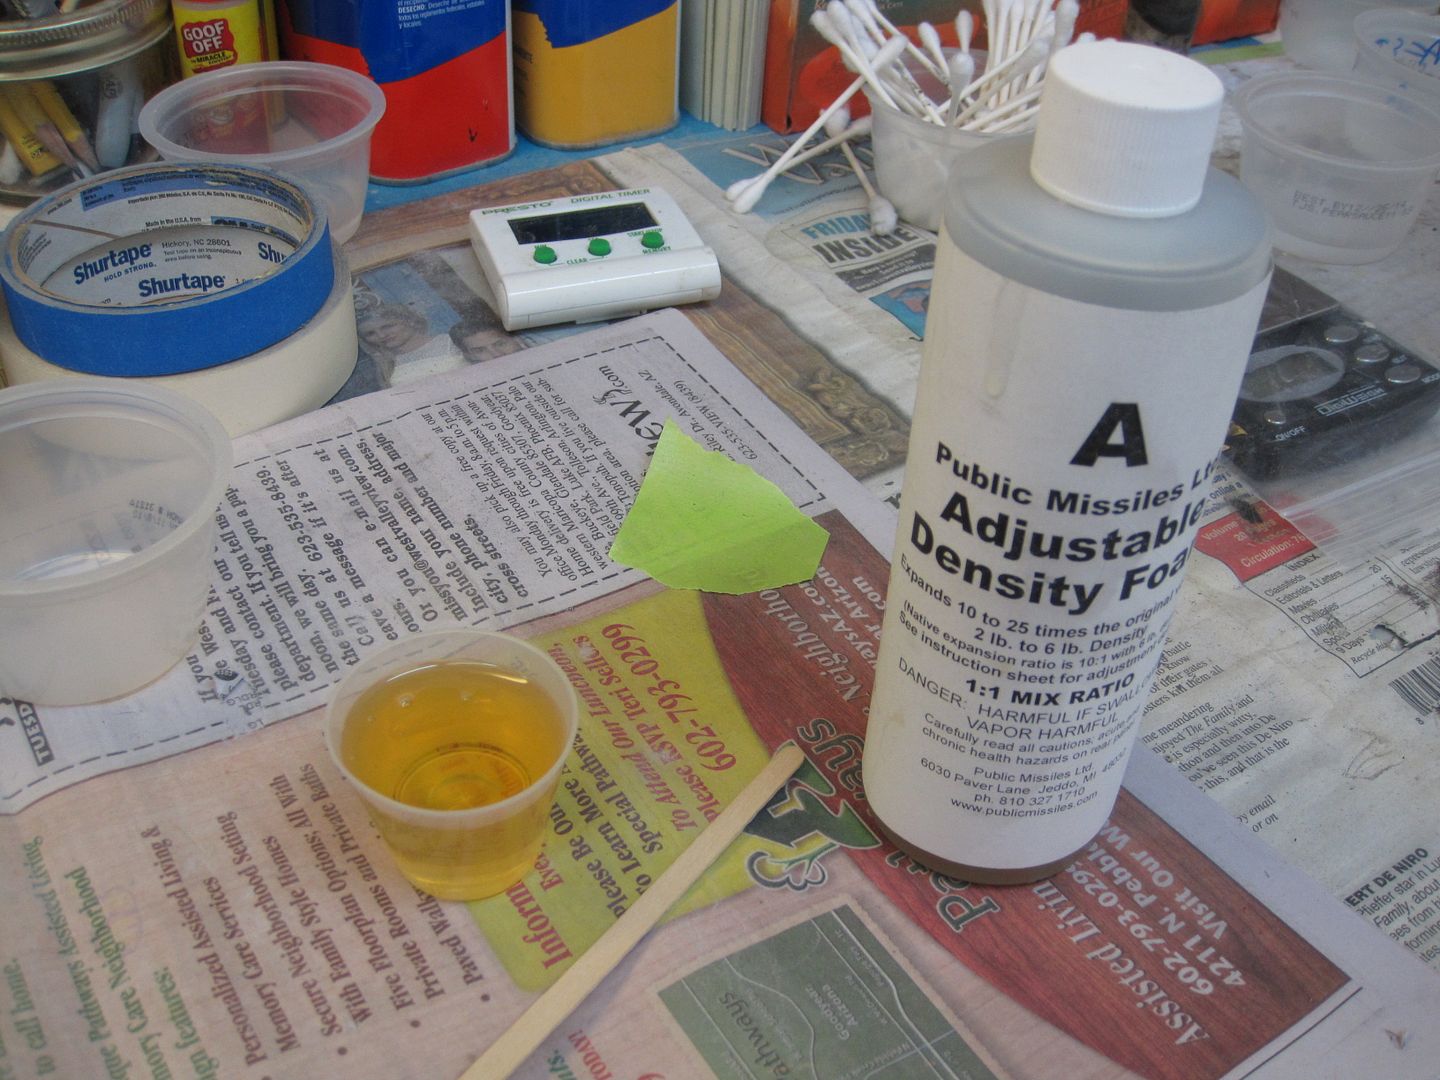
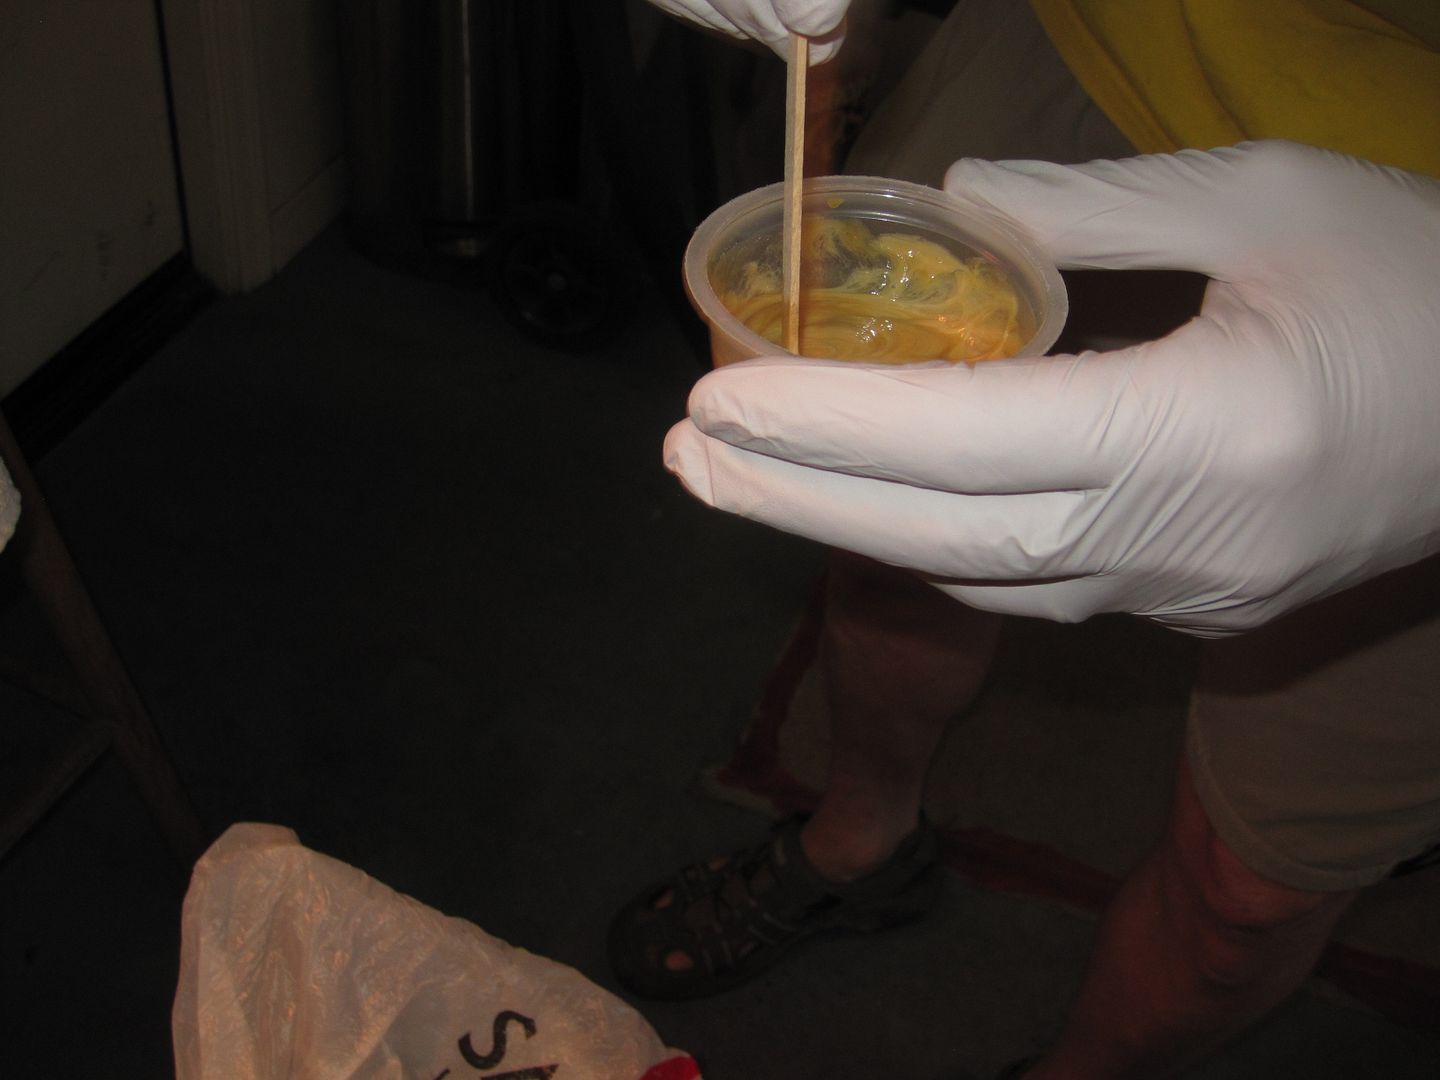
and mixed up 1 oz part A with 5 drops water with 1 oz part B

045.jpg


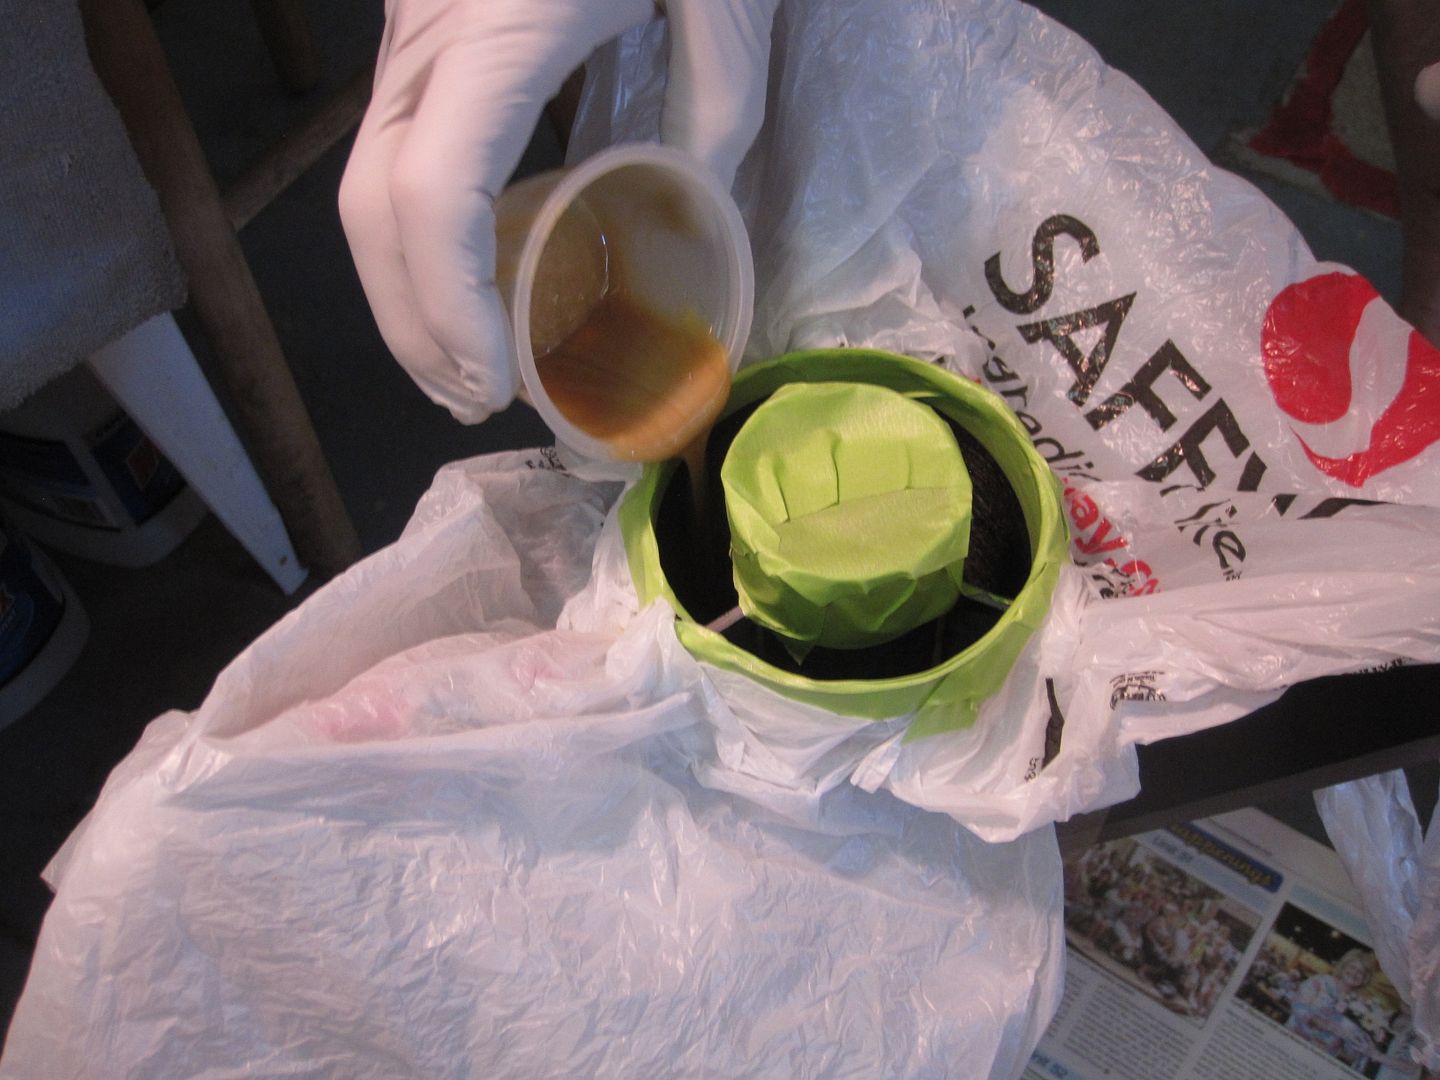
and had Wayne pour it in since I was afraid I'd pour it all over the place (I'm SURE it has something to do with straight lines....)

046.jpg


047.jpg


052.jpg


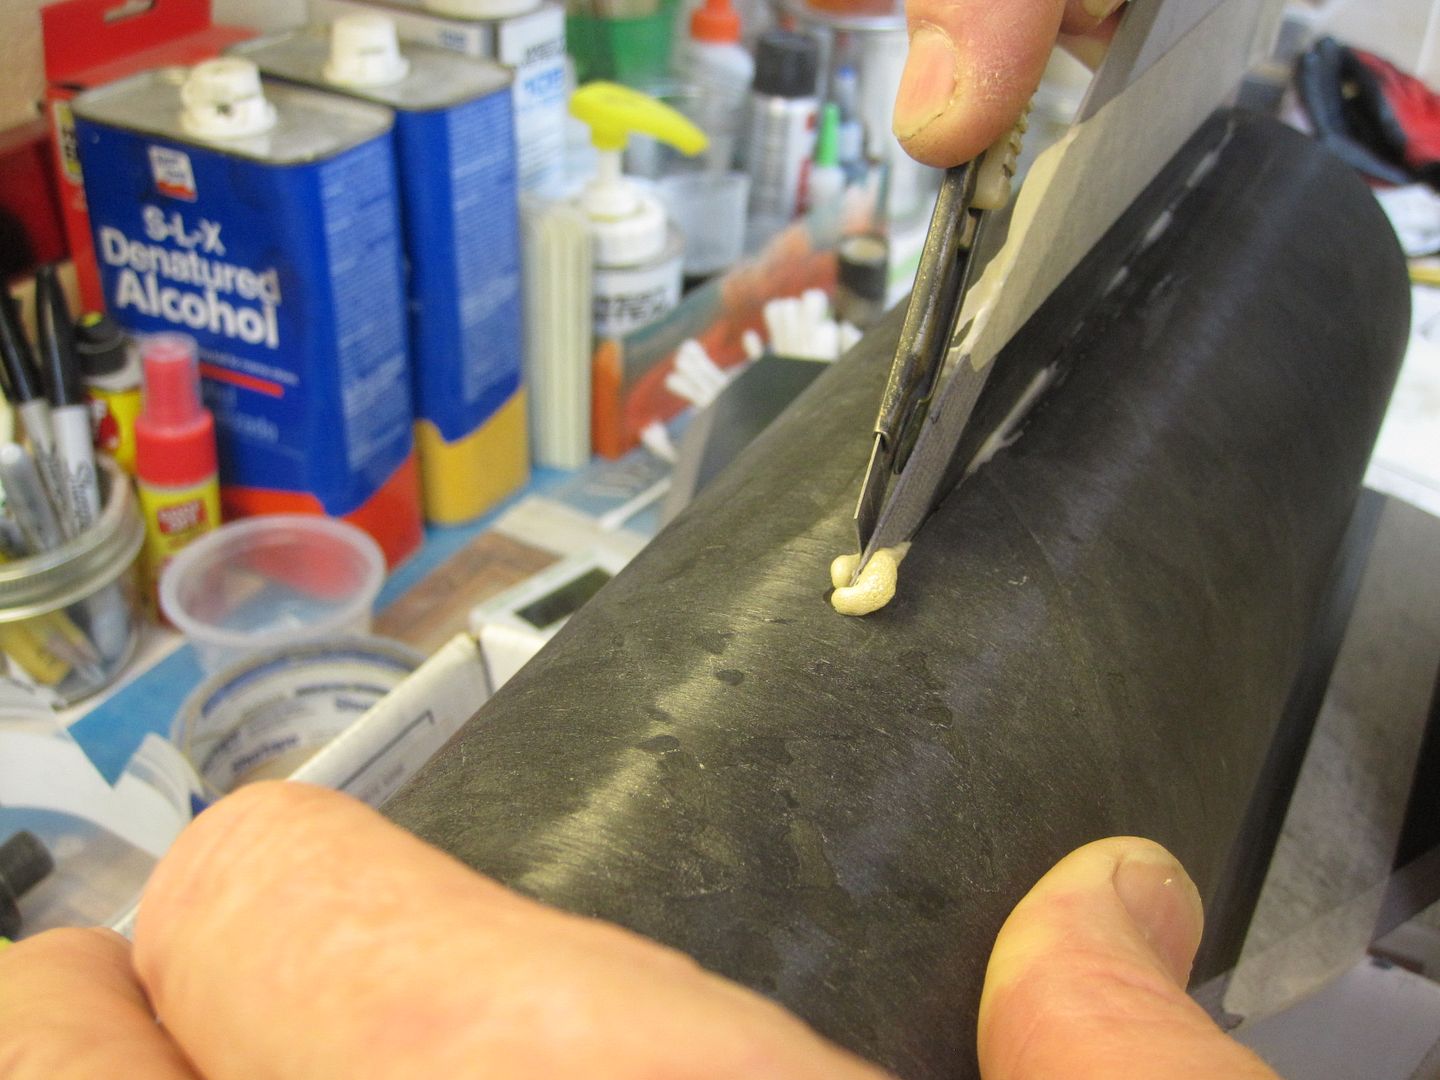
Since I'm not real good with Sharp Instruments either, Wayne trimmed the little amount of foam the came out of the top of the fins for me.

059.jpg

 
Nice build thread!
Great looking rocket too!

Couldn't help but notice the pillow in the second picture. Surely it's not what it looks like, or is it?

JP
 
Okay, now it was time to put on the rear centering ring and start the external fillets.

061.jpg


Measured and taped

069.jpg


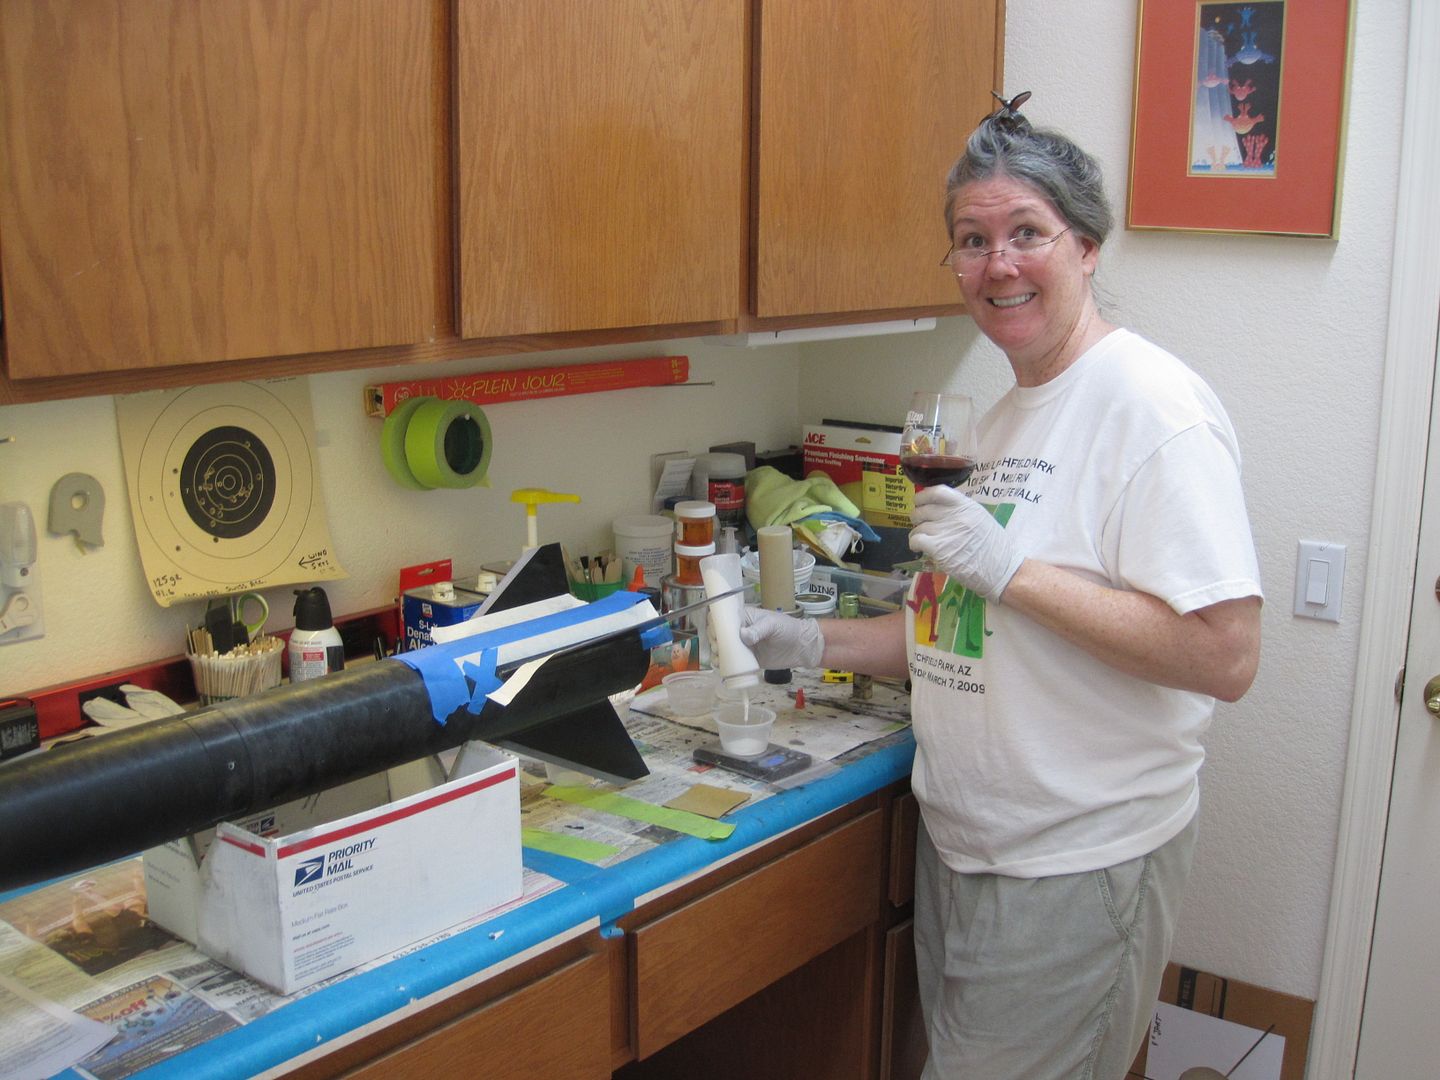
mixed 30 grams rocket poxy and had a glass of wine

072.jpg


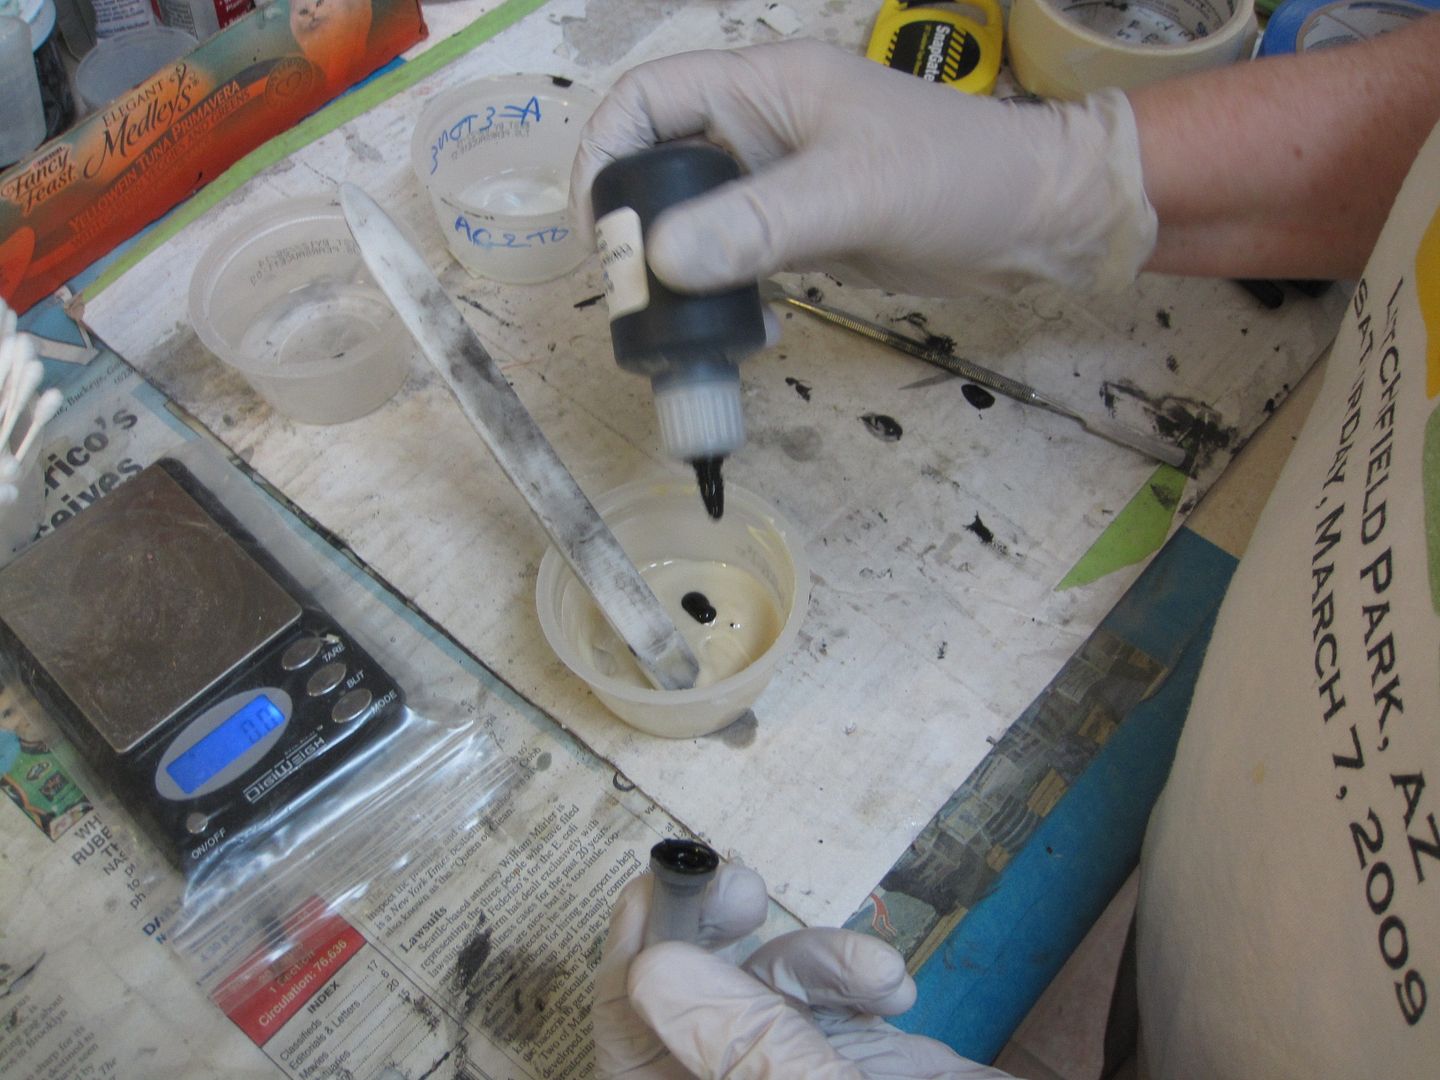
Tinted the epoxy

074.jpg


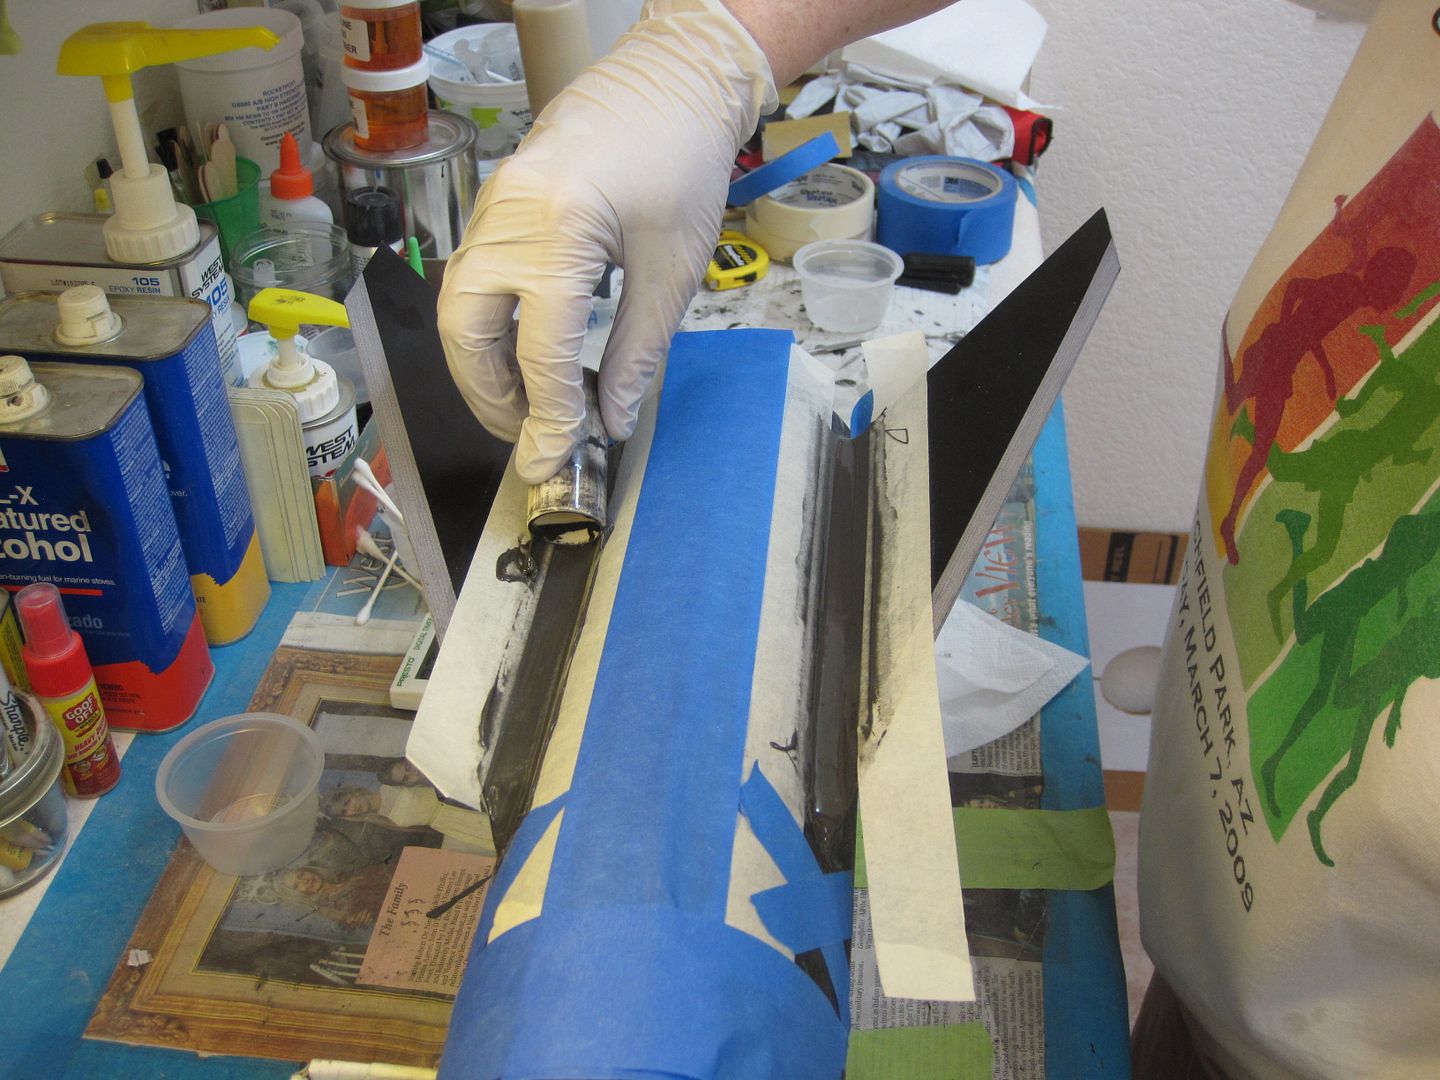
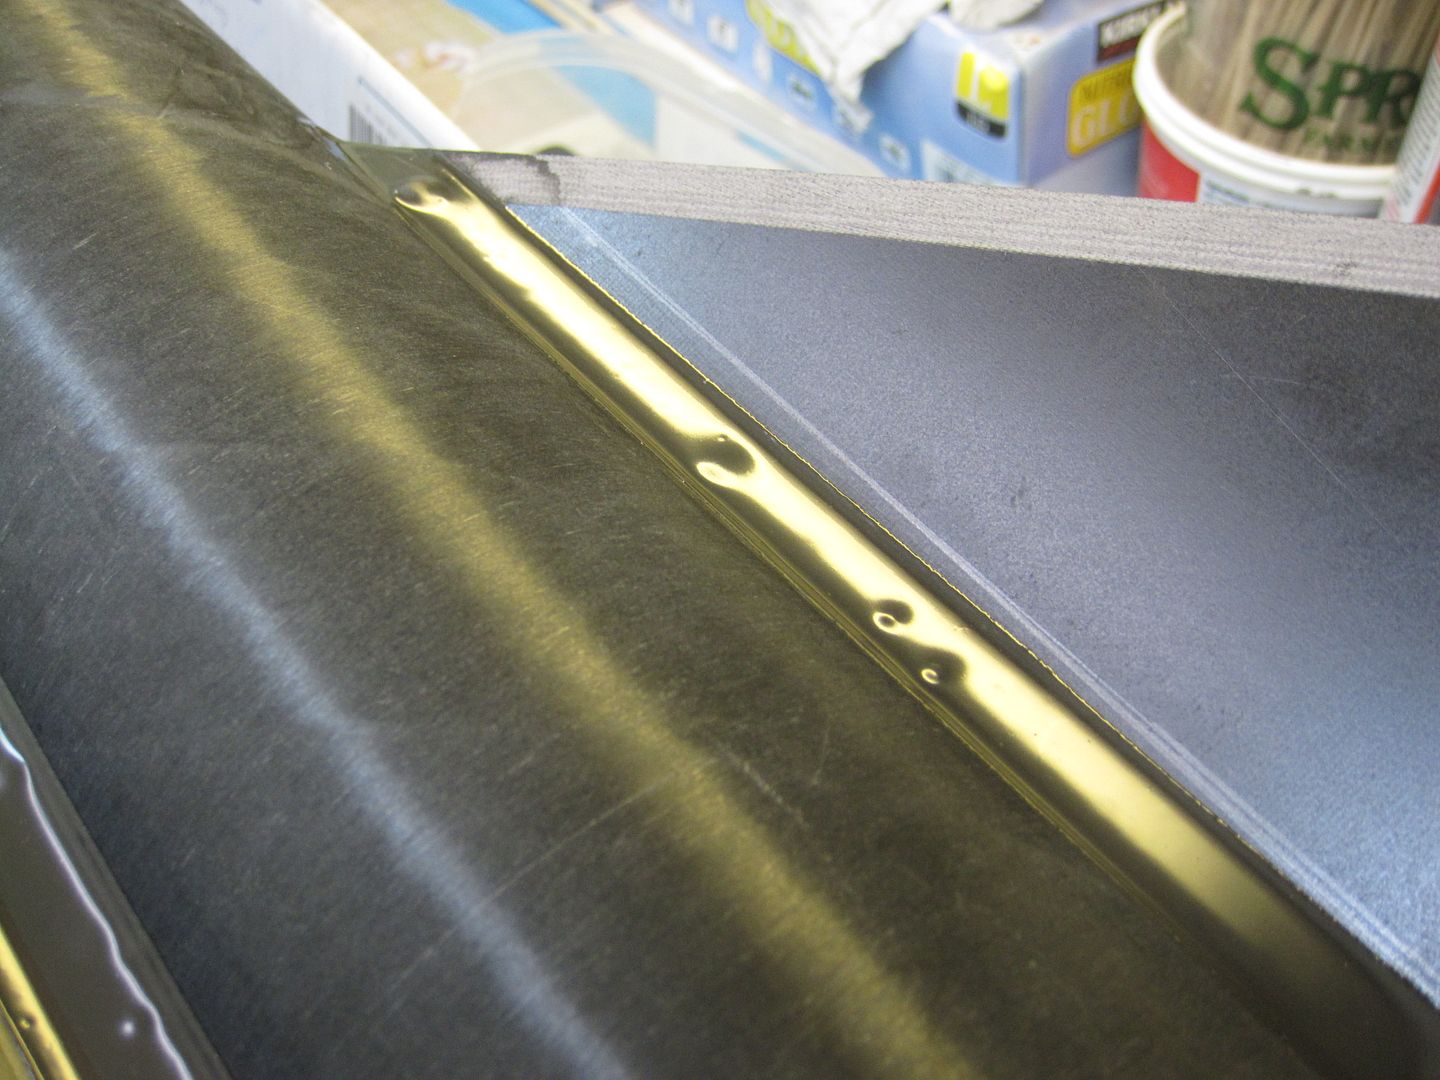
sanded, cleaned, poured:

083.jpg


Put out in curing oven:
088.jpg

090.jpg


and sure enough, got bubbles

067.jpg


Oh well.
 
Nice build thread!
Great looking rocket too!

Couldn't help but notice the pillow in the second picture. Surely it's not what it looks like, or is it?

JP

Ya gotta check which way it's whirling:

https://nativeamericanjewelrytips.w...native-american-symbol-whirling-log-swastika/

The Whirling Log symbol is associated with a narrative involving a man (sometimes called the Culture Hero) who takes a journey down the San Juan River in a hollowed out log canoe. During his adventure, he encounters whirlpools and a special event where the San Juan River meets the Colorado River. There he comes upon a whirling cross with Yei figures seated on the cross. From the yeis he learns much knowledge which he takes back to his people.

I do alot of research on ancient native american artifacts and prefer the historical representation and ignore the more recent European mis-usage. More information here:

https://en.wikipedia.org/wiki/Swastika


I see. Dyslexic moment for me, nah, that's not it either.
The more I looked, it appeared to me that it wasn't turned like the dreaded other sign.
My Great Great Grandmother was Half Indian.

Nice work Sharon!

JP
 
This is an excellent build thread.

When you / Wayne poured in the expanding foam about how high up did it get within the fin can. Is this something you want to have come to the very top and then trim to fit?
 
I see. Dyslexic moment for me, nah, that's not it either.
The more I looked, it appeared to me that it wasn't turned like the dreaded other sign.
My Great Great Grandmother was Half Indian.

Nice work Sharon!

JP

Thanks. Appreciate that you are viewing my thread. Posting my builds is good practice for my Level Three write up planned for next year
 
This is an excellent build thread.

When you / Wayne poured in the expanding foam about how high up did it get within the fin can. Is this something you want to have come to the very top and then trim to fit?

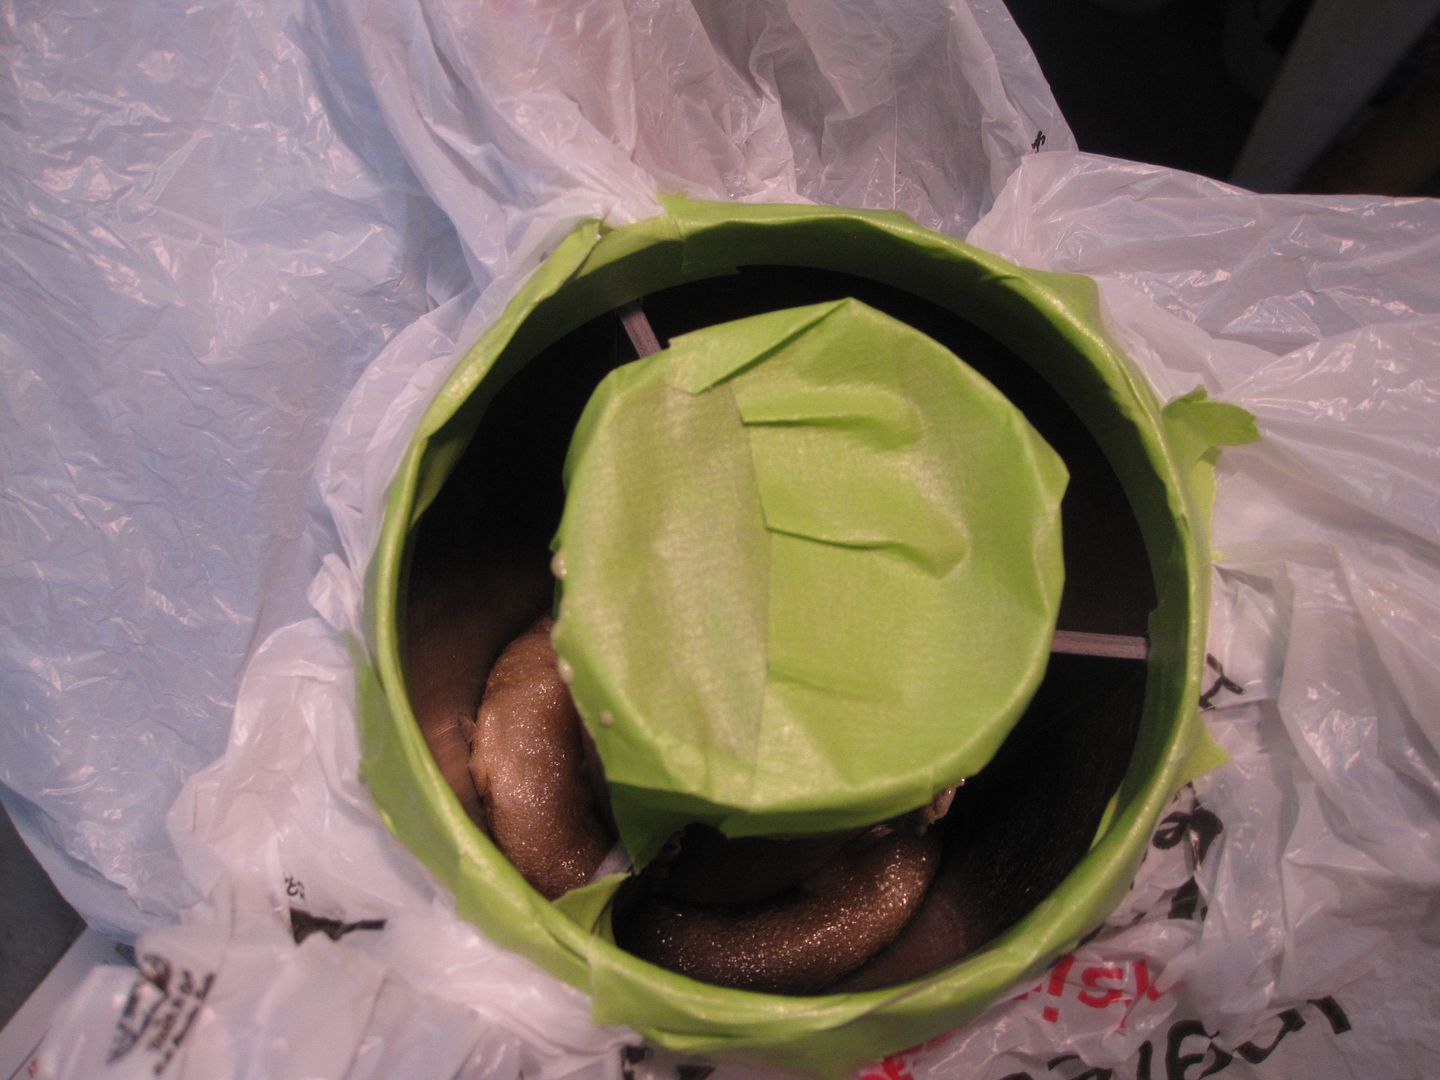
For this particular build I really was only planning to put in enough to firm up the attachment of the forward centering ring....but got frisky and since I couldn't get the top of Part B off, Wayne cut it off and there was 1/2 oz left after the first pour. So mixed it up and poured it in too. I know it will move the CG back a little but since I didn't do internal fillets I am okay with the weight especially since using the drops of water it lowered the density . Here is how it ended up:

054.jpg


In other builds in which I have foamed the fin can I have made the mistake of filling to the top, then it foamed over and was a complete mess to clean up (hence all the plastic bags taped around the fin can). I now try for multiple small pours (which also helps diffuse the heat) and try to keep away from the area of the rear centering ring.

To answer your questions, no I don't want it to come to the top, but close to the bottom of the rear centering ring and then once I attach it the back is nice and clean. But that is just the way I like to do it.
 
Back to the build:

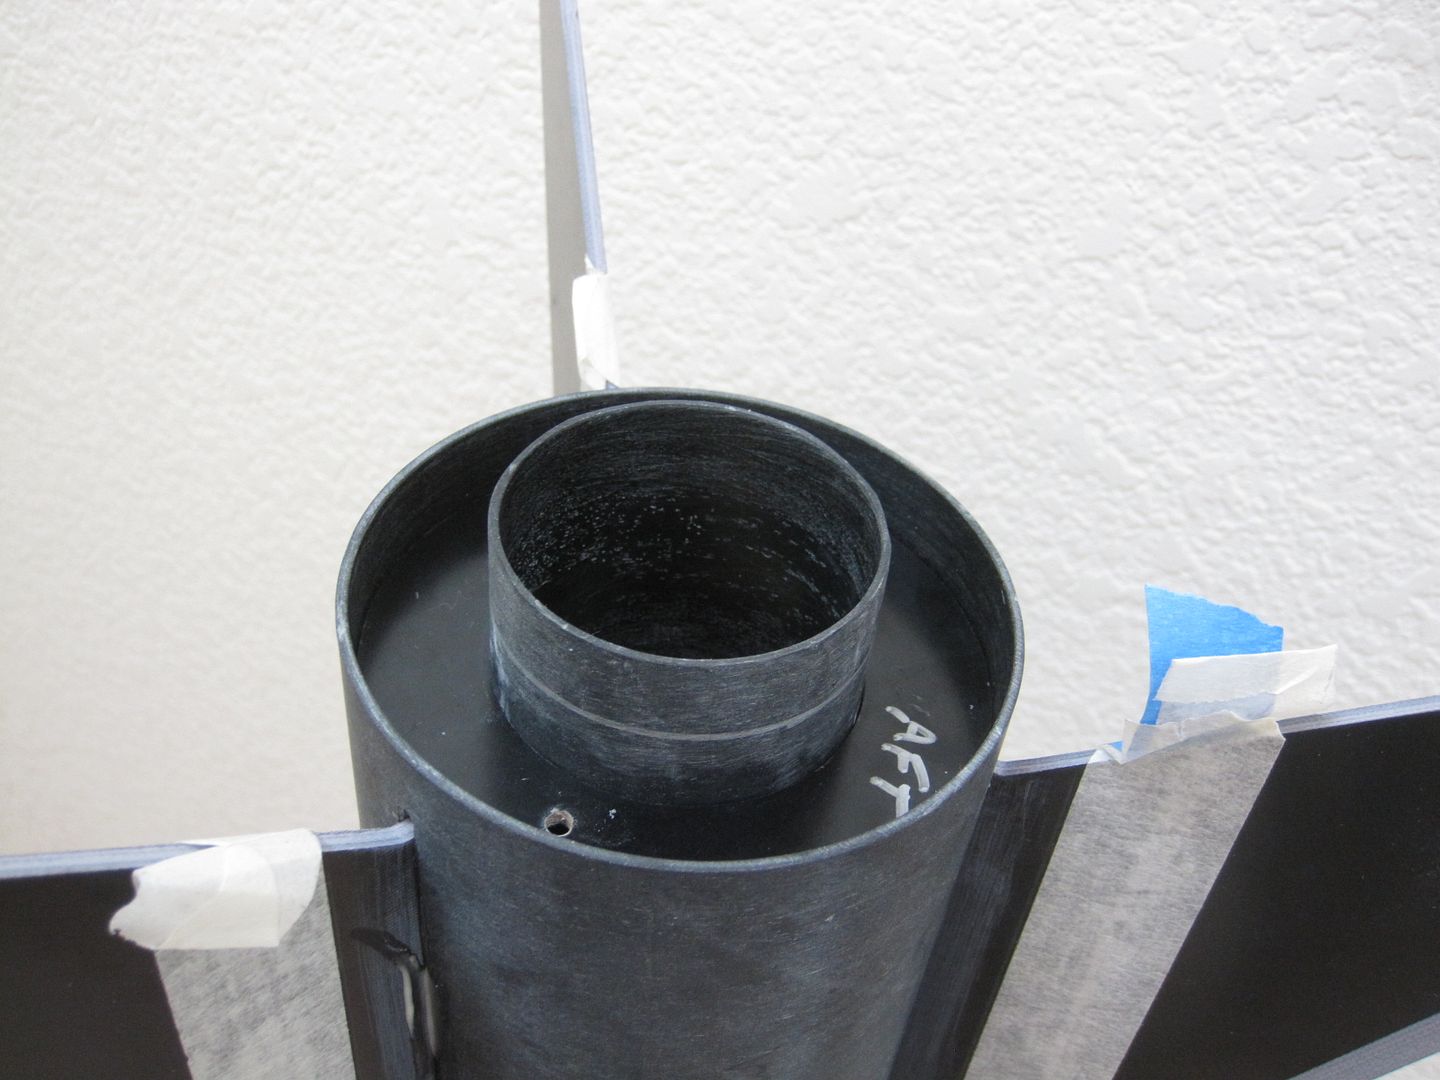
Next up was to epoxy the Aeropack retainer on.

IMG_3463.jpg


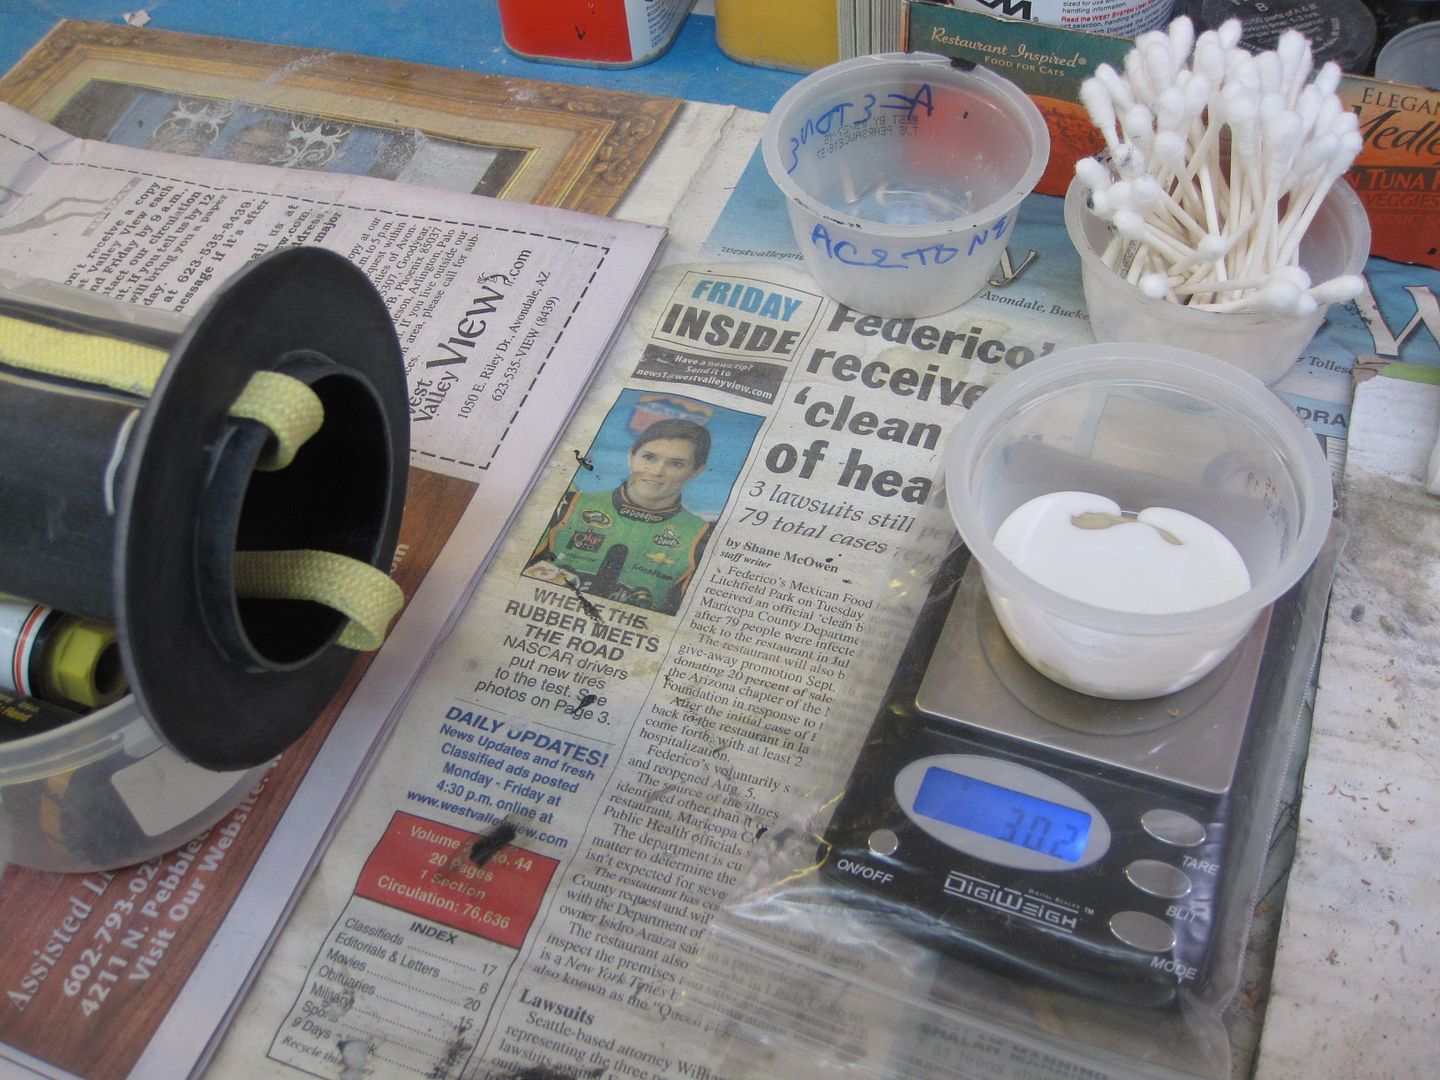
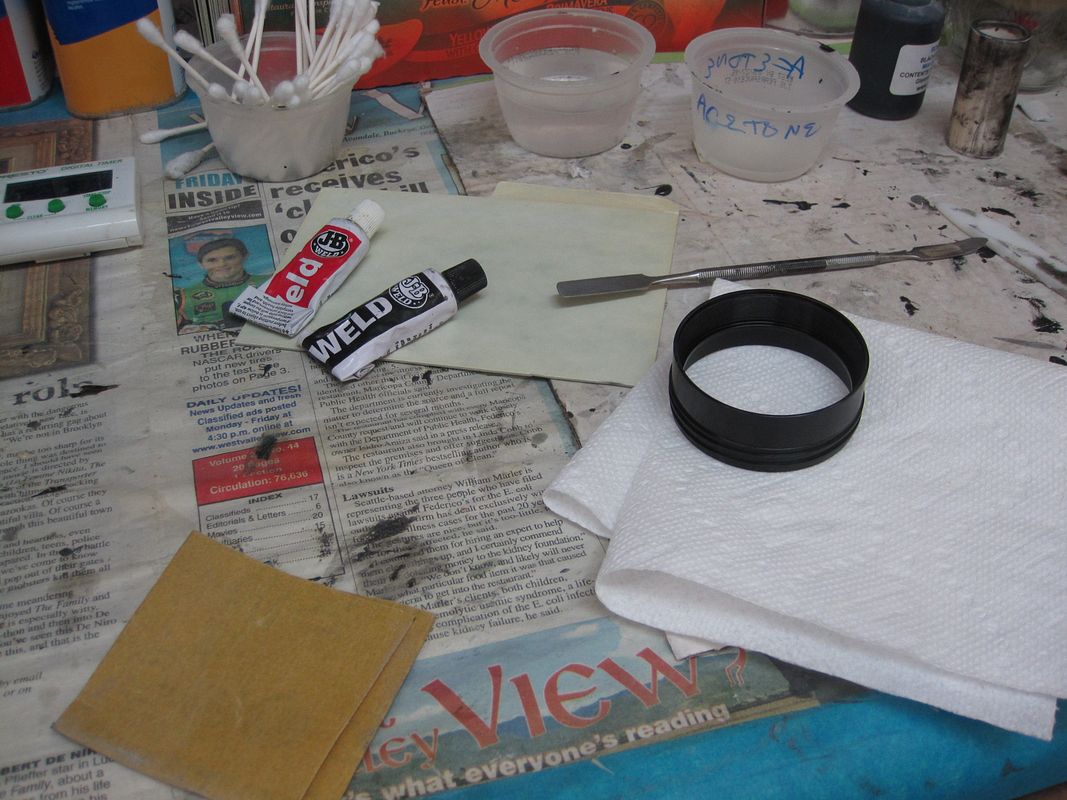
Got all my supplies together and mixed up equal parts of JB Weld, then "excited the molecules" by sanding and wiping with Acetone both the fin can and the retainer rings, then painted JB Weld into the retainer, making sure to push the epoxy into the rings

IMG_3465.jpg


and then painted it onto the rear of the fincan, keeping it above the silver line I drew during the sizing/fit portion of the build

IMG_3466.jpg


well, mostly - it's that straight line thing again....

Twisted it on and then cleaned it up inside and out and put it out in the garage to cure for 24 hours.

IMG_3467.jpg


next up will be starting the avbay but first I gotta go up in the office and get out some work.
 
Last edited:
Nice build.. thanks for sharing !

Damn straight fins !

Kenny
 
That PayLoadBay is a great site for some tools that help with building and yes I agree with Ken Damn Straight fins!!

This is a very well documented build. I'm enjoying this. What I like most about your build Sharon is how on each phase of the build you have all your supplies and components that you need ready and everything is nicely organized. I feel this helps with a successful build because you're not fumbling around looking for things and it's easier to stay focused on what you are doing. You are also taking your time.

Great work!!

Thank you for your kind words. Each build I complete I feel I am getting more organized and performing my tasks in a more ergonomic fashion, but I still make mistakes and I am definitely not at Wayne's level at esthetics. I can handle a few bubbles in my fillets whereas he will scoop out his and redo them.


Sent from my iPad using Rocketry Forum
 
Sharon,

I am enjoying the build. Nice clear pictures and good descriptions.
This will be a good resource for someone else in the future.

I love Rocketpoxy and I rarely get even a bubble in my fillets.
When you mix it install try not to mix in too much air. I use a bamboo skewer to mix it and then to help pour it out of the Dixie cup that I mixed it up in. If you let it sit for 1-2 minutes before pouring it into the fillet it helps some of the air bubbles to raise to the top in the cup and not in the fillet. Then pour into place. You can also use some heat from a heat gun or hair dryer to get some of the bubbles to rise out but I have found that the technique stated above does a good enough job that the heat is not necessary.

Keep up the good work.

Anthony
 
Just a reminder for next time, the instructions say allow 15 minutes for it to de-gas. Something I've have not noticed, until recently.

By the way did your rocket poxy come in ketchup squirt bottles or did you buy them and put the epoxy in there?


Alexander Solis

Level 1 - Mariah 54 - CTI-I100 Red Lightning Longburn - 6,345 Feet
 
Just a reminder for next time, the instructions say allow 15 minutes for it to de-gas. Something I've have not noticed, until recently.

By the way did your rocket poxy come in ketchup squirt bottles or did you buy them and put the epoxy in there?


Alexander Solis

What? There's instructions?

Just kidding......

We bought the ketchup squirt bottles and put the epoxy in them. Once we use them we toss 'em. Locally we have a place called Smart N' Final which carries 6 packs of these cheap.
 
Back
Top