Great build thread. Finally got to fly my Jimbo Jart at ROCStock last month. [video]www.youtube.com/watch?v=uLvPmKpb6Iw[/video]
Good luck vs CJ, but I 'd watch carefully. Word is he has some kind of super motor starter he uses in drag races. I'm sure he'd let you use one if you asked though
")
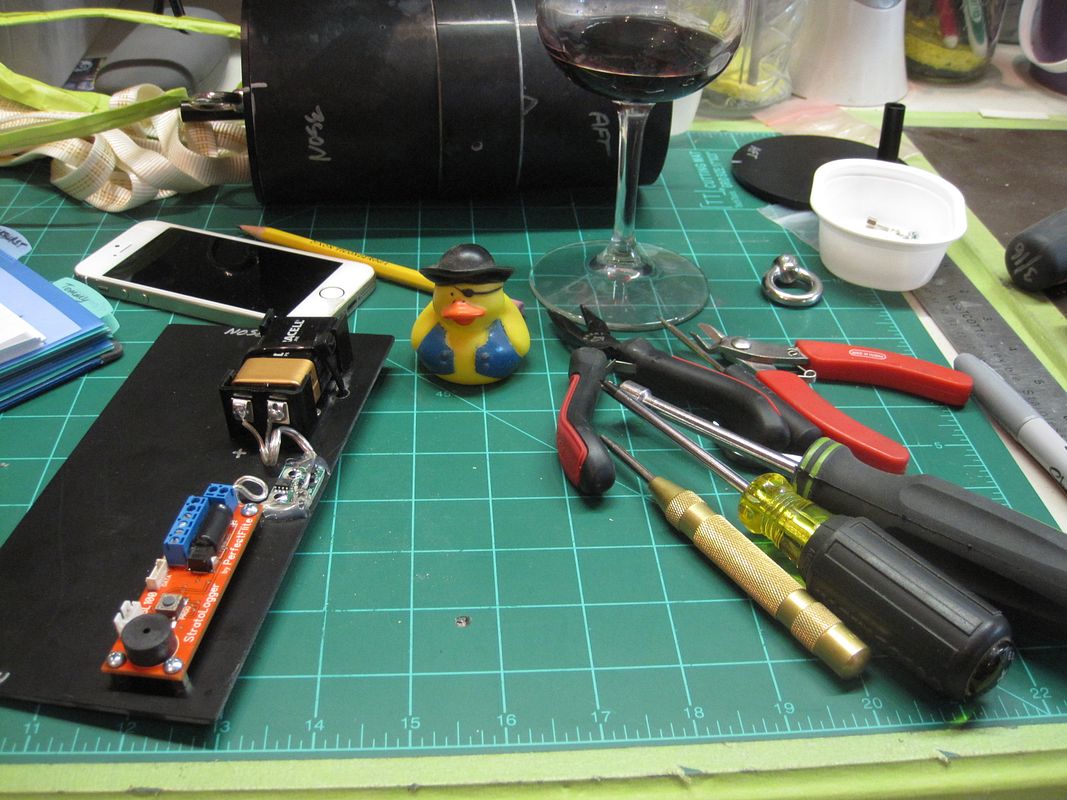
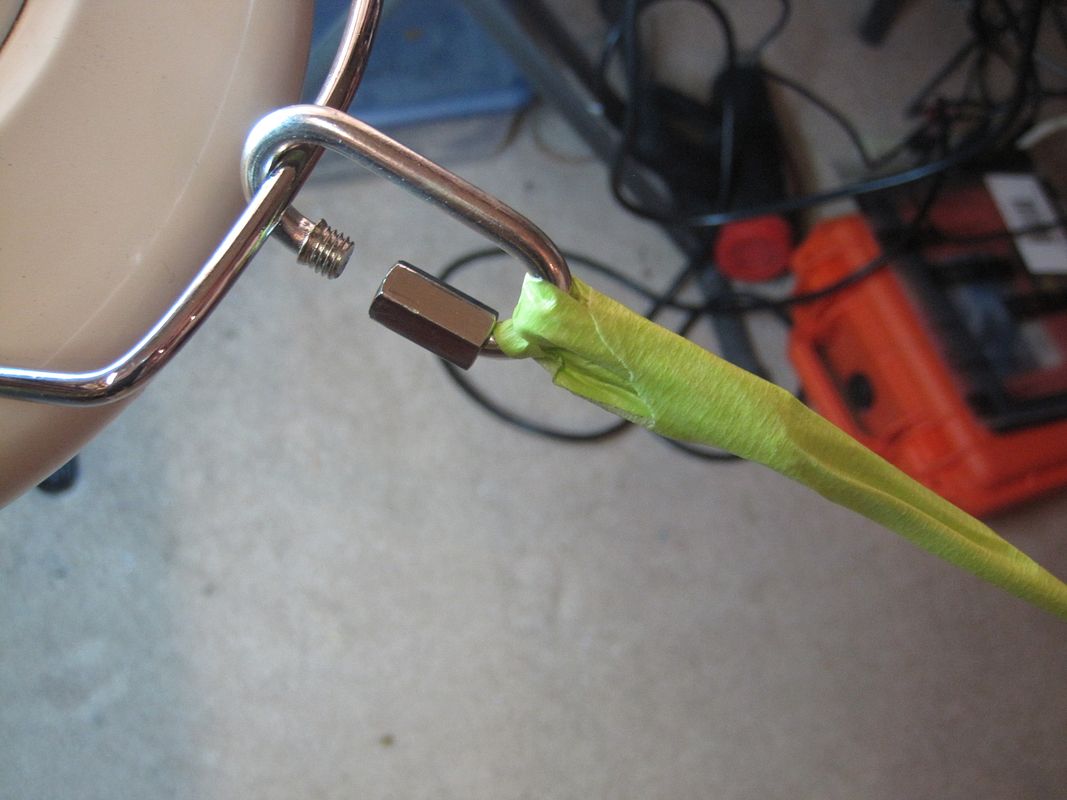
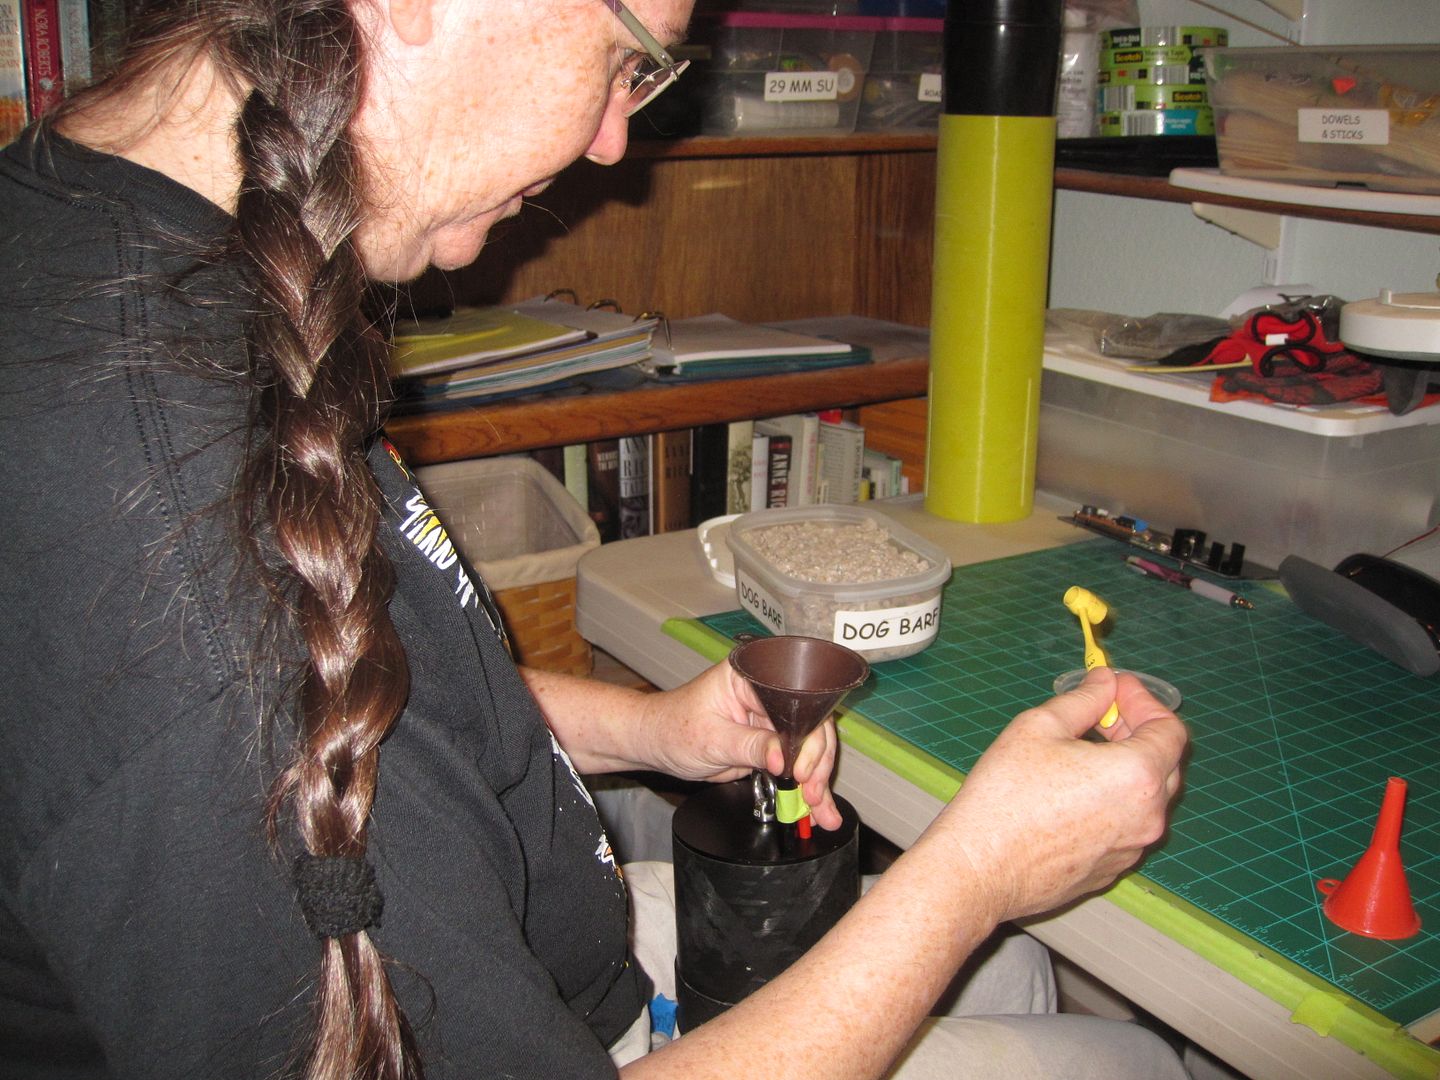
My RocketPoxy experience has been a little different. I do not see the number of bubbles you and Wayco are getting. Sorry to see all your recent headaches. I am building in a similar low humidity warm climate and it looks like we use similar mixing and application methods. I do all my fillet mixing in the little 1-2 oz. cups using chopsticks to transfer first the white resin then the amber hardener from the pint jars. Like a honey dipper. Mixing is with a clean chopstick that is also used to apply and work the epoxy into the fillet before smoothing. Never have used heat. Maybe there is some manufacturing batch variability. I am starting a new set of jars and will look for any differences. The 15 minute airing time is interesting since 15 minutes after mixing, RocketPoxy is already starting to get pretty thick. I guess that would be okay for one set of external fillets though. By 30 minutes, in my experience, the RocketPoxy has set. It can be molded like silly putty, but it is not going to settle into a fillet very well. That gives less than 15 minutes of working time. Not much as slow as I am. Certainly no time to sip wine or in my case, guzzle diet cherry Pepsi. :blush: