I am looking for design ideas for large launch pads that can handle 60 pounds and larger. Anyone have one to share?
Chuck
Chuck


the Rockwell Jawstand works great. There are multiple threads on it here .
There is no way that little thing will work for 60lb rockets and above.
Sent from my iPad using Rocketry Forum

There is no way that little thing will work for 60lb rockets and above.
Sent from my iPad using Rocketry Forum
https://www.jcrocket.com/prorailbase.shtml
SS/EA 6BBL 71 Cuda (Gus) has made a high power pad based on that design and it is very sturdy. Maybe he will chime in as well.
 ui! *We are here!* (And, thanks John Coker for the *base* inspiration!)
I concur with that.
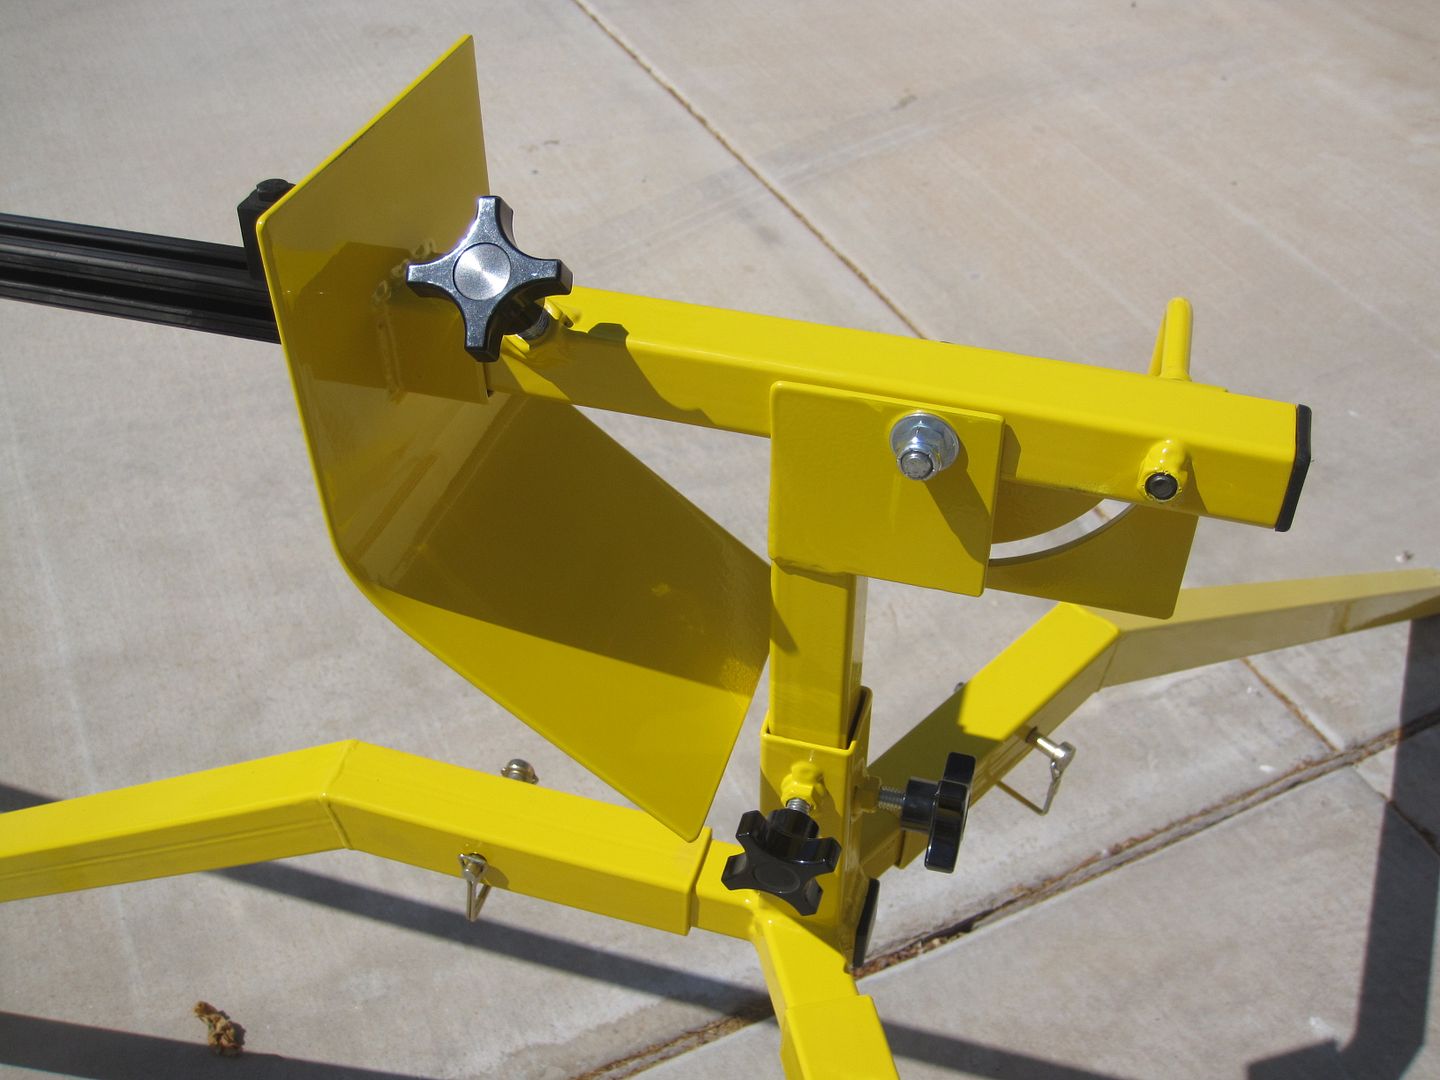
John's basic design is very scalable. Your example is very well done.......The ONLY two things i would change would be to have the Blast Deflector mount a little higher up and, angled on a 45 degree slant, plus lengthen the swing arm to keep the rail whip (with some motors) from starting to become an issue. Otherwise i would have too say that it has survived MANY vertical assaults by Manny, Dennis Watkins and, myself over the years. It is something i am VERY proud of...
So, ya takin' orders Gus? We need to talk.......
I have looked at their pads. I own one. I would like to build one that fold sup like John Coker: https://www.vernk.com/LaunchPads.htm.
Chuck
https://www.harborfreight.com/catalogsearch/result/index/?limit=60&q=Winches The $80 2500 lb remote control winches will work fine after you read the comments and use it properly.Ok, only three things i would like to change...
3. A magical button to push that allows the stand to go fully upright in a reasonable amount of time without *winging* the soon to be flown victim too hard.
You only get ONE back and, somedays it reminds me...it's back there.
You should be very proud of it, especially after it survived a Manny CATO.....:smile:Bob, Thanks for the advice there.
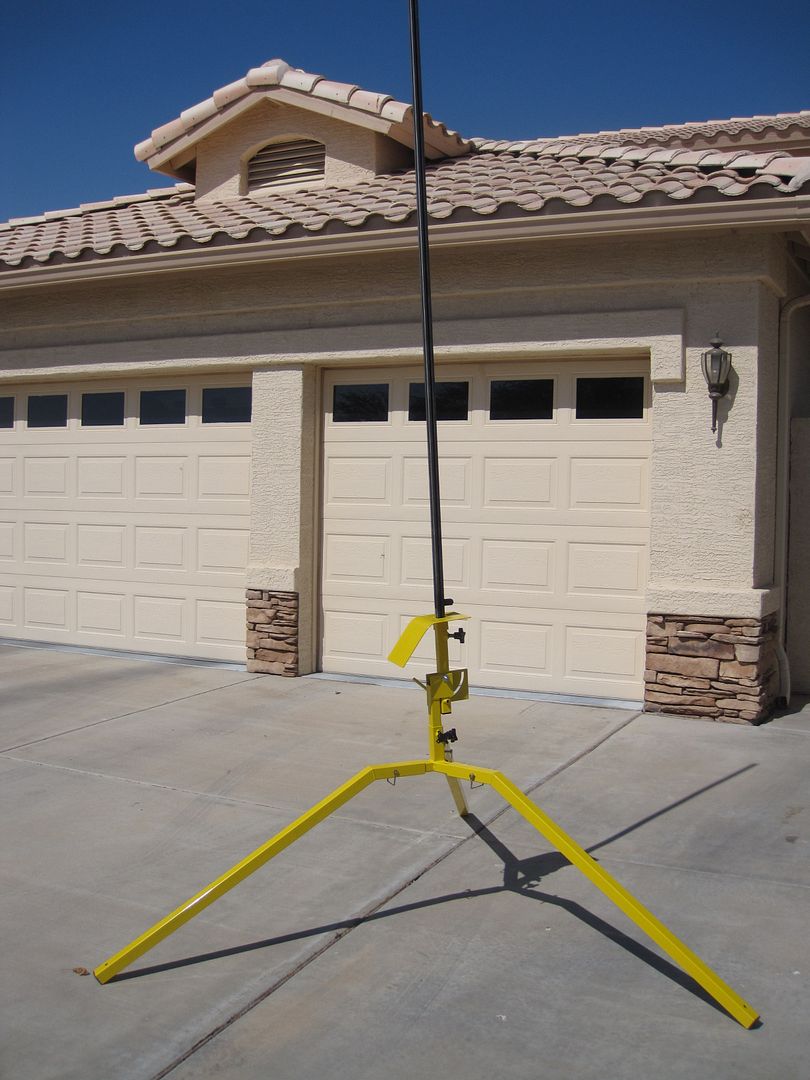
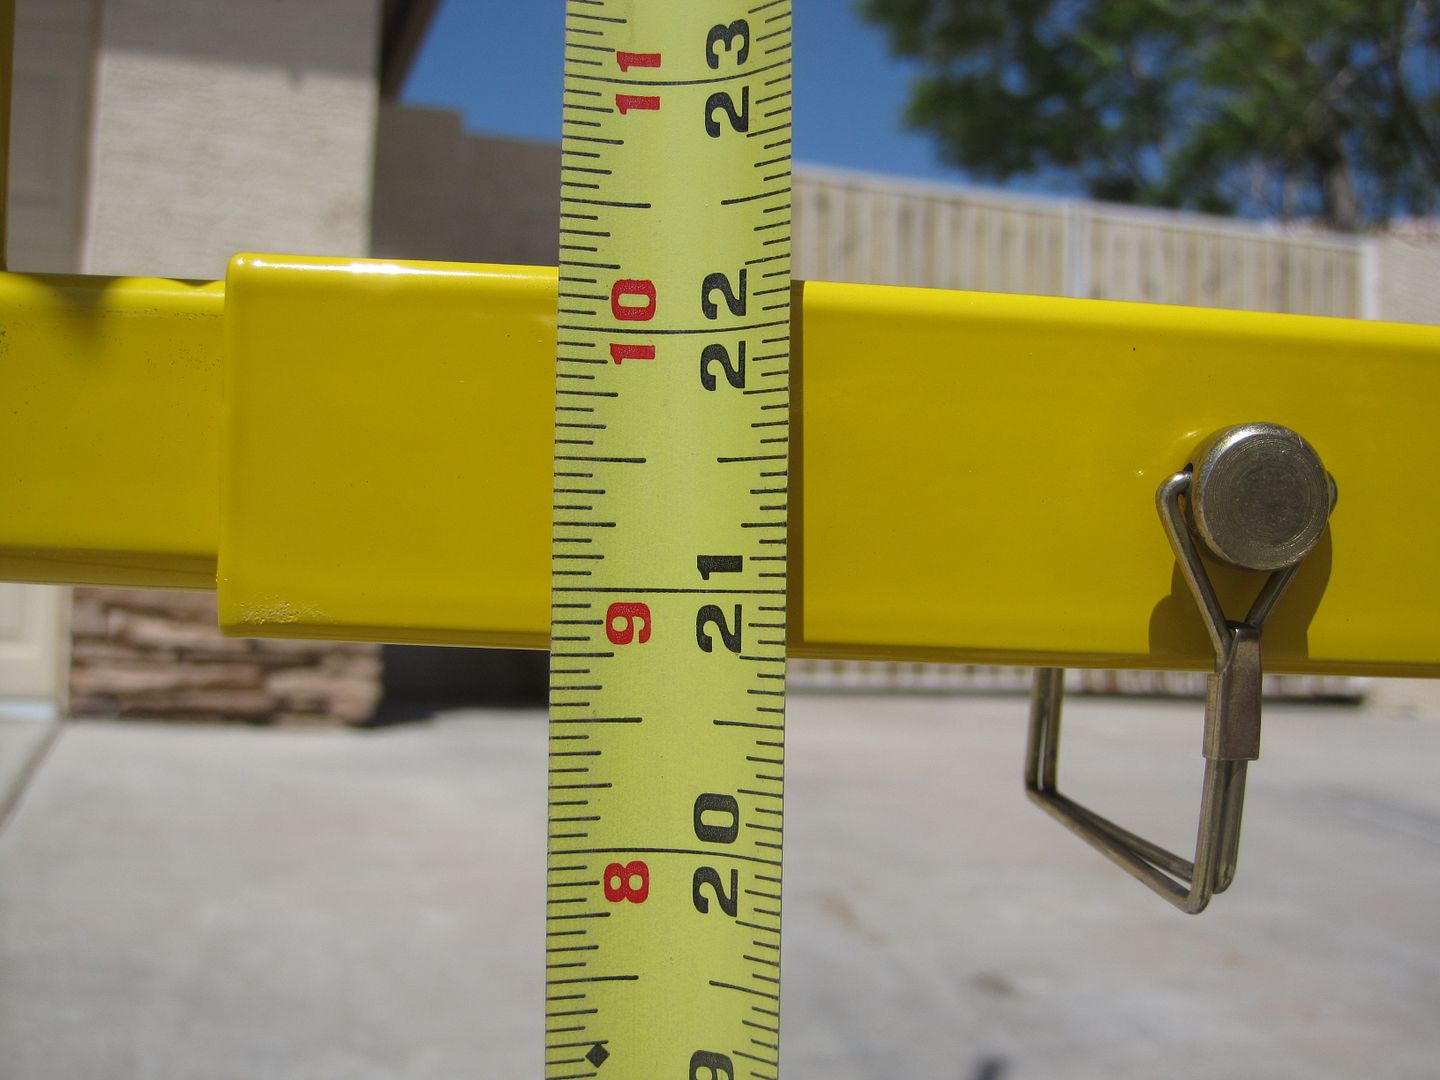
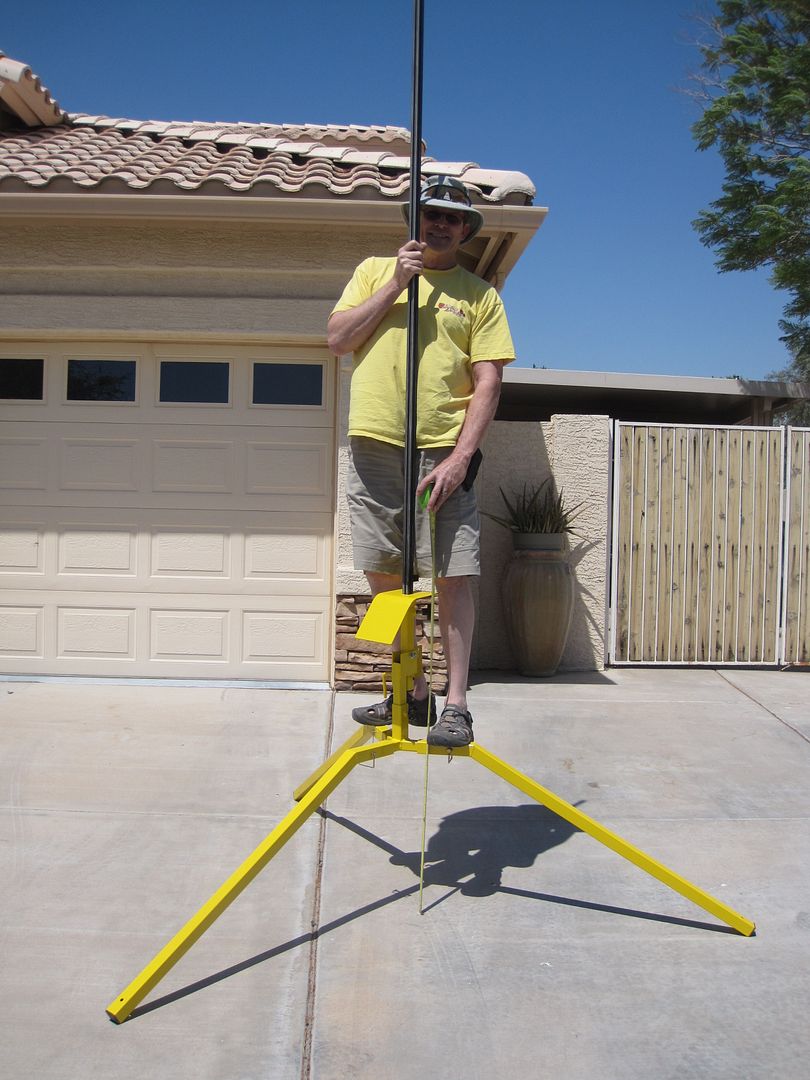
At the request of good friend "pondman" i have included some new photos and, line drawings...(Because some of us do not know how to draw in CAD) of the Stand to show others how i upscaled John's design.
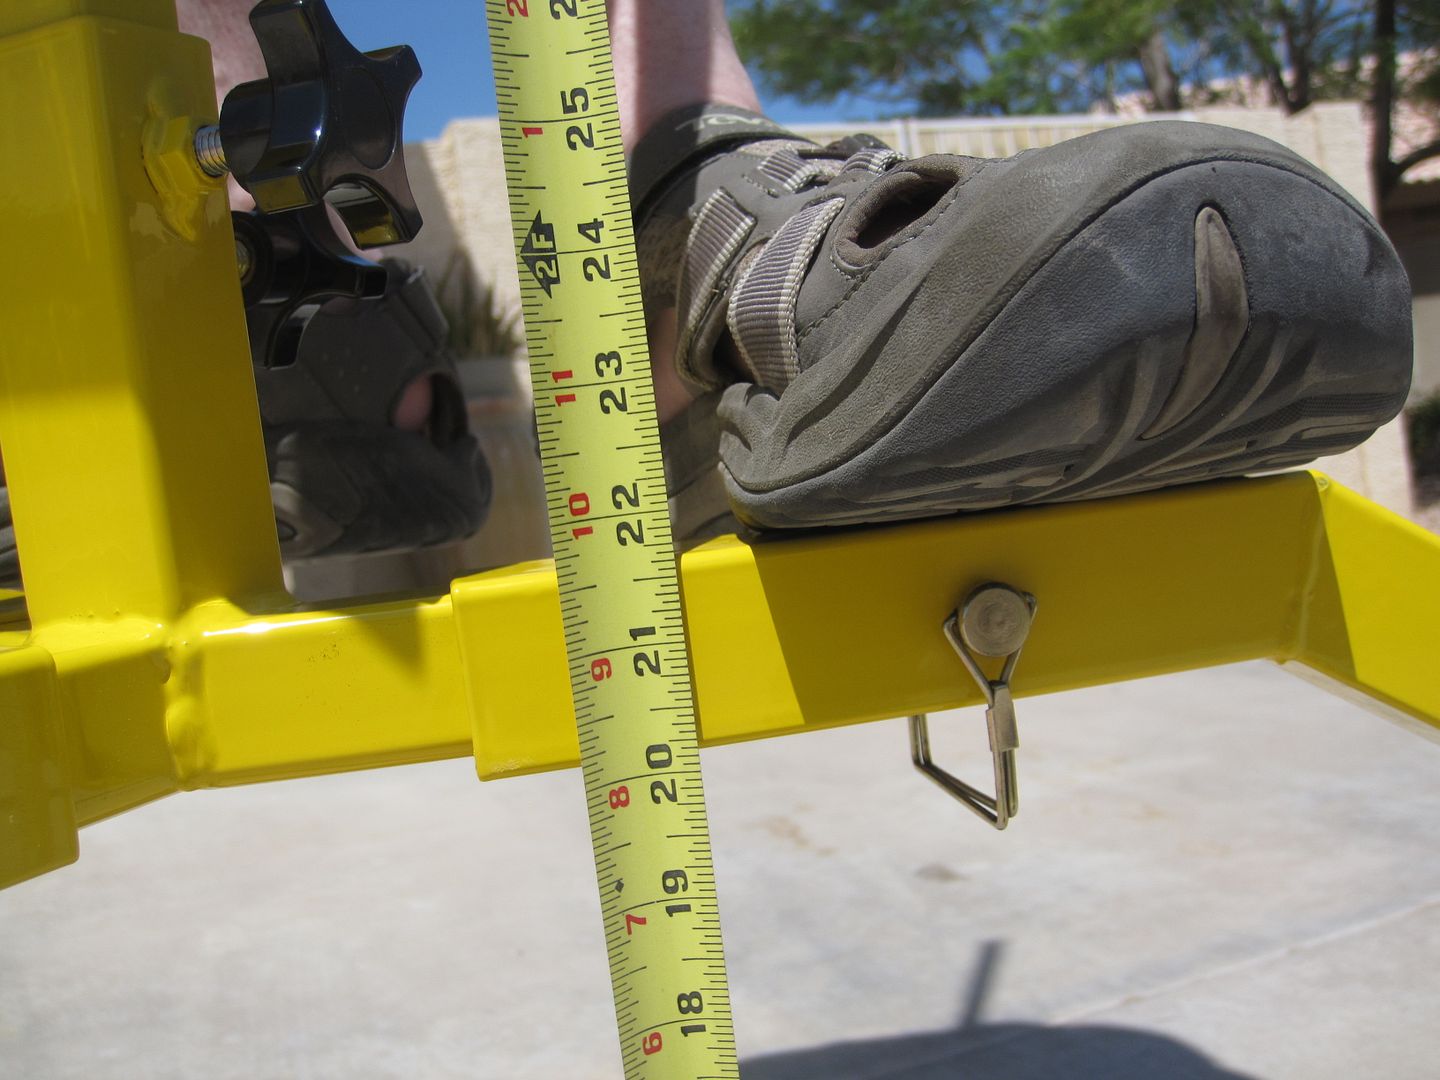
First up are some basic shots of the frame showing more of the weld details.
View attachment 171846
View attachment 171847
A photo of the Legs.
View attachment 171851
Next, are the line drawings...
View attachment 171849
View attachment 171848
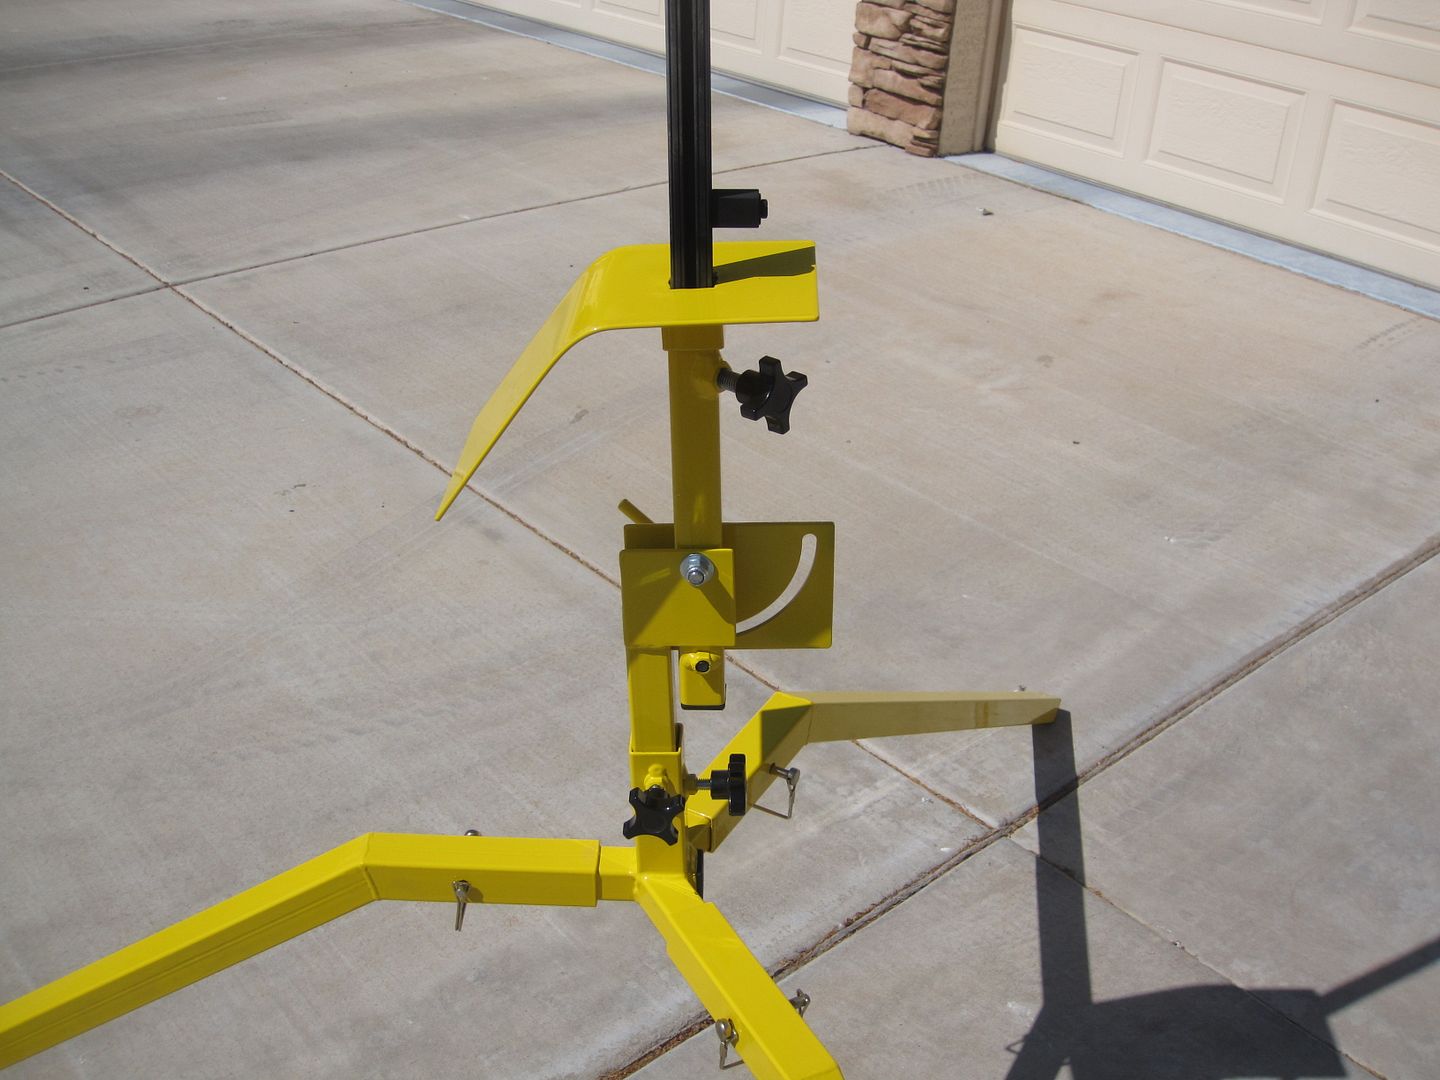
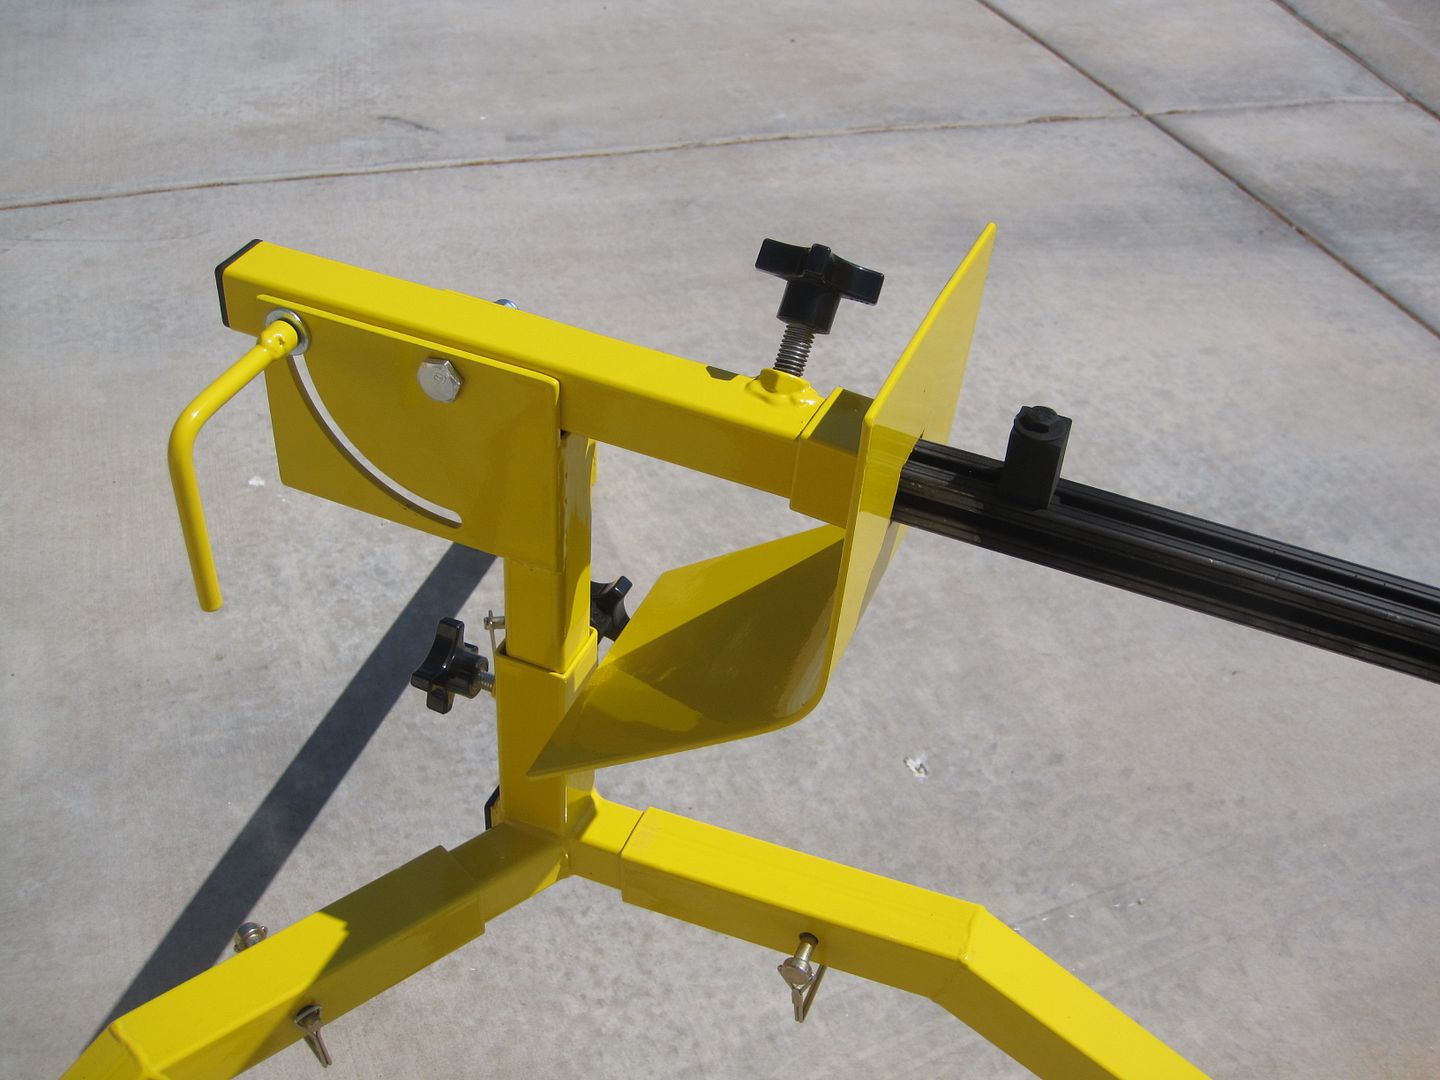
Last but, not least is how my 80/20 15/15 Rail Brackets are done, along with my Blacksky 10/10 setup...
The Rail Swing Arm is drilled on each side to only except one style. I've found it too be a good practice NOT to have both rails on at the same time so that if someone is lowering the Arm...That they DO NOT let it drop causing the underside rail to *KONK* the support leg. A simple rubber pad may do the trick to lessen damage but, i did not incorporate it into the design.
View attachment 171850
Some things too note: If you do have a good CAD program, (and, would ever want to duplicate it) please double check my measurements as i may be slightly off on both the Swing Arm and, Leg holes...When the Legs are bolted in, the stand sits on supports that are a true 120 degrees from each other. Obviously i have inserts in the Legs and, Frame because 1/8" thick Aluminum is not thick enough for threading. Size of threaded rod and, inserts left up to builder...
I did not include the Safety Stopper in the frame drawing but, it is good to have in case you over extend the Swing Arm with a rocket on it.
This Stand is about 6 years old now and, has had some SERIOUS power thump off of it...Including a few tremendous CATO's (Manny). It's still holding up very well. It has been "Sooted" to the point of no recognition and, regularly gets a good scuffing with a brillo pad and, a recoat of PB Blaster PTFE spray (commonly found at Home Depot).
It's not uncommon to be asked to bring it to our launches by fellow rocketeers who like it more than i do...Cheap to build? No it wasn't...
Could i make a profit selling it? No...
But, i'm pretty proud of it.
You should be very proud of it, especially after it survived a Manny CATO.....:smile:
I've been recommending this type of design for larger clubs for the bulk of their Class 2 rocket flights that are too large for tripod type launch pads, and yours is a very robust implementation. What's the largest, heaviest, highest thrust and highest impulse rockets you have launched from this pad?
Bob
 heres a pic of my High Power pad its a 15 x 15 1/2 inch steel plate I have an adapter for 10-10 and 15-15 rail and it will hold from a 1/4 inch rod to a 1inch rod also I pull the pivot pin and my 20 ft radio tower rail adapts on to it its handled over 400 lbs of rockets and up to a P motor its got a low center of gravity so loading and uprighting rockets isn't that difficult
I did a quick calculation and estimate the pad itself weighs ~60 pound plus the weight of the rail! That would be ~66 pounds with a 12' 1010 rail or ~76 pounds with a 12' 1515 rail. So your launching ~80 pound rockets with 22 KNs motors from a ~80 pound pad without sandbags or turf bolts. That's amazing.
Goto ask the stupid question. How to you raise a 20 foot tower hinged at the base with a 400 pound rocket on it without a winch or hydraulics?View attachment 171946heres a pic of my High Power pad its a 15 x 15 1/2 inch steel plate I have an adapter for 10-10 and 15-15 rail and it will hold from a 1/4 inch rod to a 1inch rod also I pull the pivot pin and my 20 ft radio tower rail adapts on to it View attachment 171946 its handled over 400 lbs of rockets and up to a P motor its got a low center of gravity so loading and uprighting rockets isn't that difficult
I just looked at your drawings, figured out the approximate aluminum volume and multiplied it by the density of aluminum...... should be good to < ~10%. It easily breaks down into 4 pieces weighing not more than 20 pound each, and requires a minimal number of bolts for assembly. Since the largest dimension is 60.5" it will fit in just about any pickup or van and almost any hatchback. The one difficult part would be the rail if it was one piece.....but it could be 2 or 3 pieces pinned and joined together...........Without ever having weighed the Stand, Bob. I would say you hit it right on the number weight wise...If all the components are there, i can put it together in five minutes tops.
Goto ask the stupid question. How to you raise a 20 foot tower hinged at the base with a 400 pound rocket on it without a winch or hydraulics?
Bob

Enter your email address to join:
