Madcow 2.56" ARCAS

The Rocketry Forum

Help Support The Rocketry Forum:

This site may earn a commission from merchant affiliate links, including eBay, Amazon, and others.
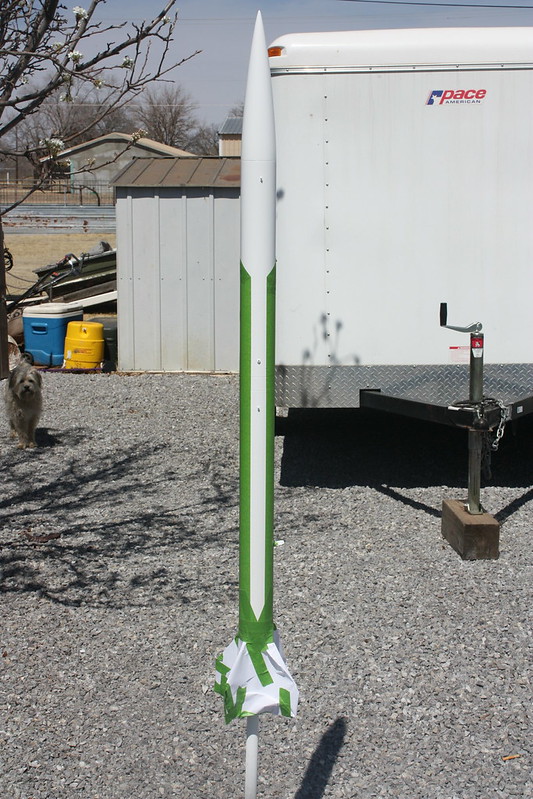
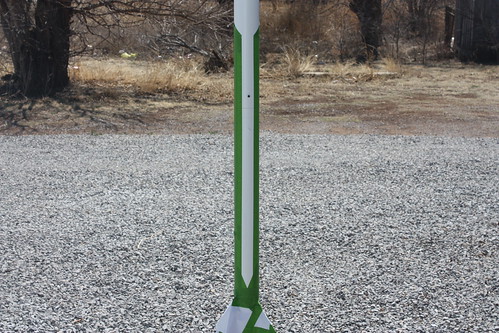
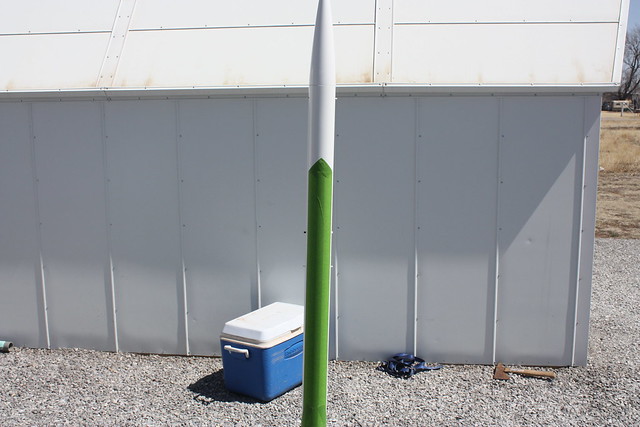
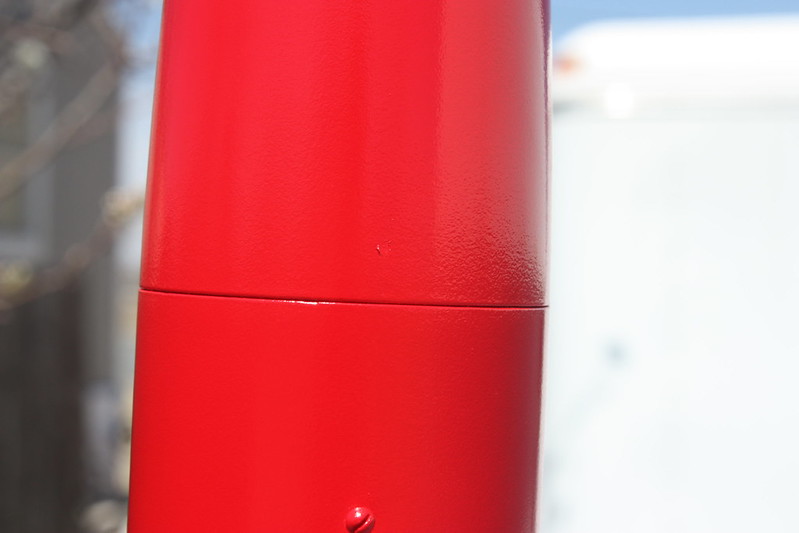
Whats even the point of doing fillets if you dont do the left side and right at the same time creating a valley for the epoxy to get evenly distributed? Also, why do fillets if you dont sand them down smooth so you can see them once you paint? One more thing Proline epoxy is expensive, if you dont go the extra mile and make them look perfect whats the point in spending that much on it? I have used 5 minute loctite epoxy from lowes on many fiberglass birds and sanded and made them look perfect. The bottom line is if your gonna spend the cash, make it the most smooth aerodynamic rocket you can make.

Relax...just let the fella build it the way that makes him happiest. Sheez.

Perfect fillets do not make that big of a difference on aerodynamics.

-Dave
 
First, please take into account two things, my inexperience (this is my 2nd FG build), and my strong dislike of sanding. Personally, my goal when painting is to achieve a really nice look at 10+ feet.*For me, the external fillets are mostly to make the fin more rigid to negate fin flutter as much as possible. I could certainly be mistaken, but wouldn't the 2x10¹⁰ rail buttons serve to increase the Cd more than the 4x~1/32" tall external fillets?*I think you are a little unfair to Proline. I use it for fin/MMT bonding, and fillets because it can handle ~100°F higher temperatures than the best LOCTITE. Considering my intention to fly longburn motors, and hopefully past Mach 1, this seems important. Not the cheapest epoxy, but for Wildman Club members (I am) 1 pint of Proline is $37.05. That is cheaper than, for Wildman Club members, 1 CTI Pro38 3 Grain I345 RELOAD ONLY which costs $37.76. I have built a 4" Formula 98 plus this ARCAS HV, and have used less than half of my pint.There are undoubtedly MANY ways to build this rocket to fly higher and faster including a tail cone to reduce base drag, use a tower and do away with rail guides, use a smaller lighter parachute, shorten the rocket to a minimum CG/CP separation value, use permanent sewn loops at attachment points doing away with quick links, countersink screws instead of removable plastic rivets, use smallest eyebolts possible, do away with FG and roll my own CF airframe and cut out CF fins, and the list goes on and on.

No need to get your panties in a wod. I love proline great stuff. I am just saying if your gonna paint your rocket and make it look nice sand fillets babies butt smooth!!!!!! End of story.
 
No need to get your panties in a wod. I love proline great stuff. I am just saying if your gonna paint your rocket and make it look nice sand fillets babies butt smooth!!!!!! End of story.

:lol:point taken, I'm tempted to go ahead and try to sand them "babies butt smooth" before finishing the paint. Do you have a suggestion on the best techniques- grit of sandpaper, wet or dry - to accomplish this?

On another note, I plan to be at AIRFEST this year and hope I get to see you burn that O3400:dark:, and have enjoyed following your thread - https://www.rocketryforum.com/showthread.php?59920-Motor-Purchased-5-inch-diameter-rocket-and-a-CTI-O3400&highlight=o3400
 
I wet sand using 400 grit from auto parts store. Just do that over and over till I am happy with it. Personal feeling.
 
I tend to disagree. Fillets at the fin root probably increase drag unless you also dillet the body tube. You'll get extra interference drag or possibly ring vortices. Either way the effect is negative.

In very incredibly simplified terms, the fillets represent a dramatic increase in the cross-sectional area if the body. The fluid has to go somewhere to get around the fillet, and that takes energy. If the airframe is dilleted, you have a smoother sectional area curve. Look at the wing attachment on airplanes and you'll see that the airframe is flattened or dilleted in this area in most instances.


Sent from my iPhone using Rocketry Forum
 
Every chance over the past couple of weeks when time off, temps, and wind all cooperate together I have wet sanded with 400 and sprayed a few coats of gloss white. Not completely sure, but I think I called it good after about 7 light coats.

I underestimated the difficulty of taping the stock design, and ended up spending about two hours figuring it out.:facepalm:


By far the hardest part for me was the white tips.


Following the video advice of John Coker, I used the white paint to seal the edges of the tape. In the past no matter what tape used there was always some color bleed, hopefully sealing the edges with the base color will alleviate this issue.


Overall the first coat of red went on pretty nice, but as anyone who paints outside knows, spray paint is some kind of insect attractant and there always seems to be at least one spot that falls victim to those tiny legs and wings. I managed to get this round's bug out with tweezers before the paint cured it in place, but the damage was already done! :bangbang:


A few more coats of red, the decal, and a few coats of clear and this bird will be ready to fly in style. Recieved a package from Wildman last week, and among the fun was a CTI Pro38 I125 White Longburn for the first flight!:D I will re-weigh and adjust the simulation file after fully finishing, other than that here is the completed Rocksim file View attachment HV ARCAS.rkt. It will be close with the added weight of paint/decal/clear, but I may just break a mile for my first time with this one! :grin:
 
Even though life has been busy lately with remodeling a kitchen, getting ready to move, and will be in the hospital this Friday with my wife to have our second child I was able to attend the April West Texas Rocketry launch. Surface winds were gusty, 8-14 mph, but previous high altitude flights had suggested the winds were significantly diminished by about 750'. The flight went as planned with the BRB900 tracking the entire flight and the Stratologger doing their jobs perfectly. I set the main for 900' and recovered fairly near the pad for the conditions (~250m), but I will definitely adjust to lower main deployment altitude for a closer end recovery point.
View attachment HV Arcas First Flight 4.26.14.pf2 5022' recorded apogee, didn't quite make the mile :fly:, next time.

That stressed look probably worries RSOs :facepalm:


I honestly didn't realize how much of an angle the rail was on until reviewing the pictures, gonna have to do something about those pre-launch jitters.


THANKS FOR THE PICTURES Rocketbill


I also want to say thanks to everyone at West Texas Rocketry for hosting a great launch!
 
Last edited:
Nice flight Cory and great looking rocket. I enjoyed following your build and congrats on you new baby!
 
Congratulations Cory!Good night Engineer! I am the leader of the CEFAB-Experimental Center for Aerospace rockets in Bahia, country: BRAZIL. I am 65 years old. Already retired, I worked as a pilot on a Boeing 737200 and EMB 110 plane. We are designing a Rocket, called "VITÓRIA 1.0", of the same design as "MC ARCAS". Here in BRAZIL, it's hard to make a rocket, almost everything is missing! I need a lot of help to finalize our project. I request two requests as a special favour: 1 - Is it difficult to buy a Startolloger? Could you send the "MC ARCAS" drawings for us to optimize our rocket? Appreciate your attention!
 
Back
Top