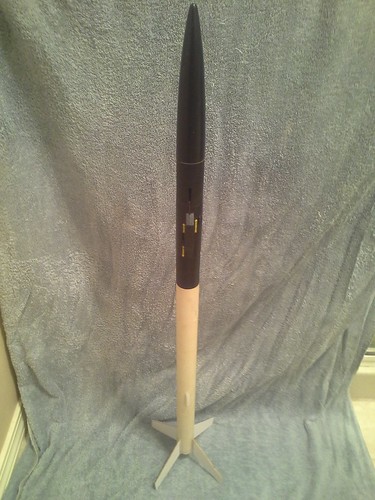
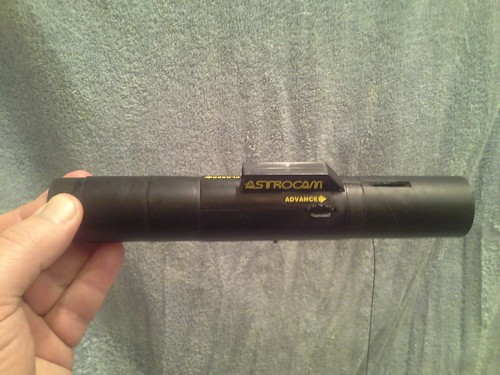
I should add, I made my Astro Cams (I made 2, now have 3) as "look back" versions. I bought a tech manual from Estes that showed how to do it back in the '90's.
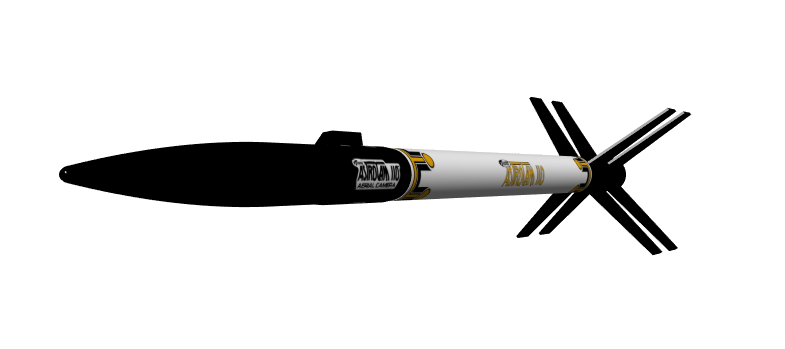
One modification that I did to mine, was to lose the nose cone, and use the plastic fin can to create the connection between the camera and the coupler. My launch vehicles were modified Helio Copter (1995) (circa 1994) rockets.
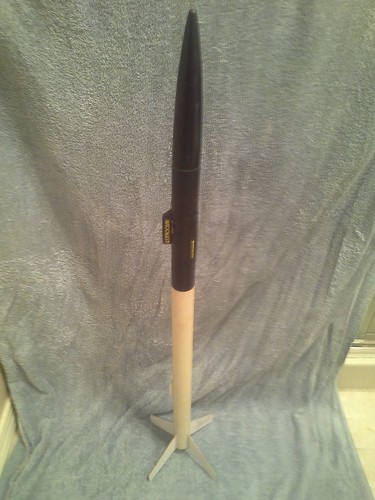
I'm quite happy with the appearance of the results... except the only one I "launched" (I faked it so I could avoid a rather annoying arrest/confinement/fines) wouldn't advance the film so I wasn't able to get the shot I built it for... I *just* tossed (as in, the last hour) that film (20 years later).
Seemed stupid to me that Estes didn't make the camera capable of being flipped for look forward/look back options (by default it's look forward). Not much need for it now as the 808 #16 video camera has taken the hobby market by storm. Some enterprising rocketeer with access to a 3D printer could make the parts needed to do it though.
Now that I've read about your intentions, I may make the "broken" one of mine into one that carries an 808 camera in it too. Might make my fake shot a hell of a lot easier too... I just use a still from the video, rather than a "lucky shot".
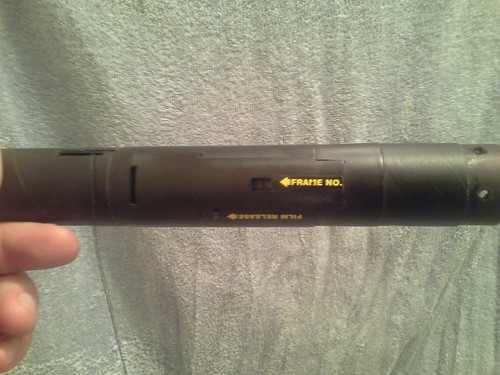
Why wouldn't it advance the film?? Was the film locked up?? Or did you turn the thumbwheel to advance the film and nothing happened??
The first problem, turning the wheel and it "locking up" was usually caused by not depressing the "film lock" before starting to advance the film by turning the thumbwheel... This was a small square black button adjacent to the film door/cover over the back of the camera housing... You were supposed to depress this small square/rectangular button and then advance the thumbwheel a bit and then IMMEDIATELY release the button. The button was mounted to a roughly "C" shaped plastic piece that held a small plastic "tooth" in the film pathway along the edge of the film itself. The film had a tiny rectangular "index hole" on the edge of the film that this tooth was supposed to catch to "lock" the film in place, so it was indexed or centered directly under the lens for the next exposure. The only problem was, this little tooth would sometimes miss, especially if the button was a little 'tight fitting' or if a little grit or dirt got in there and caused the button to stick partway down when released, preventing it from popping back up the fraction of an inch necessary to put the tooth back in contact with the film... Pressing the button lowered the tooth away from the film enough that a slight turn of the thumbwheel would start the film sliding forward toward the next frame... releasing the button was supposed to allow the tooth to jump back up into contact with the film, where the film would slide underneath it until the next hole aligned with the tooth, at which point the tooth would drop down into the hole in the film and lock the film in place for the next picture to be taken. If the tooth missed, the numbers for the next exposure would simply roll on by in the frame number window, and you'd have to "pry upwards" a bit on the button to get it to pop up enough to catch the NEXT available hole on the next frame of film-- the one you missed simply remained unexposed on the roll, since there was no way to rewind the film to try again... this was a fairly common problem I had on the Astrocam...
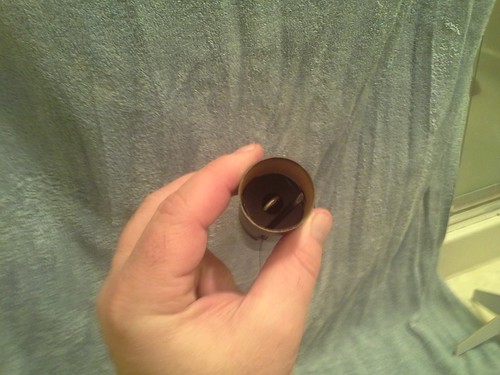
The other issue was, unless you got the film cassette installed good and snug, and kept it snug, sometimes the teeth on the thumbwheel wouldn't fully engage the teeth on the winding sprocket on the film cassette that advanced the film. Usually this was a problem that would pop up upon loading the film into the camera since you had to advance the film several winds to get past the "protective layer" wound around the film in the cassette to get to the first exposure, and basically you could feel when the thumbwheel was "freewheeling" and not under the load of pulling film through the cassette and winding it around the takeup spool inside the cassette. Usually a slight adjustment of the film cassette would get it to drop down a fraction of an inch more, engaging the teeth on the thumbwheel advance drive and the teeth on the pickup spool in the cassette. Sometimes if it landed hard just the right way though, the cassette would shift a small bit, just enough to allow the teeth on the thumbwheel gear to jump or skip over the teeth on the pickup spool gear on the cassette. I usually took the Astrocam into a very dark closet and opened the back door (which the instructions said never to open until the film was fully exposed and fully wound to the finished position, which covered the exposed film with a protective layer to prevent any light leaks from ruining the exposures). By feel in the closet I'd carefully pop the back door off, wiggle the cassette a bit while pushing down on it until I could feel it fully seat, then pop the door back on and try the thumbwheel again... Usually that'd do the trick. If not another attempt usually did.
As far as the "look forward/look back" feature... the Astrocam was ALWAYS intended to look DOWN. It's just that in the DESIGNED operational scheme, you were supposed to use a -7 upper stage long-delay motor so that the rocket soared up to apogee, nosed over, and started to fall vertically downward before the ejection charge went off-- this would then pop the shutter and take a photo of whatever the rocket was over at the time, at various downward angles. If you used a -5 regular delay length motor, in theory the rocket would take a "horizon" shot, that is, a shot from a "near horizontal" position, IN THEORY, depending on a few assumptions-- that is, assuming the rocket coasted to apogee and was in the midst of "nosing over" at apogee to start falling back to earth when the ejection charge popped the shutter. If the rocket was still "nose high" you usually got clouds-- if the rocket had already nosed over and was near vertical, the results were nearly indistinguishable from the long-delay motor shots... usually the rocket was in some kind of a combination rolling-tumble as it nosed over and the shot ended up uselessly blurred. Since there was no control over the direction the rocket nosed over, or the attitude of the rocket when it rolled over or ejected, and no control over how the camera was "clocked" in relation to the horizon (IE what direction it was in the roll axis) the resulting shot, IF it even worked, could be "upside down", "sideways", or right-side-up, or basically any angle in between... usually that "any angle in between"... meaning the resulting picture was "lopsided" and turned at a weird angle, or rather the horizon appeared at a weird angle to the frame of the picture...
The "rearward facing" Astrocam came about after some folks started experimenting with them and someone got the bright idea to take pictures of the moment of staging on a two stager or multistager, when the stages blew apart, by lengthening the shutter trip cord with some extra string and pinching it between the stage couplers while prepping the rocket. The rocket would take off normally, and when the stage blew off the model, it would release the trip cord and the camera would snap the pic, and whatever was behind the rocket on the ground below. I suppose that if one would use a short-delay motor (-3 motor) that you theoretically COULD take a picture behind the rocket looking downward while the rocket was still coasting upward... but it would of course by definition have to be BEFORE apogee, and thus NOT at the highest altitude the rocket could theoretically achieve... and also usually early deployments tend to be rather hard on the rocket, parachute, and shock cord of course...
Personally, the best shots I got from the Astrocam was from launching it on the Maniac-- the Maniac was a bigger rocket with the same BT-56 size tube that the Astrocam was designed for, with a much better plastic fin can than the standard Astrocam rocket came with, and it was designed for 24mm motors as well rather than the smaller 18mm motors of the Astrocam rocket... The Astrocam was a direct-replacement for the standard Maniac nosecone. I have catalogs from the early 80's that recommended the "Challenger II" for a "D-powered" launch vehicle for the Astrocam-- by the time I got around to getting one, the black fincan and gold trim cool looking Challenger II rocket had been "restyled" into the rather garish and tacky blue fincan and nosecone and yellow tube and fugly decals and renamed the "Maniac" (which has subsequently been re-trimmed and renamed again to today's "Eliminator"). With a D12-7, the Maniac would boost the Astrocam to a really good height, probably about as high as you'd want to go to get any usable detail of anything on the ground anyway, given the limitations of the film and camera design (lens and mirror size) and usually result in the same sort of "straight down" picture as a C6-7, but from much greater height. Similarly a D12-5 motor in the Astrocam/Maniac would result in some sort of horizon shot, if one wanted to burn some motors and roll to dice to see what you got. Pretty much just like the C6-5 motor shots, only from greater height... some sky/cloud shots, some badly blurred if the rocket was rotating around or spinning or tumbling when the chute popped out, maybe half the time some sort of horizon shot, usually cocked over at a weird angle to the picture frame... I suppose a rearward looking Astrocam could have been used to shoot rearward facing pics from a two-stage Maniac (Estes sold a two-stage version of the Maniac later on, but I can't recall the name of it at the moment) or if one built an additional stage on their own and made it a two-stager... again, the greater height and larger "fireball" at staging would probably have been pretty dramatic...
Some other neat stuff was done with Astrocams as well... stereopairs (primitive 3D pics) were taken by attaching a pair of Astrocams to the sides of a rocket externally mounted, with their shutter strings rigged so they went off simultaneously... that way two pictures were shot at the same time from slightly different angles, creating the parallax necessary to be perceived as "3D" (sort of like those old "opera-glasses" things with the stick that stuck out in front of the viewer, that you put the pictures on the end of with enough parallax to view as a 3D image... or basically the same idea as a "View-Master" toy and picture disk (anybody remember those??)
There were also some pics taken that ended up being used in the catalog to advertise the Astrocam, which were taken apparently from an externally side-mounted Astrocam mounted below the the nosecone to take a shot of the parachute and wadding being ejected from the rocket tube itself... I remember seeing the ad of that one...
Good luck with your project! OL JR
")