You are using an out of date browser. It may not display this or other websites correctly.
You should upgrade or use an alternative browser.
You should upgrade or use an alternative browser.
TLP Gabriel III/AS Fins And Build Thread
- Thread starter TopRamen
- Start date


Help Support The Rocketry Forum:
This site may earn a commission from merchant affiliate
links, including eBay, Amazon, and others.

TopRamen
SA-5
- Joined
- Aug 9, 2013
- Messages
- 9,955
- Reaction score
- 111
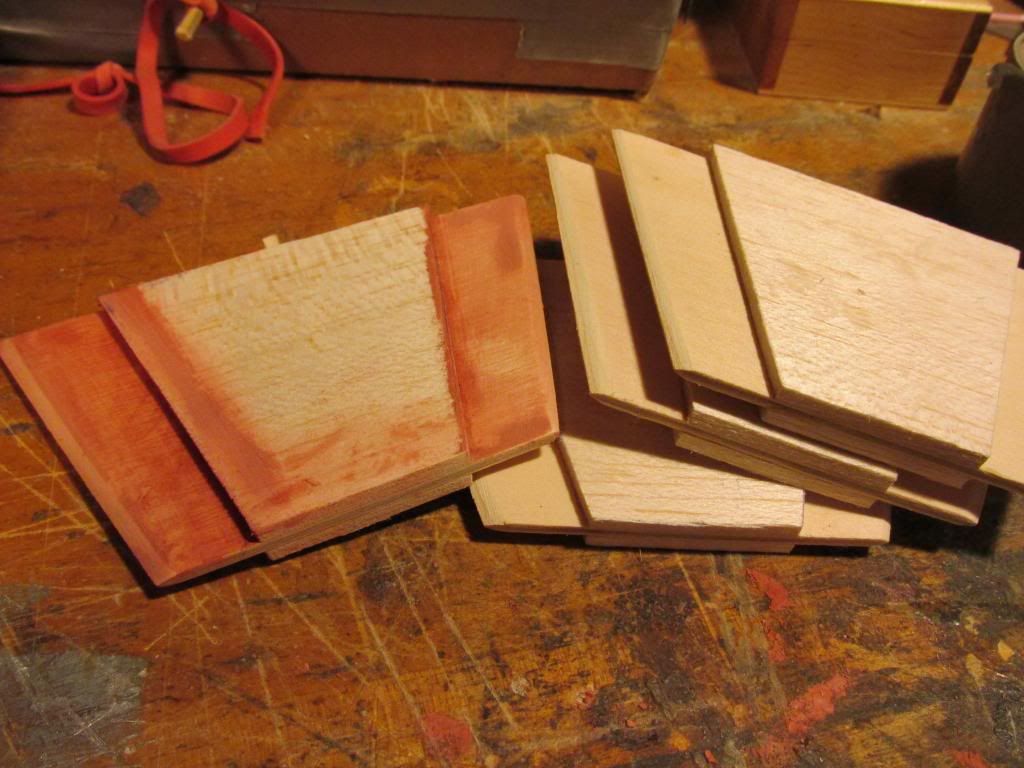
Having a Printer is an excellent Asset when building Rockets. I drew up the Skins for the Fins then made Copies to use.
Even thought they are essentially going to be solid, as opposed to the original Design, I will still paper them and soak them with CA before Final Finishing.

Even thought they are essentially going to be solid, as opposed to the original Design, I will still paper them and soak them with CA before Final Finishing.

Last edited:
TopRamen
SA-5
- Joined
- Aug 9, 2013
- Messages
- 9,955
- Reaction score
- 111
Okay, looks like I'm not going to use Bondo Spot and Glazing Putty to build up the Fins. As it started to dry, I came to my Senses and decided that a Lightweight, Non-Shrinking Spackling would be much more appropriate for this. The Bondo was already Shrinking and Cracking after less than an Hour, and it just became clear that for what I was trying to do, it would not be the right Material. I scraped it off before it dried, and will just wait til' I go to the Hardware Store to get the right stuff.
Patience.
Patience.


TopRamen
SA-5
- Joined
- Aug 9, 2013
- Messages
- 9,955
- Reaction score
- 111
Yeah, we'll see how it goes.
Good thing is, even if I screw up a Fin entirely, I've now got ample Stock of Materials to make more Fins.
I enjoy Building much more than Flying, so I don't mind however long this takes to finish.
Paintin' Weather still seems to be a ways off anyhow.
Good thing is, even if I screw up a Fin entirely, I've now got ample Stock of Materials to make more Fins.
I enjoy Building much more than Flying, so I don't mind however long this takes to finish.
Paintin' Weather still seems to be a ways off anyhow.
Stan
Well-Known Member
- Joined
- Dec 11, 2011
- Messages
- 330
- Reaction score
- 31
I have been using lightweight spackling for years to fill BT spirals and smooth over transitions . It won't crack if you don't go to thick. Better two thin coats rather than trying to get it done with one. Any primer seals the porousness easily making it easy to paint. You can thin the stuff with water if you use it very sparingly. The more water used, the more likely you get a crack. This stuff is obviously much lighter than Bondo filler.

TopRamen
SA-5
- Joined
- Aug 9, 2013
- Messages
- 9,955
- Reaction score
- 111
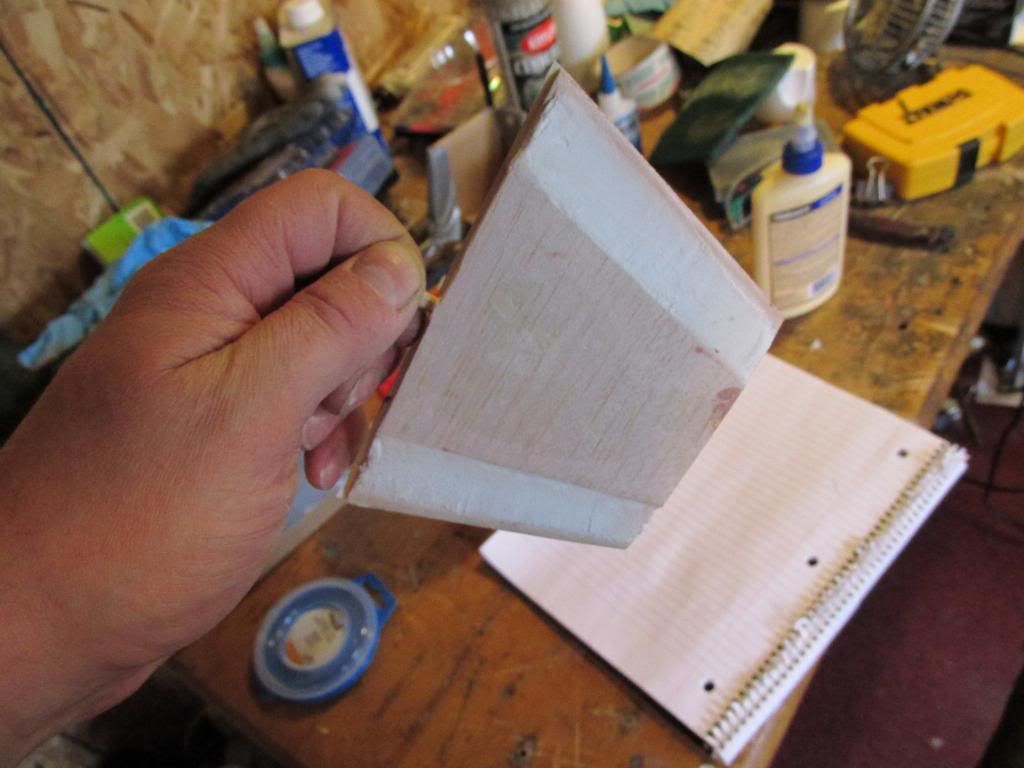
The Spackling is working great, and I have the first Paper on the first Fin. It's kinda' slow, as I'm doing one side of each Fin at a time, but I am out of money for Primer and Paint anyway so it does'nt matter if it takes a couple of Weeks.


Last edited:
TopRamen
SA-5
- Joined
- Aug 9, 2013
- Messages
- 9,955
- Reaction score
- 111
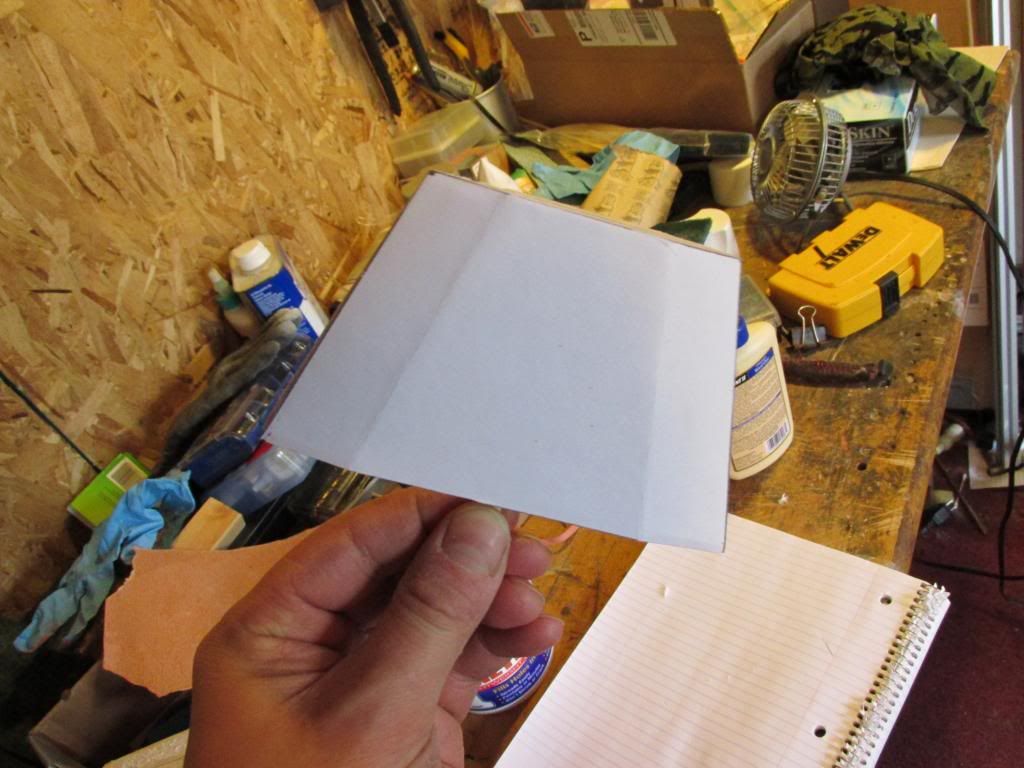
I got the second Paper on the Fin, and after waiting for it to dry, put Super Thin CA on both Sides. This made the Fine as hard as a Rock, allowing me to sand the excess Paper down. I'm very happy with the Method I've developed for assembling these Fins, even though it would have been simpler to use the TLP Method.
Are they Heavier? Ofcourse, the Rocket is flying on 29mm, not 24mm. Do I care? Nope!
Now to make the second Fin....
Are they Heavier? Ofcourse, the Rocket is flying on 29mm, not 24mm. Do I care? Nope!
Now to make the second Fin....
- Joined
- Jan 20, 2011
- Messages
- 6,387
- Reaction score
- 2,067
Those sure do look purdy. - J
TopRamen
SA-5
- Joined
- Aug 9, 2013
- Messages
- 9,955
- Reaction score
- 111
Thanks.
I got the second one almost complete. As others have suggested, I am using a method of building up the Spackling, and have the first layer down on the next two Fins, so I should be able to finish them all up in the next couple of days.
I got the second one almost complete. As others have suggested, I am using a method of building up the Spackling, and have the first layer down on the next two Fins, so I should be able to finish them all up in the next couple of days.
- Joined
- Jan 20, 2011
- Messages
- 6,387
- Reaction score
- 2,067
Can't wait to see some of them fly!! Should be fun! ")
TopRamen
SA-5
- Joined
- Aug 9, 2013
- Messages
- 9,955
- Reaction score
- 111
Indeed it should be fun! Especially considering all of the revisions I have made to the original design. The front Fins now each weigh in at .9oz, as opposed to the original Fins at .2oz., and my Solid Balsa version at .3oz.
This means that I may need to add a tiny bit more Nose Weight to get my CG and CP where they need to be, and the added weight may limit my Motor Selection, but we'll cross that bridge when we get to it. I have a clever way of adding the Weight to the already weighted and sealed Nose Cone if I need to.
Pulling off this Build and posting a Video of a Successful Flight will vindicate my Building Style, and that will feel good.

- Joined
- Jan 20, 2011
- Messages
- 6,387
- Reaction score
- 2,067
It would be interesting to do a pull test on scrap to see if that many punctures helps or hurts overall structural integrity. Or if some good, more are better.
Science... it delivered the goods.
-J
Science... it delivered the goods.
-J
- Joined
- Jan 20, 2011
- Messages
- 6,387
- Reaction score
- 2,067
There's plenty of Epoxy, and these Fins are not going to face any Impacts, so it should be fine.
Yes, a mock up for testing would be ideal, but I don't feel that the bond will be an issue here.
Oh I was sure it'll be fine as well either way.
Just wondered if some was really better than more than some or more than some better than some, so to speak.


- Joined
- Jan 20, 2011
- Messages
- 6,387
- Reaction score
- 2,067
Looking great! :clap:
-J
-J
TopRamen
SA-5
- Joined
- Aug 9, 2013
- Messages
- 9,955
- Reaction score
- 111
Thanks.
Today I'm focusing my efforts on sanding the rest of the excess Bondo off of the Body Tube. Once that is done I will apply the slightest of Fillets to the Front Fins wth a Syringe and TB Trim and Molding Glue. I don't want Fillets that will be noticeable or interfere with my Vinyl Wrap.
Today I'm focusing my efforts on sanding the rest of the excess Bondo off of the Body Tube. Once that is done I will apply the slightest of Fillets to the Front Fins wth a Syringe and TB Trim and Molding Glue. I don't want Fillets that will be noticeable or interfere with my Vinyl Wrap.

TopRamen
SA-5
- Joined
- Aug 9, 2013
- Messages
- 9,955
- Reaction score
- 111
Got my Fillets put in with the Titebond Trim&Molding. I used a Syringe to get it deep into the small voids that were present in certain parts of Seams where the Fins meet the Body Tube. I used plenty of Epoxy to begin with, and made sure the Holes I made were full of it before mounting the Fins, so strength won't be an issue. The Fillet was mostly to fill any imperfections rather than build up a Structural Reinforcement. As such, it is near invisible and not worth taking a Picture of.
Similar threads
- Replies
- 3
- Views
- 378
- Replies
- 64
- Views
- 2K
- Replies
- 15
- Views
- 1K