


rocketgeek101
Well-Known Member
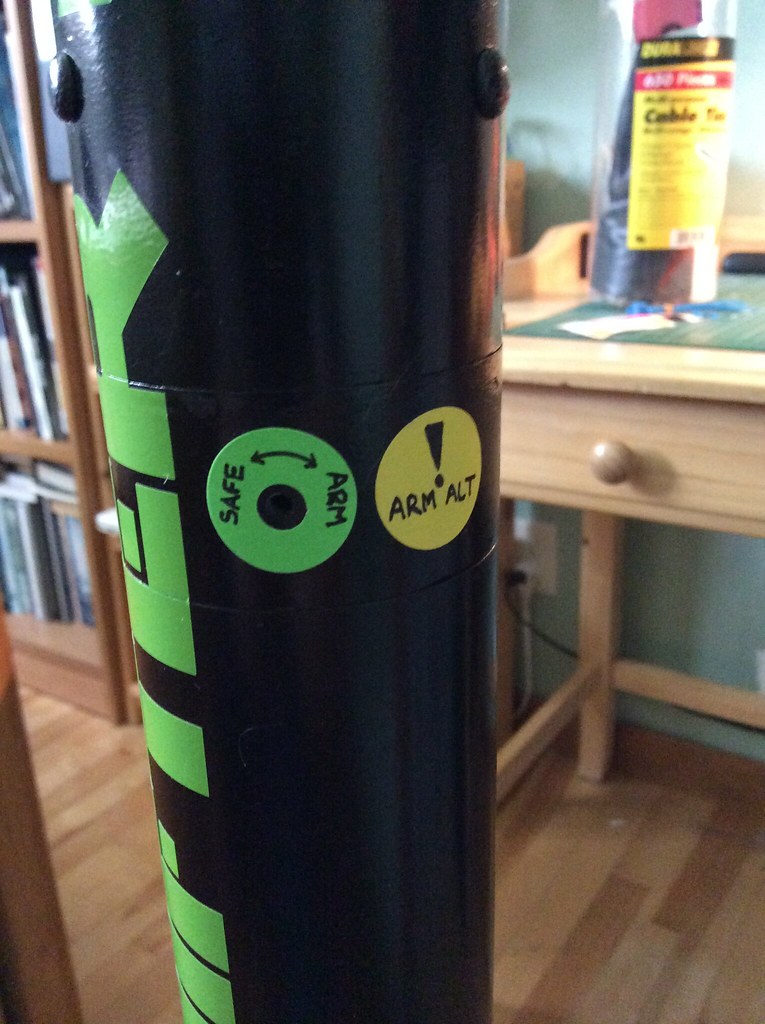
The Aeropack adapter came with a sticker to put on your rocket. I decided to put it on just for the heck of it.

2 questions for you...
1. Did you take inspiration from me for the pj's?
2. Isn't it April? HOW IN THE WORLD DO YOU GUYS STILL HAVE SNOW?!?!!??!
Yes, I purchased a 38-29mm Aeropack adapter for it.
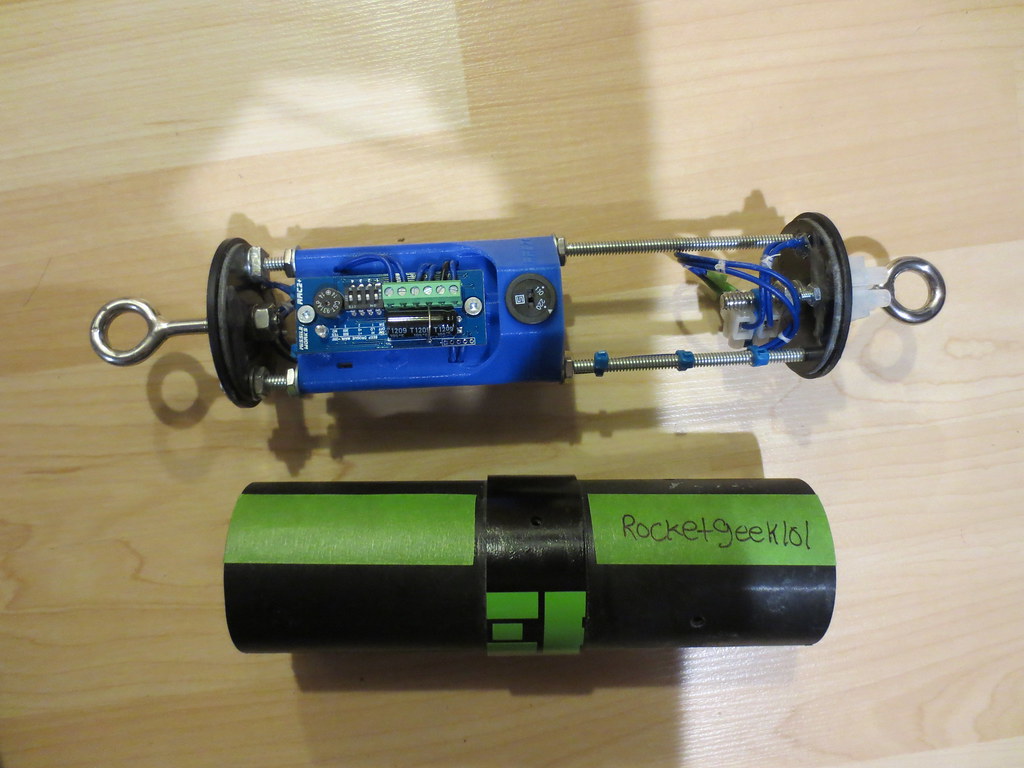
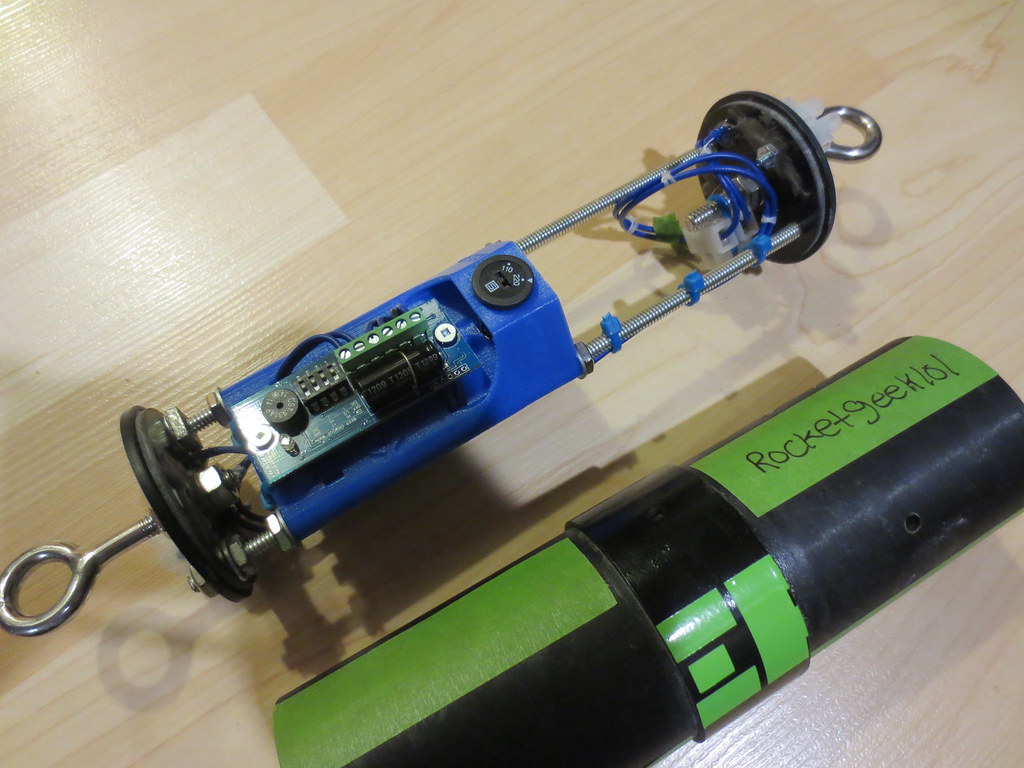
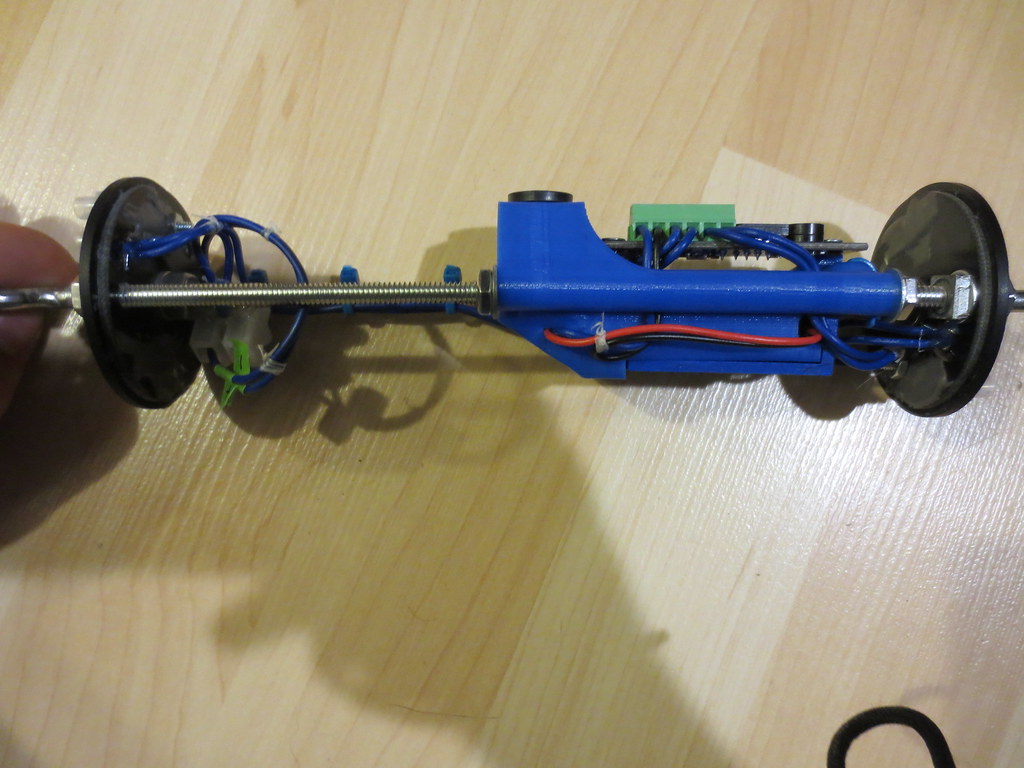
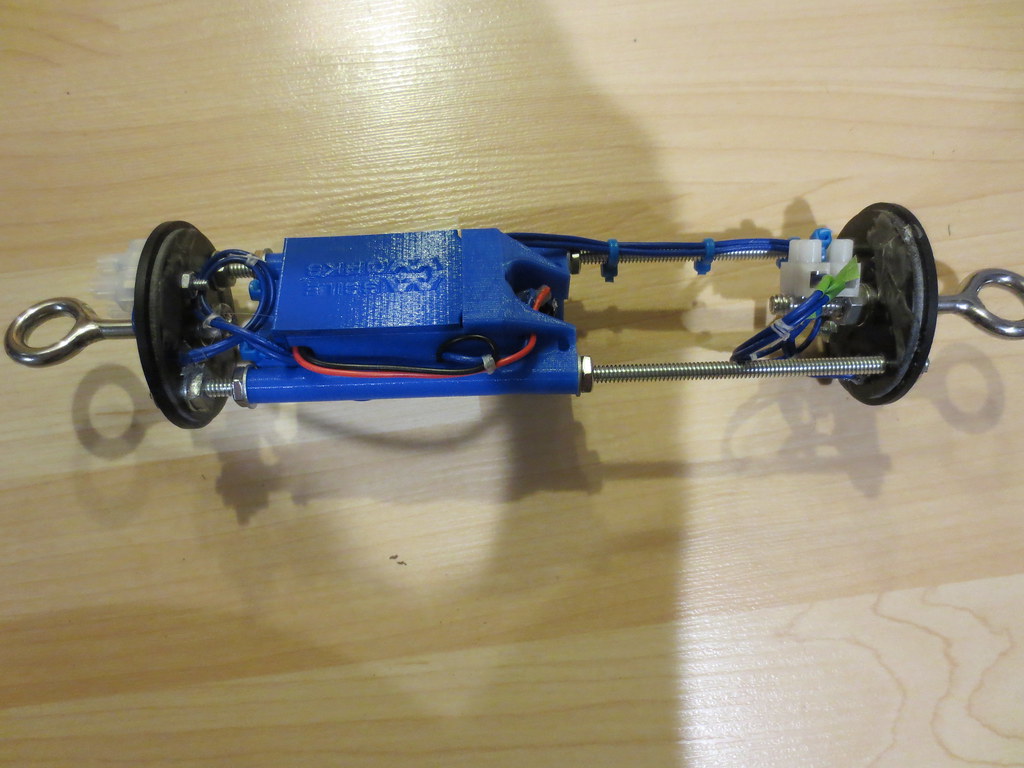
View attachment 169688
I'll be documenting the Av-bay in this thread when I get around to it. I messed up while drilling the bulkheads, so I'll need to get some new ones before tho'.
Please do a build thread for your Darkstar Lite!")
it's not snow, it's beach white sand.

Just a little update.
It looks like we might be losing access to our field in Petitcodiac (The land is being sold, so our continued access to it depends on whether or not the new owner will be willing to allow us to continue to fly there) which means that there is a strong possibility my first opportunity for the flight will be on labour day weekend (Aug 31 - Sep 1st)... The only other opportunity for me in the near future is on July 12, and that's only if we are allowed to continue using the field in Petitcodiac. Kinda getting a little frustrated...
I'm starting to consider switching over to Tripoli, and certifying in Maine...

I think what's happening is your not getting a good enough vacuum and seal. What I did is wire the altimeter directly to the lights. Then take a glass tomato jar with ascrew on Cap and drill a hole 8th the cap. Put some tubing through that hole and seal it with hot glue so the only way for air to get in/out is the tube. Put the altimeter and lights into the jar and suck some air out. That should give a good enough seal to simulate higher flights. This worked very well for me easily simulating flights past 5000 ft. For added testing realism wire a Q2G2 to the main terminal and poke that out another hole in the lid. Drill a similar sized bole in a water bottle cap. Put the igniter head through that hole, seal it and when the main charge fires it'll set off the igniter in a safe environment. This way you can be sure your altimeter can fire the desired igniter. This all worked very very well. I think if the altimeter doesn't reach the main altitude (minimum 300 ft) it fires both charges simultaneously. I could be wrong
Nate
Did some more testing, and I think my issue was due to conflicting air pressures. I have a total of 3 sampling holes, and when I used the Shop Vac I left them all open (yet only sucked the air from one). I redid the test by using tape to seal off two of the holes, and attaching a piece of rubber tube that I then sucked on to the 3rd. That worked very well, and the altimeter read out 592 feet.
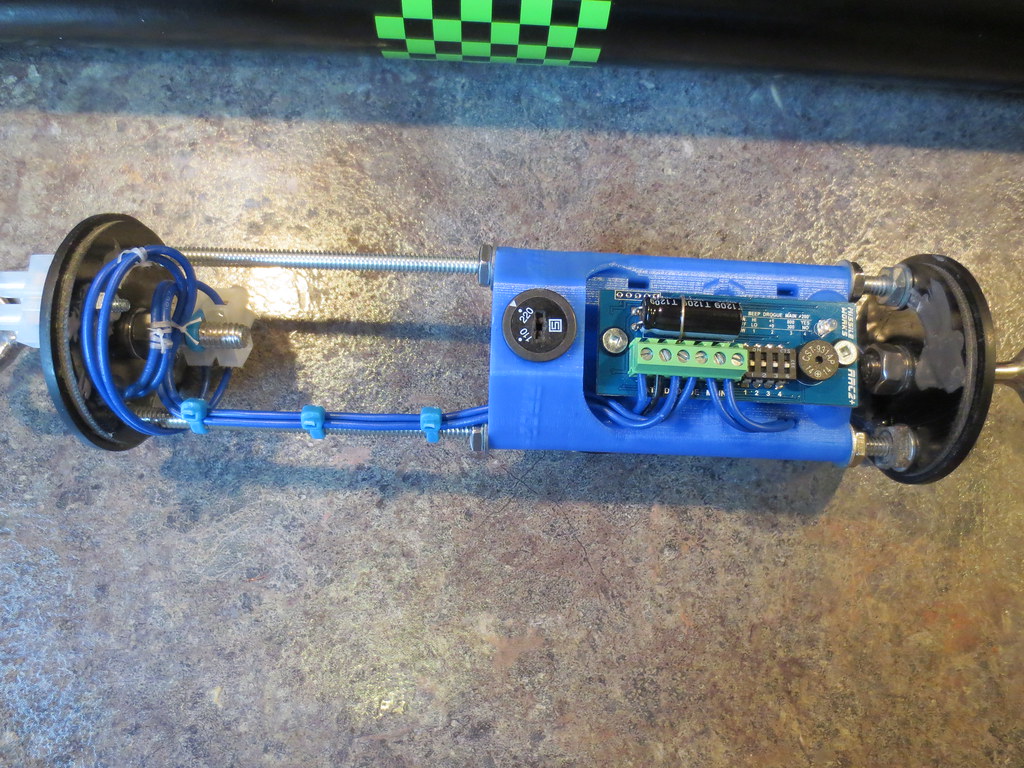
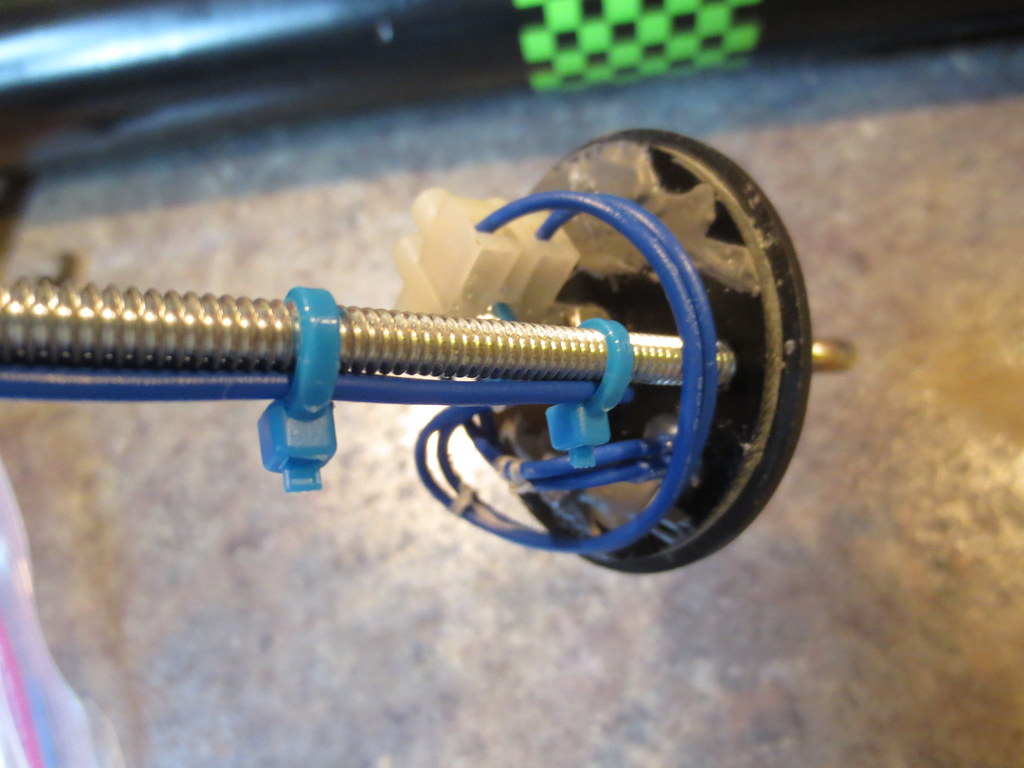
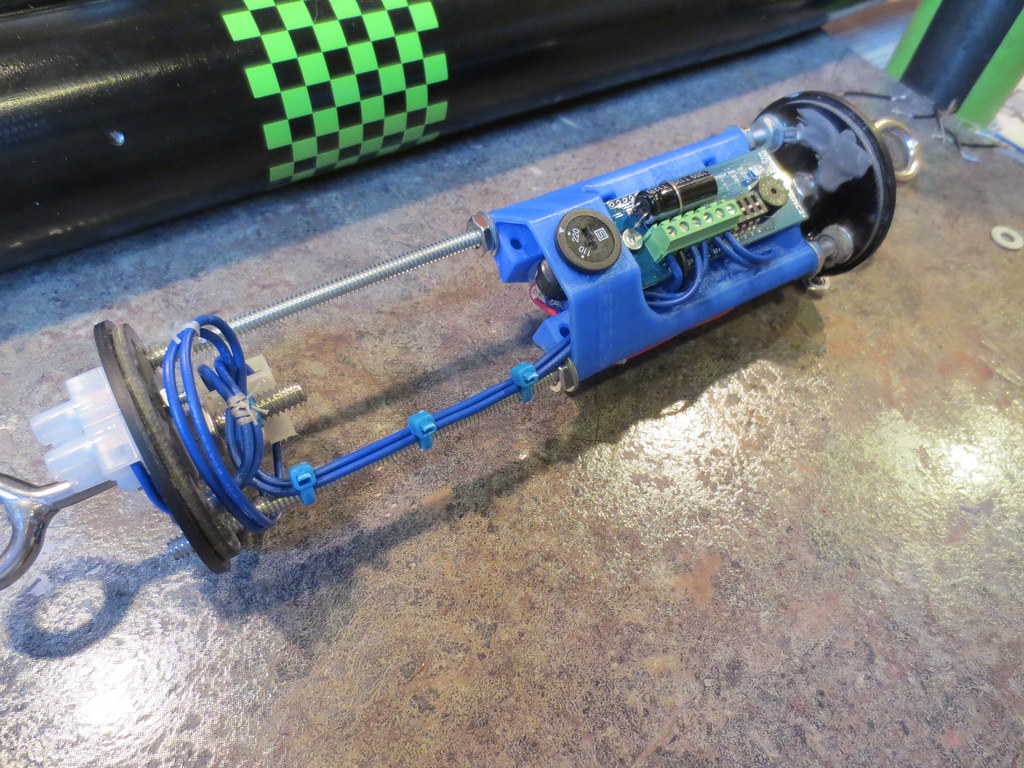
I am *really* liking that sled! Really, really REALLY liking it.
For wiring, maybe check out Great Hobbies. They have quite a variety in the kinds of gauges we tend to use.
Here's hoping the weather cooperates for Gage!
Did I mention I liked that sled?
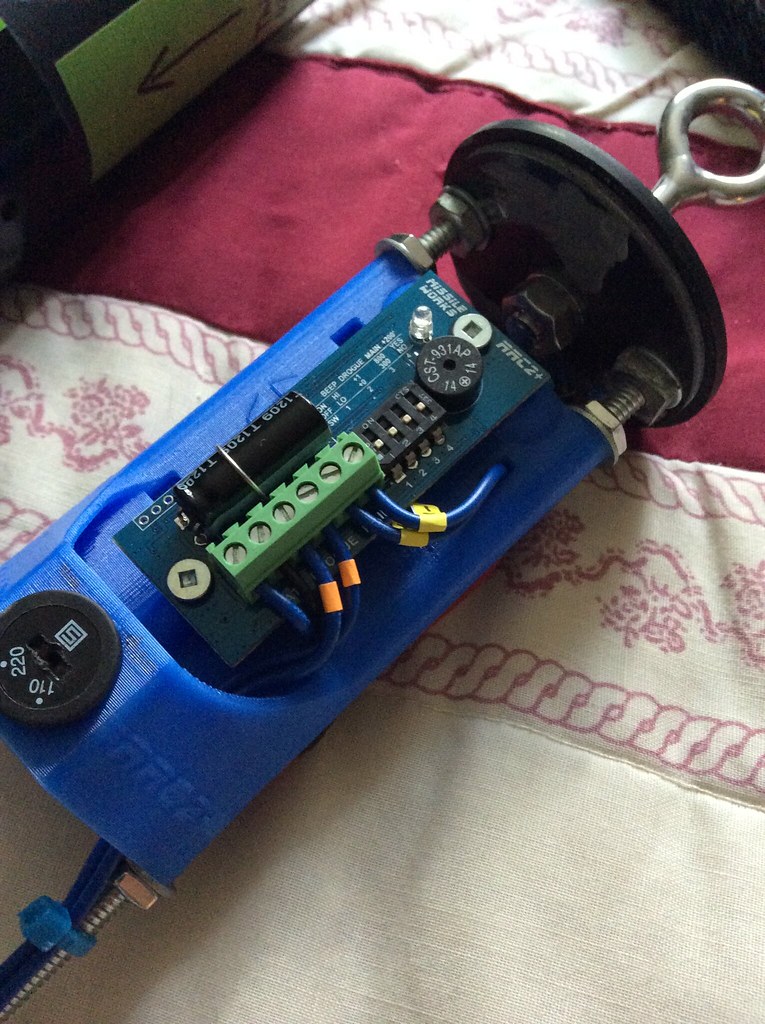
Very, very nice! I consider that sled cheating though! :tongue: I like the reminders on the vent band, that's a good idea. One recommendation though, solder the switch. I would not trust hot glue to hold wires onto a switch, go with the soldering IMHO
Maybe... I actually feel the hot glue is fine though, I made a mistake the first time and had to pull them off -- except I ended up having to use pliers to do it!
).
Enter your email address to join:


