tuxxi
Well-Known Member
- Joined
- Nov 4, 2012
- Messages
- 86
- Reaction score
- 0
Hello all, and welcome to my thread. This will be my first "build thread" so please bear with me as I try to get a grip on how to post, formatting, etc.
I will also be doing a build log on my website https://sojourner.me, so please check it out!
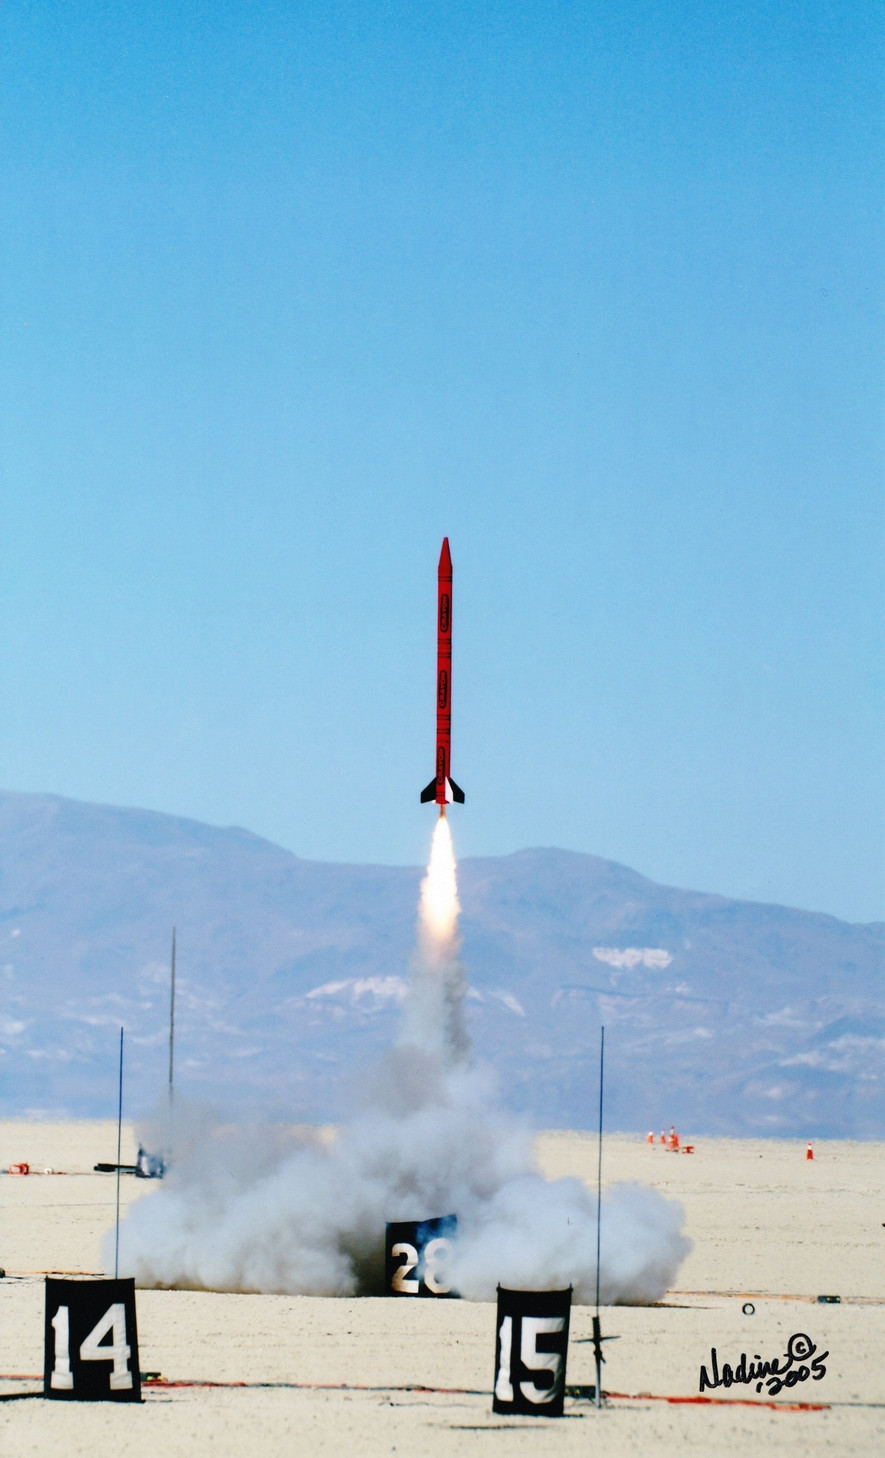
Crayons have always been central to my rocket experience. My dad's (and by extension mine- although I was about 6 years old at the time)first HPR was a scratch built blue crayon based off of Jamie Clay's Gumby Crayon. We moved on to bigger and better, but we never stopped loving crayons.
Recently I got this crazy dream in my head. HOW COOL would it be to stuff the biggest motor possible in a Crayon?! The crayons are just a little too small to fit a 98mm motor case sadly. We'll have to settle for 75mm.
First off - the plan:
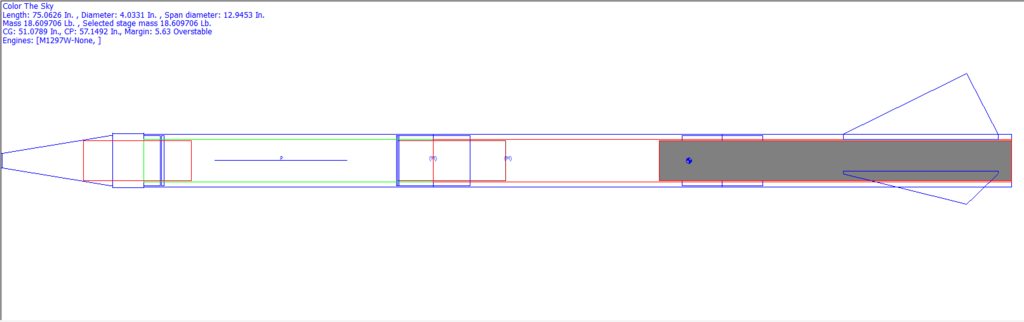
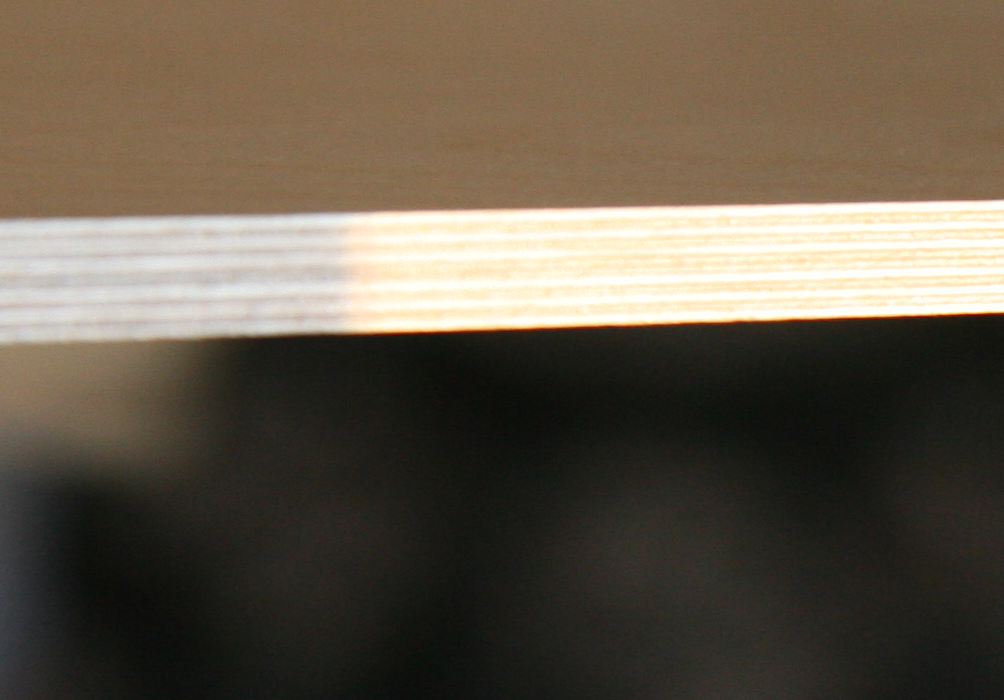
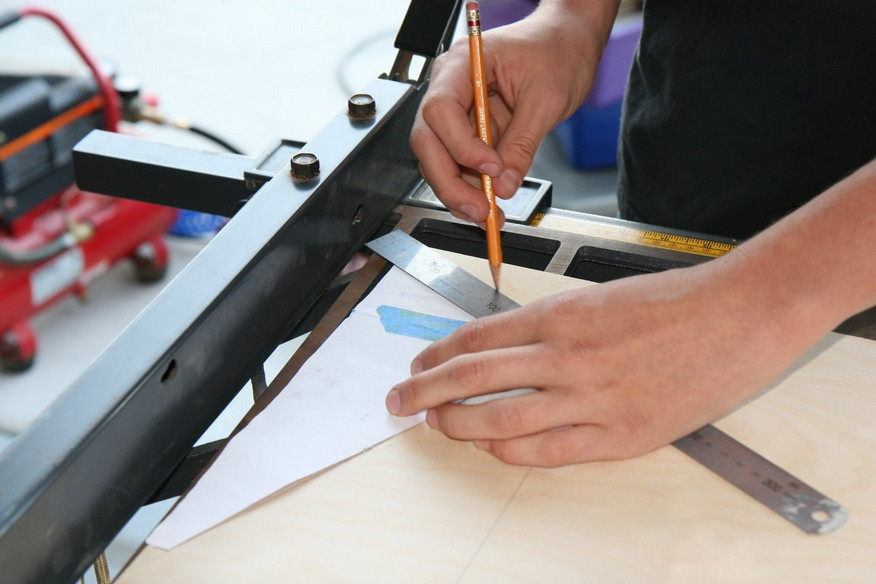
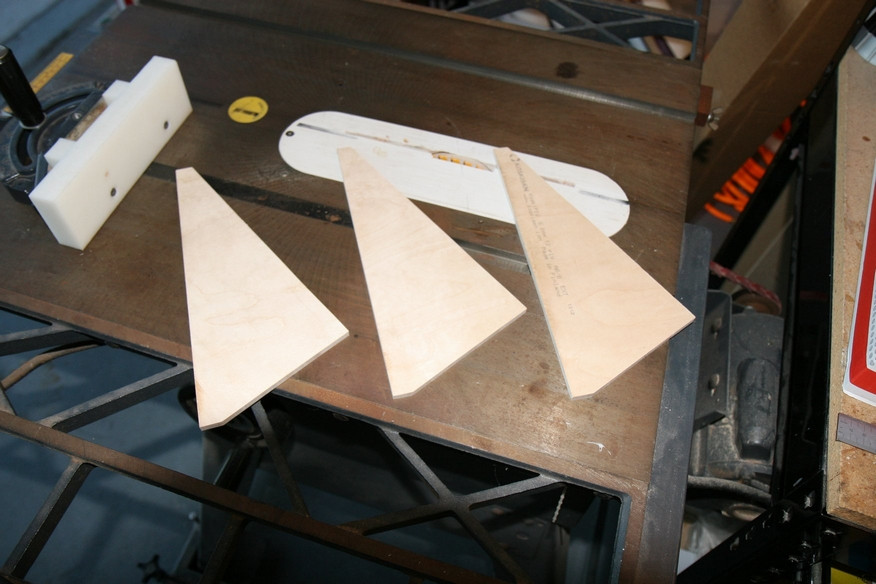
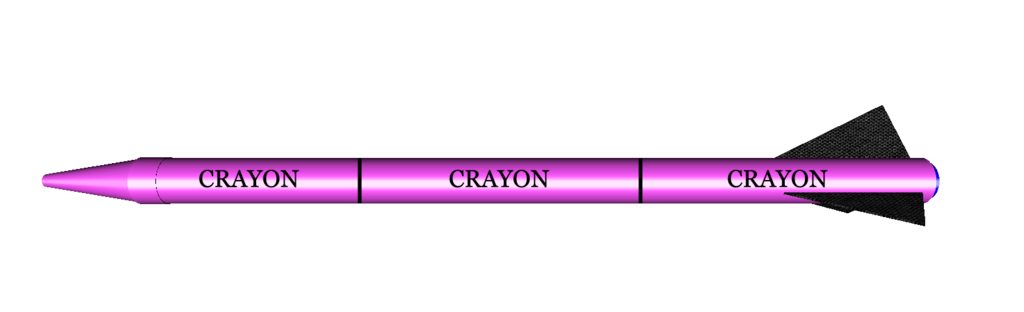
3" Blue tube runs throughout the entire rocket. It's essentially a 3" MD rocket with a crayon bolted to the outside. There are wooden runners bonded to the blue tube that add strength and serve as "centering" strakes. They will be sanded to the shape of the ID of the crayon.
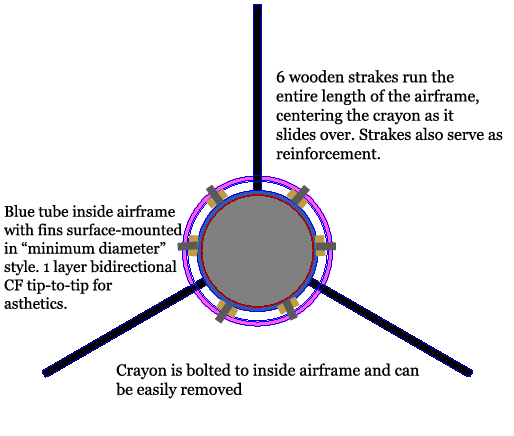
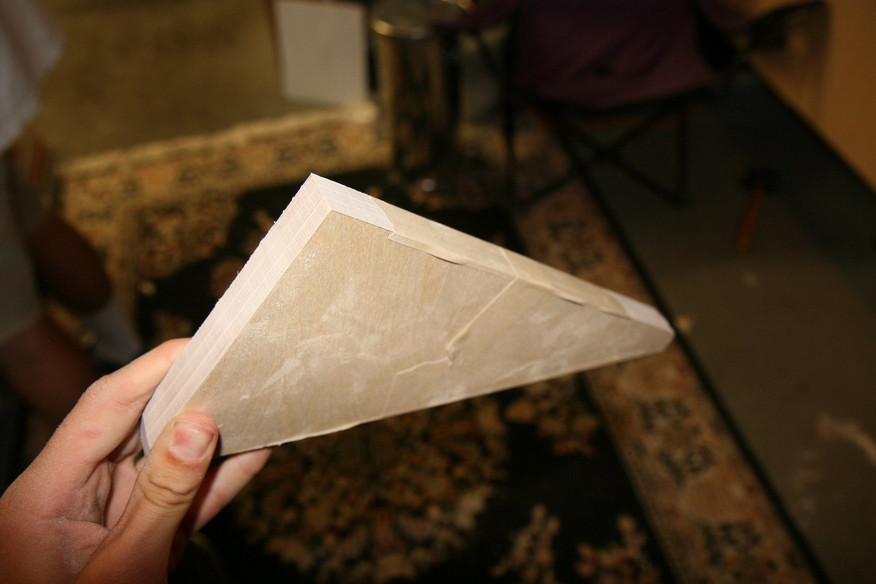
The fincan is reinforced as if the rocket is minimum diameter. this includes large fillets and tip-to-tip. The bottom crayon is then slid over the tube from the front.
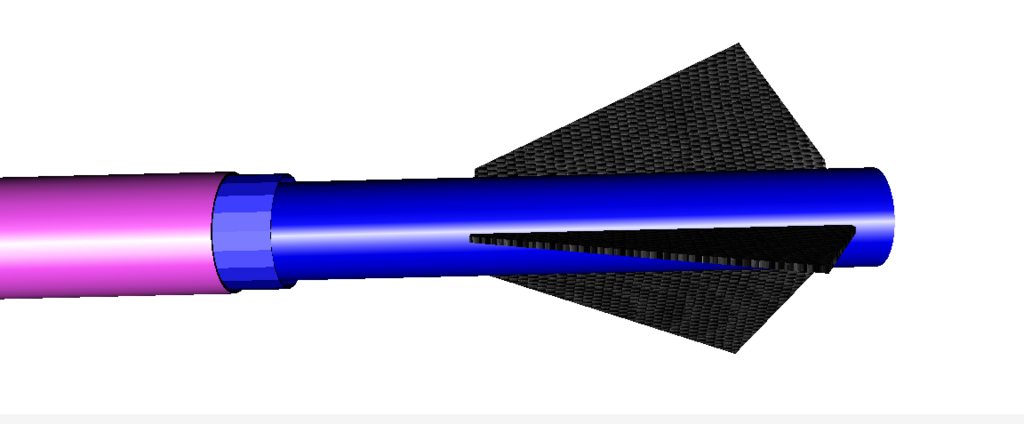
Aesthetics: You can make this crayon any colour you like. The first rendition will be pink because real men fly pink rockets! I will be doing 1 or 2 layers of 5.7oz 2/2 till CF over the fins for strength and aesthetics. Carbon just looks really cool juxtapositioned with the cardboard crayon bank.
I'm probably going to stick to baby M's and L's for this rocket- We have so few 75mm rockets anyways it'll be nice to not shred one.
Stay tuned! Soon the building shall begin.
I will also be doing a build log on my website https://sojourner.me, so please check it out!
Crayons have always been central to my rocket experience. My dad's (and by extension mine- although I was about 6 years old at the time)first HPR was a scratch built blue crayon based off of Jamie Clay's Gumby Crayon. We moved on to bigger and better, but we never stopped loving crayons.
Recently I got this crazy dream in my head. HOW COOL would it be to stuff the biggest motor possible in a Crayon?! The crayons are just a little too small to fit a 98mm motor case sadly. We'll have to settle for 75mm.
First off - the plan:
3" Blue tube runs throughout the entire rocket. It's essentially a 3" MD rocket with a crayon bolted to the outside. There are wooden runners bonded to the blue tube that add strength and serve as "centering" strakes. They will be sanded to the shape of the ID of the crayon.
The fincan is reinforced as if the rocket is minimum diameter. this includes large fillets and tip-to-tip. The bottom crayon is then slid over the tube from the front.
Aesthetics: You can make this crayon any colour you like. The first rendition will be pink because real men fly pink rockets! I will be doing 1 or 2 layers of 5.7oz 2/2 till CF over the fins for strength and aesthetics. Carbon just looks really cool juxtapositioned with the cardboard crayon bank.
I'm probably going to stick to baby M's and L's for this rocket- We have so few 75mm rockets anyways it'll be nice to not shred one.
Stay tuned! Soon the building shall begin.