My 2013 Balls Project

The Rocketry Forum

Help Support The Rocketry Forum:

This site may earn a commission from merchant affiliate links, including eBay, Amazon, and others.

tfish

Well-Known Member
TRF Supporter
Joined
Dec 7, 2009
Messages
3,531
Reaction score
2,784
Upscale Kestrel...

Kestrel.jpg


Tony

Kestrel.JPG
 
Last edited:
48"..no way that would be insane. It's 46". It's one of the ones Loki had on 'special'. I have not done any sims or motor calcs yet. I needed to get the parts together first. I'll come up with the motor specs tonight...and sims as I build it.

Tony
 
48"..no way that would be insane. It's 46". It's one of the ones Loki had on 'special'. I have not done any sims or motor calcs yet. I needed to get the parts together first. I'll come up with the motor specs tonight...and sims as I build it.

Tony

Look forward to motor details :wink:
 
48"..no way that would be insane. It's 46". It's one of the ones Loki had on 'special'. I have not done any sims or motor calcs yet. I needed to get the parts together first. I'll come up with the motor specs tonight...and sims as I build it.

Tony

So you got the other one! I will keep an eye on this thread. Going to try a finacyl grain in mine.

Dennis
 
48"..no way that would be insane. It's 46". It's one of the ones Loki had on 'special'. I have not done any sims or motor calcs yet. I needed to get the parts together first. I'll come up with the motor specs tonight...and sims as I build it.

Tony

So a 46" case is 95.833333% insane....

How come there are only two fins?
 
Seriously, are you going to use the top of the motor case as a coupler section and shorten the airframe tube?
 
Motor info. I need to make a forward closure for this. I want it to hold a longer smoke grain then I've been flying and for it to be flush with the top of the motor case. For a nozzle I will be using a 'spent' 75mm AT phenolic nozzle. I like using phenolic noz of these longer motors. I make the grain geometry progressive, but with the errosive noz..the burn is 'mostly neutral. I made a short 'nozzle holder' that lets me use AT nozzles in 3" snap ring cases. I've flown it about 6 times and it works well. For propellant I'm going with Swamp Gas. It's well behaved and I've used it in other long motor configurations. Swamp Gas does not have the best Isp but it works well in these long motors. This motor will be a M1600 5 sec burn and 8000 N/s. I've done 59 inches of Swamp Gas in a 98mm Aerotech case that had slightly higher 'numbers' that worked...so I have no reason to believe the motor won't work. I got the fins tacked on to the rocket last night and layed out the electronics bay with a RC3, ARTS, Beline GPS and Tx. The rockets will be about 59" long.

I'd post some potos but my camera seems to have gone belly up...seems it did not like salt water. I hope to get a new camera later today.

Don, Conventional rocket..body tube covering the entire motor...a 'sleeper' rocket. (sleeper term used in street racing)

Tony
 
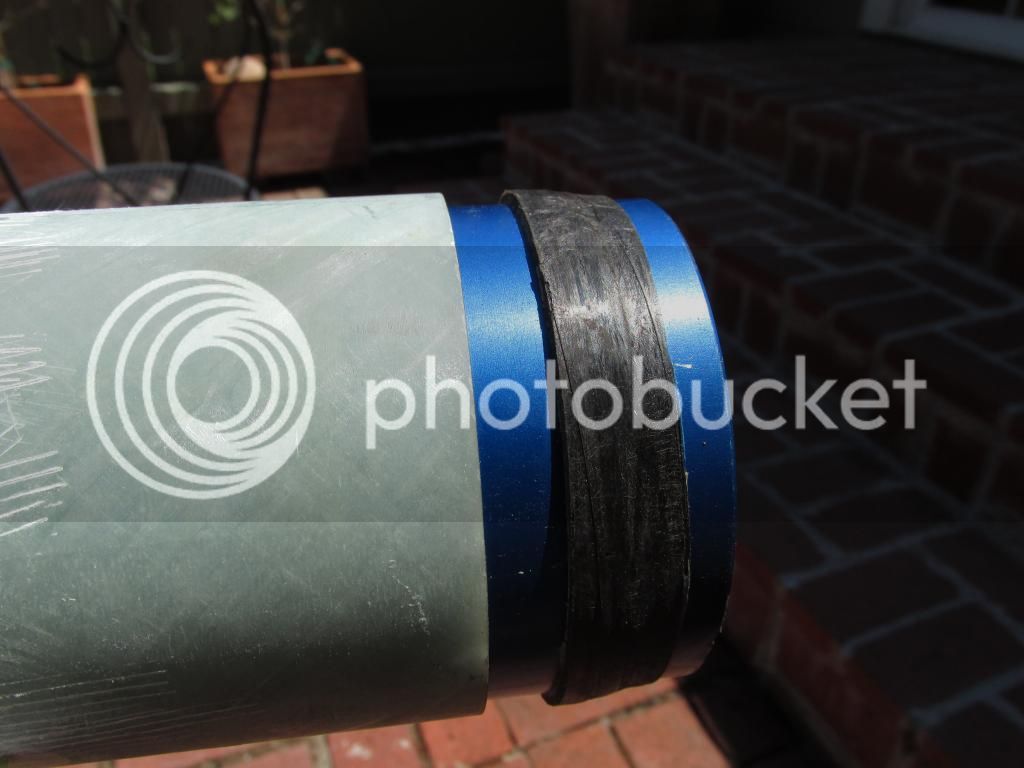
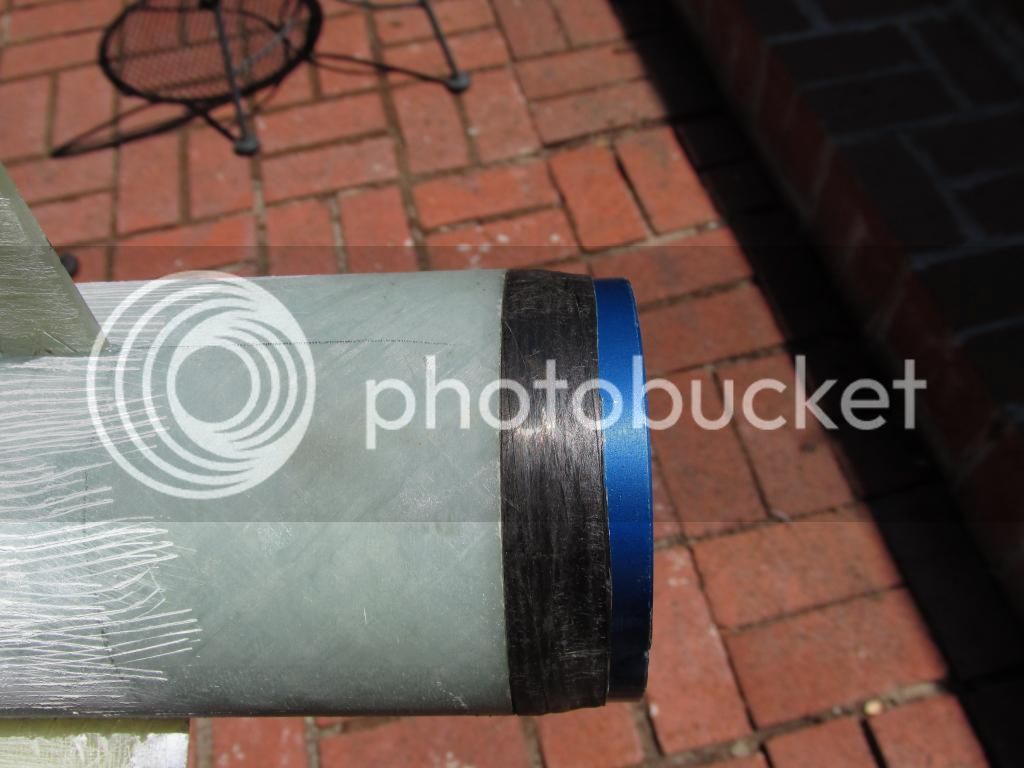
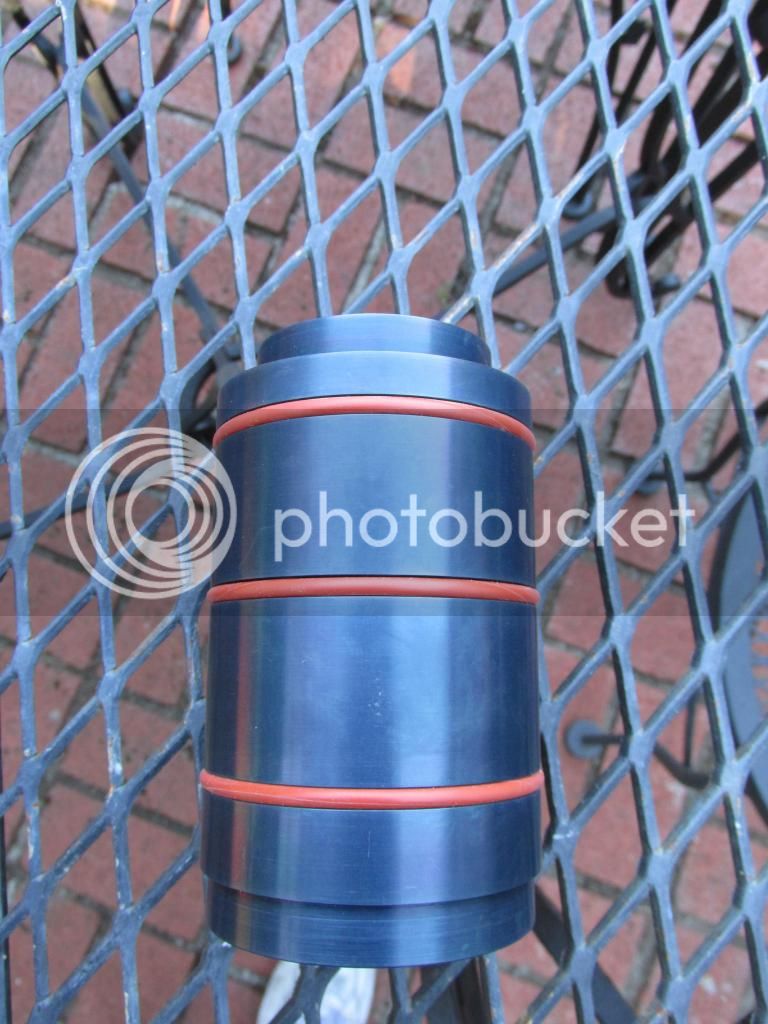
The spiral rings I use on my 3" cases was to wide. Stuck out past the body tube. So, I made on with some carbon fiber tow I have. I've done it on 54mm cases and it works well.
IMG_0006.jpg

IMG_0005.jpg


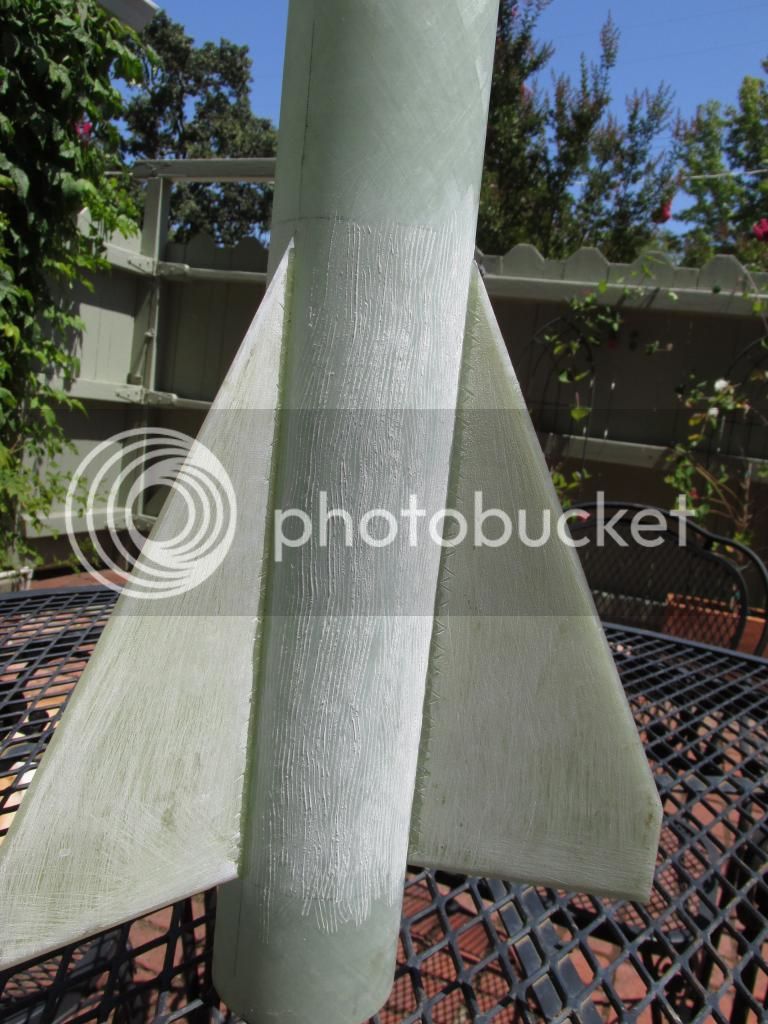
I also found the third fin and got all three of them tacked on last night. You can see how I roughed up the fins and body tube. I did happen to read the thread on epoxy bonding..chemical bond verse mechanical bonds. I've not had problems doing mechanical bonds..but I'm not flying the N5800 either.
IMG_0002-1.jpg


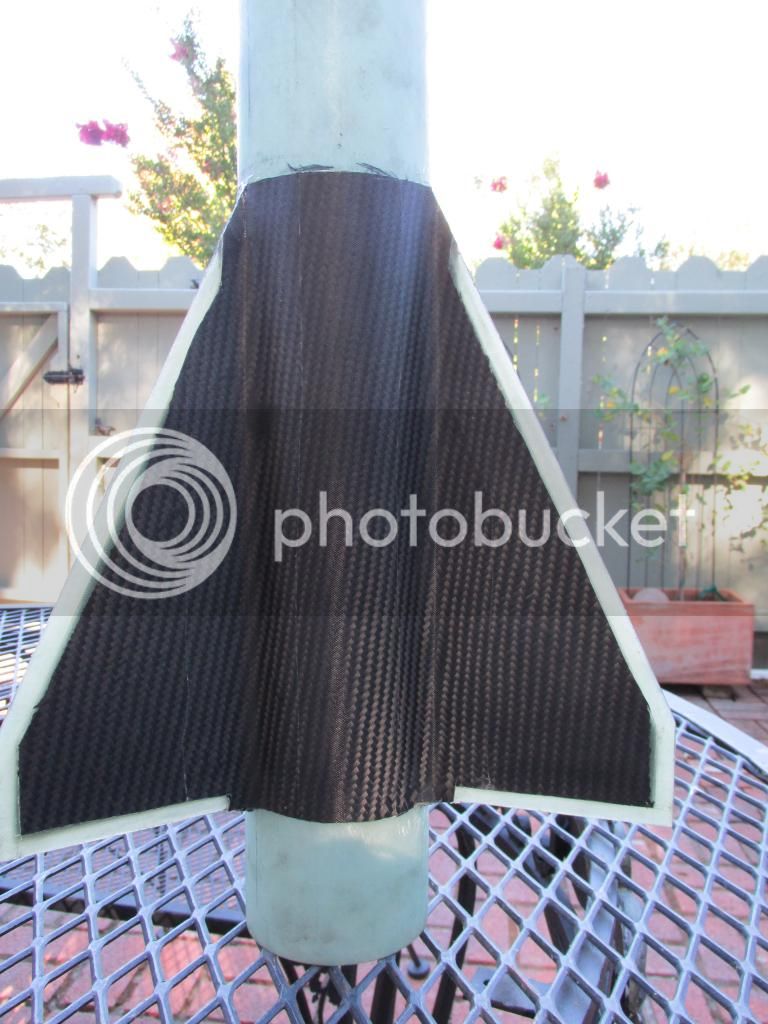
Tonight I hope to start on the tip to tip.

Tony
 
I got one of the bays done .. a bit different then I normally do it.
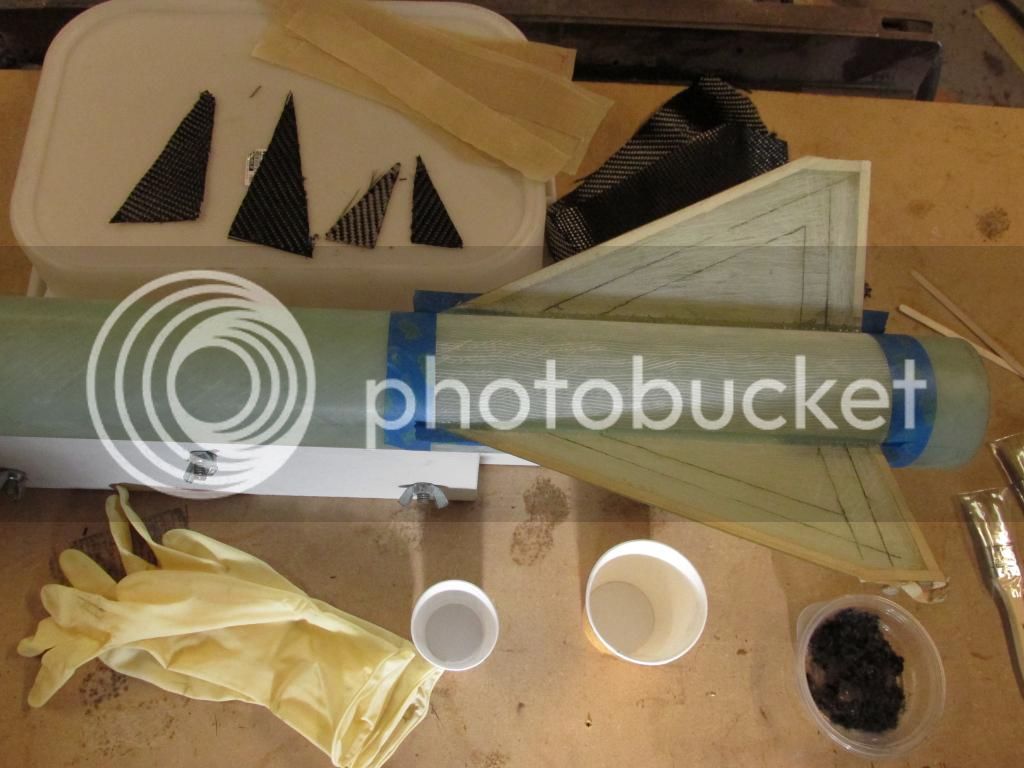
IMG_0007.jpg

I went with a couple of small wedge pieces to give the fin a tad more tickness.
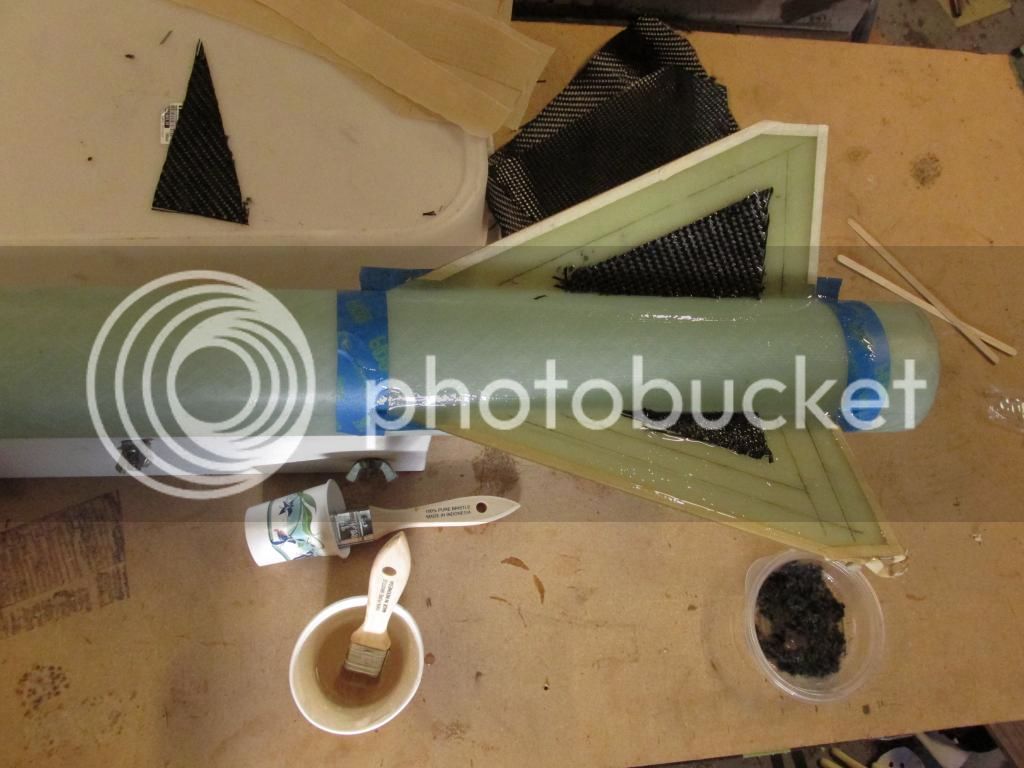
IMG_0008.jpg

IMG_0009.jpg

There one more piece under this full tip to tip
IMG_0010.jpg

The peel ply...strips on the filets..a piece that covers the body tube..and one on each fin.
IMG_0011.jpg


Tony
 
Looking good! Can you elaborate some on the motor thrust ring you made and how it stays attached?
 
If you fly this on Saturday or Sunday, we'll help you find it!


All the best, James
 
Looking good! Can you elaborate some on the motor thrust ring you made and how it stays attached?

The case has a groove for the spiral thrust ring. I masked off the area ahead of that groove. I then sprayed some Mann 400 release into a short section of 3" body tube. Slide that down to the begining of the groove. Mask off the body tube. I have a spool of Carbon Fiber Tow. It's like flat carbon fiber cord. Brush epoxy on to the area your going to build up for the "thrust" ring. I tie off a slip not into the spiral ring groove. Between brushing on epoxy and wraping the tow into place...it's pretty easy to get a nice profiled "carbon fiber thrust ring". I build it up to match the tickness of the body tube and taper it back...pretty easy to do. I then take black ..has to be black!..electrical tape and wrap it on top of the layup...Just helps squezze out any extra epoxy. To get the body tube off a "smart tap" of the case on a couple of door mats breaks loose any epoxy that may have gotten gues to the release agent. If you look closely you can see where the electrical tape wraps were. There is zero sanding or forming left to do. I've done this before and it works well..This is just high tech masking tape method...chicks dig it too!

Dan, Drop me a PM..

Tony
 
Great looking rocket Tony, wish I still lived on the right side of the country to go to Balls and XPRS. It was nice talking to you at Aeronaut and thanks a ton for letting us borrow the Walston receiver.

Scott
 
I got one of the bays done .. a bit different then I normally do it.

IMG_0007.jpg

I went with a couple of small wedge pieces to give the fin a tad more tickness.
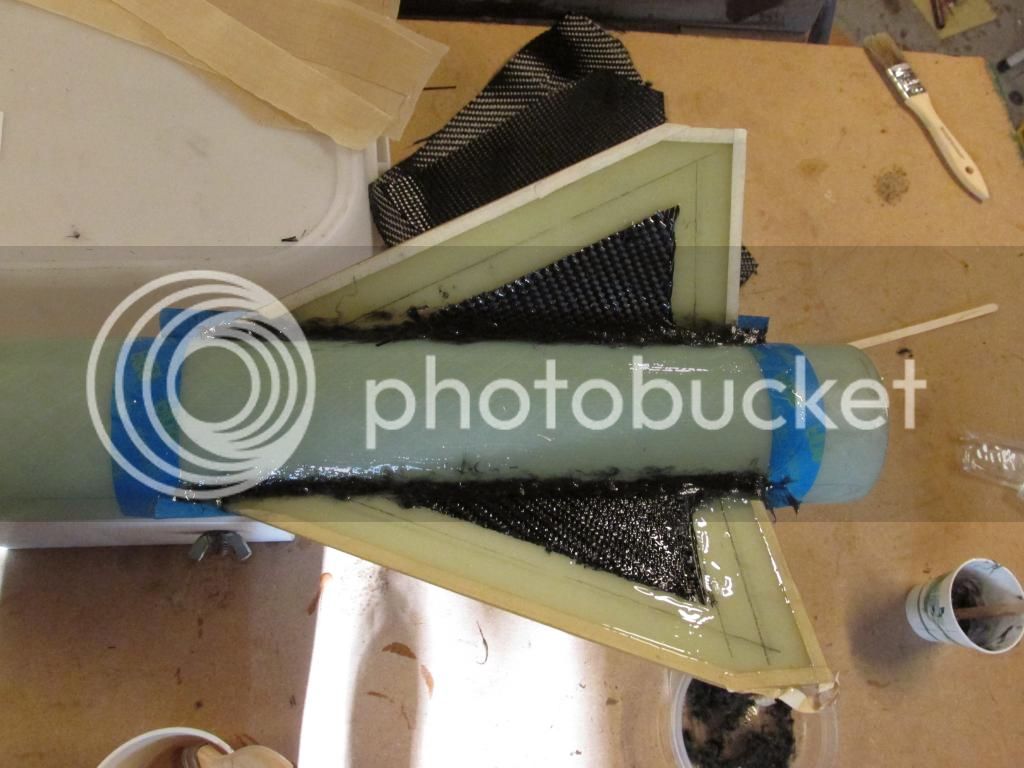
IMG_0008.jpg

IMG_0009.jpg

There one more piece under this full tip to tip
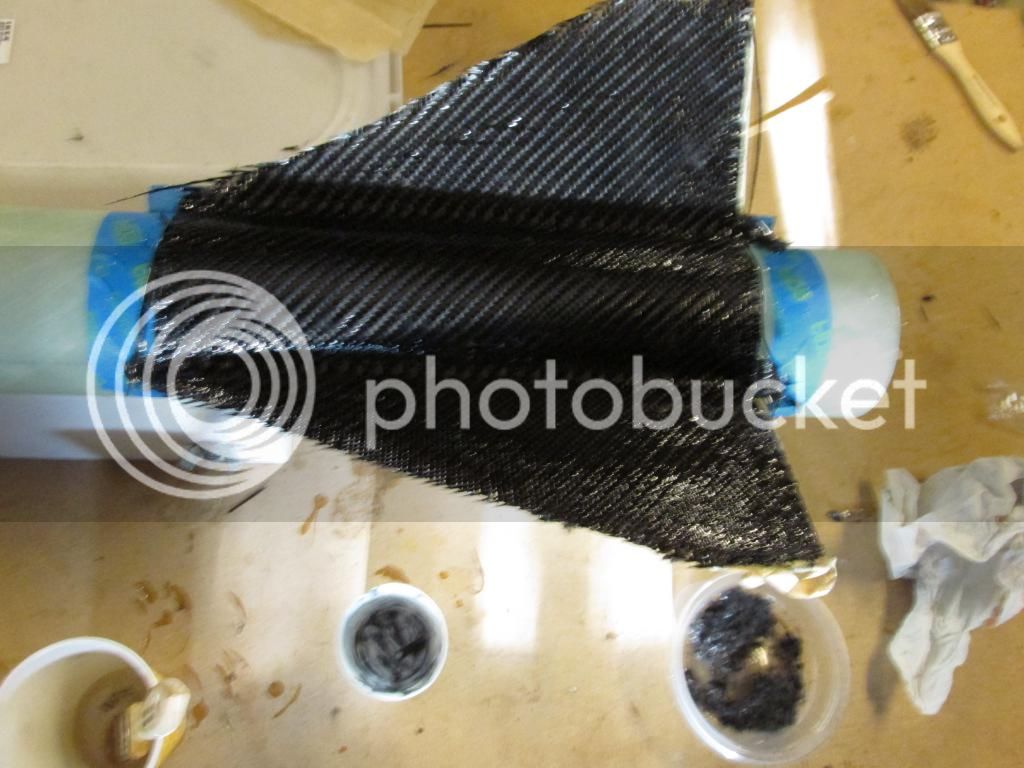
IMG_0010.jpg

The peel ply...strips on the filets..a piece that covers the body tube..and one on each fin.
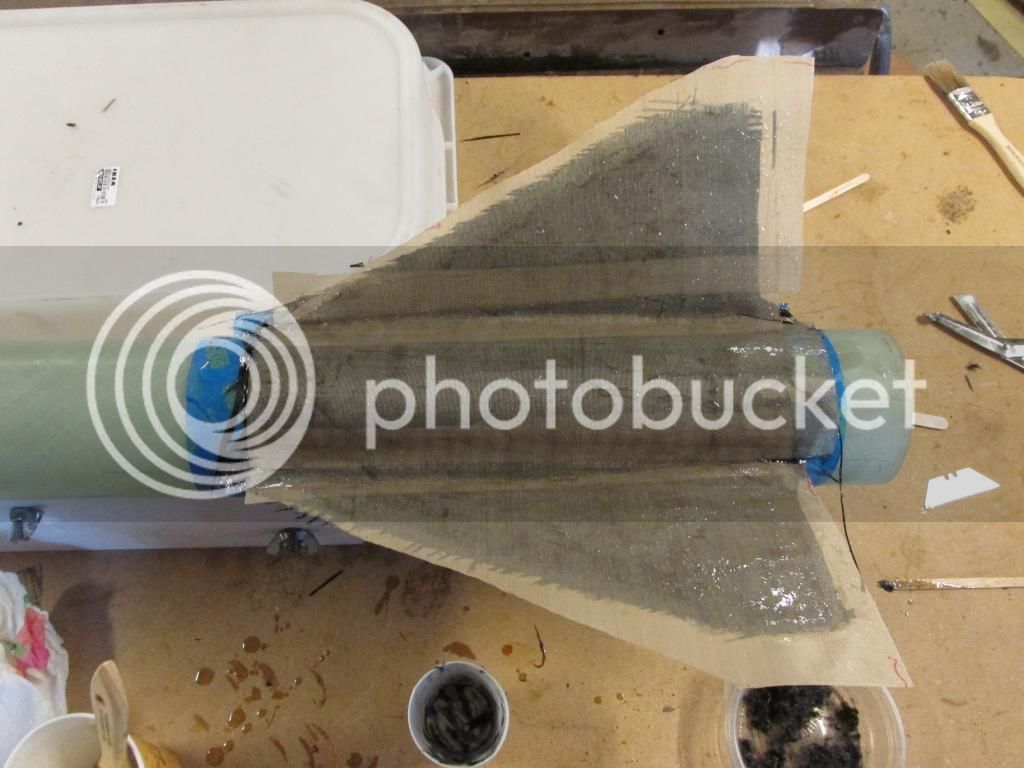
IMG_0011.jpg


Tony

Looking good Tony! Can't wait to see it fly in a month!!!

-Eric-
 
Got the fins done...they need some sanding.
IMG_0020.jpg


I also made up the forward closure it wll take a 3" long tracking grain. I can always use a normal forward closure after this 'test' flight.
IMG_0021.jpg


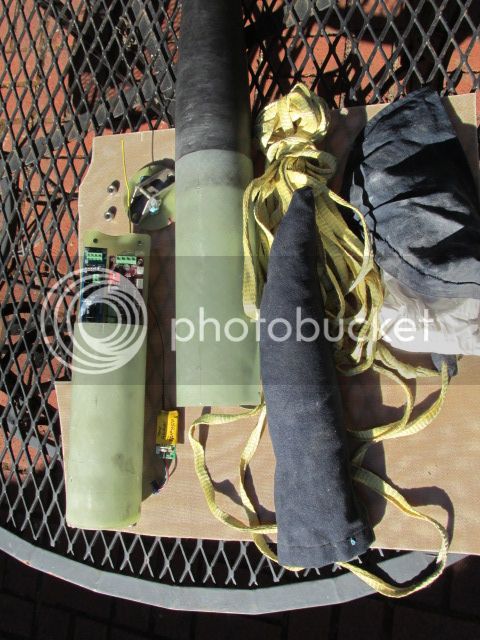
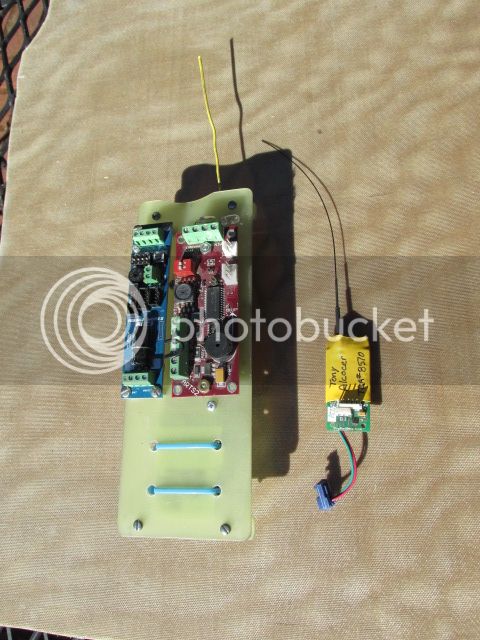
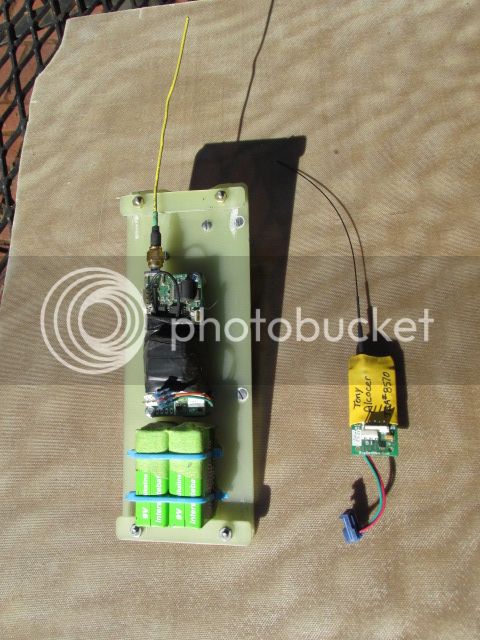
I have most of the electronics mounted on the sled. I might have the electronics bay done tonight.

Tony
 
Tony, nice looking project! Does your thrust ring stay attached for more than one flight? For my Sweaty Balls project earlier this year I used JB Weld to attach a narrow band of spiral wound CF tube to act as the thrust ring. While it worked fine for the flight, I found it was loose when I took the rocket apart. Turns out the tubing layers separated and allowed the outer 'shell' to come loose. Once that was removed the inner layers and JB Weld peeled right off the motor case.

tr.jpg
 
Wow, looks great!

I noticed the masking tape on your leading, trailing and tip edges. Do you trim the cloth off with a razor and then peel the tape up?
 
Wow, looks great!

I noticed the masking tape on your leading, trailing and tip edges. Do you trim the cloth off with a razor and then peel the tape up?

Thats how i do it.. i didnt last night, and i am not happy about it...oh well. I can just grind the frays down and use something like microballoons to smooth out.


I love that av bay!(wait that is the forward closure, i mis read the pictures...) It a long forward closure!
 
Wow, looks great!

I noticed the masking tape on your leading, trailing and tip edges. Do you trim the cloth off with a razor and then peel the tape up?
You can see the 1/4 masking tape covering the tapered leading edges in the photo before any carbon fiber goes on. Once the carbons and peel ply are on...you can't see the tape any more. Once the layup gets to it's rubbery stage..the carbon fiber and peel ply is trimmed by running a razor blade along the edge of the fin. I then add another more 1/4 masking tape to the top of the peel ply. This acts as a cutting guide....lets me know where the first layer of masking tape is. I cut along the masking tape and peel up every thing that was taped and or glued to the leading edges. If you look closely you can see a slight difference in the white leading edge and greenier (non tapered) along the cut carbon fiber line. This line will get feathered out...one of these days.

Tony
 
Getting close..

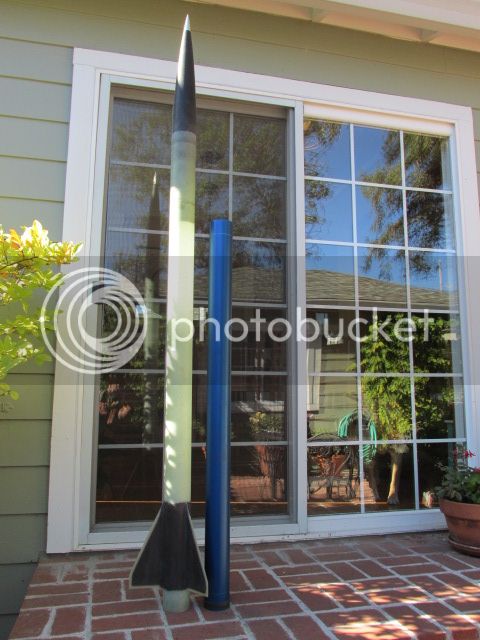
Rocket 75" 7.125# ready to fly less motor.
IMG_0092.jpg


The guts..
IMG_0093.jpg


IMG_0094.jpg


IMG_0095.jpg


some paint, some of this and some of that and it will be done...

Tony
 
Looks darn cool so far man!

You should bring it to XPRS! I wanna check it out in person.

Ryan
 
Can't wait to see what you get for altitude out of this. That is a long-ass motor in a not-much-longer rocket.

Thanks again for sharing your methods. Thanks to that box you sent me, I can replicate some of these techniques! My concern these days is getting my Aeropoxy to cure. It's 80 degrees in my basement and low humidity thanks to the dehumidifier, but for some reason the epoxy never cures fully on the surface.
 
Back
Top