rharshberger
Well-Known Member
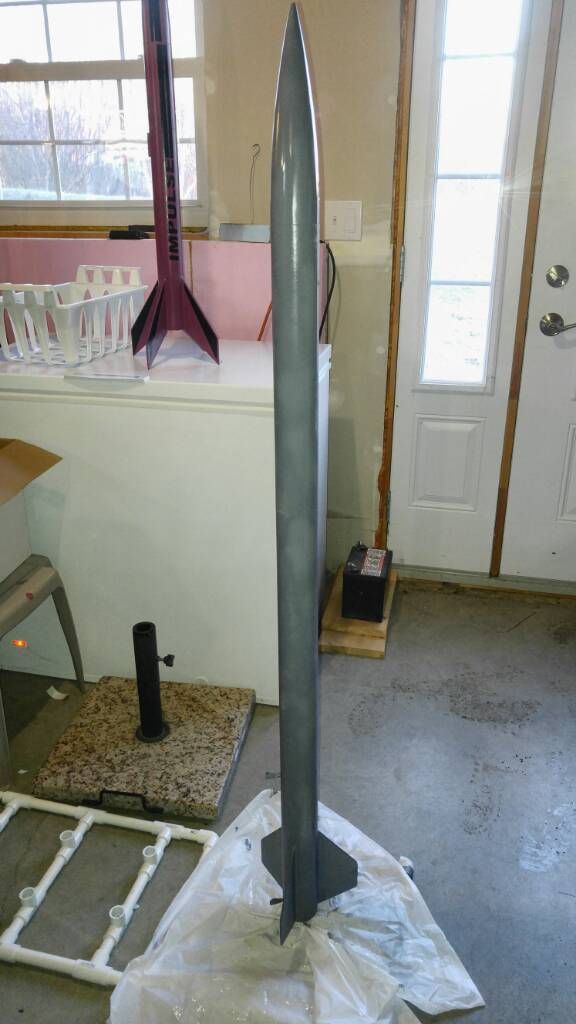
Did some more work on my L3 project a Cherokee-D upscale. Looked at the partially completed Big Daddy...then went back to work on the Cherokee-D.
https://www.rocketryforum.com/showt...t-Cherokee-D-L3-build-thread-for-rharshberger
https://www.rocketryforum.com/showt...t-Cherokee-D-L3-build-thread-for-rharshberger
Last edited: