Why do I always forget the launch lug?!!!
Something about absent minded?


Why do I always forget the launch lug?!!!

Finished a couple of more rockets today, all LPR stuff..
View attachment 320151 View attachment 320152
I thought your build list during recovery was ambitious, looks like I was wrong!
Nice!Finished and uploaded a video from this past weekends launch (first club launch of 2017!!) to Youtube:
[video=youtube;dtPR-oCVFZY]https://www.youtube.com/watch?v=dtPR-oCVFZY[/video]
... nothing beats the collective "whoaaaaaaaa" of a couple dozen little kids as they watch their first rocket launch.

Finished this... View attachment 320200
Finished a couple of more rockets today, all LPR stuff..
View attachment 320151 View attachment 320152
Them are looking sweet Rich!
I like the wind screen decal on the tail cone!
Never seen that before, it's a first!
Hope your recovery is going better than expected!
 . This is going to be fun.

I vote for the semi-scale Tomahawk! :headbang:
Sticker Shock Decals?
Looks good. Great idea about printing your callsign on there....notice the beacon case has my call sign and frequency on it.
Looks good. Great idea about printing your callsign on there.
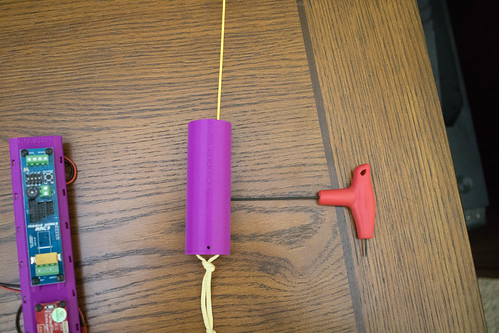
Whats the Kevlar loop on the BRB case for? Does that just tie the case to your harness or is it supporting other parts too?
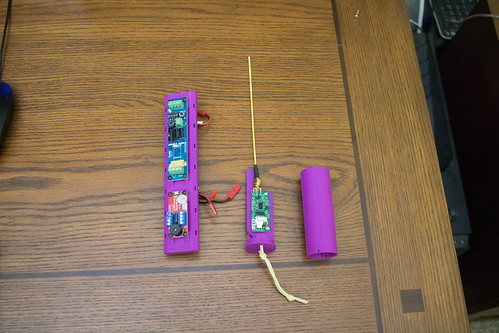
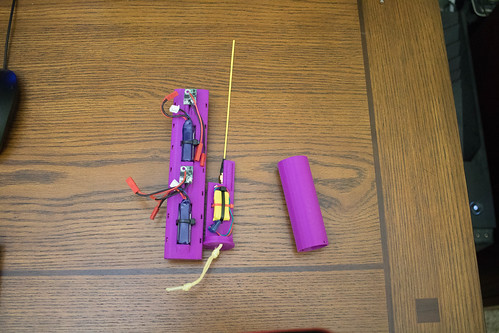
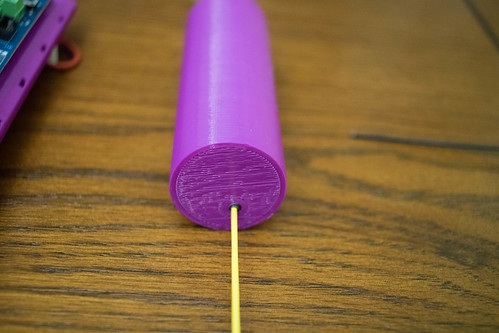
Fitted some electronics to some of my 3D printed creations.
Sled for my CF Mongoose 54, and a protective case for my BRB 70 cm beacon (notice the beacon case has my call sign and frequency on it. These are printed in PETG. I am printing a similar case for a EggFinder mini now. The top of the BRB case was from before I got the first layer spacing correct which is why it is so rough.
Very nice! I've been thinking of getting myself a 3D printer. May I ask what your setup is?
Enter your email address to join: