Today I almost finished my new Dog's Staircase for the vehicle. I have one for my truck that was made for my old truck, and thusly made of wood. She's feeling pretty Spry, as she leapt into my seat and then into the commanders seat.
I had the staircase out and all, and she has not done a jump like that in a long time.:confused2:
The Wood one weighs about 40lbs, and needs to be moved about by hand. I figured I'd use up some foam practicing bonding techniques at a scale where I can actually use the item on a daily basis to observe it's properties.
This one will weigh a quarter of that, and be much safer to drive around with, since I don't have a truck bed to stow it in.
I'll use Velcro to hold it in position when in transit, but maybe not much else, as it is incredibly rigid, and in the event of an accident, it would do well to let it go wherever it pleases and let it absorb impacts.
It's a bunch of interlocking blue foam, Duck Brand Self Adhesive Wall Repair Fabric which is fiberglass, Bamboo Skewers, Titebond II and 3M 77 Spray Adhesive, Elmers Spray Adhesive, some climbing rope, masking tape, Duct Tape, aluminum window screen, foamboard, and Aluminum Foil Tape, and when it was of the right aspect and everything was stitched together with Bamboo and Wall Repair Tape, I sprayed an expanding foam in from the back, learning many new things along the way.
Tomorrow it will get covered in Dollar Store Flex-Seal, then I'll go to the Hardware Store and get these cool self adhesive tread pads that I saw last time I was there. It's like diamond-plate, but made of embossed Rubber. There's no way my Dog will slip on those.
I'm leaning a lot that can be applied to my rocket building techniques that can be applied at a much tinier scale.
These materials are so plastic by there very nature, that your imagination and will to build alone command them.
View attachment 295855View attachment 295856View attachment 295857View attachment 295858View attachment 295859
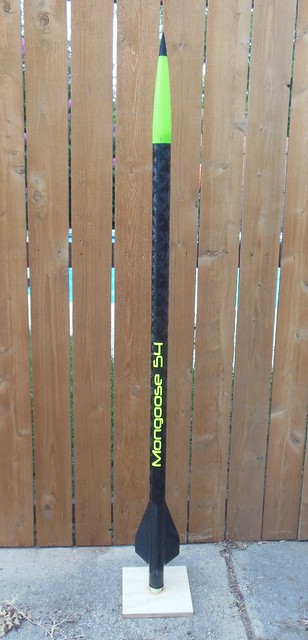
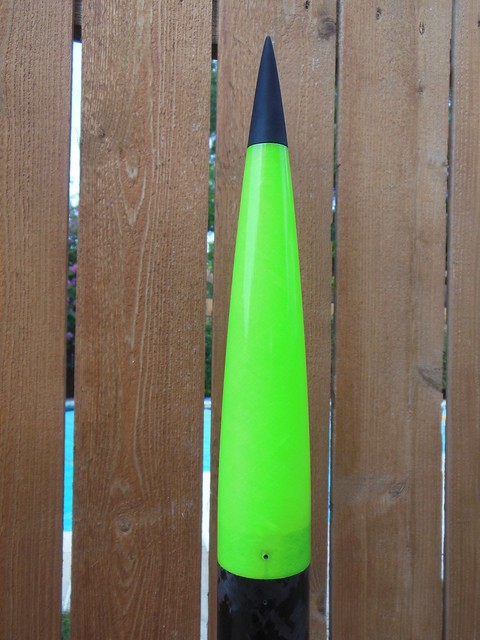
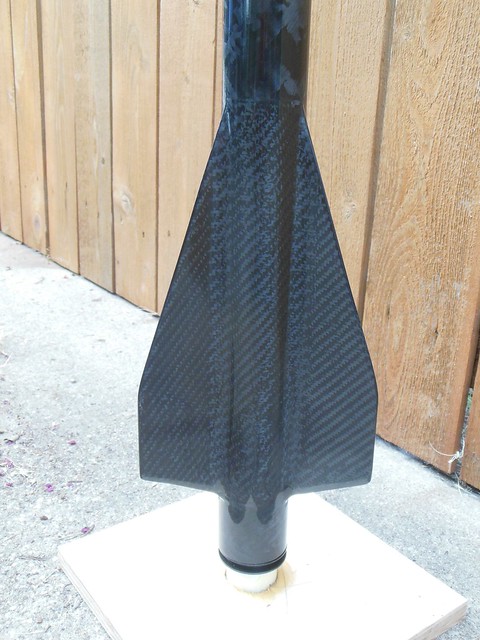
I intend to use structures similar in construction to this stair case to build a molding machine that will press form composite rocket bodies with fins. If I have four of this part, and it can repeatedly withstand compression, it will make an ideal piece of kit for forming parts.


") .
.