JERRYR708
Well-Known Member

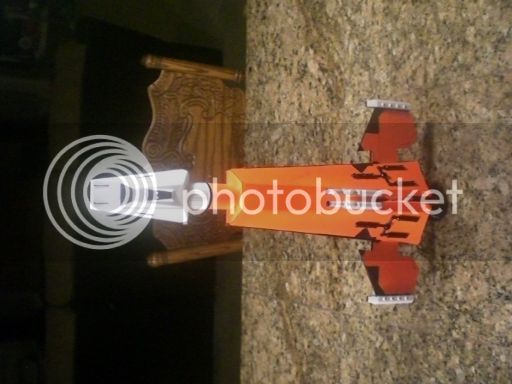
Finished building the Estes Vagabond just before my wife returned back home from a job assignment in Wabasha Minnesota for 2 weeks.
The rocket is built completely stock except for a longer elastic shock cord of about 3 yards. The paint is Rust-oleum metallic aluminum and Rust-oleum semi-gloss black over white primer. I sprayed Krylon acrylic gloss clearcoat just before applying decals and a final clearcoat after the decals. CWF the fins and BT and rounded leading fin edges. Turned out to be my best finish job which paid off for all the prime/sanding.
This is currently my biggest rocket build and now my favorite.
Last edited:

") I've built up the fins and have filled the nose cone. Too much work on at the moment to get any more done before the weekend.
I've built up the fins and have filled the nose cone. Too much work on at the moment to get any more done before the weekend.