What did you do rocket wise today?

The Rocketry Forum

Help Support The Rocketry Forum:

This site may earn a commission from merchant affiliate links, including eBay, Amazon, and others.
I took a look in my hobby bins in the basement, pulled some old kits.

Built a Estes Sky Dart and Estes Astron Space Plane, just finisihed them this evening - now awaiting paint.
After building big rockets for so long, these kits really go together pretty fast.

Started an Aerodactyl two stage and Flis Tres earlier in the week, so now I have a lot of painting to do....four of 'em
 
Last edited:
learned today that Minwax wood filler is very grainy. takes a long time to sand off and does not leave me with a smooth edge. live and learn. I an a newbie coming back to the craft after 38 years!

After sanding, priming, and sanding again, I hope to have a decent rocket.
 
Ordered some long endmills for mold making.

longendmillsim.png

Made another attempt at skinning the fins for the upscaled EAC Viper. 3M 77 Adhesive and pearl finish paper was a disaster. Figured, since I am just papering the fins, I could try a permeable paper and white glue. So far, so good. See what they look like in the morning.

20180128_195609.png

I also cleaned up the terrible mess in my shop from trying to cook my own machinable wax from paraffin and HDPE shavings.

I wanted to cast a big piece, to make some test cuts. It sort of worked -- but I am not going to be able to produce enough to do any useful work. Since I don't have good temperature control using a hot plate, I also expect the the density and hardness will vary a considerably from batch to batch. It was an interesting experiment, but I've got 25 pounds of commercially-produced wax on order.
 
More work on the MDRM, the rear CR has both a block for the rail button and T-nuts epoxied to it for motor retention. The T-nuts are fully inserted, then removed and epoxy applied and re-inserted, after the epoxy cures for a bit the T-nuts spurs are bent over in a vise (to help lock the T-nut in) and then the rest is sanded flush with the ring (on the 1/8" thick rings the nut stands proud about a 1/16"), then the threads are chamfered and chased with a 8-32 tap.

The forward chute shelf and recovery anchor point are assembled, the eye bolt has a block behind the CR (which is 1/4" material) which will also do double duty for the rail button block, no underwear elastic in my MPR and bigger rockets, nor in most of my newer LPR rockets.

Left: actually taken yesterday the airframe wrapped with FG (2oz and 7oz one wrap each).
Left Center: fins being laminated with a layer of FG (7oz) on each side of core and the skins applied, there is probably 50lbs of weight there plus the MDF cauls on the fins for the weights to sit on.
Center and Center Right: MMT assembled and fins beveled and papered.
Right: Bevels are pretty even once I got the jig dialed in, the fin on the far right has longer bevels but they are still pretty even, the trailing edge bevels are all almost perfect.

MDRM1.jpgMDRM2.jpgMDRM3.jpgMDRM4.jpgMDRM5.jpg
 
I was the goofy looking redhead in the green shirt kibitzing with the two Scotts, Darrell, and Bob. I may have met you; I cannot tell what people look like or what their real names are in Tapatalk. I tried to walk around and meet people, but obviously I didn’t do a great job of it. Im sorry about that. I could only stay for a couple hours, but I was really glad to come. The launch was very similar to the ones my local club has.
Thanks for the welcome. I’ll make a point to look you up next time.
Steve


Steve Shannon

Dang, as Wayne wrote we'd have like to have met you. We were super busy with Kevin testing the Featherweight GPS tracker and then had the 4 mile recovery trek. We were the camp with the Arizona Flag flying and I'm the gal with the long braid. Be sure and meander over next time and say hi!
 
Ordered and received Mike Westerfield's Make:Rockets. I am absolutely captivated by his writing style. It is making an excellent refresher for the basics after I've been out of the hobby for so long!
 

Dang, as Wayne wrote we'd have like to have met you. We were super busy with Kevin testing the Featherweight GPS tracker and then had the 4 mile recovery trek. We were the camp with the Arizona Flag flying and I'm the gal with the long braid. Be sure and meander over next time and say hi!

I did walk over when I first got there, but saw nobody home. Then I saw the rocket fly 26,700 or so? Nice!
I’ll definitely make sure to look you both up at LDRS.
 
What is the other rocket in the picture?
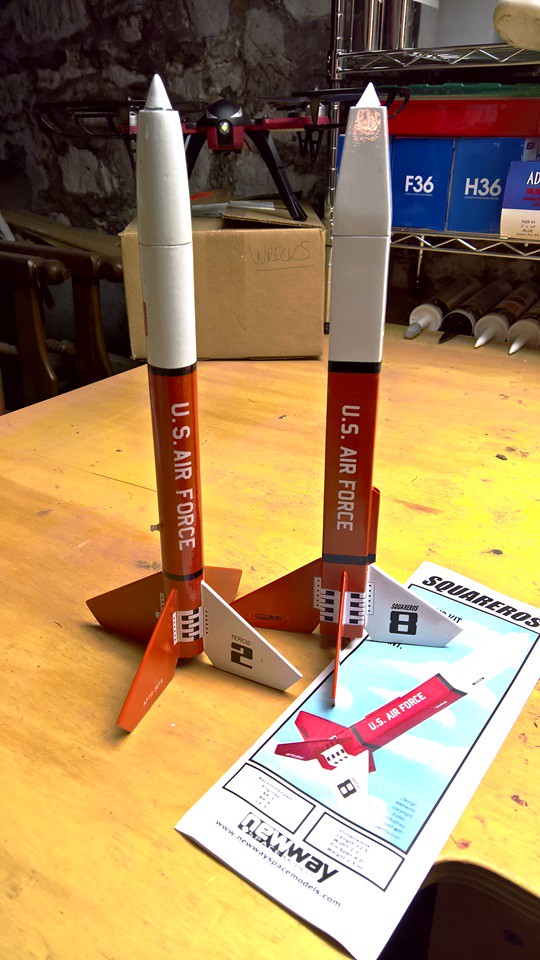
Finished my New Way Squareros:

38958143755_69df6f33e9_b.jpg
 
Helped my 8-year old daughter with her first rocket, an Estes Mosquito. I showed her how to put in a wood glue fillet.

I also broke out my first high power kit, 4" Little John with a 38mm mount, and sanded the coating off the engine tube. Also groaned at the fact I may need to pay $50 shipping for a $15 part which is the engine retainer. Ordering from Canada sucks.

Oops, please don't do that.

There are several inexpensive ways to retain the motor without exorbitant shipping fees.

Try searching "Kaplow clips"

Or, put a threaded insert on either side of the motor for a bolt that's long enough to pass the end of the thrust ring, and put a wide fender washer under each bolt head that will keep the motor in.

Or there's my cheapo (yet effective) way: make a 1/4" slit in the end of the motor tube, slip an appropriately sized hose clamp over the end, insert your motor, and tighten!
That's how I retained my L1, and it's bested every RSO that's frowned at it and tried to pull the motor free!
 
Relearned that if I am feeling rushed, I will make mistakes. I totally messed up glueing on a motor mount centering ring.
 
learned today that Minwax wood filler is very grainy. takes a long time to sand off and does not leave me with a smooth edge. live and learn. I an a newbie coming back to the craft after 38 years!

After sanding, priming, and sanding again, I hope to have a decent rocket.

try Elmer's Carpenters Wood Filler. Sands like a dream and easy water clean up. Thin it out a bit with water and brush it on.
 
try Elmer's Carpenters Wood Filler. Sands like a dream and easy water clean up. Thin it out a bit with water and brush it on.

+1
Make sure you get the orange can that says interior and carpenter’s. The other kinds of wood filler (like the wood filler max) usually have fibers and probably some other stuff that make it a pain to sand.
 
Assembled 2 24mm MMTs for BT56 tube. Had a couple PNC-56 nose cones laying around, so I figured I would put them to use. They aren't exact, but close enough. Building a Darkstar clone (Mildman Lightstar) and a Jart clone (Mildman Lawn Dart).
 
Digging through a closet, looking for an old camera bag, I found a box of miscellany that I must have packed more than 20 years ago.

20180130_155835a.png20180130_160055.png

I am guessing the motors and fuse are from 1989 or 1990. When I was in grad school, I TAed the 200-level honors physics labs. One of the exercises had the students build and launch rockets, testing the predictions of some computer program (running on an Apple II) by measuring the apogee altitude with Altitrack(tm) altimeters. That would have been the last time I handled rocket motors until 2016 when my kid got me back into the hobby. I cannot, for the life of me, remember what rocket we had them build. Not an Alpha, but something about that size. The TAs all built them too. Not sure why the packaging and price tags are different. I taught that lab twice, Spring semester and the following Fall. I also think I remember that the TAs were asked to buy our own motors. The pink cards might be left-overs abandoned by the students, who picked theirs up in the campus bookstore. In which case the the black card might be what I got for myself.

I'll have to dig through my notebooks, see if I kept a copy of the lab procedure.

These motors have not been stored in a humidity and temperature controlled environment. I am really looking forward to seeing what they do when I try to launch them. <grin>.

The wadded up parachute is older. Its a US Army surplus flare parachute, purchased from Jerryco (now American Science and Surplus) when I was in middle school. I tried to use it in my Scrambler egg lifter -- with the entirely predictable result that it never deployed and the Scrambler came down nose first and fast onto the asphalt of the school parking lot. Its a nice chute. Nylon. About 28 inches across. Should fit in anything larger than BT60. I am absolutely going to put it in a rocket.
 
+1
Make sure you get the orange can that says interior and carpenter&#8217;s. The other kinds of wood filler (like the wood filler max) usually have fibers and probably some other stuff that make it a pain to sand.
Double agree on the orange lid. this stuff: it also comes in a tube. cwf.jpg
 
Downloaded the altimeters on my 3" Darkstar and Mongoose 75. These are the rockets that we used to test the new Featherweight GPS systems. My Darkstar flew to 11,515, and I think Sharon's did a bit less. Both were recovered with the iPhone using Test flight iFIP. The Mongoose flew to 25,934 ft. and we used everything to get it back. FW GPS, Eggfinder and CSI tracker. Very difficult recovery in some low mountains South of Eagle Eye.
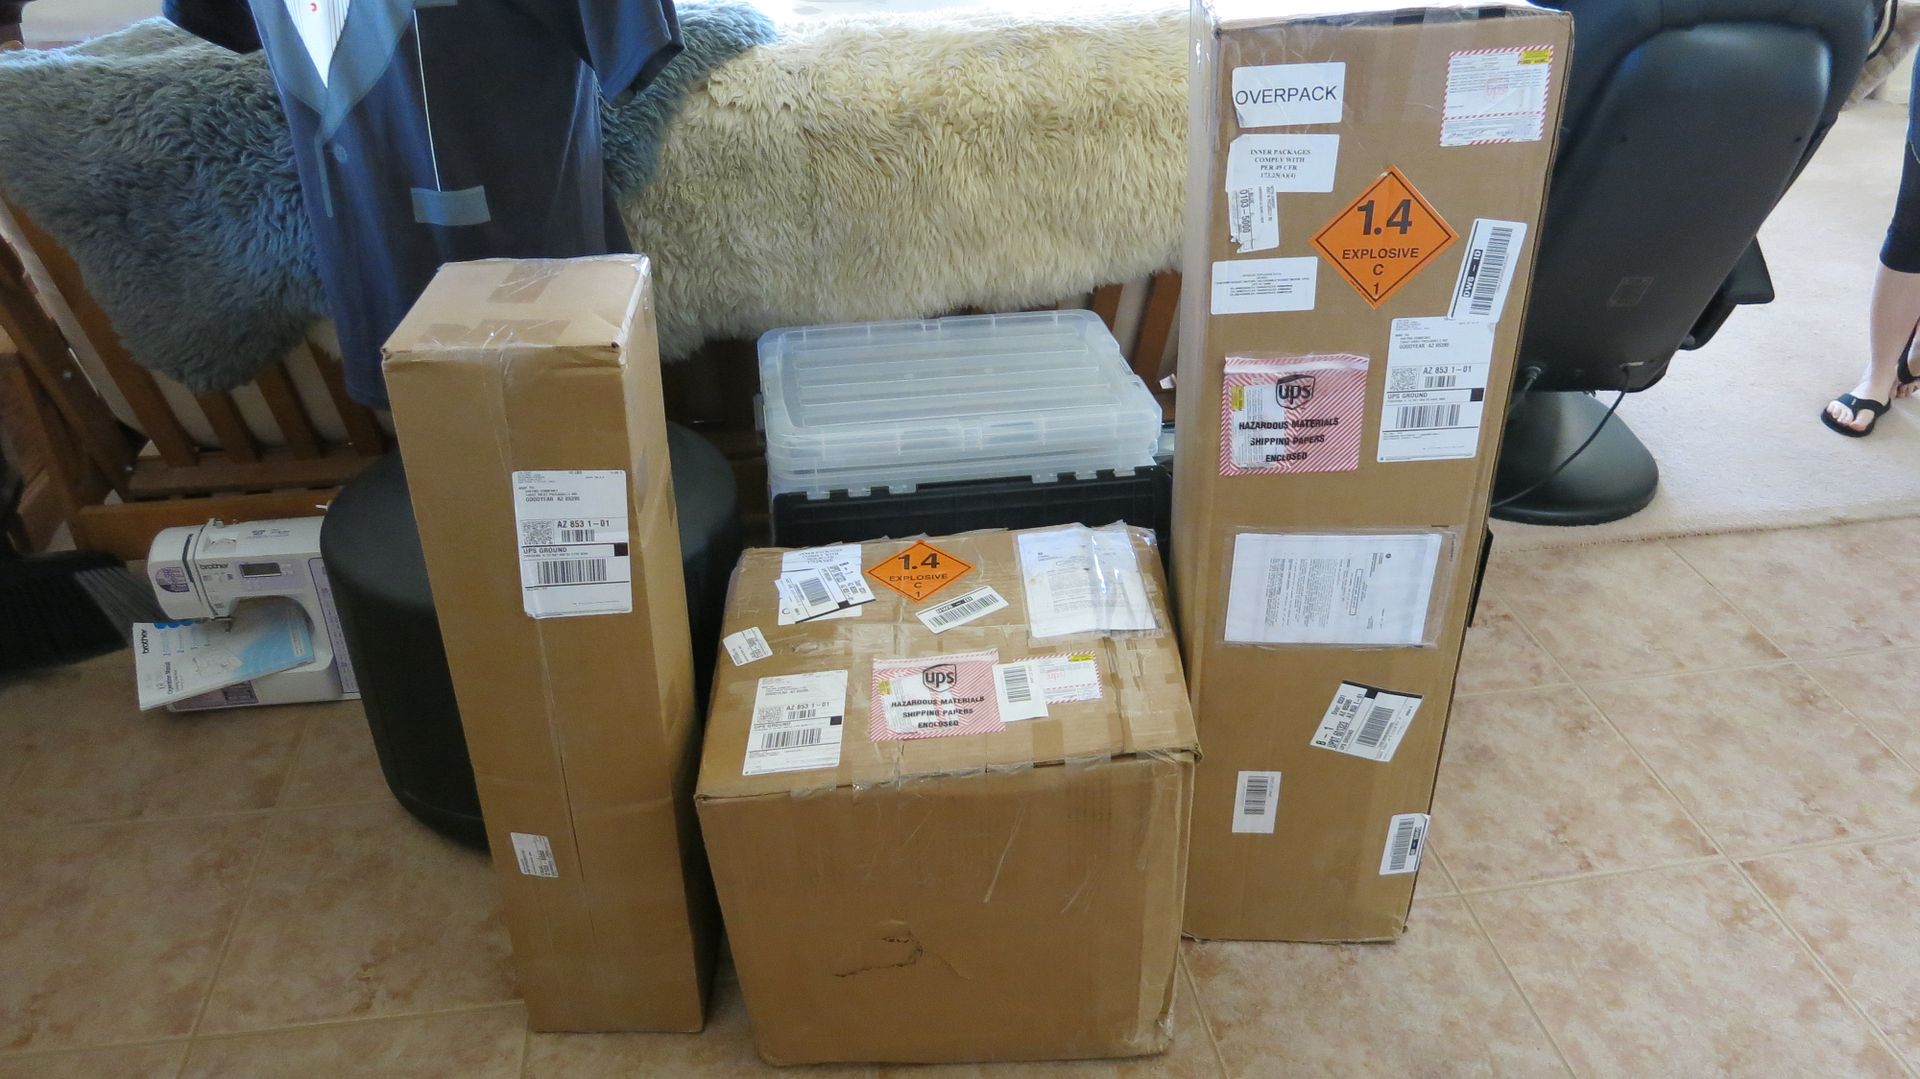
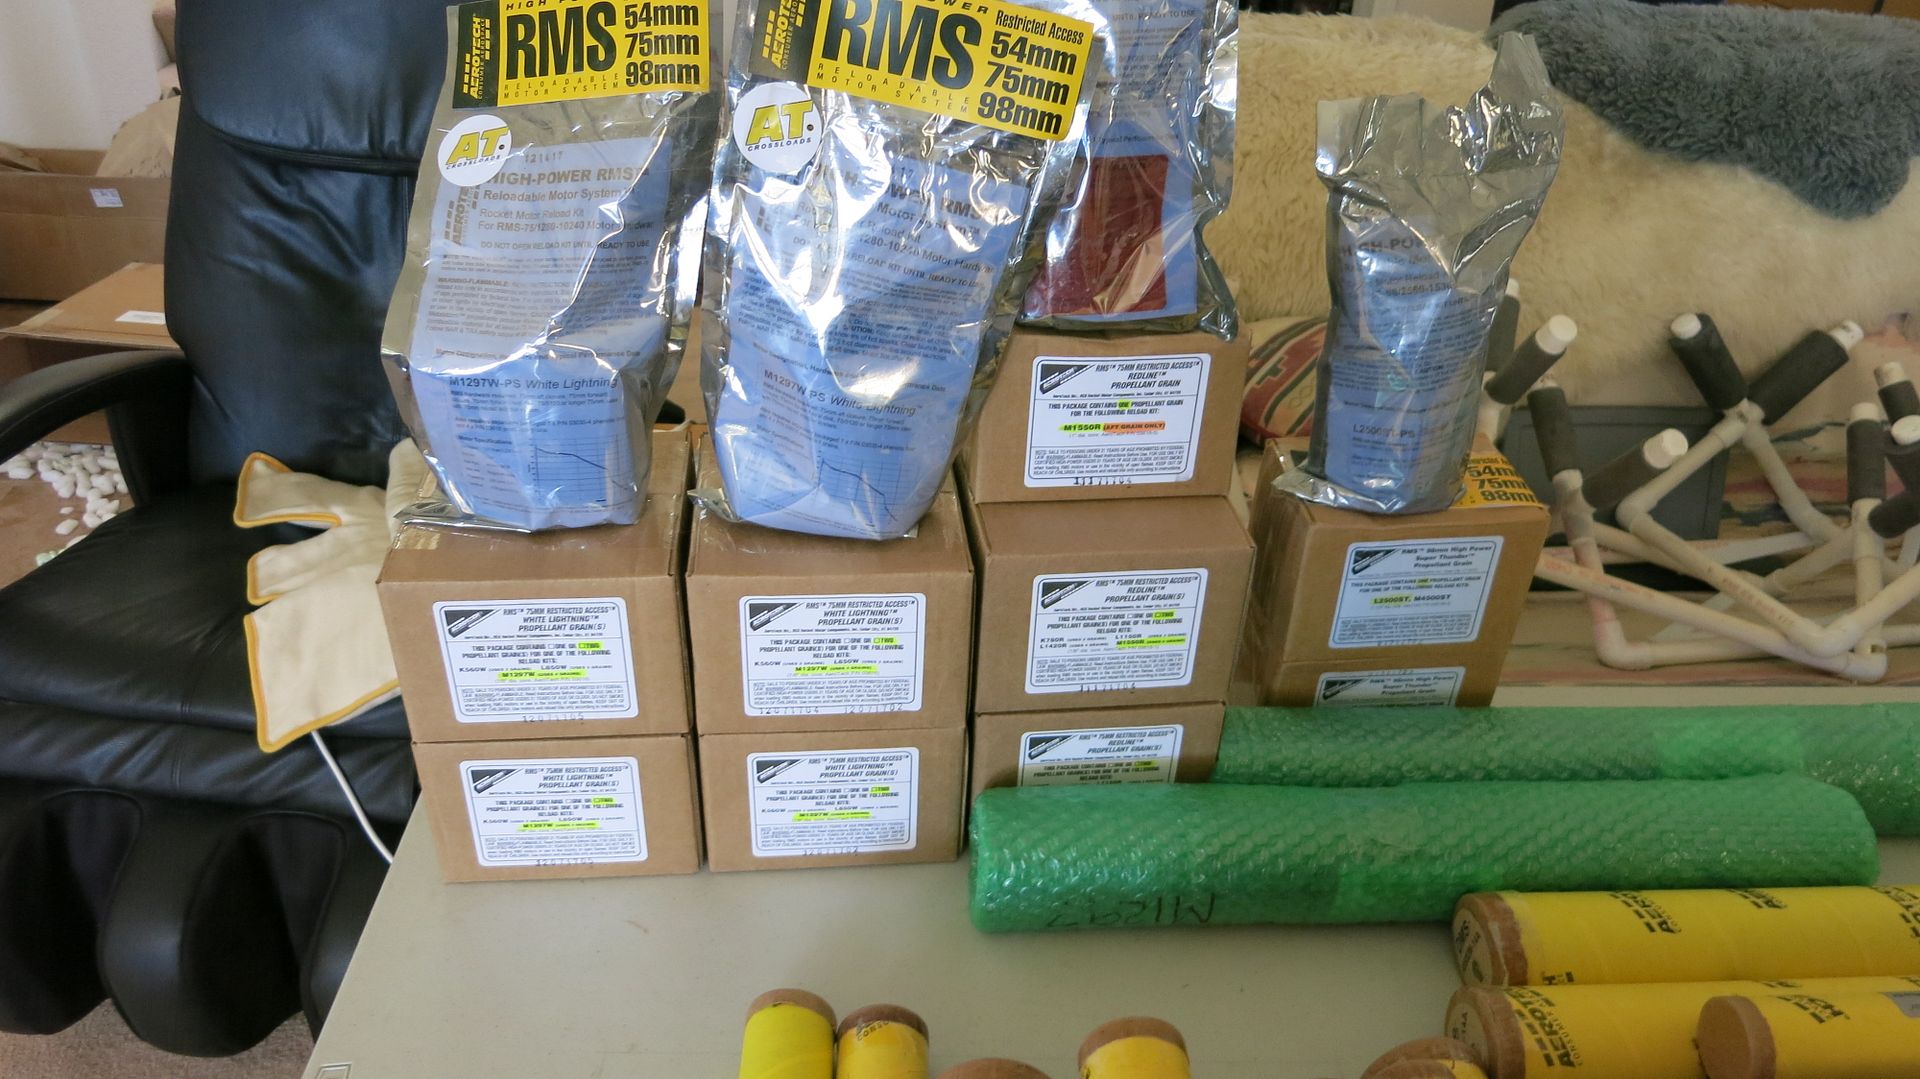
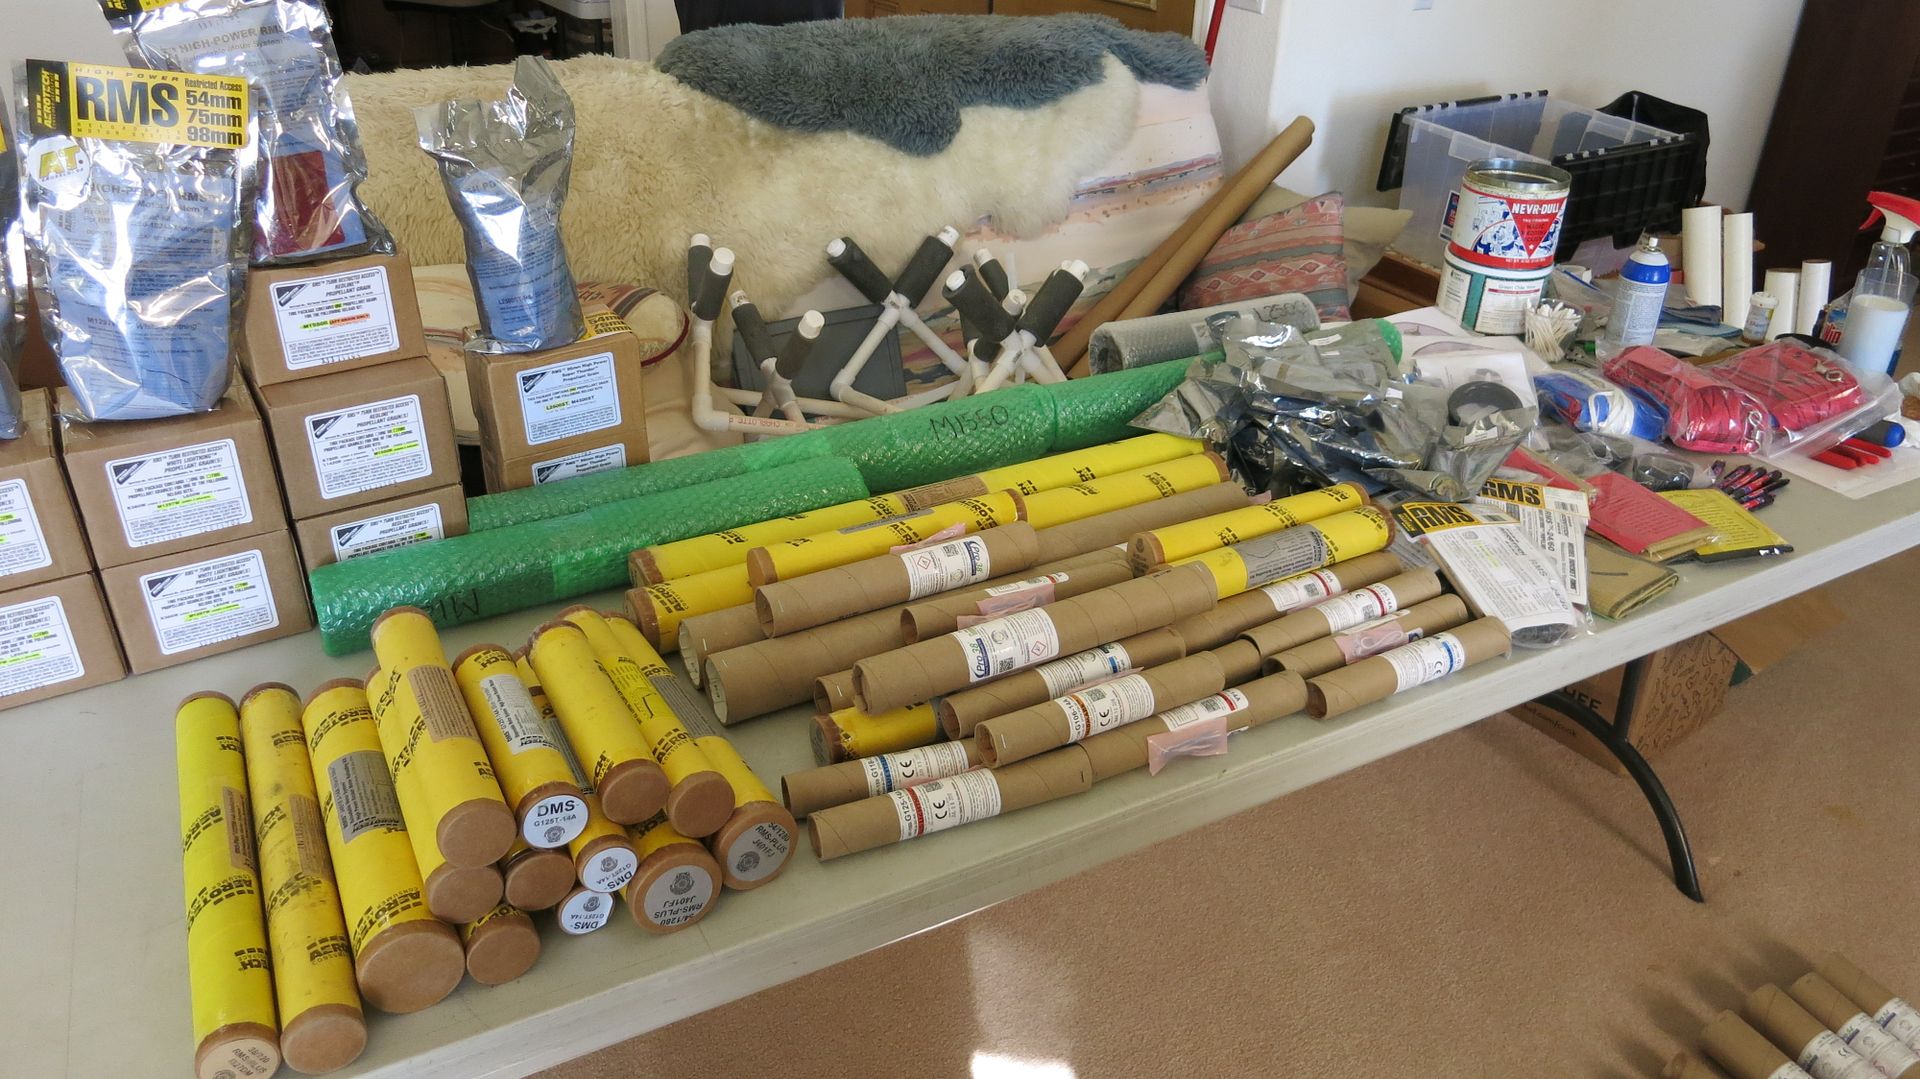
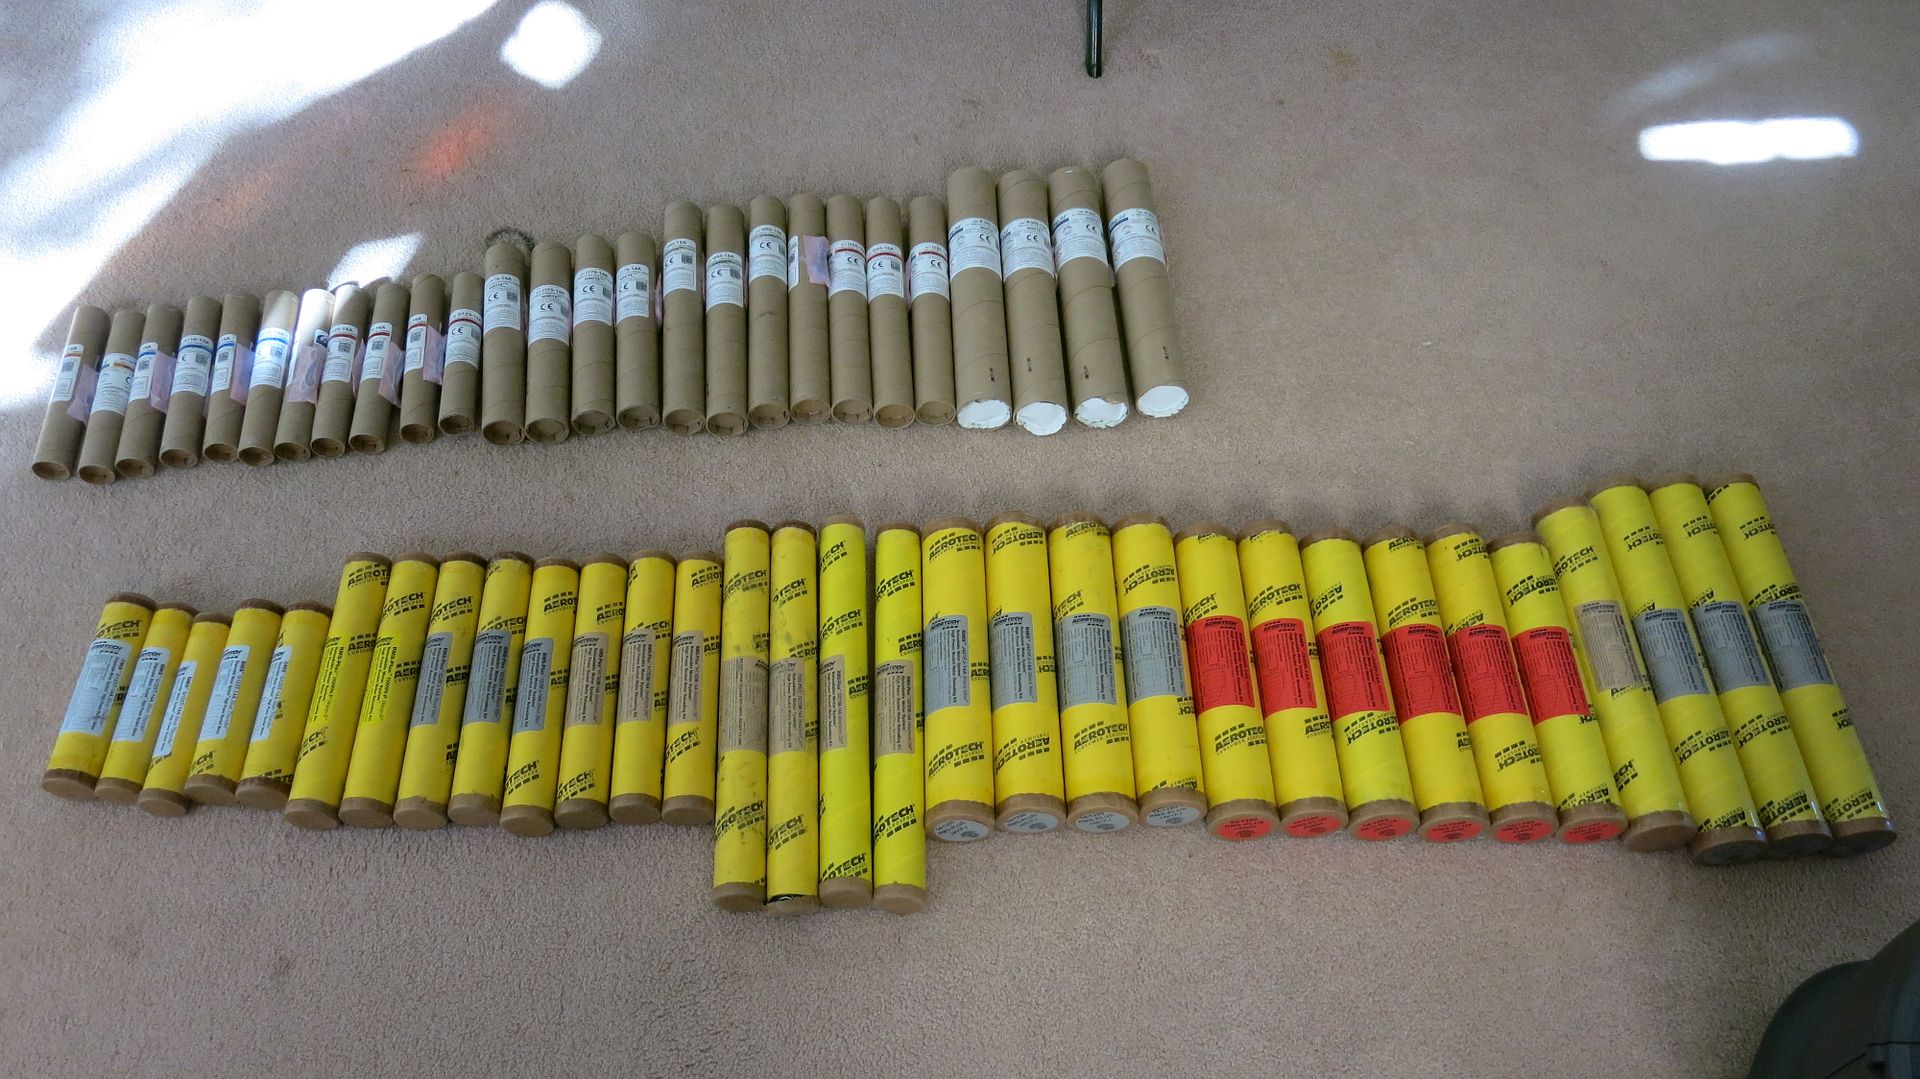
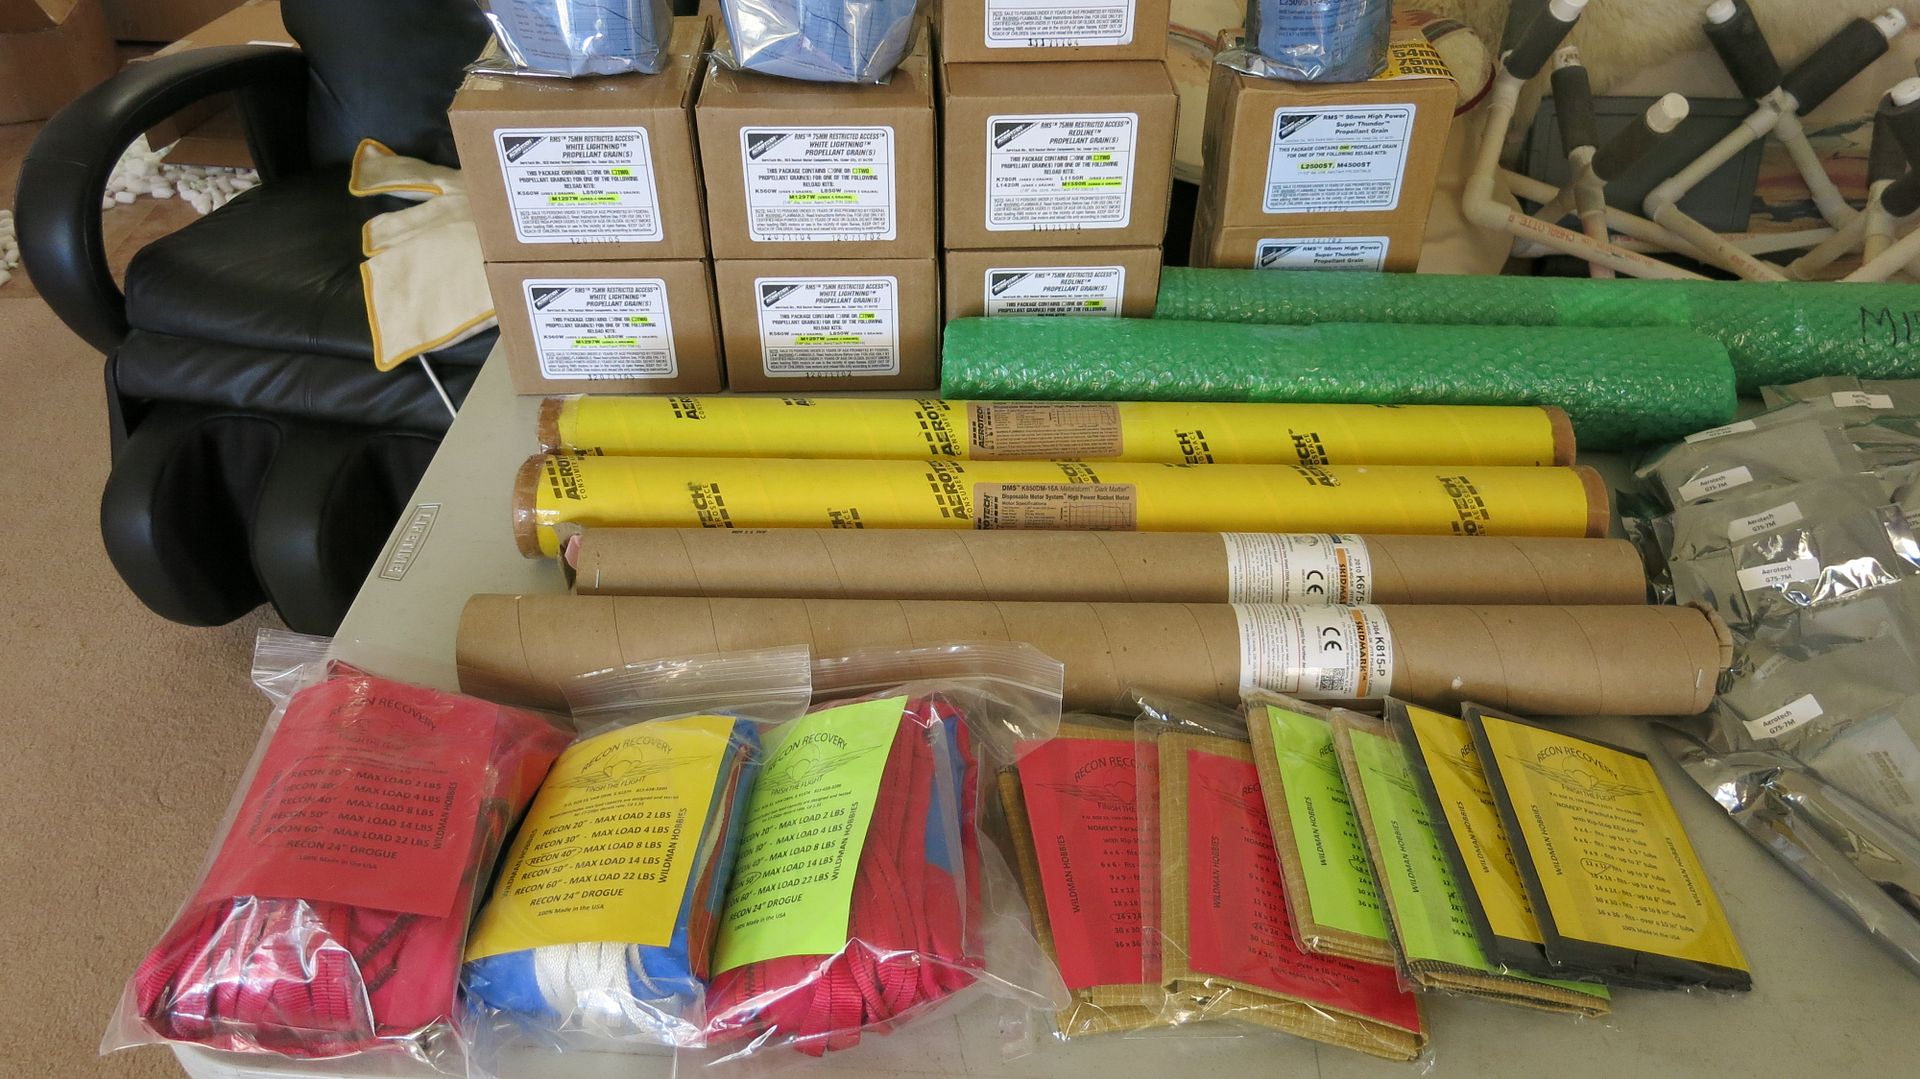
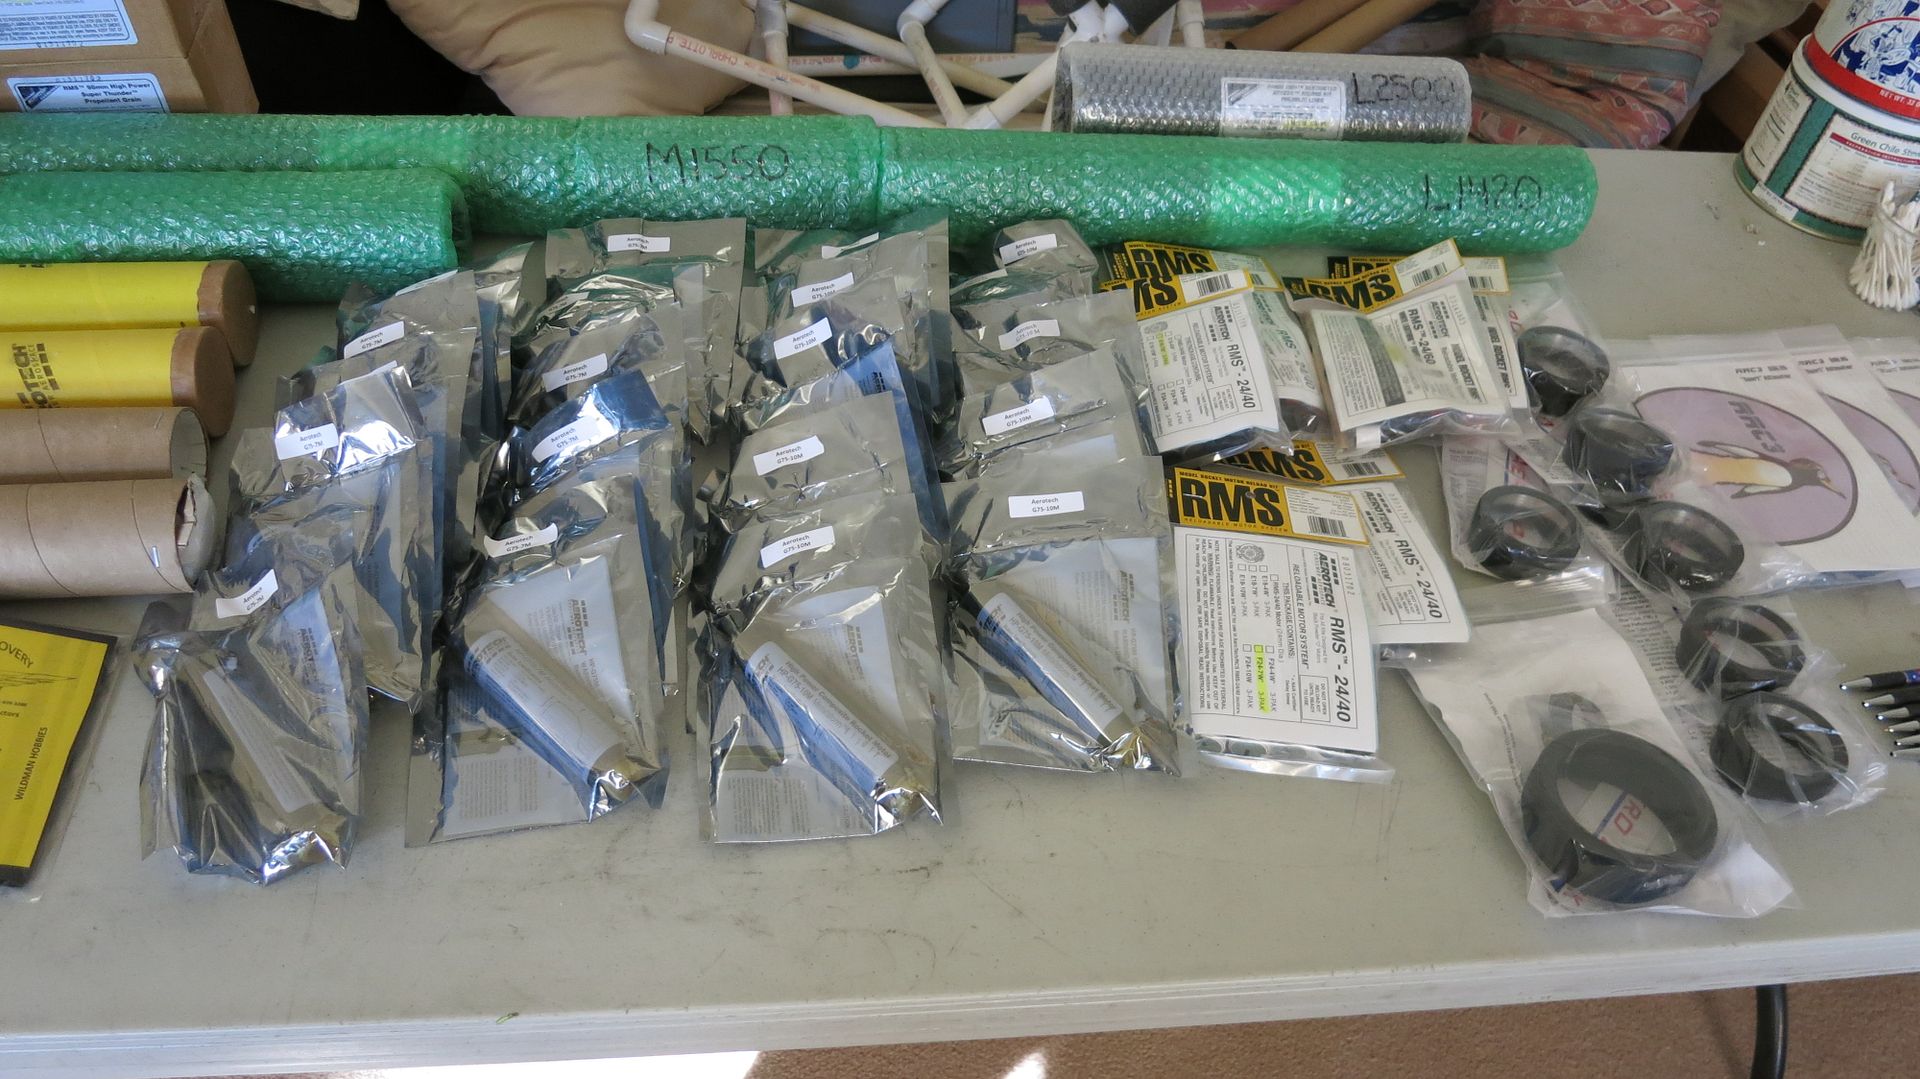
Yesterday we got most of our Wildman black Saturday sale stuff:
001.jpg


130 lbs. in three boxes.

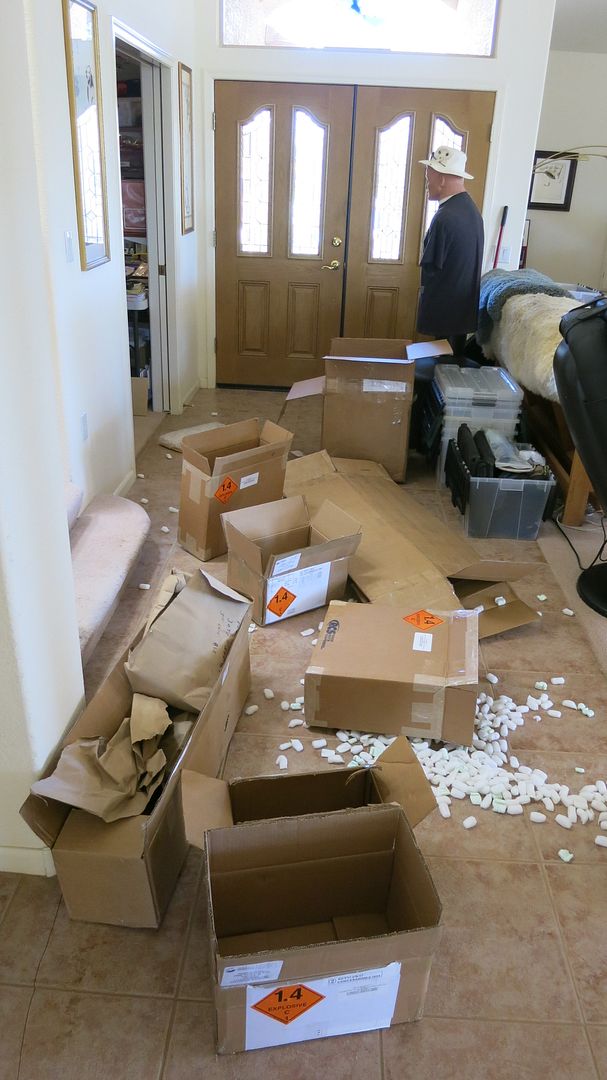
The debris field from unpacking:
004.jpg


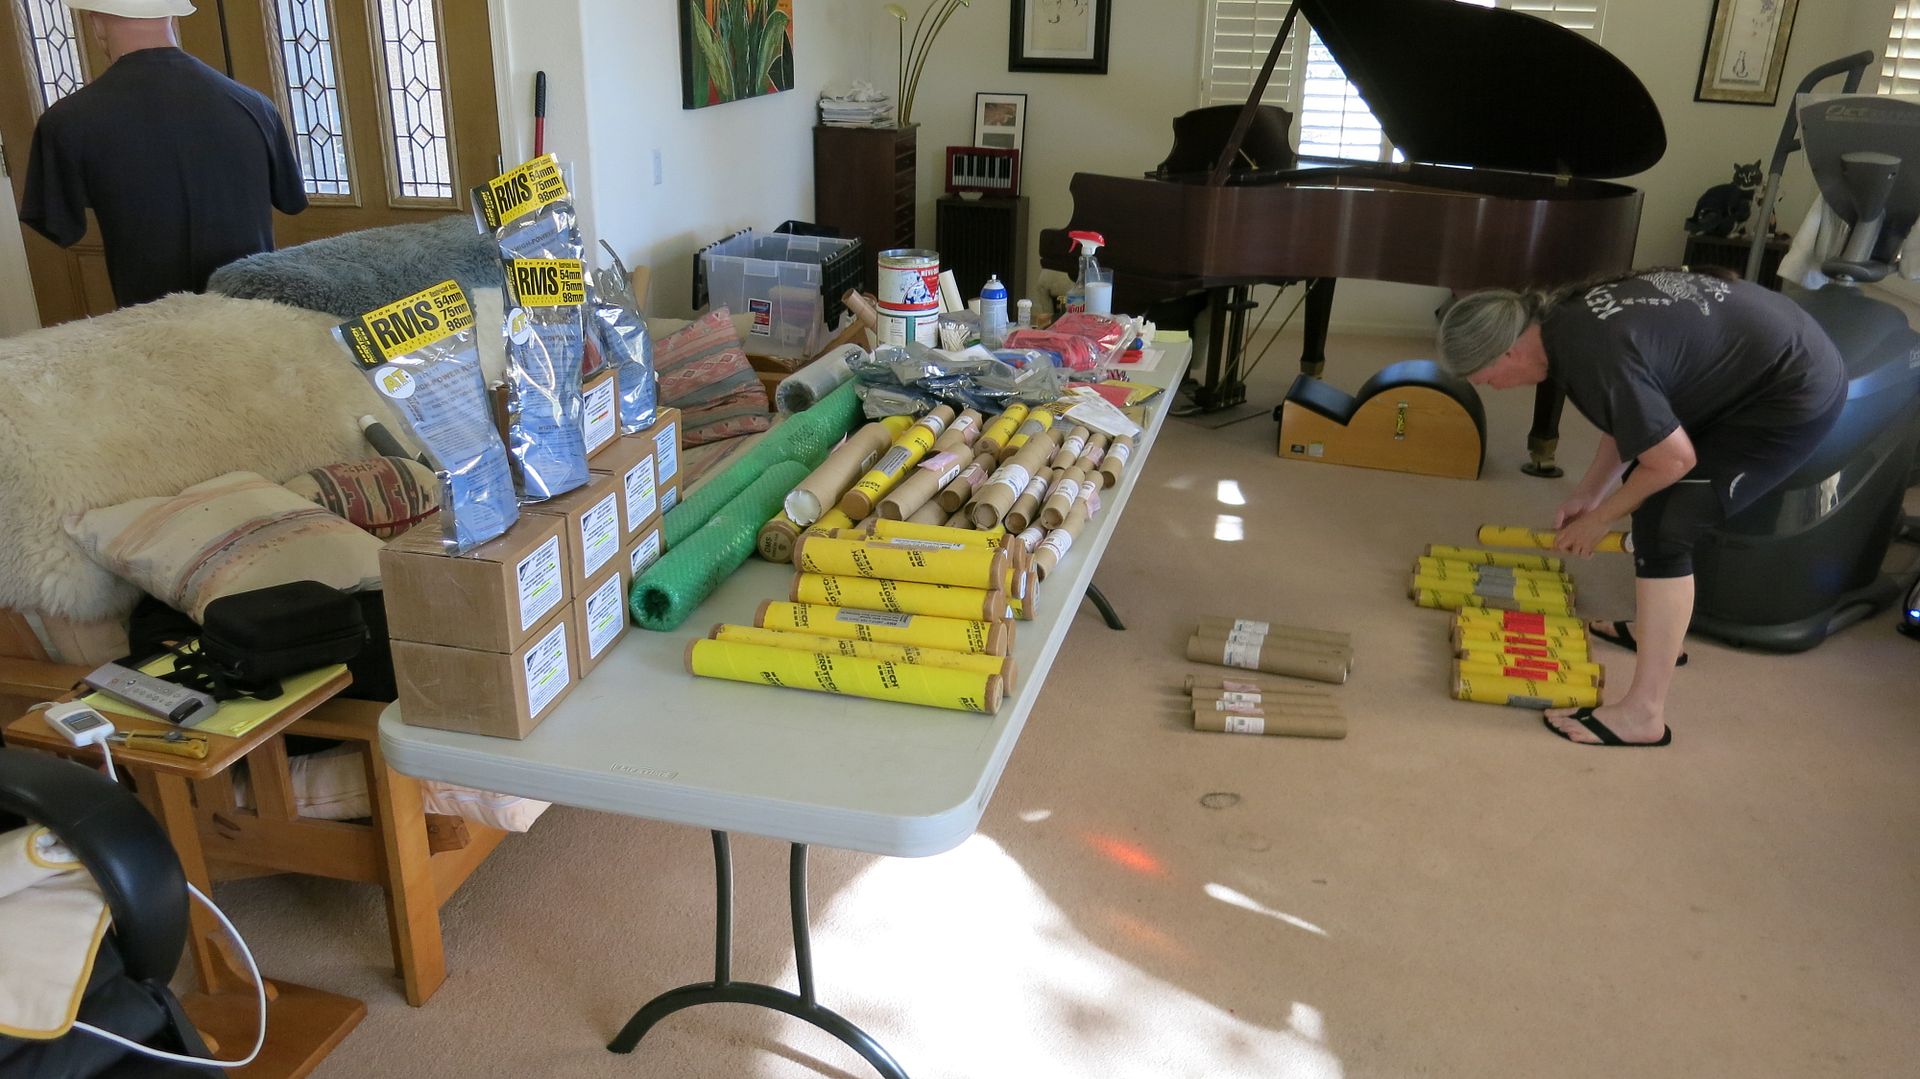
Sharon organizing the motors:
005.jpg


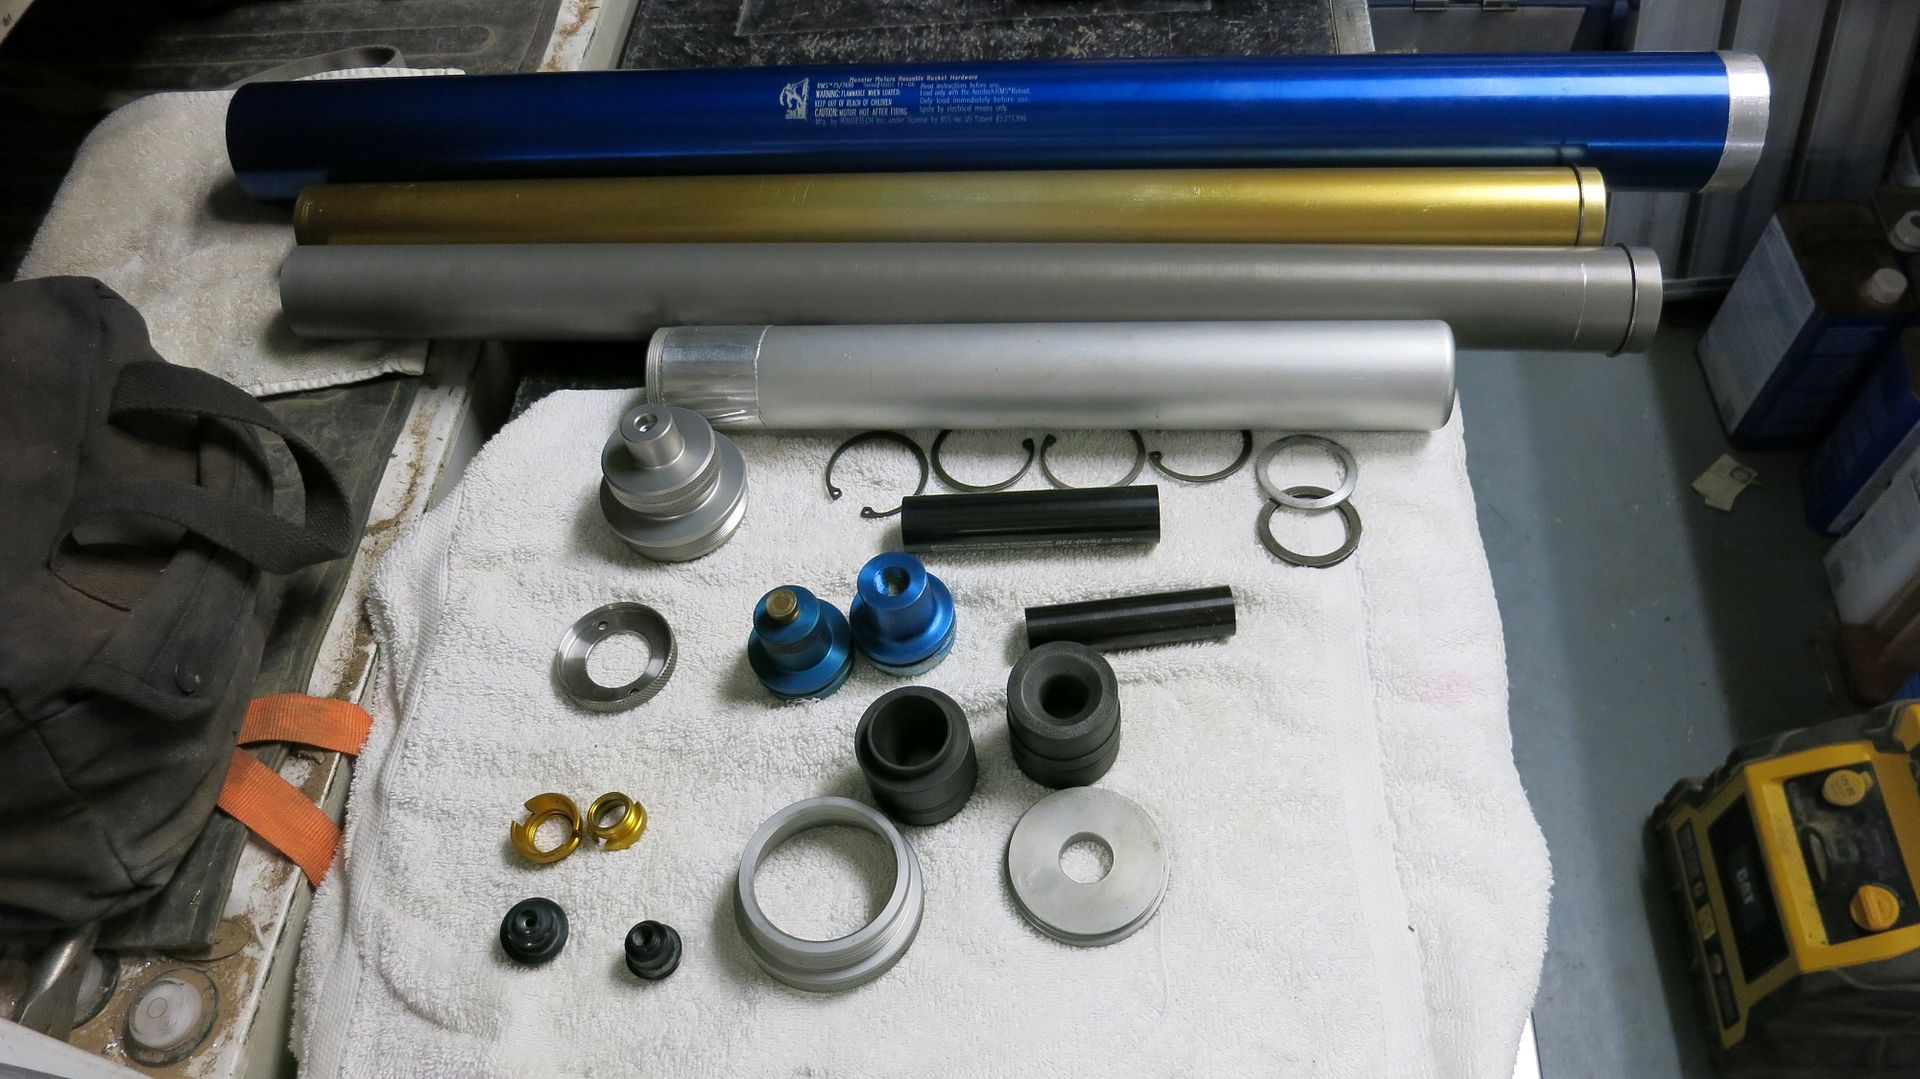
Big motors and liners:
006.jpg


More motors:
007.jpg


Motors ready to be added to our current inventory:
008.jpg


Big 54mm motors and Recon chutes with nomex pads:
009.jpg


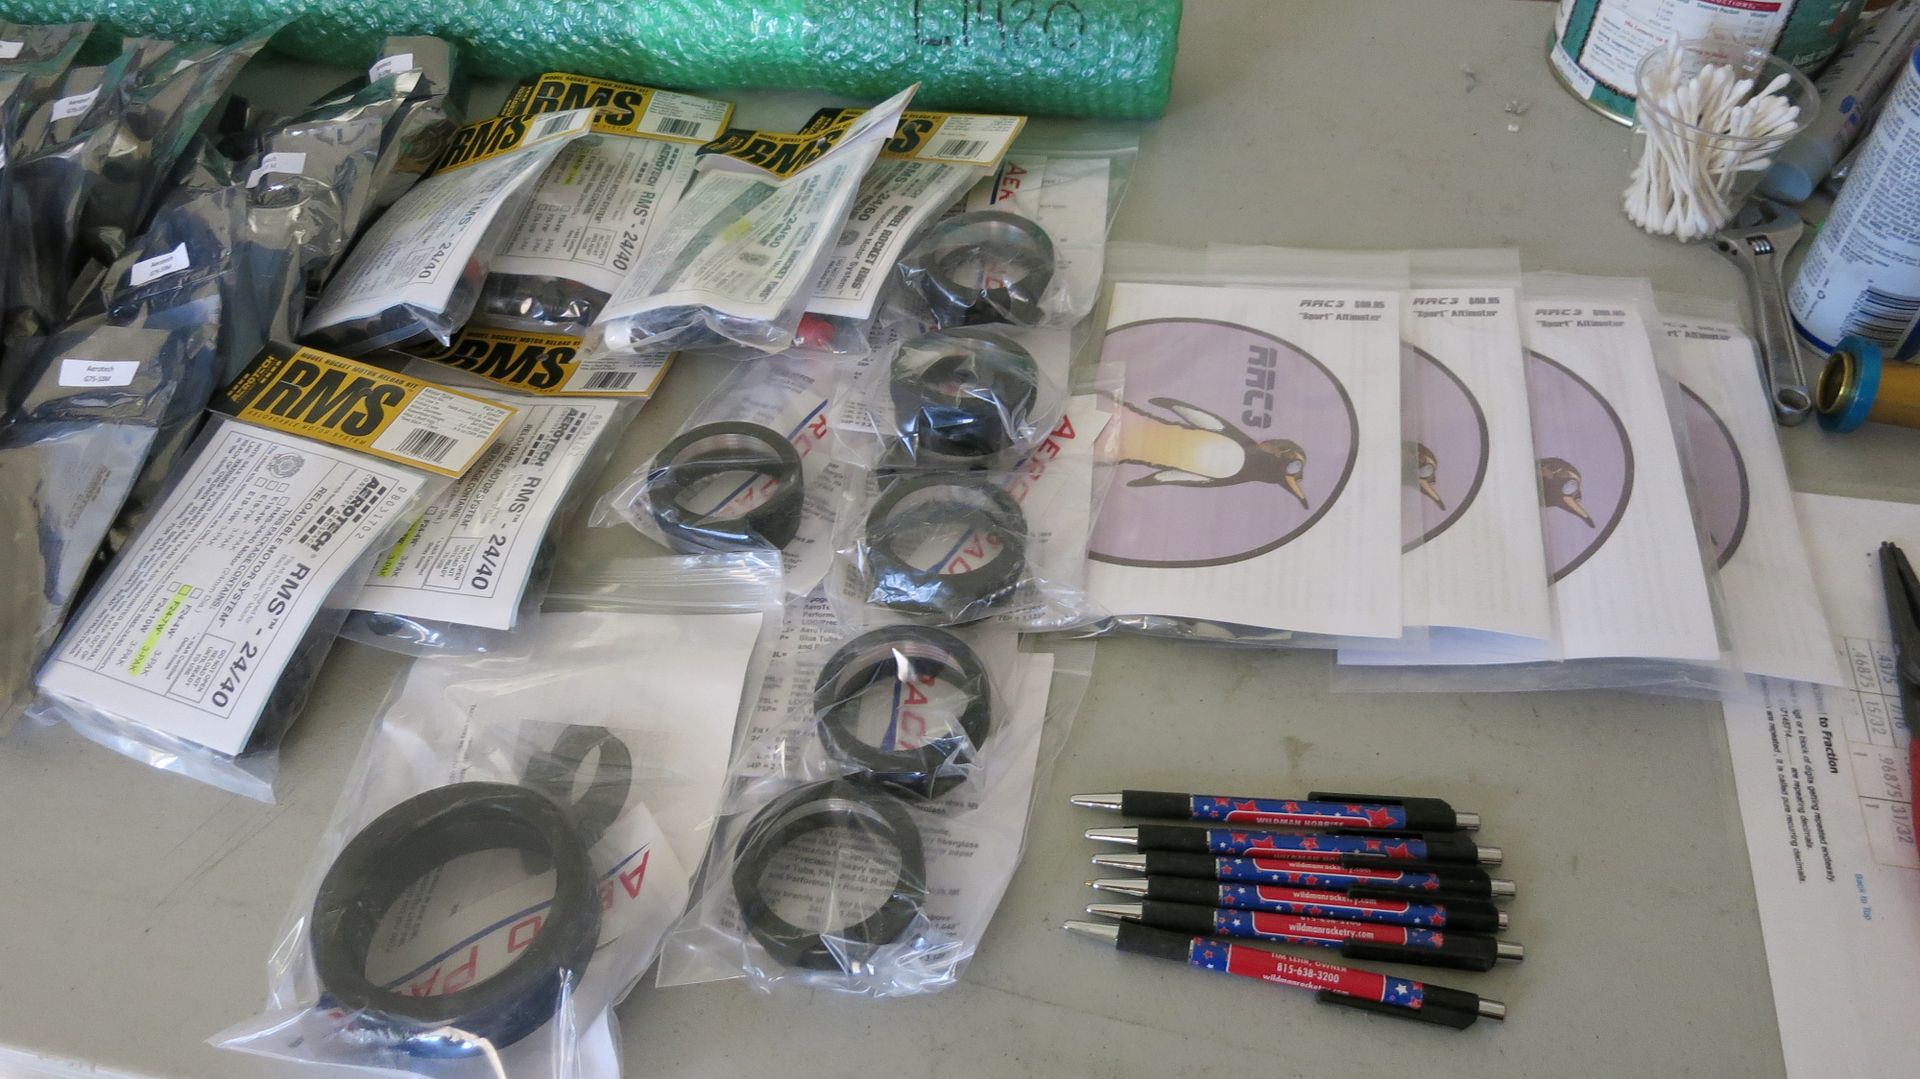
G75-10's, G75-7's and some smaller 24mm stuff with some Aero-Pac retainers:
010.jpg


RRC-3's with a lifetime supply of Wildman pens:
011.jpg


Still waiting on about 30 more motors, but this will keep us flying for the rest of the season.
I tried to post this up yesterday, but the forum was not behaving.
 
My first time using epoxy for the engine mount and fins of the SA-14 Archer from North Coast Rockety. Yikes! Epoxy dripping everywhere, tools now epoxied to the workbench, epoxy on my hair, hands and clothes. Scratched my nose and epoxied my nose. Fins flopping and falling off. Epoxied my fingers to the fins. Finally, got the job done. Next time I need to think it through a bit more!
 
Geeez did you win the lottery ? :wink:

Yep, play it every month and usually win less than we spend. We use the big jackpots for dream-building, "if we won that, what would we do?"
That's not what pays for everything though, "work hard, play hard" is our motto.

Today I cleaned motor casings from last weekends launch:

002.jpg


And started prepping rockets for this weekends launch:

003.jpg


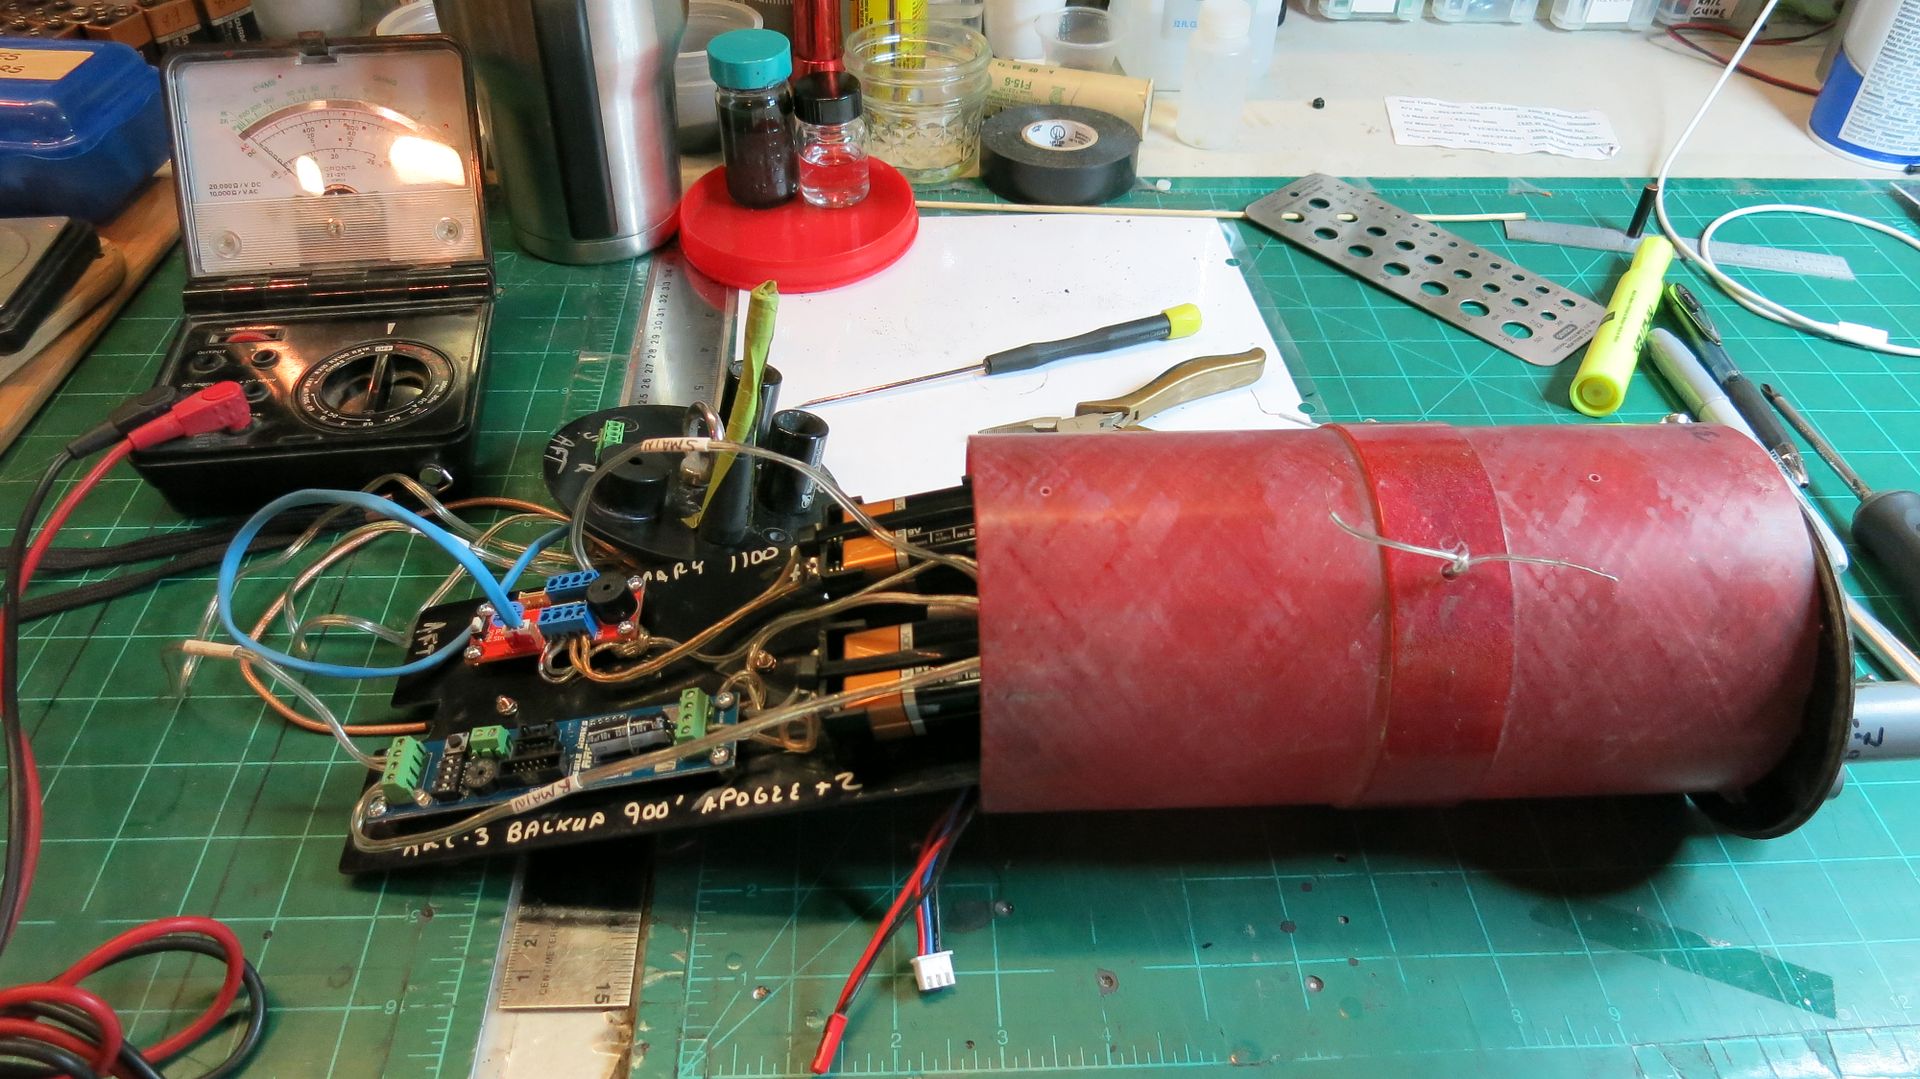
Charging up LiPo's, replacing 9v batteries and adding ematches to the avbays. Checking everything and packing chutes.
 
My first time using epoxy for the engine mount and fins of the SA-14 Archer from North Coast Rockety. Yikes! Epoxy dripping everywhere, tools now epoxied to the workbench, epoxy on my hair, hands and clothes. Scratched my nose and epoxied my nose. Fins flopping and falling off. Epoxied my fingers to the fins. Finally, got the job done. Next time I need to think it through a bit more!
Hard to know how much of that is accurate vs. humorous, but just in case it skews towards the former: you should take precautions to avoid touching epoxy to your bare skin. Over time you can develop a sensitivity and once that happens your days of epoxying are through. Use gloves and take care. Here's a backgrounder: https://www.coatingspromag.com/articles/safety/2015/10/the-reality-of-epoxy-sensitization.
 
More work on the MDRM, the rear CR has both a block for the rail button and T-nuts epoxied to it for motor retention. The T-nuts are fully inserted, then removed and epoxy applied and re-inserted, after the epoxy cures for a bit the T-nuts spurs are bent over in a vise (to help lock the T-nut in) and then the rest is sanded flush with the ring (on the 1/8" thick rings the nut stands proud about a 1/16"), then the threads are chamfered and chased with a 8-32 tap.

The forward chute shelf and recovery anchor point are assembled, the eye bolt has a block behind the CR (which is 1/4" material) which will also do double duty for the rail button block, no underwear elastic in my MPR and bigger rockets, nor in most of my newer LPR rockets.

Left: actually taken yesterday the airframe wrapped with FG (2oz and 7oz one wrap each).
Left Center: fins being laminated with a layer of FG (7oz) on each side of core and the skins applied, there is probably 50lbs of weight there plus the MDF cauls on the fins for the weights to sit on.
Center and Center Right: MMT assembled and fins beveled and papered.
Right: Bevels are pretty even once I got the jig dialed in, the fin on the far right has longer bevels but they are still pretty even, the trailing edge bevels are all almost perfect.

View attachment 337377View attachment 337378View attachment 337379View attachment 337380View attachment 337381

My name is KenRico and I approve of this build !!!


Will have to try the tNut bending, I have been making standoffs for them with CR center stock (like a flat donut hole) - and like the wrap on the airframe to boot !

Kenny
 
My name is KenRico and I approve of this build !!!


Will have to try the tNut bending, I have been making standoffs for them with CR center stock (like a flat donut hole) - and like the wrap on the airframe to boot !

Kenny


I will take a better photo of the t-nuts from the exterior side, all metal is sanded flush with the CR.

Edit: I used a disc/belt sander combo to sand off the excess length of the T-nuts above the ring, and along the way some of the exposed metal tips of the spurs. This MDRM has been up-rated with a 38mm MMT.

MDRM7.jpgMDRM6.jpgMDRM8.jpg
 
Last edited:
Packed and shipped a printed Semroc Saturn 1B scalloped shroud to Tom in NY. I had these on Etsy a few years ago but hadn't thought much about them lately. Found a pristine one left in a box. Might have to dig up the file and print a few more.
 
Back
Top