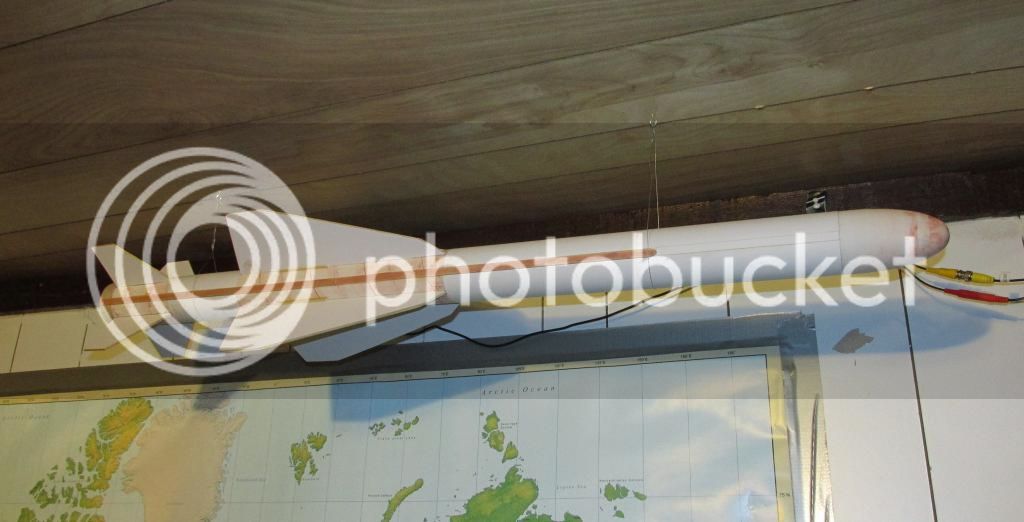
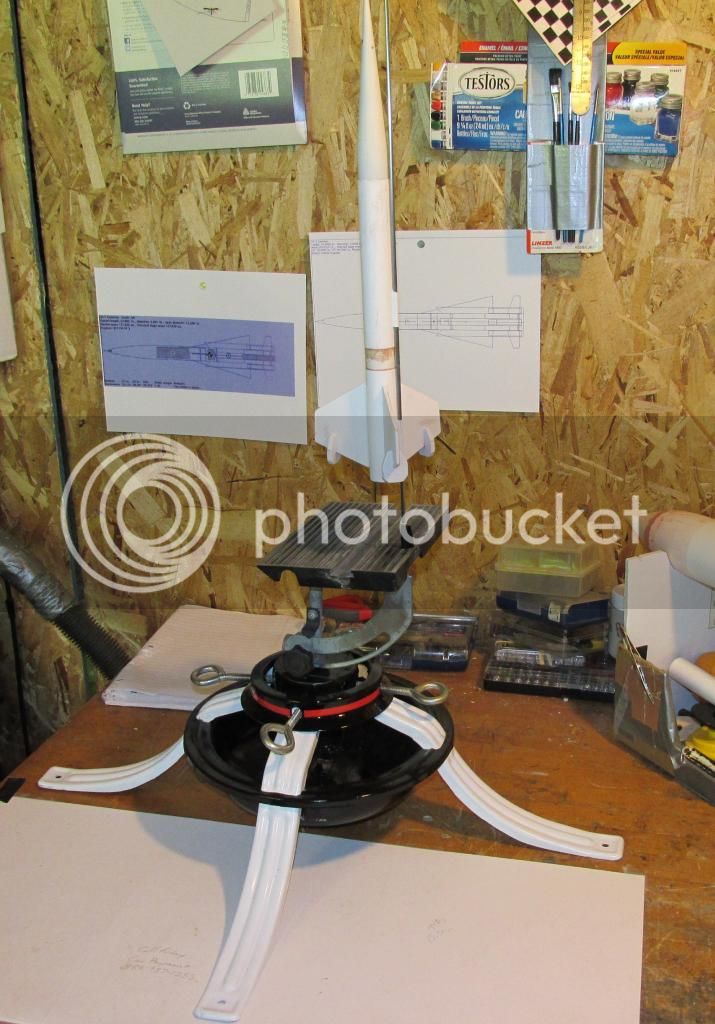
What did you do rocket wise today?

The Rocketry Forum

Help Support The Rocketry Forum:

This site may earn a commission from merchant affiliate links, including eBay, Amazon, and others.
That stuff is GOLD to me. They had a job going on where I work and they were replacing outside panels on a building. Well under the panels was blueboard insolation. 2'x7' pieces were being thrown in the dumpster. Short story..I ended up with (NO LIE!) $1500 to $2000 worth of 2" blueboard insolation.

I'm totally psyched about the score, and thankfully I have room in one of my sheds to store it. It should be plenty to get me well into my nose cone making adventure, and then some.

Today I took the 13mm Star Trooper body tube off the mandrel and realized that the reason it was so tight was the scotch tape I used to hold the parchment paper, so I gently sanded that out, and now everything fits perfect. It weighs about as much as a normal BMS section of BT-5, so nobody can cry about me adding too much weight. My scale only goes down to grams, so I'm sure the BMS section weighs less, but the scale teeters between two and three grams for that one and a steady three for my carbon fiber version. The paper tube would take on that much weight in filler, primer and paint anyhow, so we'll just call them even, since the CF requires none of those steps.
I'm using a plastic nose cone from an Estes Gnome, and cut the tip off as I'm just going to fashion some pointy paper hat goodness for it to give it a unique profile.
The Fins for the 24mm version are very thin, despite being sandwiched between 1.25oz. glass, so they will get a carbon fiber sandwich on top of that for stiffening, then I'll stack sand them and choose the best three out of the four I made.
Never hurts to make an extra fin. I'll make the fins for the 13mm while I finish the 24mm set. The mandrel for the 24mm tube is outside with a coat of primer right now, and primer reveals any flaws of which I'm happy to say there were very few, but we'll square that away with the help of Mr. Caliper over the next couple of days, and I'm now confident in my ability to roll a CF tube, so the 24mm version should be pretty straight forward.


Carbon Fiber 13mm Star Trooper 2016-05-23 003.jpgCarbon Fiber 13mm Star Trooper 2016-05-23 001.jpgStar Trooper 24mm Carbon Fiber Fins 2016-05-23 004.jpgStar Trooper 24mm Carbon Fiber Fins 2016-05-23 006.jpg
 
Bought a CTI 4 grain 75mm case to use as a AT 75/5120

I need to buy a AT seal disk then ready to burn NS
 
Received a couple packages today. One contained a Wildman Demon 98, the other was from Apogee and contained a MW RRC3 and other building supplies for said Demon. Building starts tonight!
 
We finished adding the balsa/CF to the fin can. These will increase the bonding surface area when we go to glue on the body tube. I also added some "fillets" (sort of) to the fin/CR joints - I made some balsa dams and then filled them with milled glass fiber thickened Aeropoxy structural adhesive.

image.jpg

image.jpg
 
Saved $700 by doing a complete all around brake job on the 2013 Jeep Patriot.
VIP's guesstamate was $945 for the complete job. (rotors, pads ,hardware and labor)
I got the parts for $237.
So, more coin for the Dog to spend on rockets. ha ha .. Tell the wife that story.
Took me all day cuz I had to take it real slow cuz of the back issues. I must say, I felt pretty good doing something other than nothing.
In between working on it and taking brakes, I sanded on me Semroc clone of the Centurion.
And I sprayed a few coats of white ACE primer on it.
I just might get it pigmented tomorrow.
 
Booked my hotel room for Fire in the Sky this weekend. Yes.......hotel. Pregnant wife and toddler were no bueno on tenting it this year. So I won't be able to enjoy the festivites as much as I wanted but will still have fun.
 
Booked my hotel room for Fire in the Sky this weekend. Yes.......hotel. Pregnant wife and toddler were no bueno on tenting it this year. So I won't be able to enjoy the festivites as much as I wanted but will still have fun.

Will that be your L1 attempt?
 
Yes, my wife wanted to go see that. My daughter made me take out an Estes RTF rocket and give it to my wife so she could have something to fly there. It was way cute.
 
Yes, my wife wanted to go see that. My daughter made me take out an Estes RTF rocket and give it to my wife so she could have something to fly there. It was way cute.

Lol! I'll bet it was. Good luck and I'm sure you'll let us know here how the flight goes!
 
Worked on my 24mm madrel. It has a range from 23.87mm to 23.79mm, with an average of 23.83mm.
3wraps of parchment paper make it consistently 24+.1ishmm throughout, so it is good to use for making a tube today.:)
It's for a friction fit bird, and the nose cone id going to be a custom FG job, so having a 24.1ish I.D. will be perfect and prevent me from getting a tube that is too tight to use.

Without my digital caliper, creating this this item would not have been be possible.
I think I'm going to get an extra, "Back-up" caliper, incase anything ever happens to this one. I can't live without it anymore, and it has quickly become one of my most used and treasured tools.

Star Trooper CF24 Mandrel 2016-05-23 001.jpg
 
Yesterday I ground tested, then flew my 1.6" DD Madcow Frenzy. It's my first DD setup and ground testing took me hours to get done. Fishing the jumper cable to the quark and making latex glove charges for the first time was quite a process. I used a bit over 0.5g of FFFF and had no problems in the ground test, but nose didn't pop on the test flight. I'm pretty sure it was because of an uncovered hole in the nose cone bulkhead. It still recovered on the drogue with no damage. Low flight on an F40 to only 616ft, I'd simmed it to 950ft, so I'll have to double check OR file and see where I might have gone wrong.

I'm going to fly it on a G64 or 75 next and if (when) that goes well I've got an I205 to fly at NYPOWER with.

Snack Attack 018.jpg
 
I got 2 boxes in the mail.
One had 2 BT-55s x 18"
And the other had epoxy and 3/4 cloth.
Soooooooooo, now I need to do some searching TRF to see HOW to glass.

I want to do an upscale of me XTF-18. Upscale from BT-60 to BT-80.
I think Ill try a BT-55 for the first glass go around.
 
I got 2 boxes in the mail.
One had 2 BT-55s x 18"
And the other had epoxy and 3/4 cloth.
Soooooooooo, now I need to do some searching TRF to see HOW to glass.

I want to do an upscale of me XTF-18. Upscale from BT-60 to BT-80.
I think Ill try a BT-55 for the first glass go around.


At these scales, it is fairly simple, and for a primer on what you are doing I recommend John Cokers "How to Glass a Tube" Video.
That will give you the basics, but because of the smaller scale and the lighter weight cloth, you will find it easier to get good results if you simply
evenly coat the tube, and then lay/roll the dry cloth onto it, as opposed to trying to wet out the cloth first.
Also, you may want to try the method of the Teflon tape covered couplers in the ends at first, but after a few goes at it, you may find it easier to omit that step and simply wait til' the epoxy is beginning to firm up, then get a new pair of gloves on and gently press down any spots that are not making full contact with the ends of the tube, and cut away the excess overhanging cloth to make it easy to determine.

I would also suggest to start with just one wrap and a 1/4" to 3/8" overlapping seam, as it will give you an idea of what results you will get, and it is much easier than doing two or three wraps. You can always add another layer if you want, but I had some misadventures the first times I tried multiple wraps in the first go.

Above all else, the preparation and cleanliness of the work area is tantamount, and as the epoxy is curing, you will benefit greatly by having as much light as possible, that you may spot any air bubbles or wrinkles.

If you have a small section of tubing you would not be afraid to part with, a practice run is a good idea just to get a feel for how the glass moves on the tube while being applied.

As long as you don't have too much epoxy on the tube, just enough to saturate the cloth, you won't have to worry about wetting it out once it is applied, and you will be able to see the weave pattern clearly where this is the case.

Pretty much any tutorial you will find is geared toward HPR, and they are using much heavier cloth, so the methods are sometimes not workable at the lighter weight scale. If you try to wet out your 3/4" and lift it from whatever you wetted it out on, it will deform and fall apart, and leave strands/fibers stuck to everything it touches.


Can't wait to see what you come up with!!
 
Last edited:
Thanks Top.
Just what the doctor ordered
EDIT
Ok I watched the vid on you tube
Top, did you use peel ply and did you peel the outer (Shinny) layer off the tube?
And he said he weighted the cloth to see how much epoxy to mix.
Is there a formula to determine how much epoxy to mix ?
Anywhoo Ill give it a go.

OH-YA, I watched a few vids and didn't see or hear much about PPE.

P.S. I'm already thinking way ahead of me-self...home made NCs baby!


Peel ply is not even needed at the weights I use. The pattern in the peel ply that Tfish gave me is about as dense as the weave on 1oz. cloth.
I only used PP for the first time the other day, when I started playing with the Carbon Fiber, since it has such a coarse weave pattern, and the PP is really just there to give you a smooth finish. I have never wrapped any of the tubes I glassed with anything over the glass layer. I just glass them and let them cure. by using only the needed amount of epoxy on the tube, I have no need to wet out anything.
As far as removing the glassine layer by peeling it off, I have never done that, and John Coker even says it is not necessary as long as you prep it with a decent uniform sanding first to remove any sheen and leave a surface the epoxy will absorb into.
I do use parchment paper when I glass fins, so that I can press them on my granite surface plate under a stack of oversized books.
Up until about 5oz. cloth, the peel ply is not really necessary, or atleast that has been my experience, and what Tfish told me.
 
I have to join in all this composite talk. I got an order of vacuum bagging materials from Fibreglast delivered today. I should start vacuum bagged T2T CF on my Mongoose 54 in the next few days. This will be a learning experience. I've done my homework, in other words I read Jim Jarvis' treatise on the subject of T2T. I'm thinking two full layers 3K 2x2 199 GSM CF. That should add a proportionally small amount of weight and diameter and make it pretty much indestructible.
 
Thanks Top.
Just what the doctor ordered
EDIT
Ok I watched the vid on you tube
Top, did you use peel ply and did you peel the outer (Shinny) layer off the tube?
And he said he weighted the cloth to see how much epoxy to mix.
Is there a formula to determine how much epoxy to mix ?
Anywhoo Ill give it a go.

OH-YA, I watched a few vids and didn't see or hear much about PPE.

P.S. I'm already thinking way ahead of me-self...home made NCs baby!

1:1 fabric weight to epoxy is close to ideal. Make extra, just in case.

PPE: Always download and read the MSDS for the epoxy you use, but generally speaking wear nitrile gloves. Most epoxies do not require a respirator, but read the MSDS and follow it.
If you get some on your skin, do NOT use a solvent to remove it. Use a dry cloth or paper shop towel followed by washing with soap and water. Using a solvent will result in your body absorbing epoxy. That's worse for some than others, but over time it's possible to develop a sensitivity.
 
Made the fins for my 13mm Carbon Fiber Star Trooper.
I don't have a way to cut CF when it is layered, like a bandsaw for example, so I came up with my own method.
I made a single sheet of the CF by wetting it out between some sheets of acetate, then setting it to cure overnight on my granite surface under a stack of books.
Then I cut it into small rectangles approximately the size of my fins, and used my fin template to cut the general shape, making 12 of them.
Then I got some gloves on and stack sanded the entire lot of them. I need three fins, and I wanted them 4 thicknesses thick.
I made the 12 into three, then epoxied them together and set them on the granite surface, with a bit of balsa tacked to the paper at the edges of the parchment paper so that they would not shift when I put weight on them. After about an hour I checked them to make sure they had not shifted, and since I used PC Superpoxy, they had not. I then ditched the balsa and set a marble slab ontop of them on the granite surface with parchment paper ofcourse, and now here they are, 4 layers thick, and no bandsaw required.
Just need to take them outside and tune them up with a stack sanding, but that can wait til' tomorrow when I'm sure they are fully cured. I'll stick them back under weight for now.

Carbon Fiber Fin Method 2016-05-24 001.jpgCarbon Fiber Fin Method 2016-05-24 002.jpgCarbon Fiber Fin Method 2016-05-24 003.jpgCarbon Fiber Fin Method 2016-05-24 005.jpgCarbon Fiber Fin Method 2016-05-24 006.jpg2016-05-24 001 2016-05-24 001.jpg
 
Pics or it didn't happen!
Finally got off work to snap photos.
20160524_193525.jpg
20160524_193630.jpg
20160524_193838.jpg

Since my last, first mid power try on G76 with an estes body tube was a shredder I decided to strengthen the tube by papering. I have composite experience and it worked in corners then so why not now? Same concept i figured. so I went ahead and gave her some corner tapes to add strength to the TTW fin tabs.
Anywho, yesterday I papered a body tube!
 
Last edited:
I had dreams about flying rockets, and then right before I woke up, I saw the backpackable launch pad I've been working on being assembled as a sort of 3D CAD format, and saw each part and how it fit together in great detail.
It was all revealed to me as if I was actually designing it on a computer. It formed itself right before my eyes, and now I know exactly what parts I need to assemble it!

Who knew that a screw eye bolt slides onto a threaded rod to make a hard point without having to weld threaded rods together at right angles?!!!
Clear Vinyl tubing and PVC conduit will cover the exposed threaded portions.

It's too bad I have so much real life crap to do today, but the little tricks revealed in my vision are burned into my reality now, so I just need to go get the parts at the hardware store.

At least now I can write up a parts list, rather than just cobbling together random junk I find throughout the course of my daily tinkering.


And then I turned the nose cone for my 13mm CF Star Trooper.
The fins are incredibly dense, weighing 1g. each before sanding, so I needed mass at the front end anyhow, and being a fan of the Sparrow 1 and Pershing missiles, I was inspired by them to come up with this profile.:
(I know it is hard to see the resemblance, but they were my inspiration, the Sparrow 1 more so than the Pershing.)

Sparrow I Illustration.jpgDSC_2147%20Sparrow%20I%20l.jpg

Star Trooper CF13 Nose Cone Turned 2016-05-25 001.jpg

I call it the "Von Ramen" profile.


Pre-Recovery Gear, we have a good stability margin in mock up of just slightly over 2 cal. loaded with an A10-3T.:)
It will fly from my 1500mm Makerbeam, so velocity off the rail will be plenty too, and this thing will really rip!!!

Star Trooper 13cf mock up stability 2016-05-25 002.jpg
 
Last edited:
Took an electric motor to an old friend who still works at the hardware store I worked at from 96'-02'. I needed to know how to run it.
He ended up just giving me a working motor with the speed control and all!
Now I can start designing a small foam lathe!
Super cool score!!!


New Motor 2016-05-25 001.jpgNew Motor 2016-05-25 002.jpg

I was going to assemble the 13mm CF Star Trooper, but while sanding the rounded edges into the fins, I realized they had some ability to twist slightly still, so they went back under the box of books and weights for the rest of the day while I was out.
It's weird that you can't bend them at all, but if you apply twisting torque they flex.
When I got home, I tried twisting them again, and there is much less flexion in them, so I went and used my caliper to make sure they were all equally thick, sanded them a little more, then put them back under the box of books for tonight. Maybe assemble tomorrow.
 
Last edited:
Started work on my little Nike Smoke until my daughter came in the garage and eyed the Super Neon XL hanging on the wall. I have a tough time saying no when she wants to work in the garage with me so......

20160525_101458.jpg

20160525_102503.jpg

20160525_104009.jpg
 
Cobbled together a quick and dirty foam cutter to find the inspiration to build a nice one tomorrow.

Quick Foam Cutter 2016-05-25 002.jpg

I need to make a nice one like this:
[video=youtube;bqG5I7sl8kk]https://www.youtube.com/watch?v=bqG5I7sl8kk[/video]
 
Last edited:
Top, you will want/need to use a fairly slow cutting speed when cutting/shaping thick foam with a hot wire cutter. a table saw now...can zip right through :).
Rex
 
Top, you will want/need to use a fairly slow cutting speed when cutting/shaping thick foam with a hot wire cutter. a table saw now...can zip right through :).
Rex

Thanks, and yeah, I know that. There is nowhere in my little 650sqft. house for a table saw.
The only foam I'll be shaping and cutting is that blue stuff, as I have a reliable source of it for free, and already have three bags out in my shed.
I'll maybe make tiny detail parts out of food package foam or foam board with the paper removed.
I'll do great with the hot wire cutter, but need the table style hotwire cutter to accurately cut circles.
I'm incorporating a guide jig into the design of the lathe, that large solid blocks of foam can be shaped with a buck-saw style wire cutter while on the lathe.
I'll see if I can find the video of the style I'm making. It does not need to be as large as the one in the video.

I could not find their video of it in use, but the one I'm thinking of is like this one from "Speedmotion Rocketry"( https://speedmotionrockets.com/Constrruction.html: )

Nose Cone Lathe-7630.jpg


You turn it by hand at first, using the wire cutter guided by the template at either side to get the general profile, then switch on the motor to finish under power.
I'll be making this at a smaller scale, that I may simply print any profile I need, cut it in two and glue it on some wood, then cut the wood to be the guide template, and mount it to my lathe.
I should make substantial progress on both the lathe and the cutter today as long as real life stays out of my way.
 
Last edited:
Back
Top