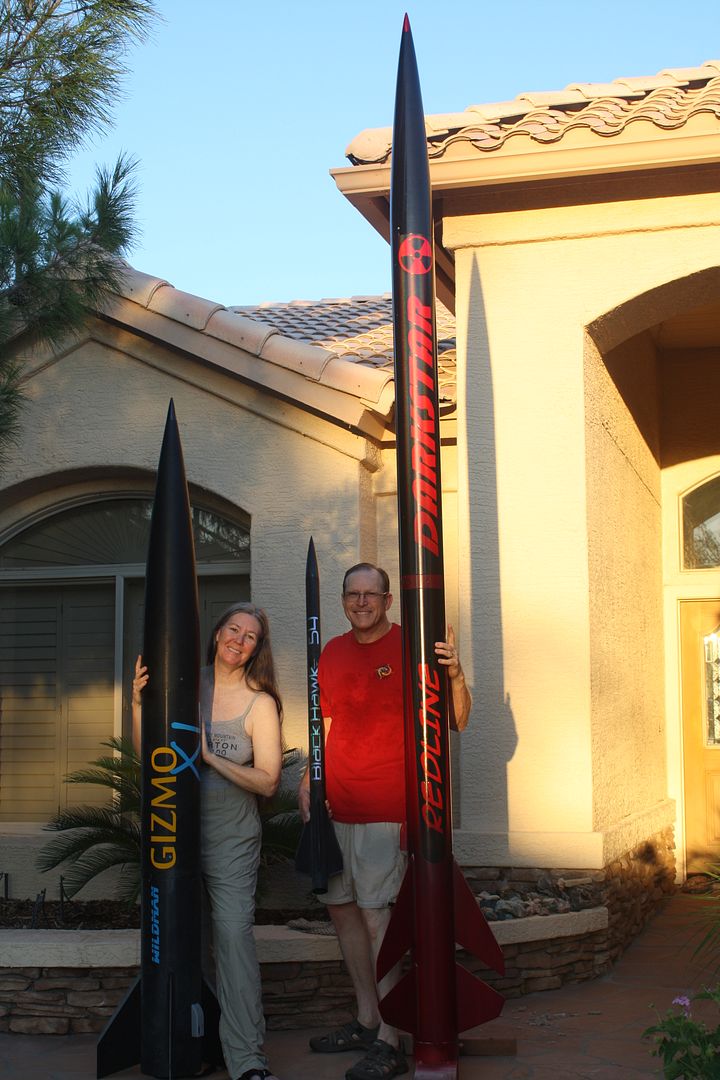
What did you do rocket wise today?

The Rocketry Forum

Help Support The Rocketry Forum:

This site may earn a commission from merchant affiliate links, including eBay, Amazon, and others.
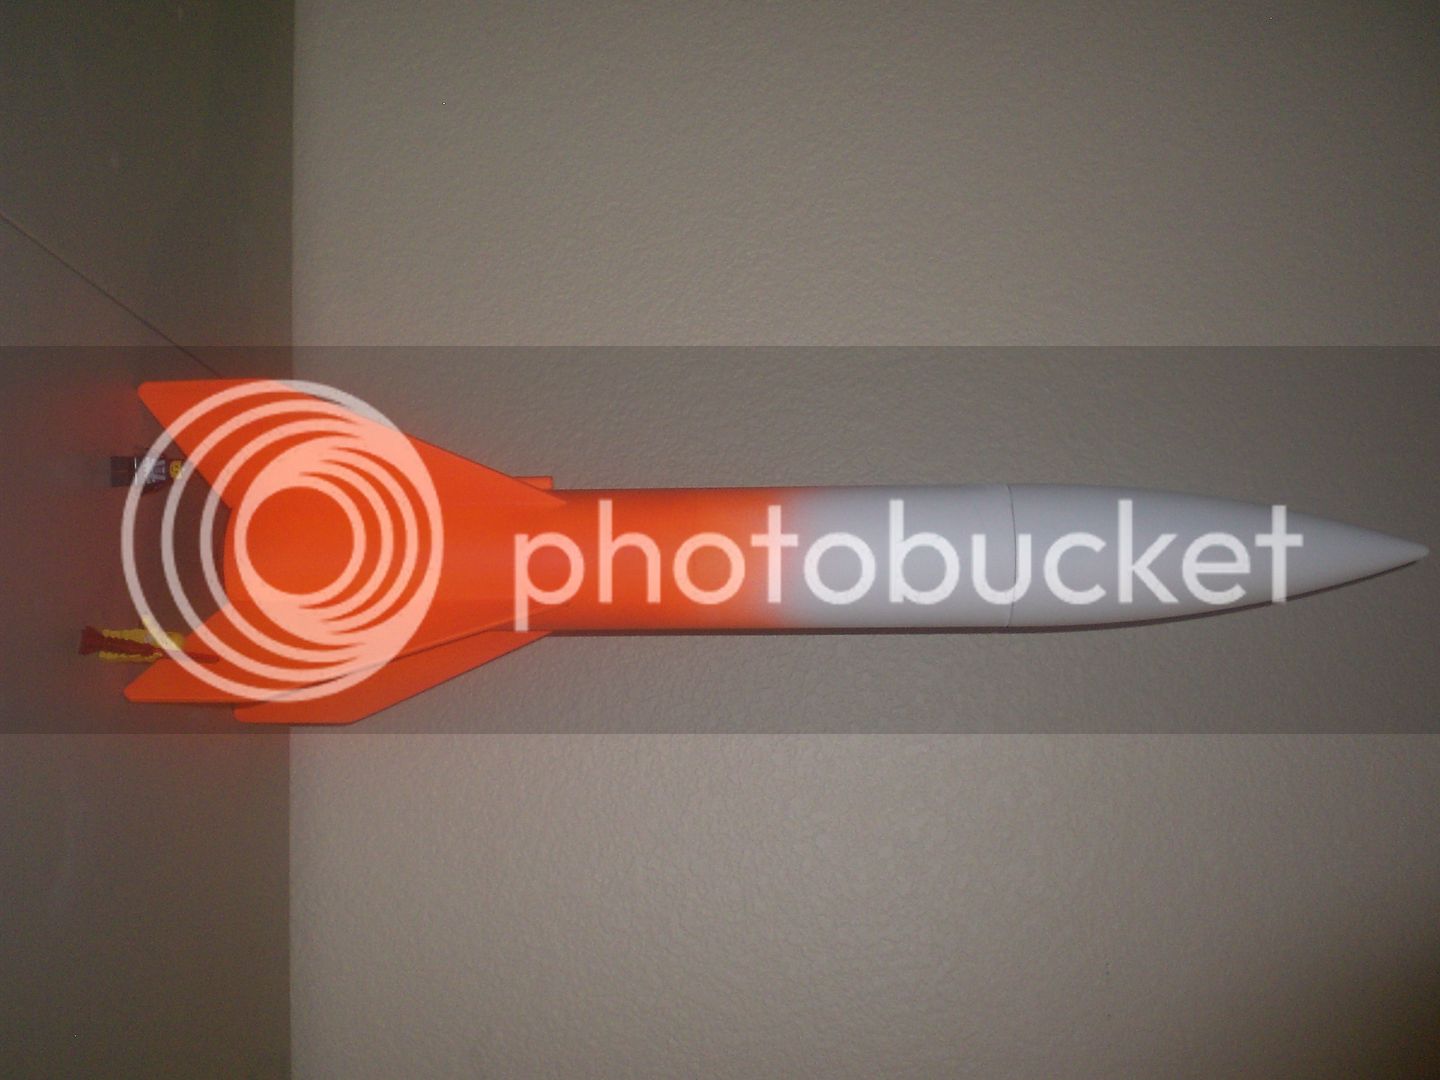
I finished my Estes M-104 Patriot. The frogtape I purchased worked perfectly....nice clean lines. I also "burnished" the edges with a spoon before painting. Overall it's a cool little rocket. I think I'll purchase another Patriot....a mid to high power kit.

I have one of the old NCR 1/4 scale Patriots, flies great on a G80-4BT Aerotech motor :) The LOC is heavier so something like a H180-6WL motor works better. There's the Estes larger version...if you can find one. I don't know if it's one of their Pro Series ll but it should be ;)
 
Yup! Read TRF, as I always do daily.....Does dreaming about a rocket design count?

Yes it does. We vacationed at Bryce Canyon last week. As we travelled across some desolate stretches of Utah, I was dreaming about breaking out my Semroc Saturn 1B and starting a long term project. Mentally, I got about 1/2 done with the build... those are some long stretches of highway and twisty roads!
 
Took my freshly painted Ultimate DS out front for a photo shoot, Sharon brought her Gizmo XL too. We wanted to get pic's of the Stickershock decals we recently applied:
379.jpg


Continued to prep rockets for Airfest, here was the pile this morning:
384.jpg


This was after a hard day in the rocket room:
385.jpg

Wow very nice rack of rockets.
 
After a four month break from building today I decided to get back on a old project and finish it. Getting the fin fillets done before I reglass the fins to the new BT.

IMG_20150829_114943_717.jpg
 
The absolute best masking tape I've used is Tamiya. Comes in 6mm and 10mm widths (maybe more, I've only seen these sizes). Hobby stores have it but I've also seen at Hobby Lobby with model supplies.

Incredibly crisp paint lines. Also, my rolls are maybe 5 years old and still work great.
 
Retro fitted the V2 with 1010 rail buttons.
0ad4f5c54d3ae98424c5b017104d08d8.jpg
d730b7bc7e7c31caff7038e280caf290.jpg

Now I need to actually build a launch pad around the rail :/
 
Last edited:
helped a fellow club member achieve her level one cert. best part was hearing her 'relaxing' as her rocket left the pad on a text book flight! and of course the traditional greeting as her paperwork was signed off:).
Rex
 
Attended a bonus launch the Radical Rocketeers held today. The weather was awesome. I got a maiden flight in on a 4" Madcow Frenzy I picked up at the Black Friday sale in 2013. It flew wonderfully on a CTI J381 Skidmark. :)

Jim Z
 
helped a fellow club member achieve her level one cert. best part was hearing her 'relaxing' as her rocket left the pad on a text book flight! and of course the traditional greeting as her paperwork was signed off:).
Rex

Thanks for all your help today! I had a great time not only earning my L1, but also trying to get my QCC Explorer to fly on old motors! Your advice was invaluable! I learned a lot today :wink:
 
Finished wet sanding and polishing the nose cone of my Frenzy XL. This is going to be an epic paint job . . .

20370338433_74daa09f18_h.jpg
 
Finished wet sanding and polishing the nose cone of my Frenzy XL. This is going to be an epic paint job . . .

Nathan,

That looks great! Do you have a thread on your painting process? I must not be searching in the right places if there is.

Doug
 
Nathan,

That looks great! Do you have a thread on your painting process? I must not be searching in the right places if there is.

Doug

Here is a paint thread I did a couple of years ago. I have made a some changes to my painting process since then, the biggest change being that now I use lacquer with clear coat, sprayed with an HPLV gun. Once I'm finished (probably about two weeks) I will post more pictures and describe my finishing process in detail.

https://www.rocketryforum.com/showthread.php?57942-Painting-The-Magg-%28or-How-I-Spent-My-Summer-Vacation%29&highlight=summer+vacation
 
helped a fellow club member achieve her level one cert. best part was hearing her 'relaxing' as her rocket left the pad on a text book flight! and of course the traditional greeting as her paperwork was signed off:).
Rex


...what traditional greeting?...:confused:
 
Here is a paint thread I did a couple of years ago. I have made a some changes to my painting process since then, the biggest change being that now I use lacquer with clear coat, sprayed with an HPLV gun. Once I'm finished (probably about two weeks) I will post more pictures and describe my finishing process in detail.

https://www.rocketryforum.com/showthread.php?57942-Painting-The-Magg-%28or-How-I-Spent-My-Summer-Vacation%29&highlight=summer+vacation

Thanks for the link! I'm looking at a project with HVLP applied lacquer. It will be a first time and I expect to learn a lot (and probably redo it later). I look forward to your new finishing process thread.

Doug
 
heheh, why the, 'Congratulations. Welcome to high power, Open your wallet:)' greeting and, for the record she bought some 2-part expanding foam do she could add some additional weight to the nose cone.
Rex
 
I had some good mentors when I was starting to 'play' with the bigger birds. so paying it forward.
Rex
 
Finished off a Scratch Build Fat Daddy upsize. I need to get the Vinyl cut in black on the sides reading "Phat Daddy". No Lego men were harmed in the creation of this photo.
CIMG4374.jpg
 
Flew Bullpup 12D, Baby Bertha and Magician early morning before work. It was very windy, cloudy and misty. I used smaller engines in all the vehicles so I wouldn't have to chase them as far. Also angled the launch rod into the wind. I tried side mounting the 808 camera on the Magician for variety, but was only able to obtain 403 Ft. due to: D12-5 engine, angled rod, high wind and side mounted camera.
IMG_8237.JPGIMG_8240.JPGIMG_8246.JPG
 
Trying to decide what to build next.....Estes Pheonix or Mercury Redstone. Or maybe I'll wait as these two will probably make excellent mid-winter projects during those stormy days and nights.

DSC02800.jpg
 
Took rocket stuff along to the church end of summer picnic. Could barely load and rack them fast enough, got 15 flights in the air before the promise of brisket and home made ice cream made me pack it in. However, seven more kids (and one adult) can now say they have flown a rocket.
 
Last edited:
A few months ago I joined up with a local maker space & have been getting to know everyone.

It's a small group - only been running about 12 months now but good folk.

One of the members sent me an email last week saying he was wanting to make some 3D printed rocket fins for my rockets!! Very neat, and he's now been playing around a bit - here's a short vid of one of the fin tests he's been doing printing out -

https://vine.co/v/eInzBu6igQn

Krusty


For sure we'll want to see the rocket these fly on :)
 
Three LPR launches with my Estes Silver Arrow and Dark Zero. Picture perfect night for small rockets at the local soccer fields with my better half.
 
Refurbished a 1966 vintage Estes Electro-Launch to functional condition, with an LED-based continuity lamp (so it's Q2G2-safe) and 16 feet of wire between the controller and the battery/base so it's current safety code compliant. I guess the minimum distance for model rockets back in the sixties was only 10 feet. The original length of wire supplied for the EL was only 12 feet, which includes what is used for internal wiring and the clip leads.
 
For sure we'll want to see the rocket these fly on :)

It's been interesting so far - the fin in the print had two points where it has had layer separation. There was another fin printed and it was fine - the difference being that the one in the vid is all open and the other printer is enclosed in a box. The enclosed printer has a much higher ambient temperature resulting in better quality prints! Seems that the plastic shrinks as it cools. This can cause layers to not adhere property, right through to warped prints.

I'll post updates as we go :)

Krusty
 
Succumbed to complete rocket insanity...

Since I ground-tested a record-breaking week before launch, my mind wandered to the possibility of finishing the rocket. This was part of the earlier plan (already had the paint, HVLP sprayer and safety gear), but had been put aside for construction and testing.

So what happens today?

A pile of 2" PVC (it started much bigger) and other bits...
IMG_20150830_211711.jpg

All framing except the corners and a lighter door are done.
IMG_20150830_225505.jpg

It should break down into nice small area that can be stored. (My wife's car can coexist in the garage if it is set up. It will, however, will exit the premises when in use.)
IMG_20150830_230130.jpg

Tomorrow should see the corners and door assembled and the entire monstrosity covered with plastic sheeting. There is one small error where one fan opening is about an inch too wide (an easy fix). Filters will separate the intake fans from the interior and sit in the openings on the distant wall. A third may be installed in the lower portion of the door if needed.

In retrospect, an EZ-up with walls may have been a good way to go. Less work but a higher cost if bought new.

Doug
 
Took rocket stuff along to the church end of summer picnic. Could barely load and rack them fast enough, got 15 flights in the air before the promise of brisket and home made ice cream made me pack it in. However, seven more kids (and one adult) can now say they have flown a rocket.

15 flights ! Man you need to post the in the flight pacing thread!
 
Back
Top