Sleepless In Kansas: SEMROC Orbital Transport

The Rocketry Forum

Help Support The Rocketry Forum:

This site may earn a commission from merchant affiliate links, including eBay, Amazon, and others.

SteveA

Well-Known Member
Joined
Jan 12, 2010
Messages
1,464
Reaction score
3
Location
Kansas
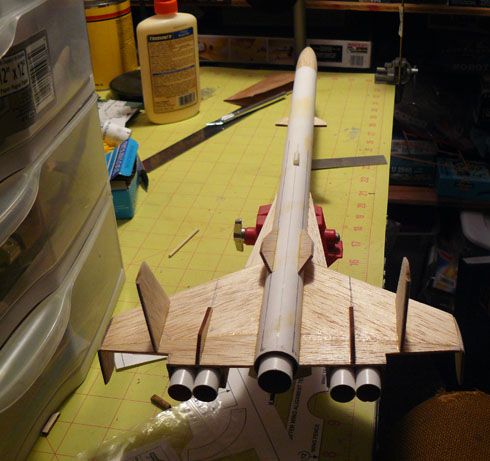
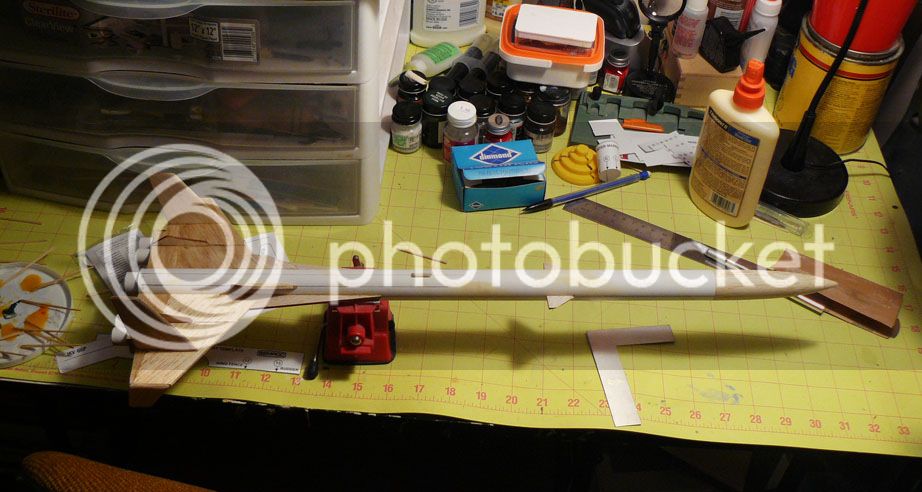
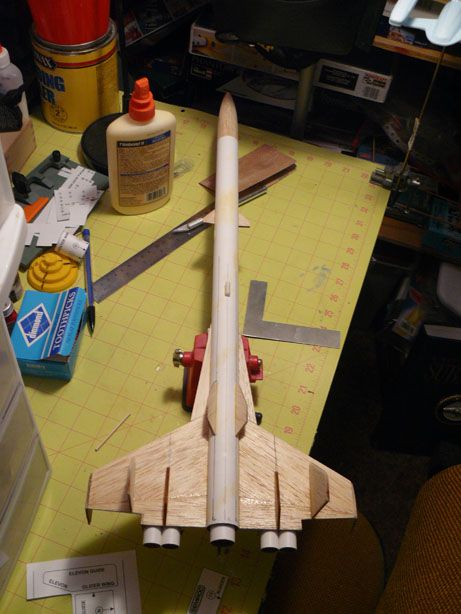
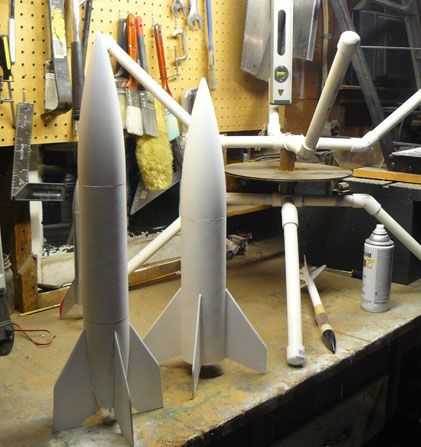
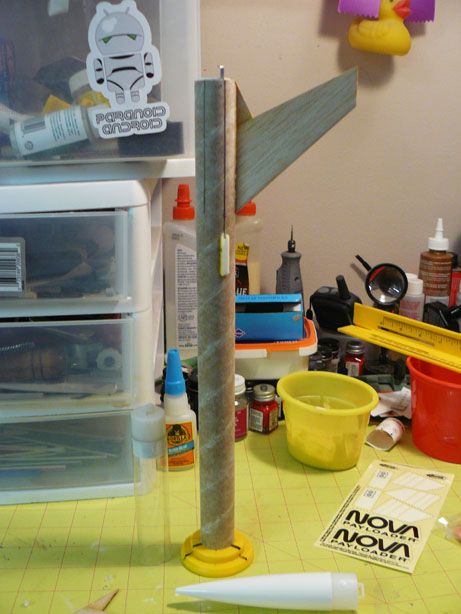
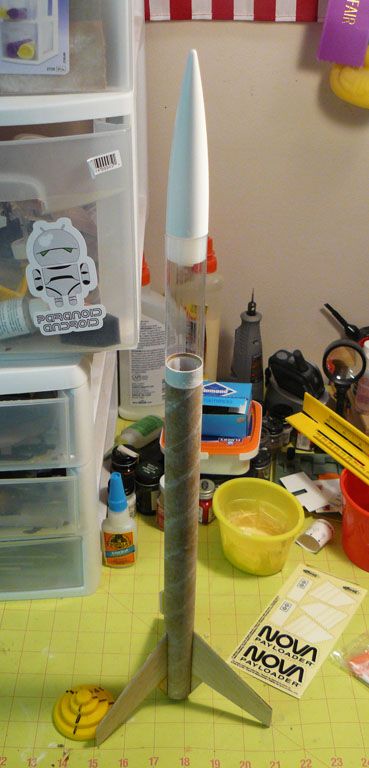
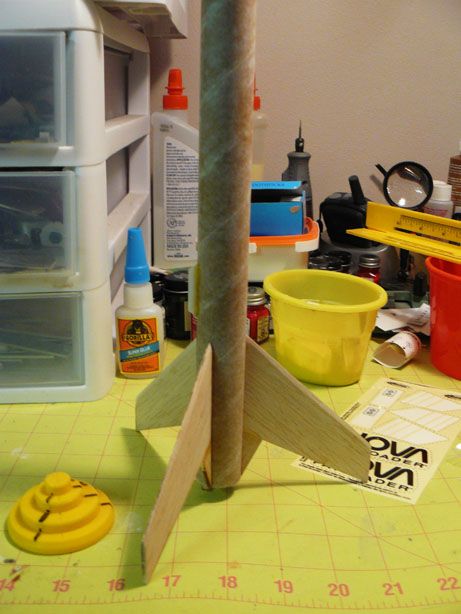
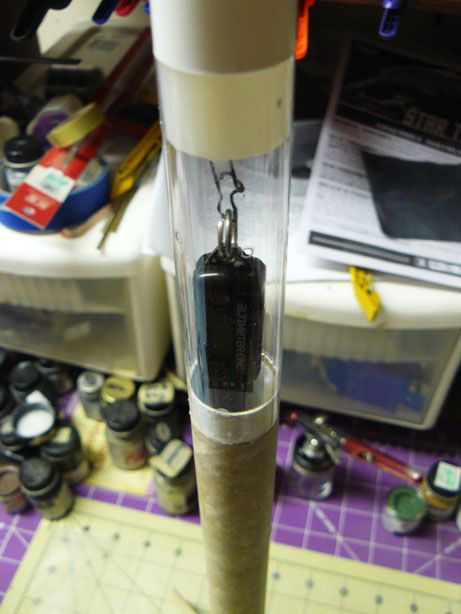
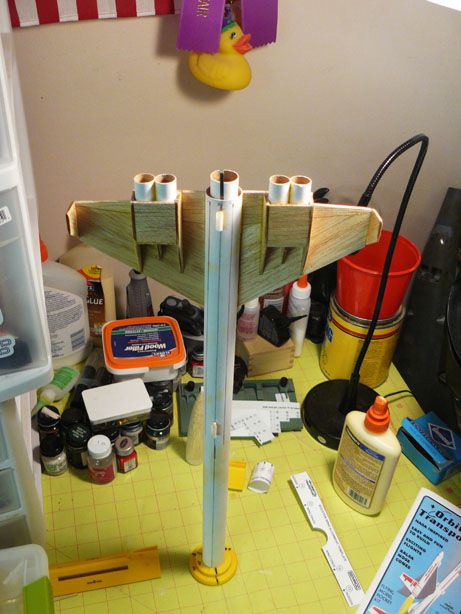
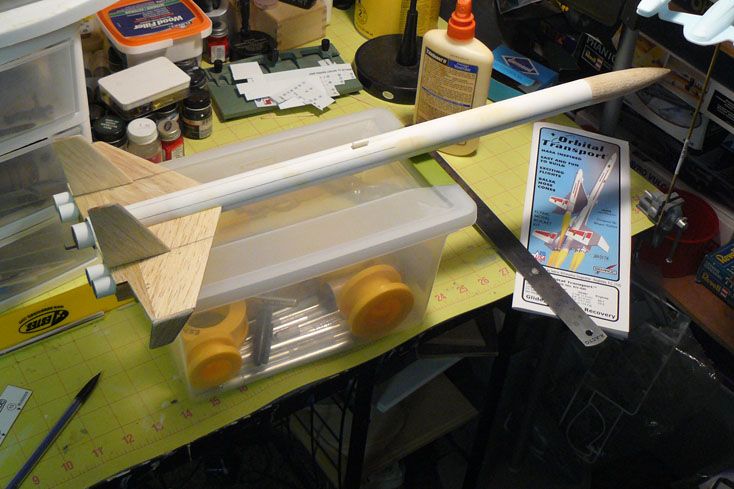
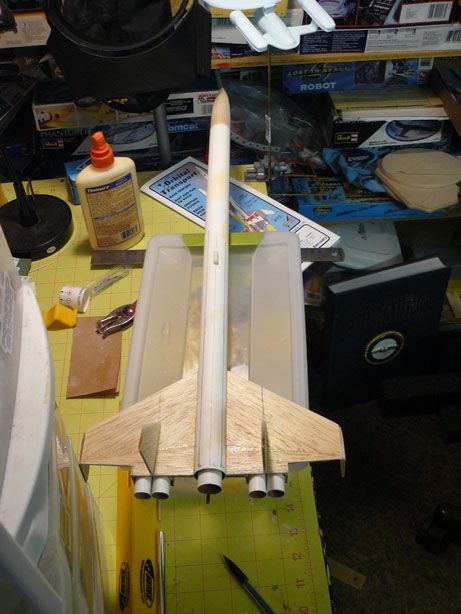
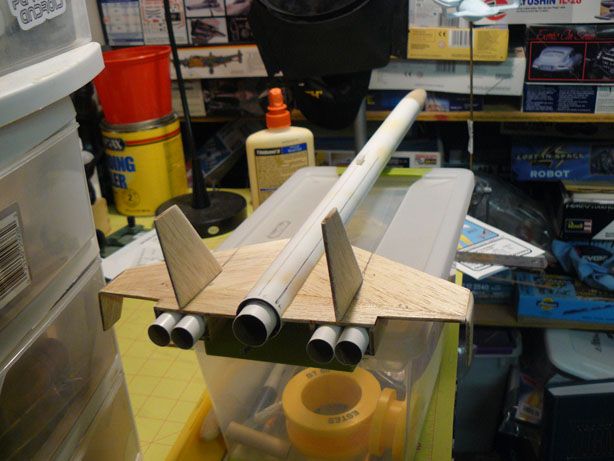
So when you can't sleep at 12:30AM there's only one thing to do, go add the wings to your SEMROC Orbital Transport. The first one I'd seen was in 1973 and it was what set the hook into me and rocketry. I loved it as a kid and still love it today and was ecstatic when I discovered SEMROC was reproducing it. I've had this for two or three years and finally decided to go ahead and build it. I think, I'll buy another one and keep in the stash just in case I should ever auger this one into the ground.
OT1_zps6d60fe0a.jpg


I should probably buy a Mars Lander while the getting is still good.
 
Looks good so far, Steve. I don't have the Semroc version, so I'll be following your thread. I remember back in the day when cloniing first came into vogue, it appeared that the Orbital Transport and the 1/70 scale Saturn 1B were the ones that most people wanted to see either brought back or cloned. I had [and still have] an original kit still in the bag [can't open that, the magic dust will all come out] so, around the year 2000 I set out to scratch build the Orbital Transport. Downloaded the plans from JimZ's site, cut out all of those itty-bitty pieces by hand, bought the decals from Tango Papa, and went to work. Within a month of it's completion........Estes re-released the kit.
 
I have the Semroc kit in my que. My oldest brother had an original way back when dinosaurs were still roaming. (One of the many of his beautiful builds that were destroyed by a PITA little brother) I have been thinking that I will measure all the parts and upscale it when I finally feel smart enough to open the bag.

Looks great so far, and very much too complicated for me, but I will be watching!
 
So after the main wings were dried and my inability to just walk away and going to bed, I had to fiddle with it, eyeball it up one side and down the other, make those "hushed" rocket noises in the wee hours of the night, I decided to dry mount the vertical stabilizers just to see what she would look like. *insert angelic chorus*
OT3_zps788c6010.jpg


At every angle, she is a very sleek and sexy bird. Man I do love those lines!
OT4_zpscc2ad028.jpg


This, has got to be the coolest angle of all. I kid you not, I sat and stared at this for fifteen minutes.
OT2_zpsf0d5526d.jpg


I was hesitant to build this. I didn't want to screw it up and for whatever reason, those intakes for the scram jets seemed daunting, but I just slowly worked on them and they went together nicely. I would love to see an up-scaled version of this, I had high-hopes that Q Modeling would eventually produce one. I have to say, to use your phrase Rocketcrab, there was magic dust in this bag as well. Building this has given me all sorts of warm and fuzzy memories.
 
I lost my glider last summer to a pumpkin patch, care to build me another?

:) I'll see what I can do.:wink:


Booster is ready for sanding sealer and primer
OT6_zpsa00b04b0.jpg

OT7_zpsf65f77ba.jpg

OT8_zps837a428e.jpg


Since it was warm today my wife had me painting a metal bed her students are using in a design show and it took most of the day...thus, I lost a lot heat in the garage so I could prime my rockets. So, dig out the old fish fryer and keeps the garage 10 degrees warmer than outside and still warm enough to prime. And not manage to blow myself up.
heat_zpsb2ebf2bc.jpg


V2 and Big Daddy Primed
primed2_zps1a756fe6.jpg
 
The Semroc kit is a great retro-repro. Laser cut fins, accurate balsa NC, and jigs; Much nicer than the classic series re-release of 2002, which had just slabs of balsa and a plastic NC that was a poor match for the original.
 
I was fortunate enough to have Semroc release their OT right after I lost my clone. Love their kit. As cool looking as it is (true to the original), I decided to tweek it a little to get some individuality. I worked up new decals, only altering the color. I've attached the file if anyone wants to print their own. I went with the blue. I have another in the que, not sure what color will be next.

Decal sheet 2.jpg

Decal sheet 4.jpg

Decal sheet 3.jpg

101_1462.jpg
 
Last edited:
Whilst I am working on this as well as the other two included in the last photo set, I decided to go with the Estes Payloader for my kids in my basic class. In the past, we've built Rockets US Ceeyahs and Estes Alphas, and Quest Payloader 1. This year I decided to go with something with a little more height and a slight complexity to the fin. I think they can manage it okay. I liked the Quest payload rocket, but those TTW fins caused a lot of grief for those first time rocketeers and it's kinda hard to get them to understand that a little pressure when sanding goes a longs way. So, the fits were pretty sloppy and I had to go back through and shim them. Anyway, this is what they'll be doing this year and I think they'll be pretty happy. The one thing I do like about it, no uber-light blue motor mount. I don't know if Estes has moved away from those, or if all of these are old stock with the heavier mounts, but if they have moved away from them...Kudos Estes.

Nova_zps67220f60.jpg
 
The Nova Payloader is one of my favorite rockets. Looks good and is a consistently good flyer. I expect kids will like the clear payload tube.
 
Just for the heck of it, I built this Estes Bull Pup as well. Currently working on a Mean Machine as a camera platform. After seeing Nathan's videos it has really put the spurs to me to do it.
BP2.jpgBP1.jpg
 
Warm weather offered the opportunity to shoot some paint. Decals from Excelsior Rocketry. Love 'em!
GV2.jpg
 
3:30 AM CST, I'm just about finished with the parasite glider for the OT. I think the reason I love this design so much, is no matter what angle you look at it from, it's sleek and very cool. G'night folks! Have a good rest of the weekend.
OT13.jpgOT12.jpgOT11.jpgOT9.jpgOT10.jpg
 
Ready to be sealed and primed. I gotta get me a couple more of these. I love it!
OT15.jpgOT14.jpg
 
Was able to work on this again. After the initial priming I noticed that too much wood grain was showing in the wings, stabilizers, etc. I covered all surfaces with a thinned layer of wood putty, sanded, re-puttied, sanded, and then an over all sanding with 600 grit sand paper to remove all scratches and gouges. I'll prime it again, with a light coat to look for any blemishes or new problems. If it's good to go I'll give her a coat of paint when I have painting weather again. I think one of my glider supports might be a bit off. When I do this again, I'll take a little different approach in the construction order. There were a few things that I could have done a little better and differently. Still, you gotta admit, that view of the back end is just classy as hell.
OT20.jpgOT18.jpgOT19.jpgOT16.jpgOT17.jpg
 
I love this rocket! It is a true classic and one that Estes definitely got right. I've built two in my lifetime and still have the last one built some 20 odd years ago. I also have one built in MMX scale, a cute little bugger but the decals were a b&#%h. I've been enjoying your builds, thanks.

Jeff
 
Man!! that looks so cool!


Was able to work on this again. After the initial priming I noticed that too much wood grain was showing in the wings, stabilizers, etc. I covered all surfaces with a thinned layer of wood putty, sanded, re-puttied, sanded, and then an over all sanding with 600 grit sand paper to remove all scratches and gouges. I'll prime it again, with a light coat to look for any blemishes or new problems. If it's good to go I'll give her a coat of paint when I have painting weather again. I think one of my glider supports might be a bit off. When I do this again, I'll take a little different approach in the construction order. There were a few things that I could have done a little better and differently. Still, you gotta admit, that view of the back end is just classy as hell.
View attachment 117480View attachment 117478View attachment 117479View attachment 117476View attachment 117477
 
Re-primed. I'm happy with it, yet I'm not. Next time (and I will be doing a next time) I'll do several things differently during the build and the finish process. Nothing against the kit, it's a gem! Just not happy with how I approached it. I'll sand with 600 grit sandpaper to knock-off the the tiny bit of texture and shoot some paint in a week maybe. She's in the home stretch.
OT21.jpgOT23.jpgOT22.jpg
 
looks great!! can't wait to see it when the decals come on....really going to look sweet!

Re-primed. I'm happy with it, yet I'm not. Next time (and I will be doing a next time) I'll do several things differently during the build and the finish process. Nothing against the kit, it's a gem! Just not happy with how I approached it. I'll sand with 600 grit sandpaper to knock-off the the tiny bit of texture and shoot some paint in a week maybe. She's in the home stretch.
View attachment 118232View attachment 118234View attachment 118233
 
It got up to 62 here today, so I went ahead and painted it with semi gloss white. I'll let it gas-out for a week, hit it with a clear gloss lacquer and then start on the decals.


OT24.jpg
 
The arrival of the blizzard has allowed me to finish this. Sorry about the quality of the photos, my camera is at work so I had to use a camera phone.
OT27.jpgOT28.jpg

This is, a great kit and I highly recommend it. The decals were superb, in register and very detailed. They went on with no problems and the carrier film, once on, is nearly invisible. I'll shoot it again with a semi gloss to knock down the gloss of the decals and it should all blend nicely. Thank you Semroc for making this kit available again and for the great trip down memory lane building a fond childhood memory.
 
Last edited:
Back
Top