BeerorKid
Well-Known Member
- Joined
- Dec 12, 2012
- Messages
- 1,148
- Reaction score
- 36
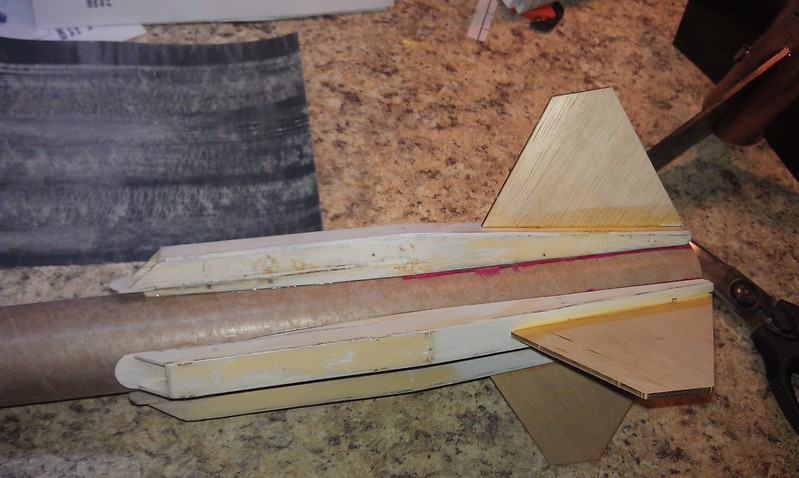
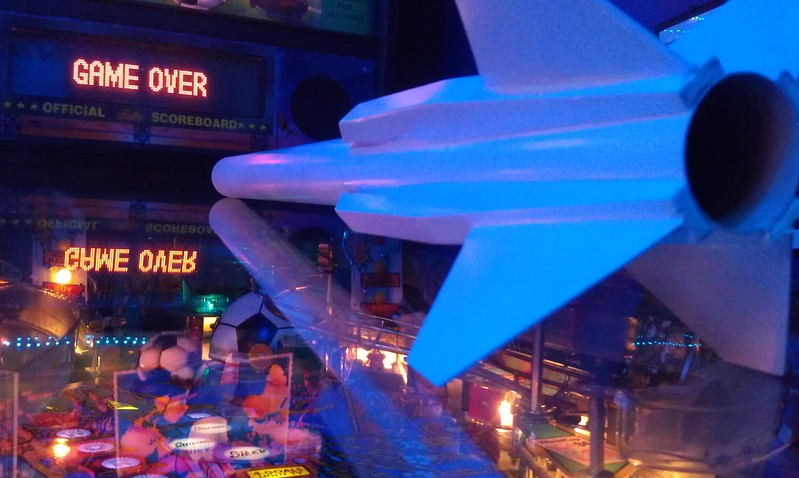
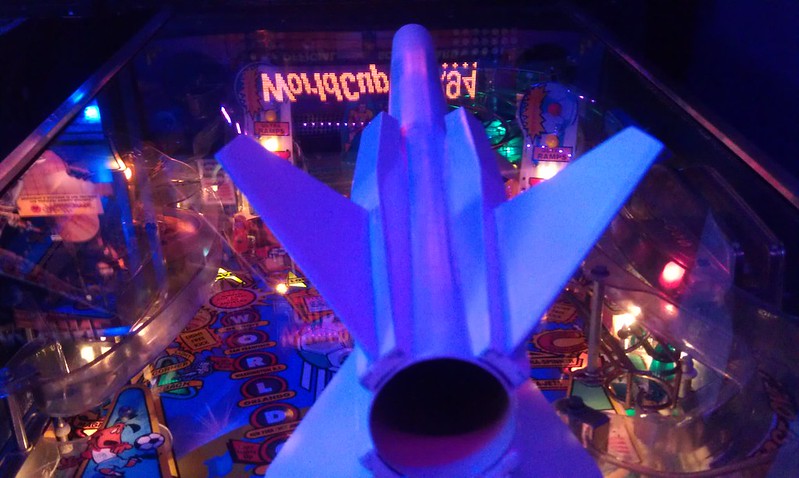
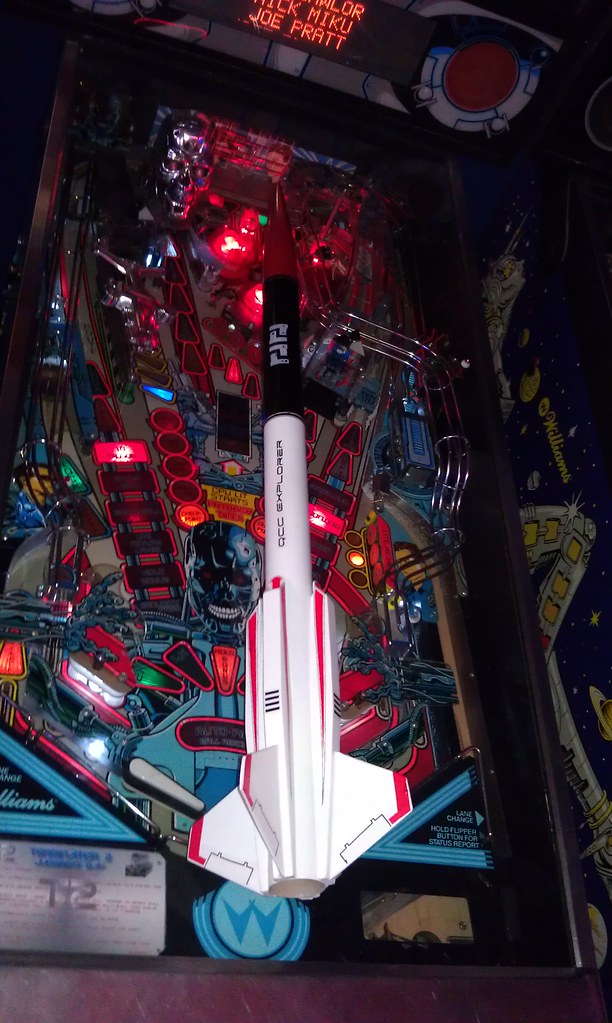
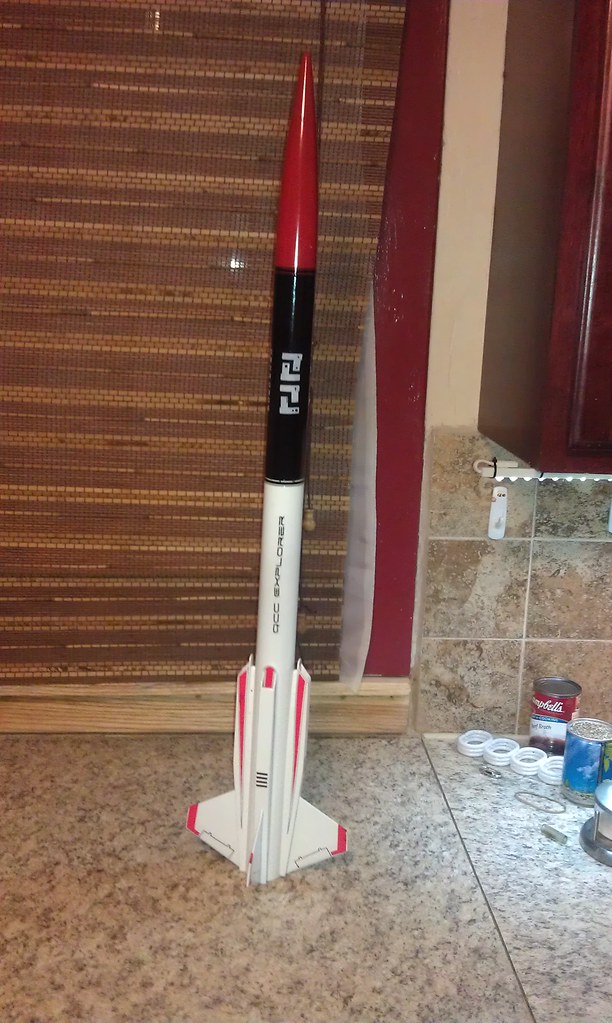
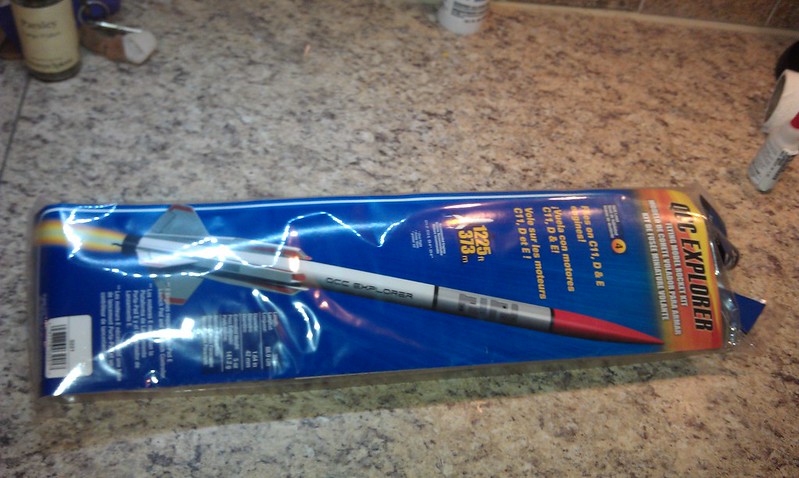
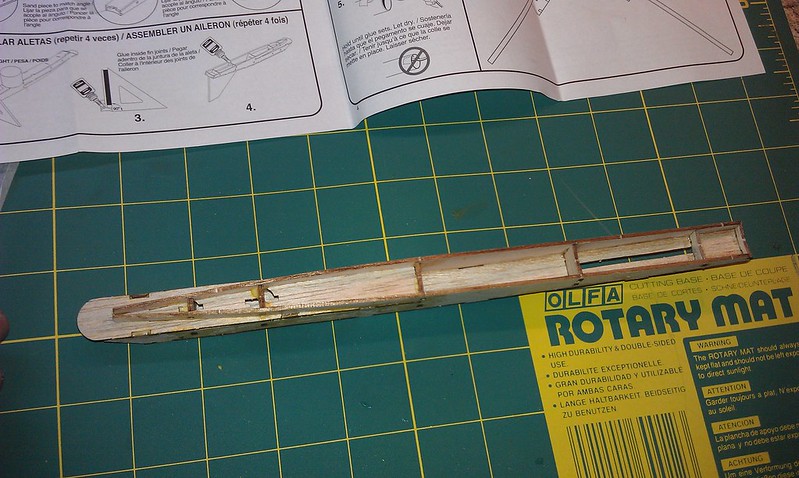
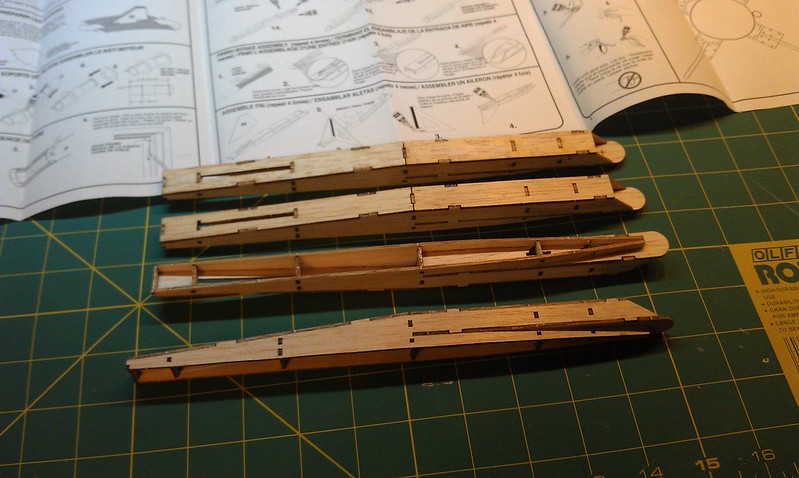
Well it seems you like build threads. I am pretty new to the whole rocket thing, but the QCC was so adored here I picked one up. Man those intake bits are complex. First one I built with wood glue, but the rest were CA.
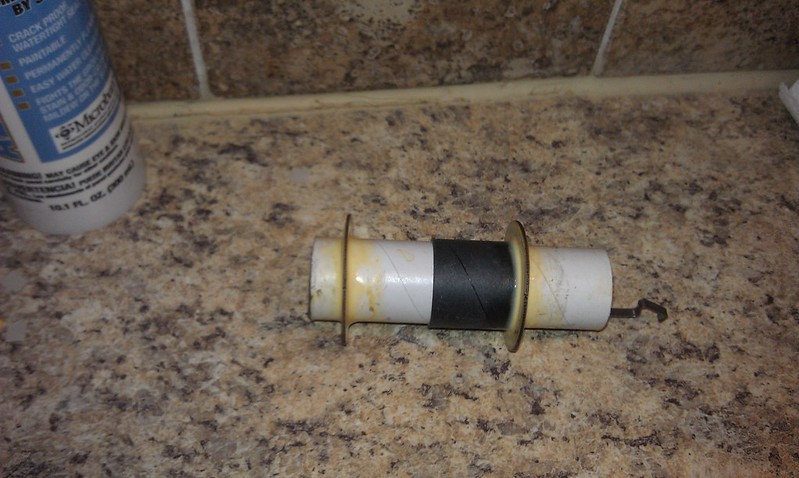
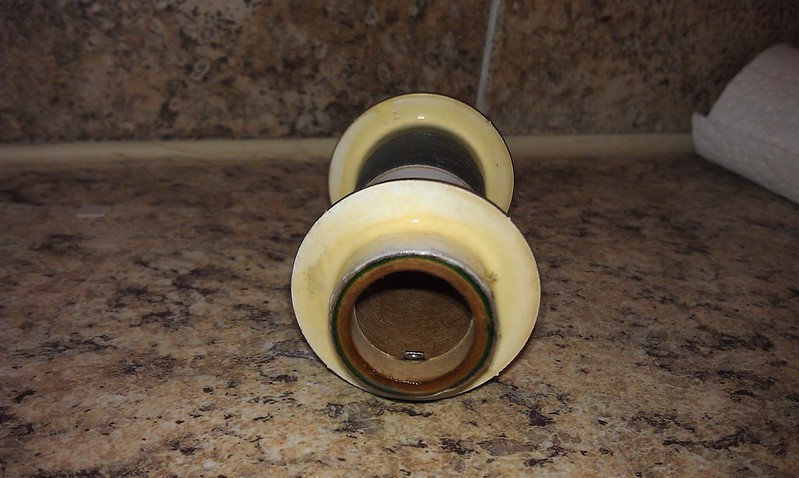
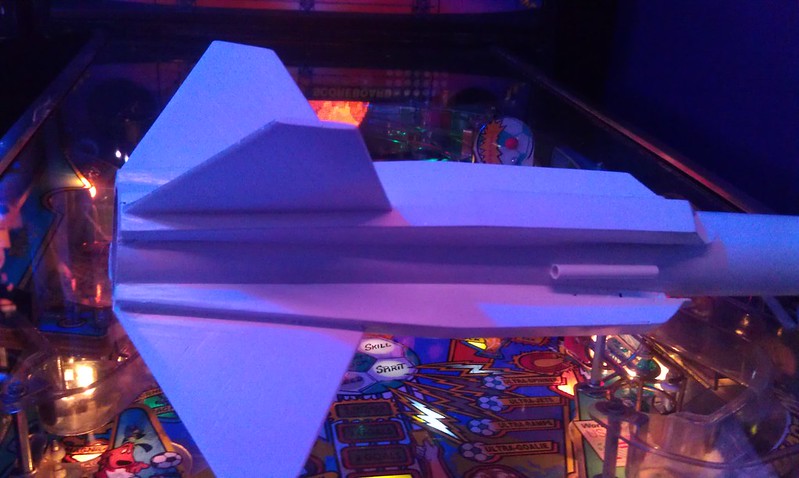
Epoxy on the green retaining ring
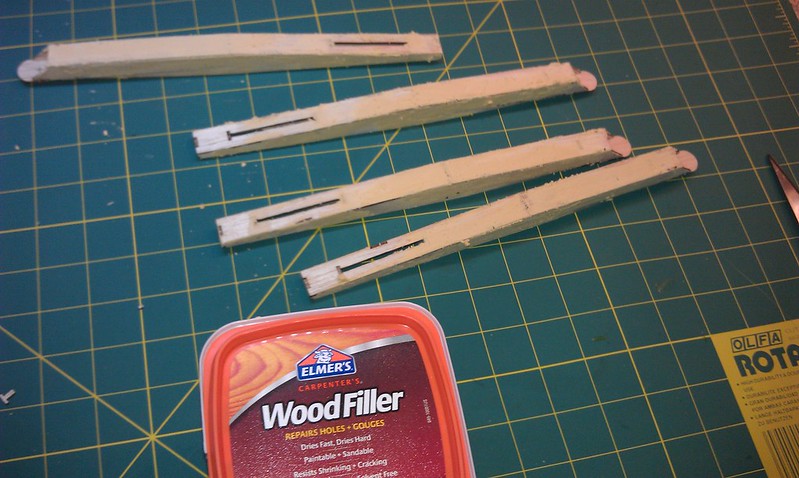
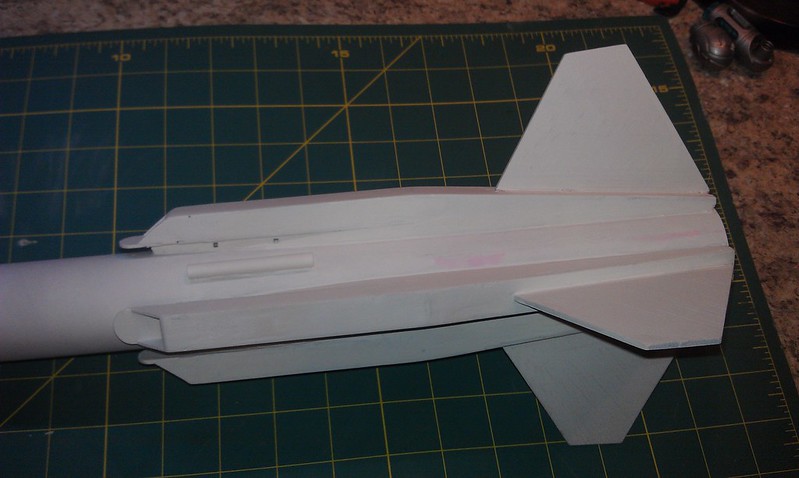
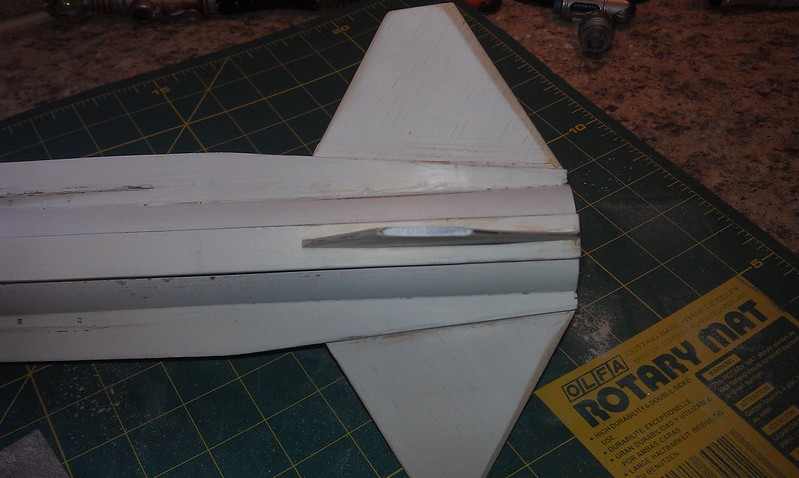
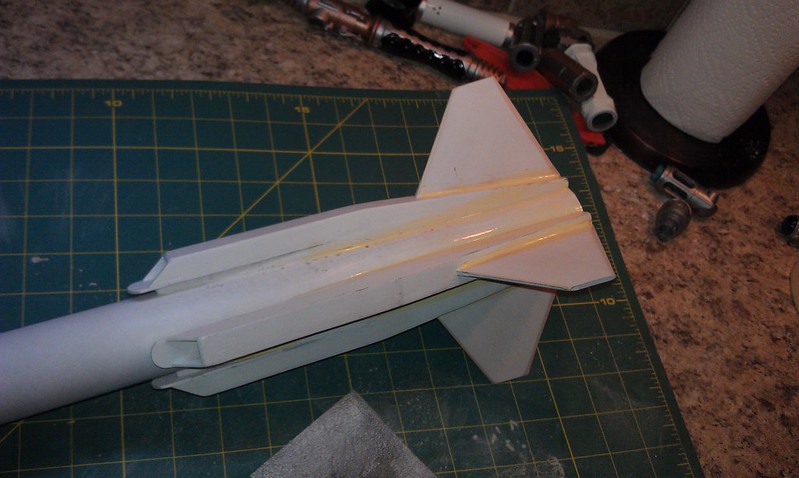
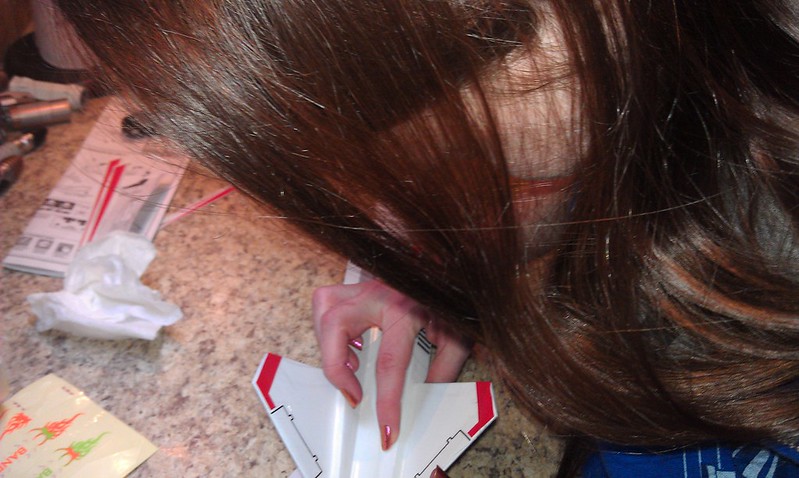
Wood filler is setting. I think this is going to go darn well. Will do black on the upper, but stick to the orig for the rest. I am looking forward to the decals. Should be fun.

Epoxy on the green retaining ring
Wood filler is setting. I think this is going to go darn well. Will do black on the upper, but stick to the orig for the rest. I am looking forward to the decals. Should be fun.