Sharon's Jart Build

The Rocketry Forum

Help Support The Rocketry Forum:

This site may earn a commission from merchant affiliate links, including eBay, Amazon, and others.

Hardline

Ecstatic and Joyous
Joined
Oct 24, 2012
Messages
663
Reaction score
237
Location
Goodyear, AZ


Wayne said I had to write my own build threads now so here it goes and hopefully I won't embarrass myself......:smile:

When Wildman had the Jart sale in August I Just Had To Get One....but it took until now (November) for me to actually get to building it. I was reviewing the Wildman site in preparation for the Black Saturday Sale and noticed the Wild Child "Fly and Foam" technique that he had posted and decided that I would build the Jart using that method.

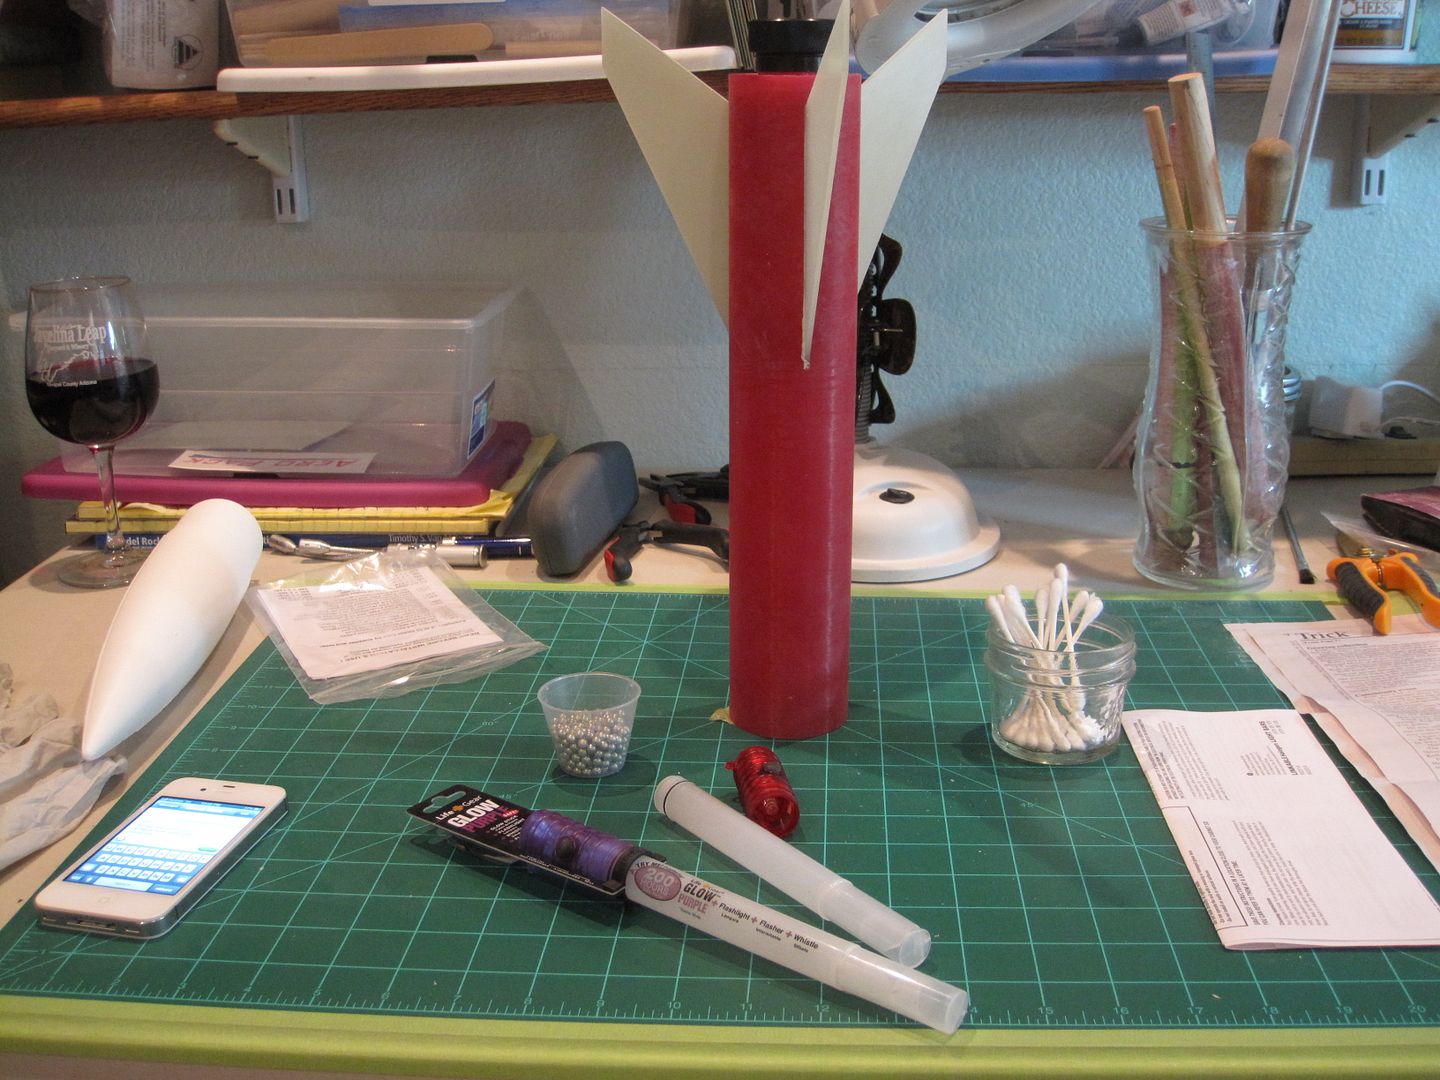
So I pulled out my build box (which Wayne has learned To Never Touch....):

035.jpg


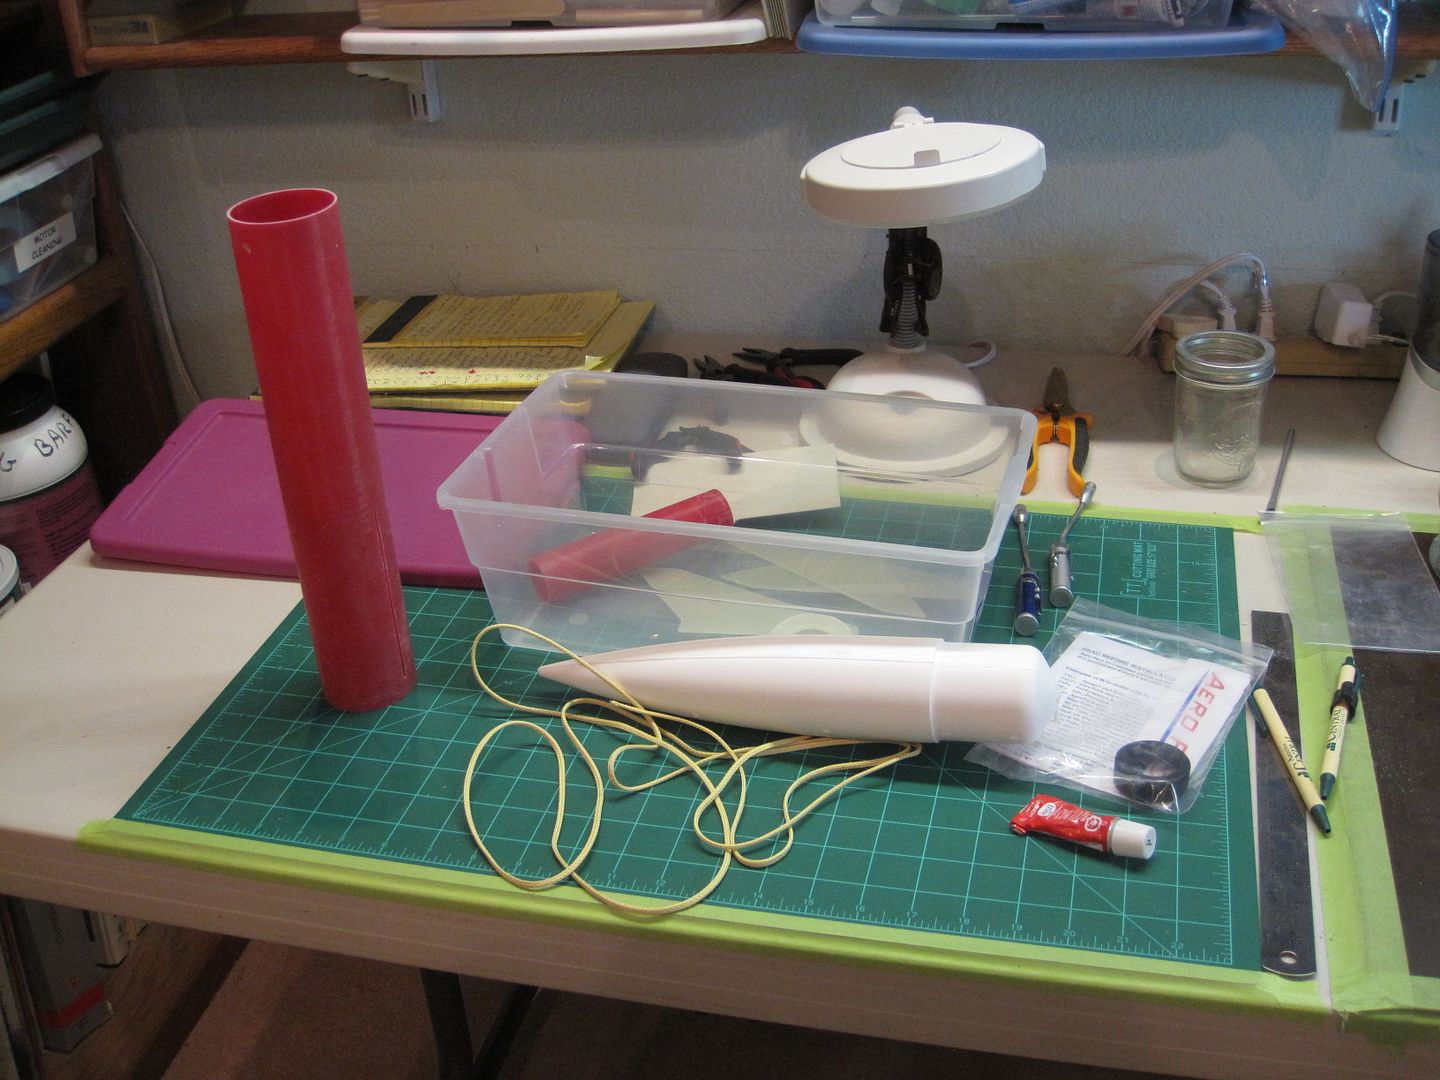
I had already washed all the parts and scrubbed off the "stuff" (that is a technical term for sticky bits and pieces of fiber on the fins - I am sure it has a name but to me it is "stuff") and had reviewed all the build threads on this forum (thanks Chadrog for your "Family Drag Race Build Thread!) and downloaded the RockSim File that someone (I forget who - sorry) had posted and opened it up in Open Rocket. I determined that I wanted to make it in to a "Night Jart" and my build was planned accordingly. I also prefer to have Aero Pack Motor Retainers which does simplify certain aspects of the build (the downside of course being the additional cost but hey, you only live once so go for it)

The first order of business was to work on the motor mount. I filed a small notch on the inside of the top centering ring to allow the kevlar cord to fit. Then I sanded the exterior of the motor mount tube, slid the centering ring over the kevlar cord, tacked it into place with thin CA and used the thin CA to glue the top centering ring 1/4' from the top of the motor mount tube. Then, after it fell off, I redid the whole process using medium CA which worked a whole heck of alot better (Lesson learned: use the correct adhesive for the task)

037.jpg


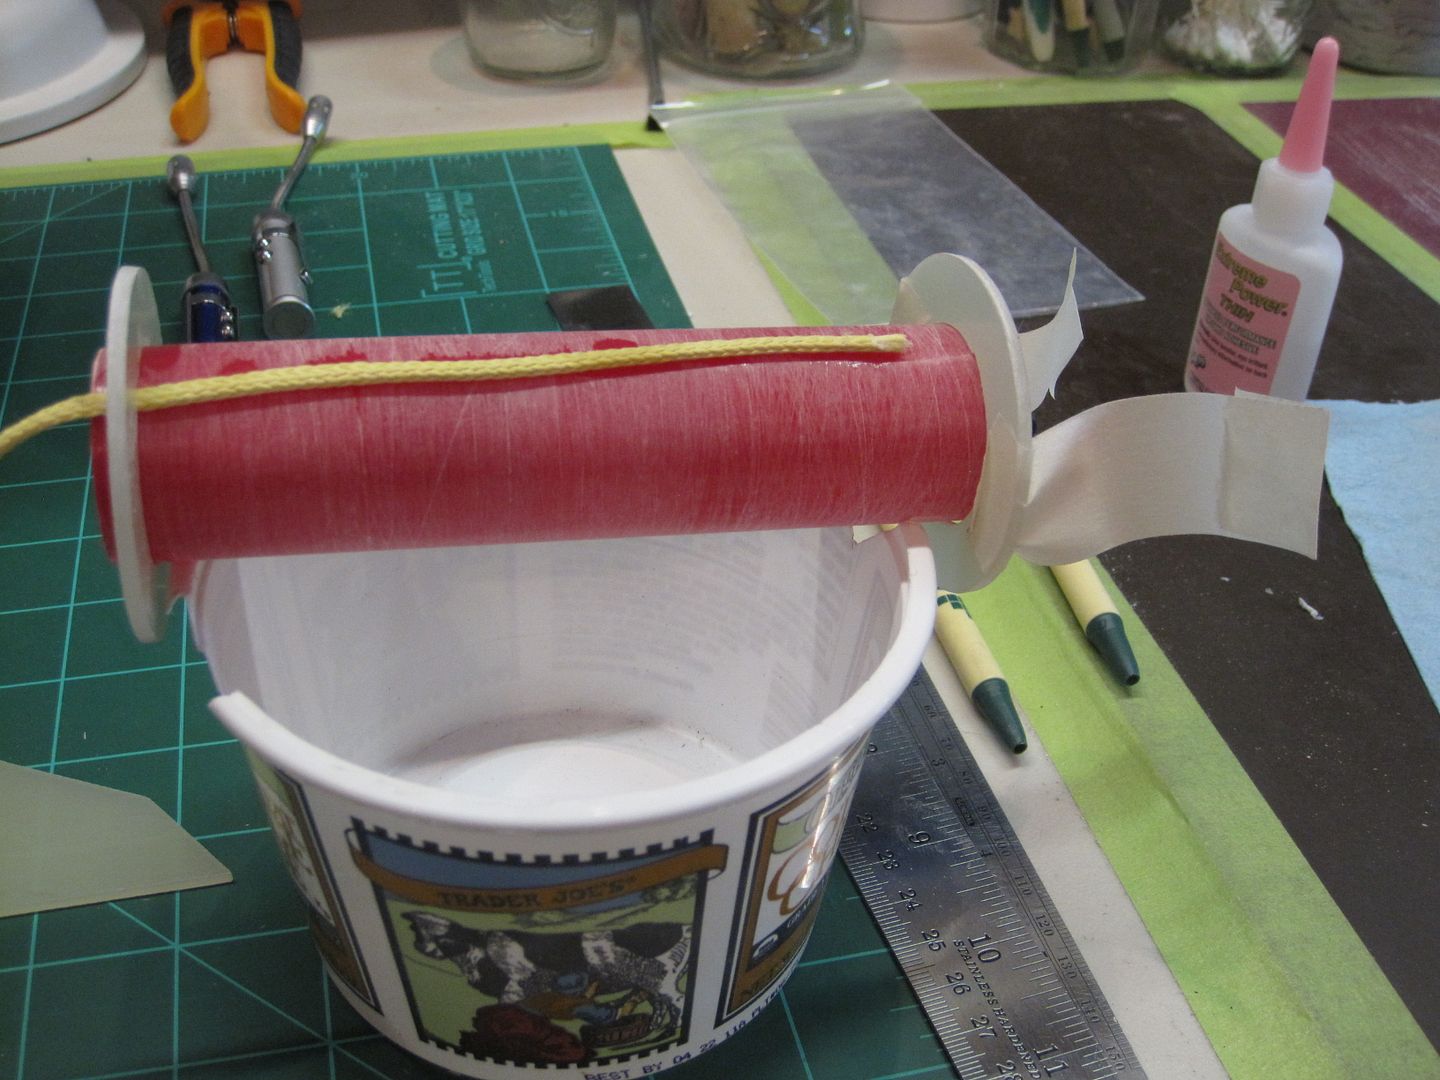
Note the two tape tabs to pull the rear centering ring off prior to foaming.

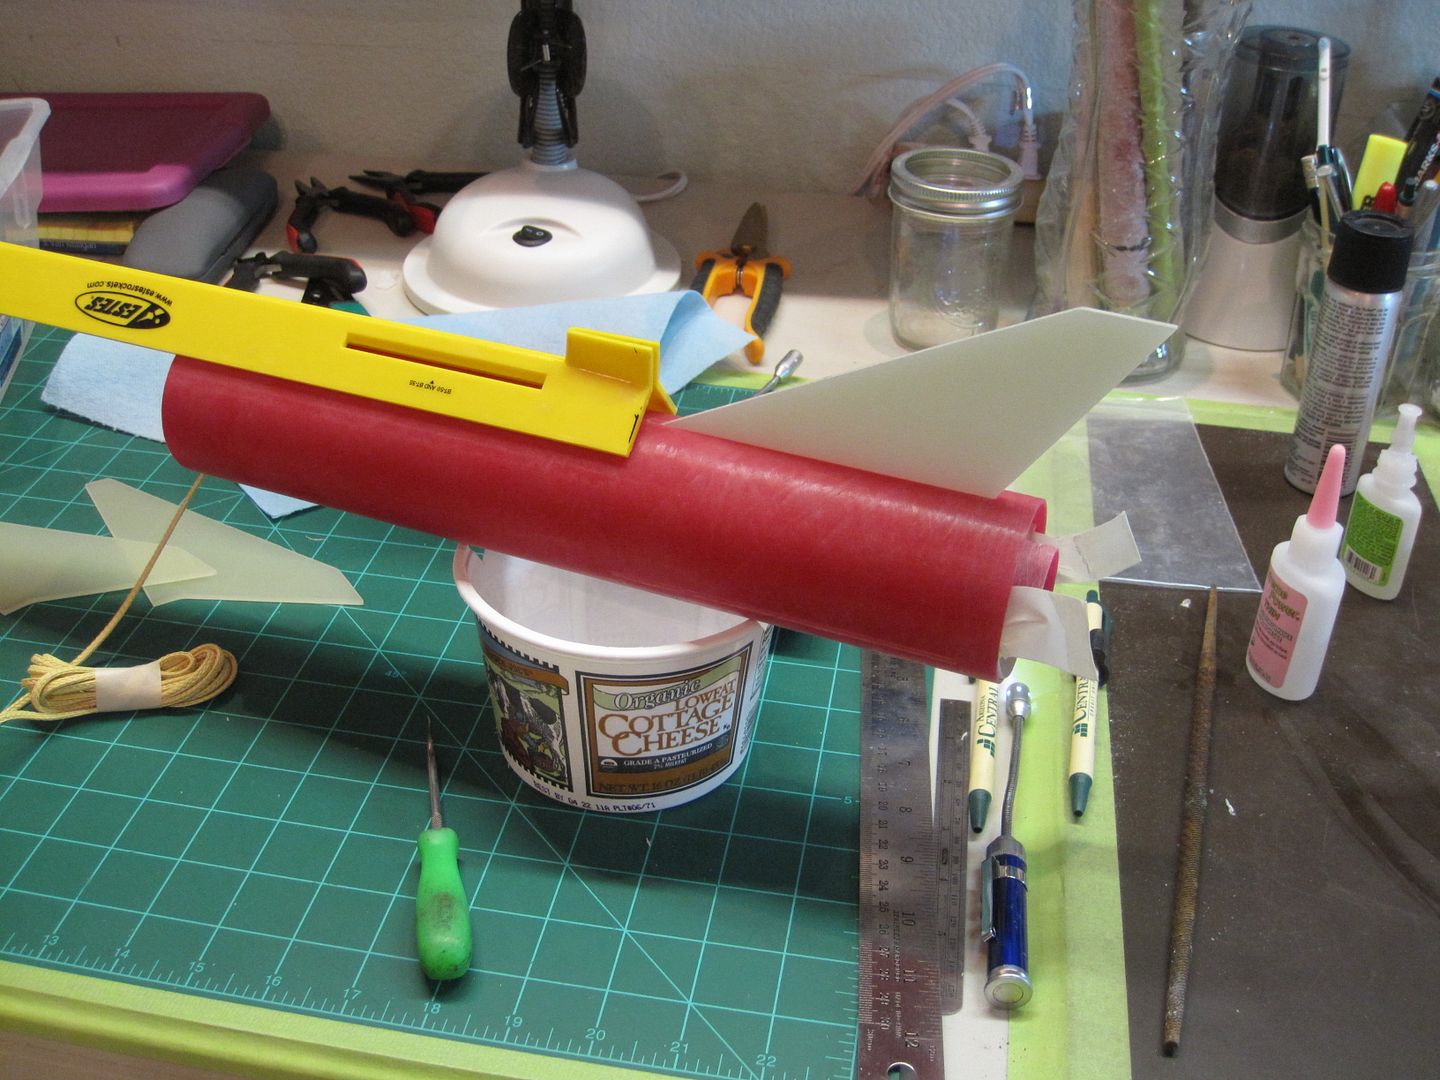
Next I slid the motor mount into the rear of the tube, aligned so that the centering rings were at the front and rear of the fin slots and tacked the fins with just a few drops of medium CA (application of lesson learned), making sure to align the fins properly:

042.jpg


043.jpg


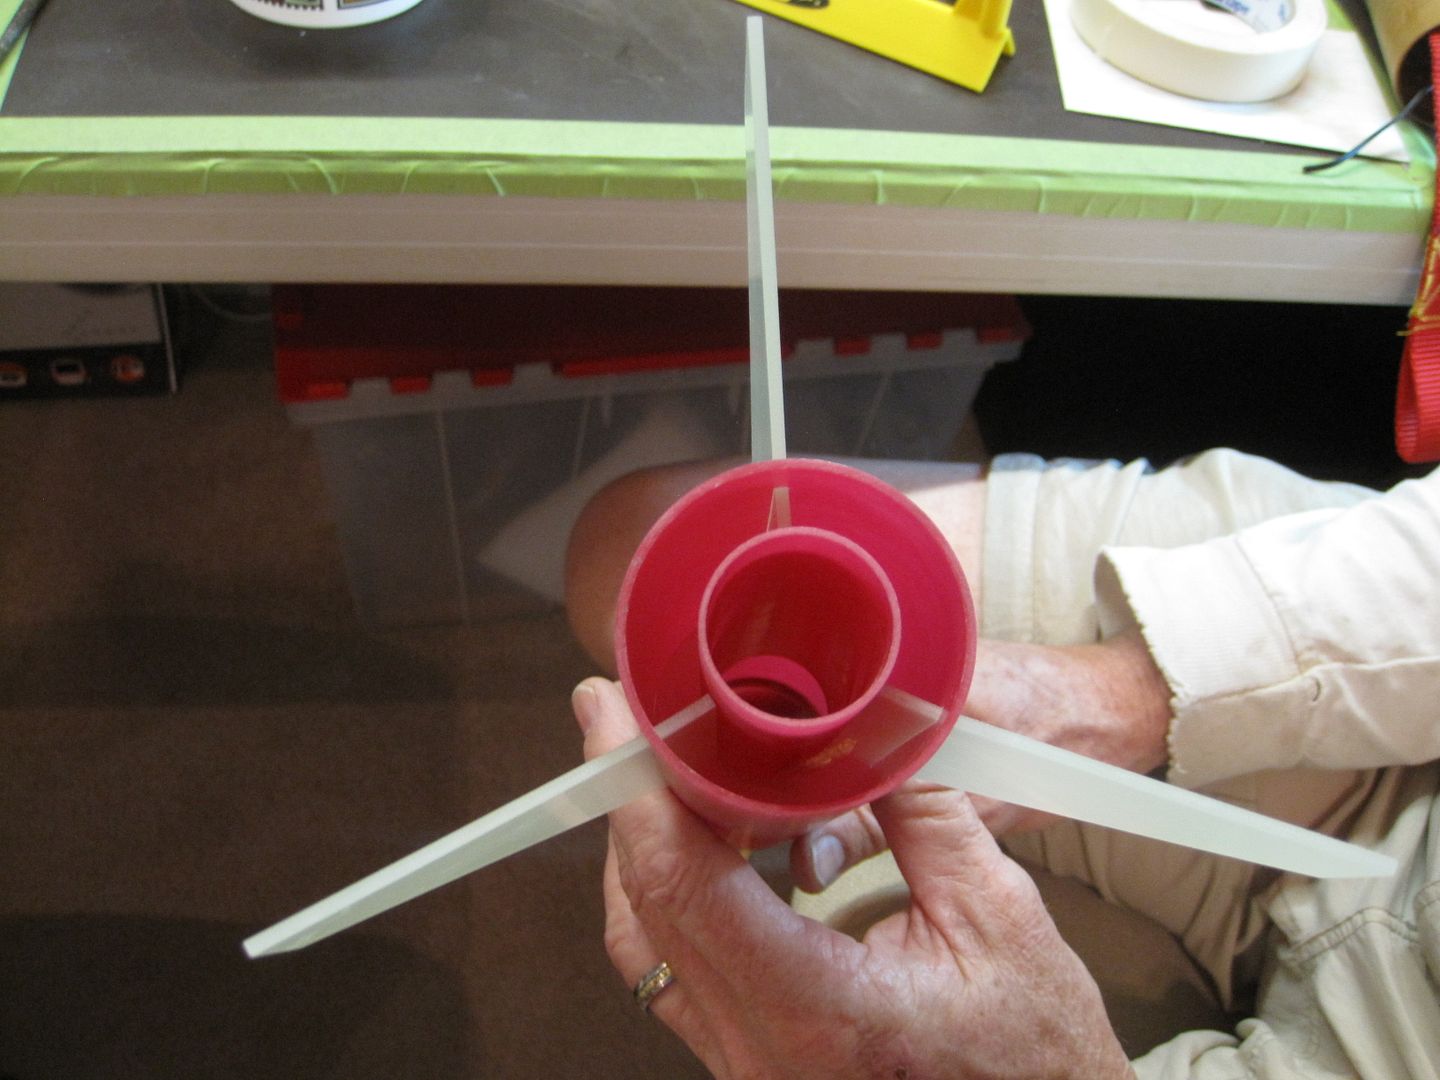
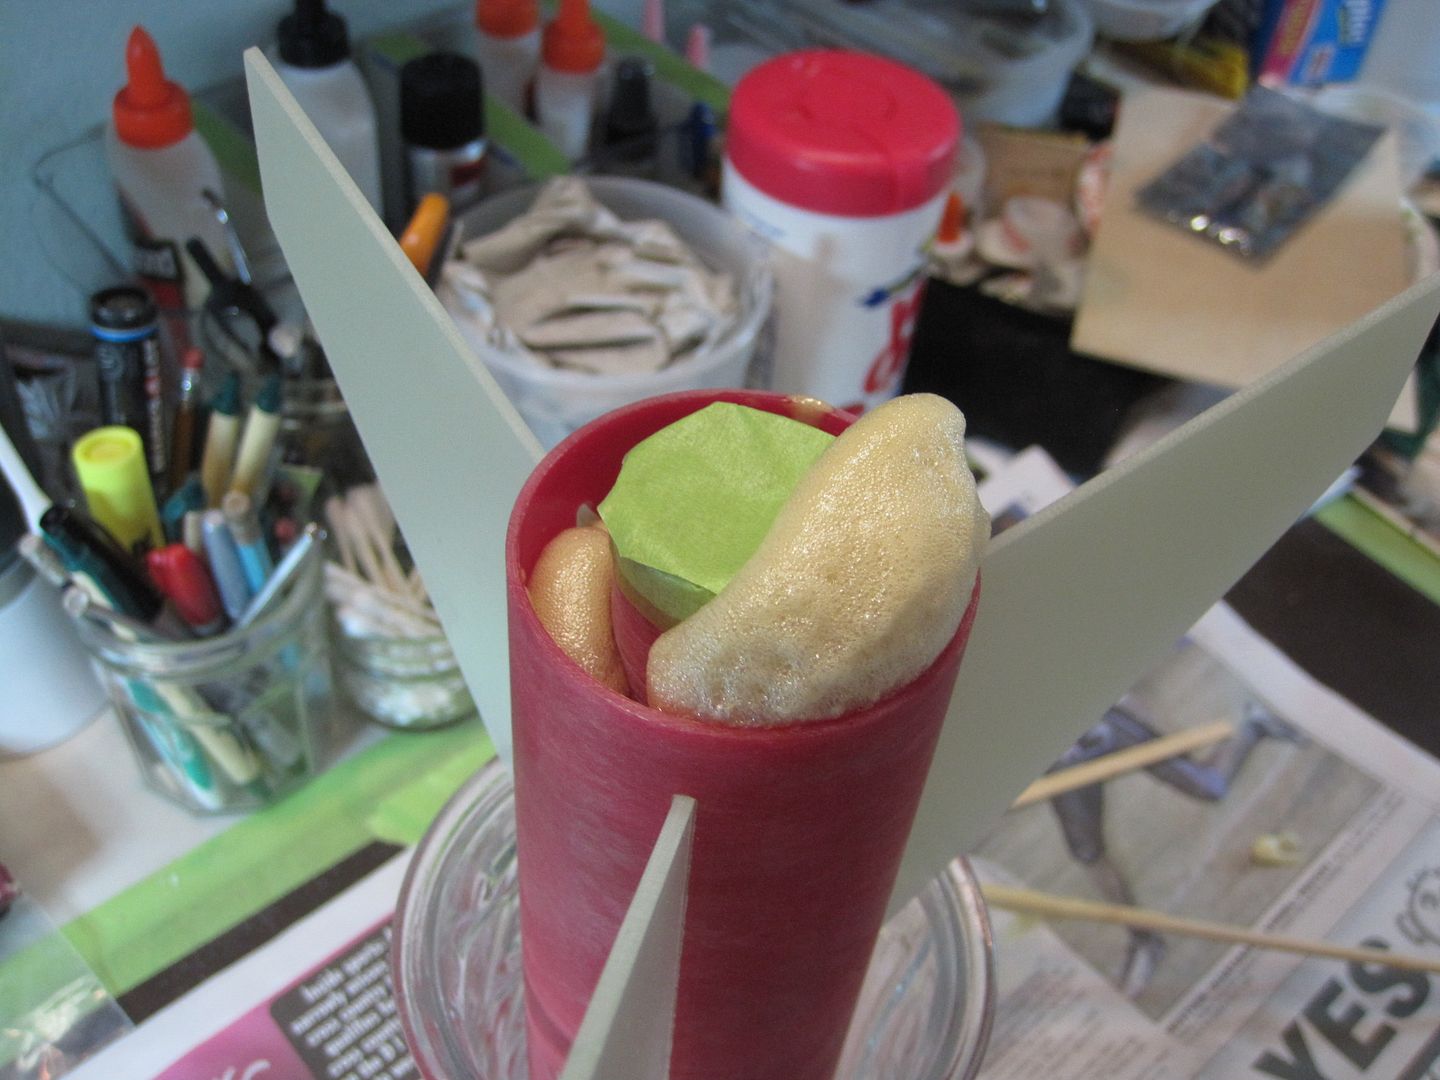
Then I pulled the tabs and removed the rear centering ring and placed the jart in a leftover flower vase (Wayne likes to give me flowers and the vases come in handy!)

045.jpg


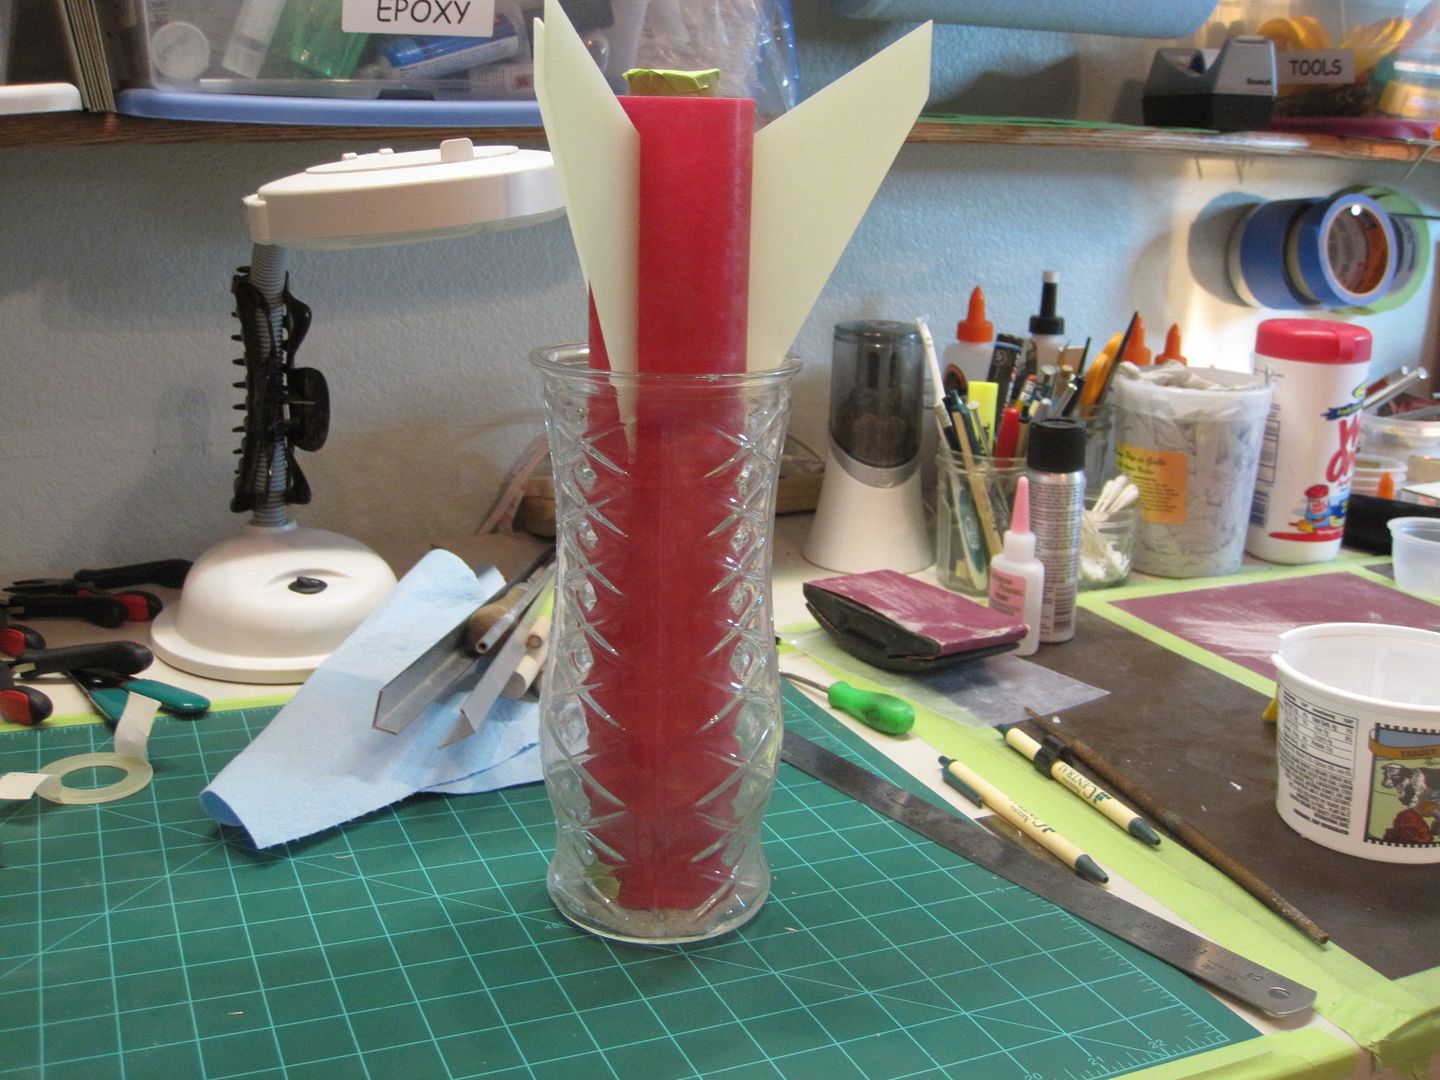
I made sure to cover the motor mount tube with tape to keep foam out.

044.jpg


I used 30ml part A (with 4 added drops of water) and 30 ml part B of Public Missiles Adjustable Density Expanding Foam:

047.jpg


056.jpg


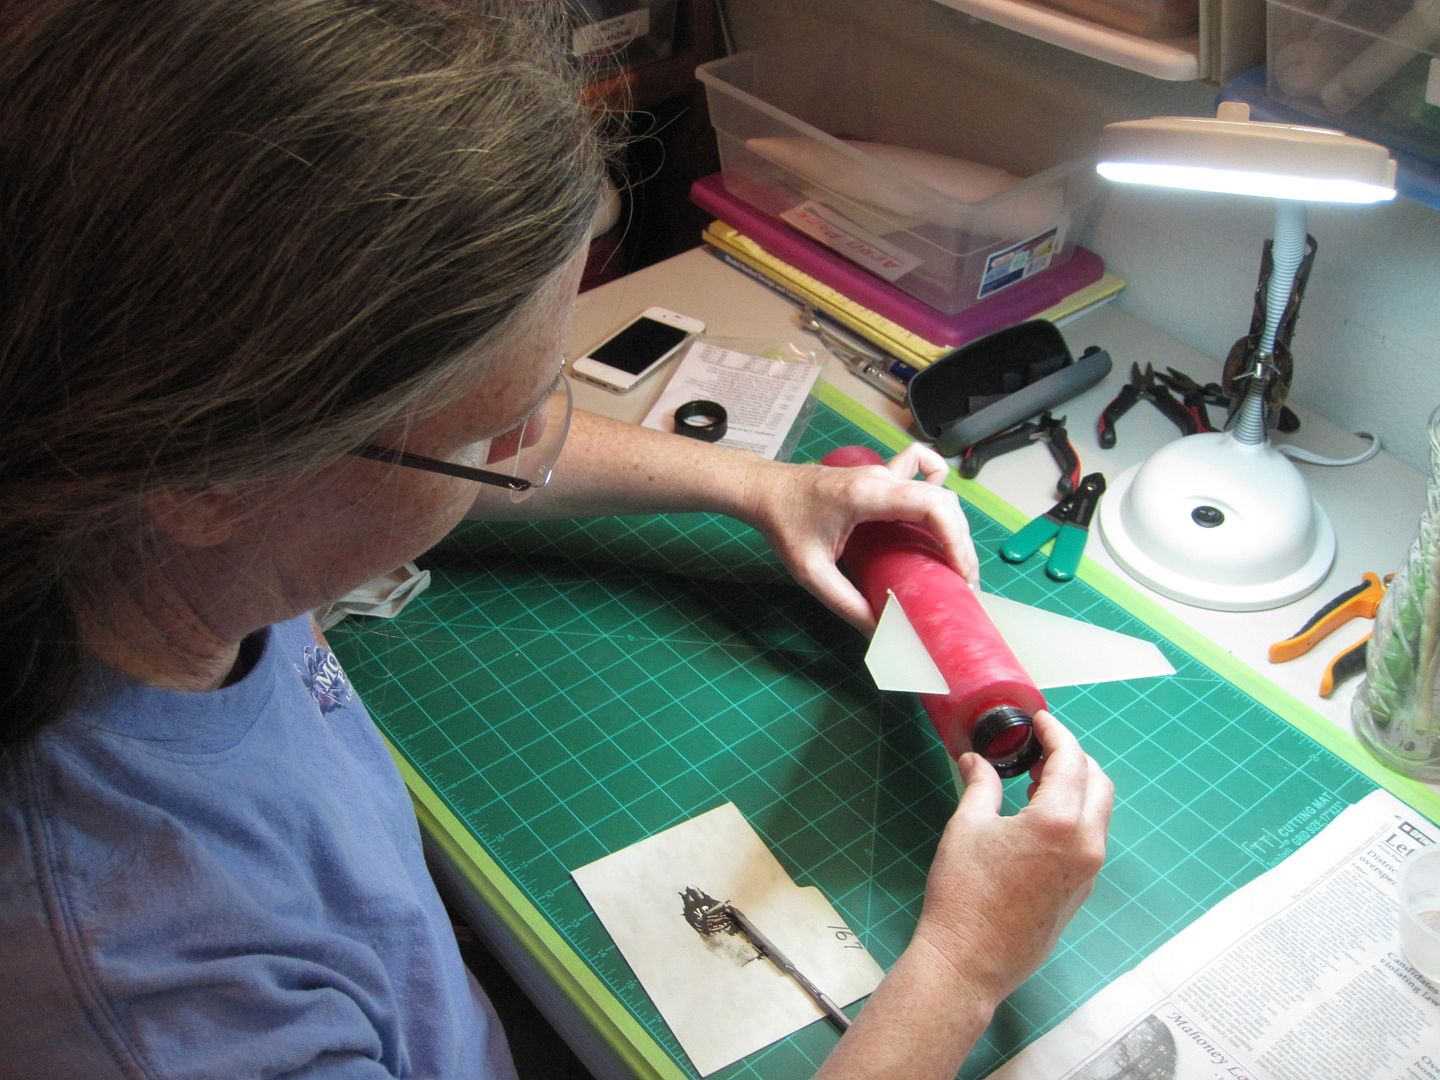
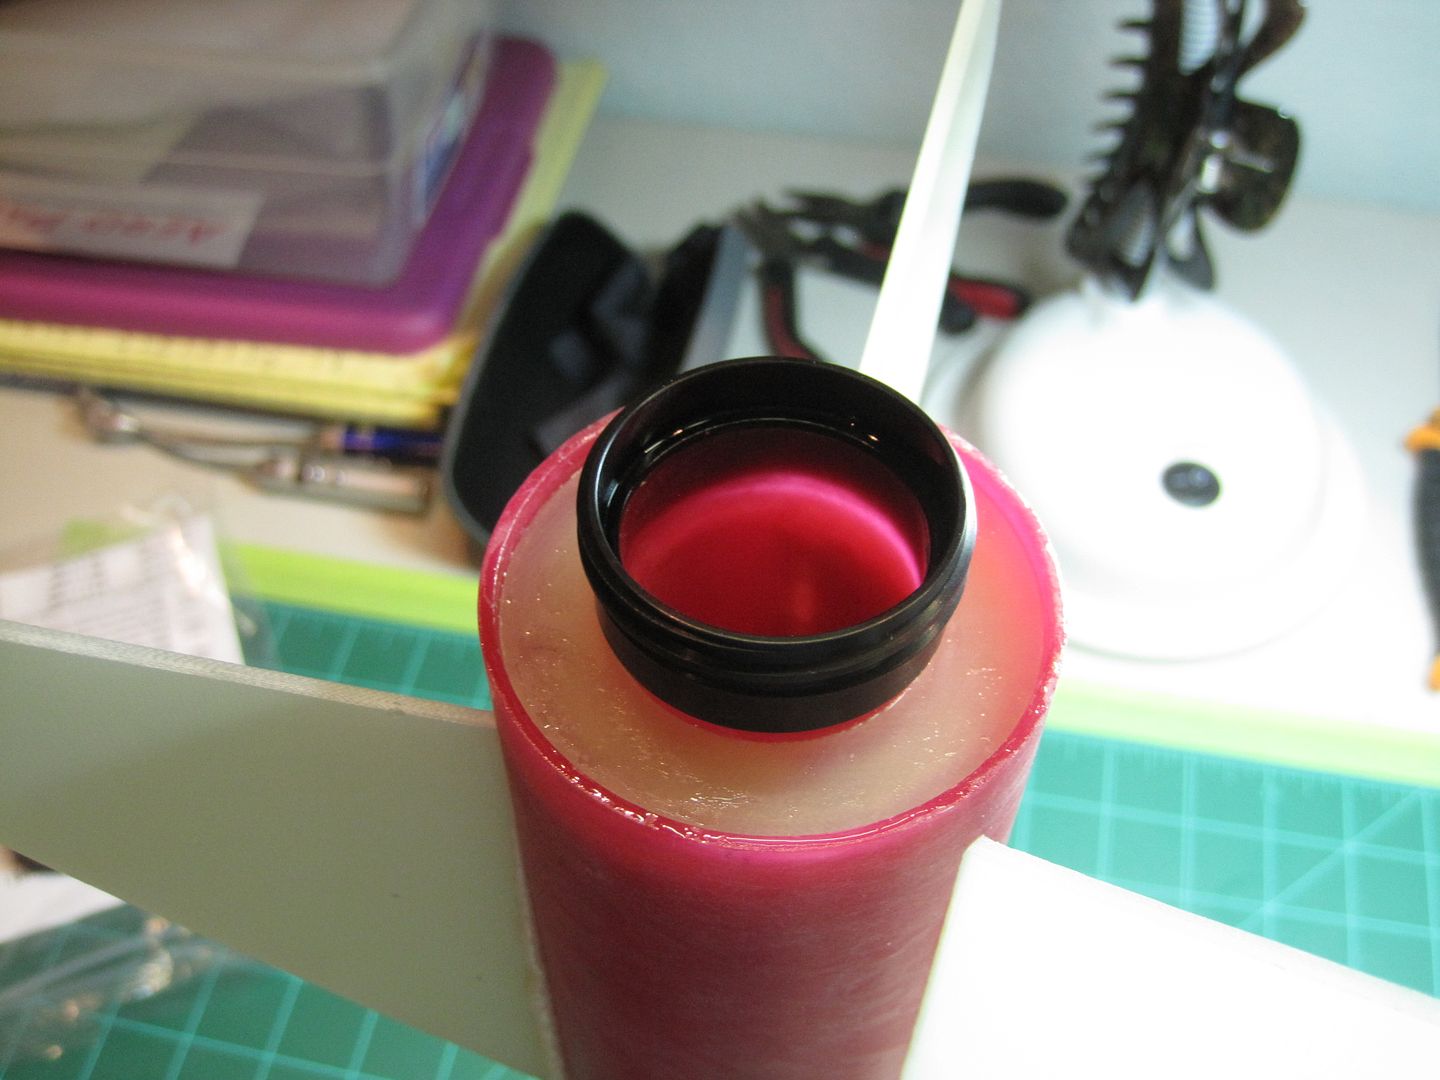
Trimmed up the foam and and epoxied in the rear centering ring since I like the "finished look" although structurally I don't think it needed to be installed. Then I went ahead and installed the Aero Pack Retainer with JB weld:

048.jpg


051.jpg


053.jpg


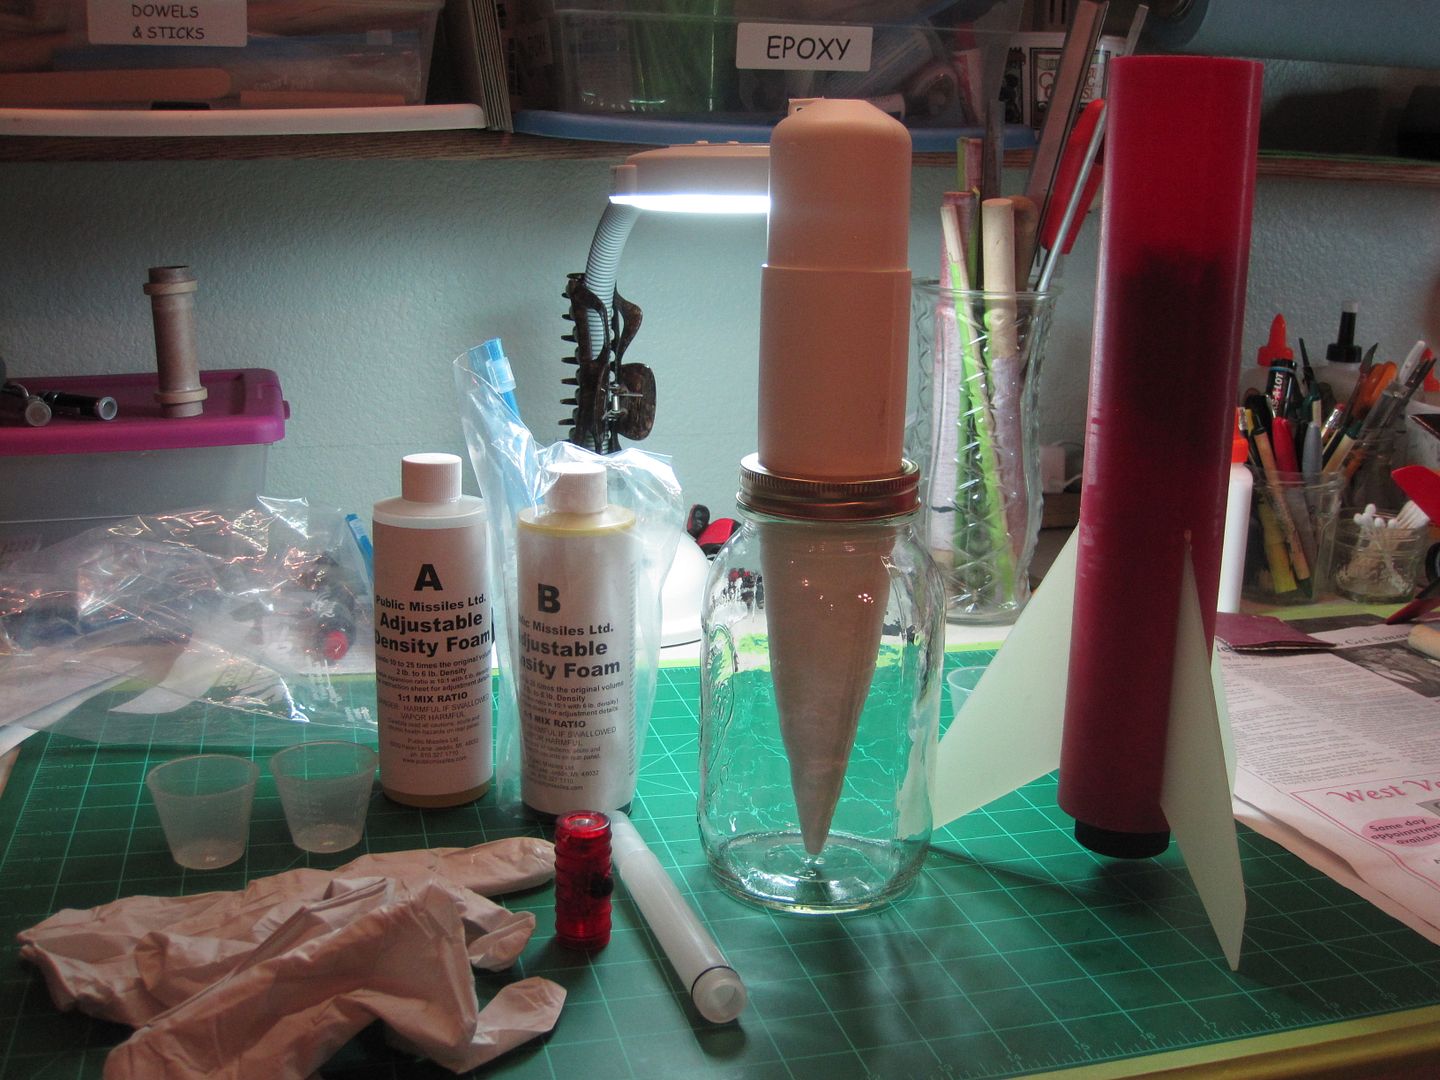
After letting it cure for a day I started work on the nose cone

After analyzing open rocket I decided on 3 oz of BB's, epoxied in place, and foam to secure the "glow stick/flashlight" I found of $4.99 at Walmart:

054.jpg


Getting ready to foam:

064.jpg


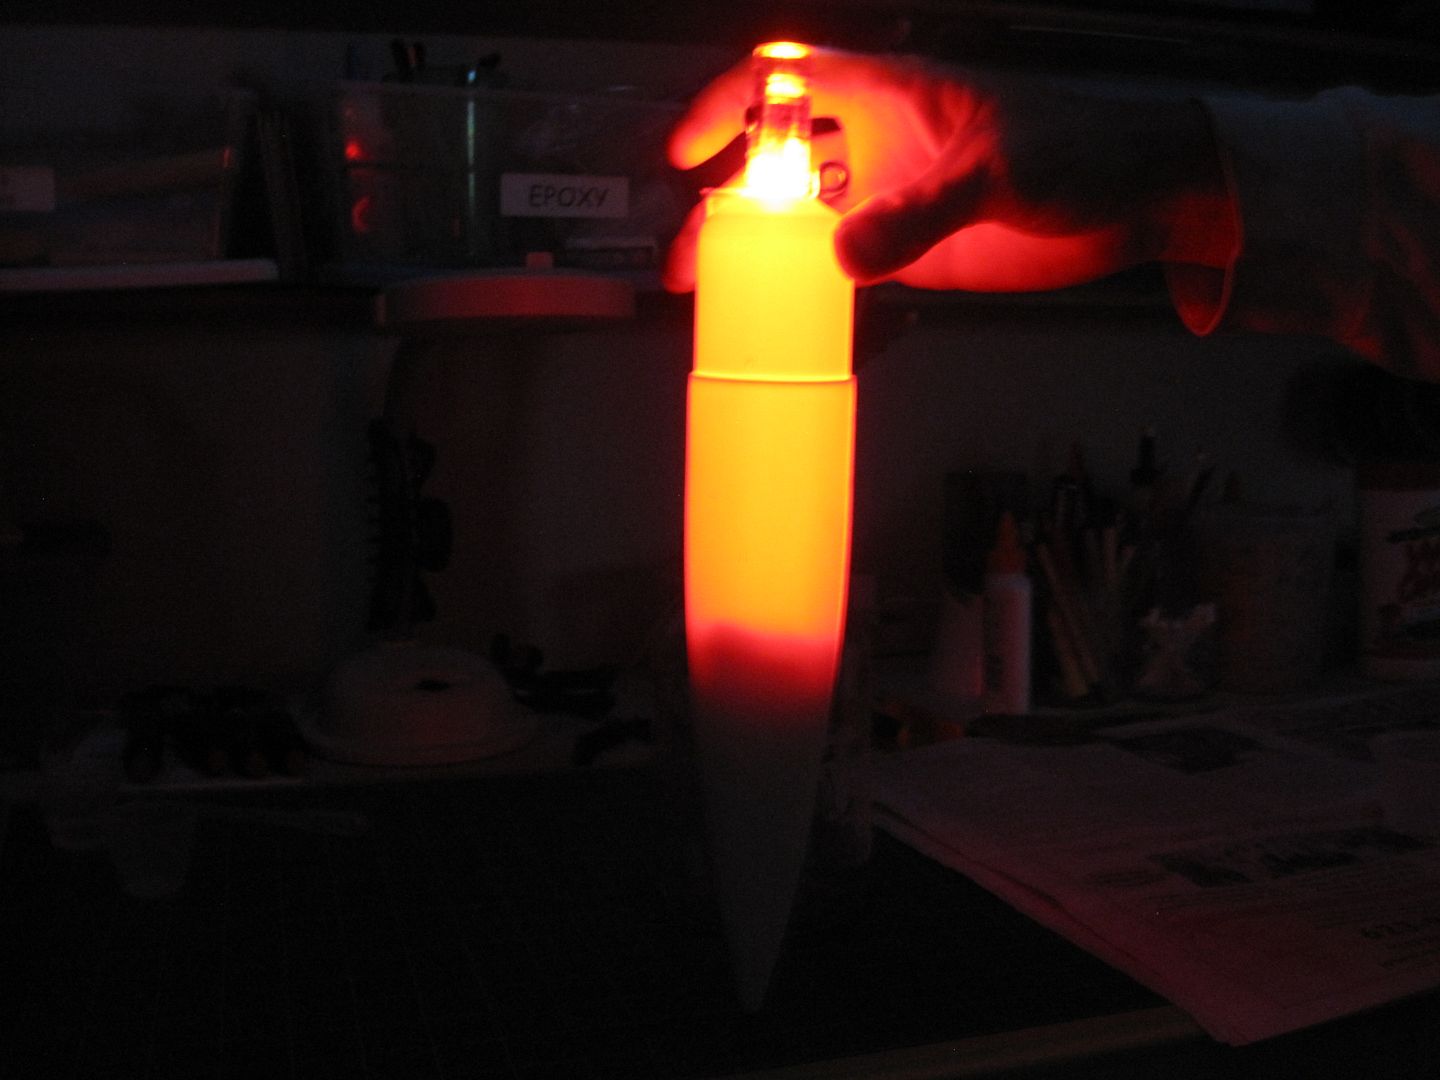
I used 5ml part A with one drop of water and 5 ml part B to foam in the nose cone to keep the BB/epoxy mass from moving but the keep enough room for there to be enough glow to keep it a "night jart". I ended up with 4.97 inches of stability according to open rocket.

065.jpg


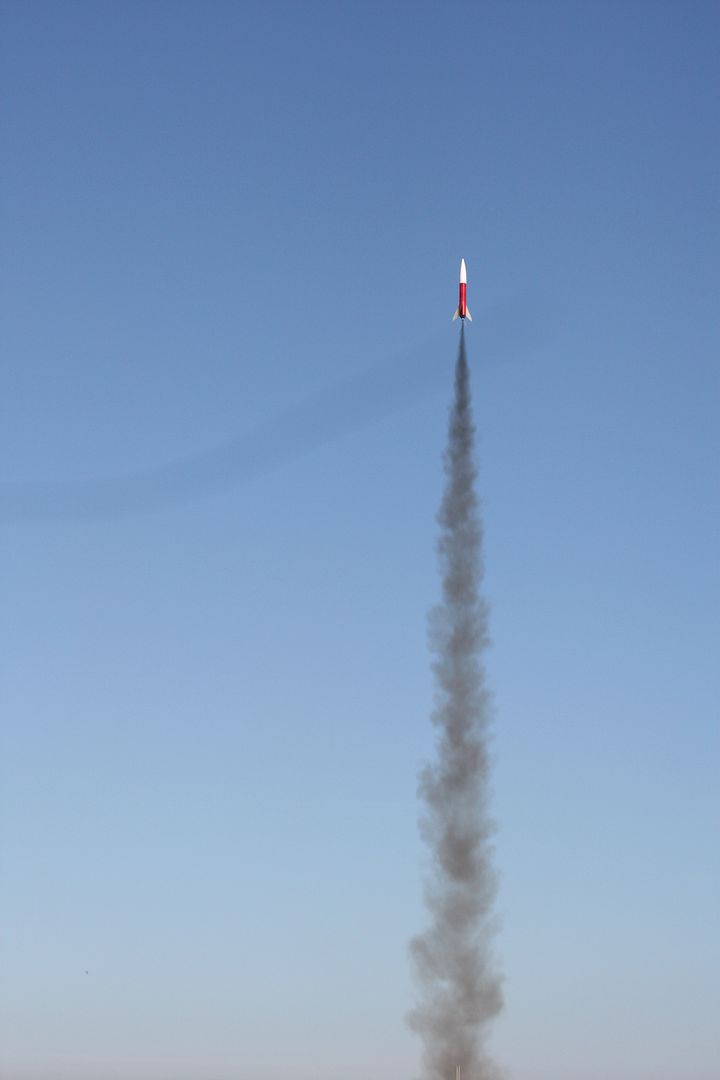
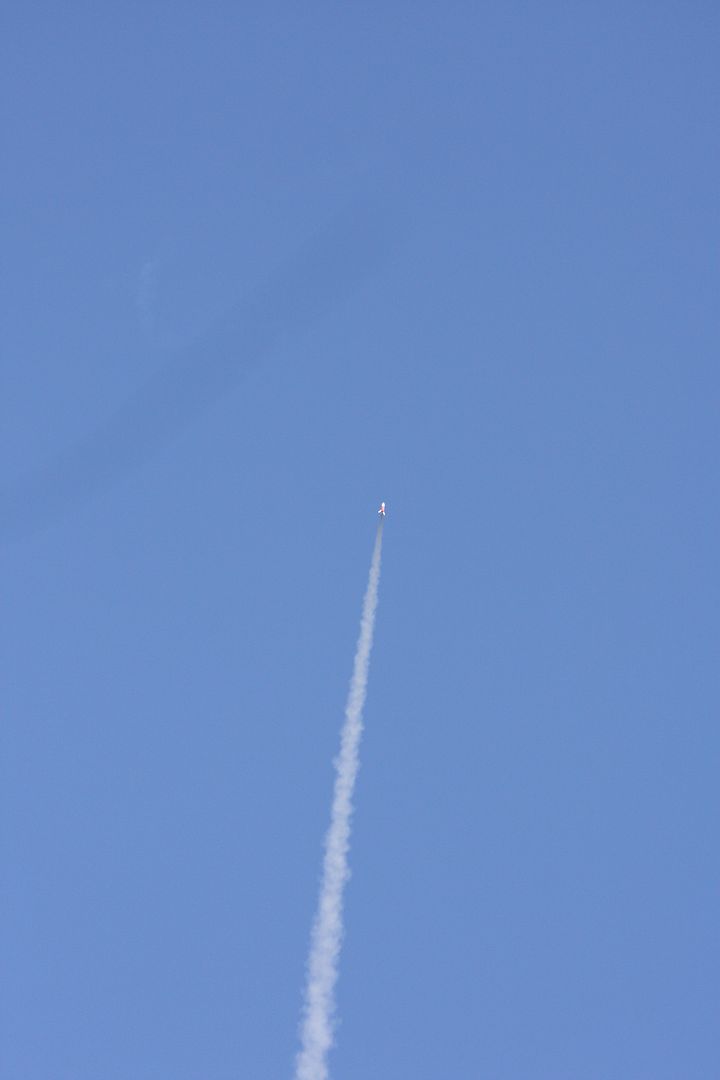
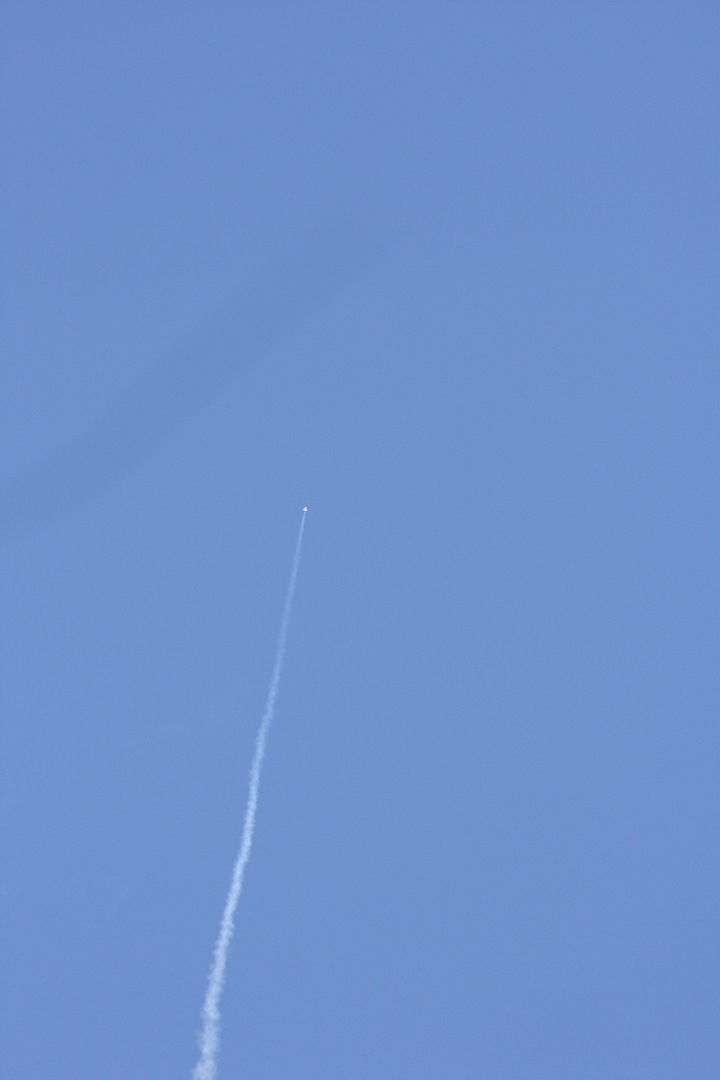
There is a SSS launch this upcoming weekend and I'll post up how well the Jart does on it's first launch. I ran it through Thrust Curve and determined it's first flight will be on a Road Runner Single Use G80-7.


Last edited:
Love the "foam & fly" technique. So much easier than pouring epoxy fillets into small airframes.
 
Nice write up and pics! Keep us posted on it's flights.
 
very neat and tidy workspace .

all my build pics have rocket sprawl and stuff every where.

built my first wildman kit this year and when I got ready to prep for paint was amazed how quick i got to the shoot color phase, without tube lines and fin irregularities .

keep the build threads coming ! good pics and liked seeing the new night launch vehicle .

Kenny
 
Last edited:
very neat and tidy workspace .

all my build pics have rocket sprawl and stuff every where.

built my first wildman kit this year and went i got ready to prep for paint was amazed how quick i got to the shoot color phase, without tube lines and fin irregularities .

keep the build threads coming ! good pics and liked seeing the new night launch vehicle .

Kenny

I have to admit, Kenny, that after the Jart build I ordered a Wild Child - couldn't wait until Black Saturday sale (and I have my eye on something else at Wildman's anyway) so there will be another build thread soon.

I also have an Executioner sitting in my build box and I got Mark (our GHS neighbor with the 300 LED night rocket) to agree to a build session to help me learn how to turn it into a night launch vehicle since I know zip about LED's......
 
You only saw Sharon's side of the work table.....

Yea woman are always more organized than men.

I have to admit, Kenny, that after the Jart build I ordered a Wild Child - couldn't wait until Black Saturday sale (and I have my eye on something else at Wildman's anyway) so there will be another build thread soon.

I also have an Executioner sitting in my build box and I got Mark (our GHS neighbor with the 300 LED night rocket) to agree to a build session to help me learn how to turn it into a night launch vehicle since I know zip about LED's......

Wow Sharon it seems you got hit by the rocket bug like me, looking forward to your other builds.
 
I have to admit, Kenny, that after the Jart build I ordered a Wild Child - couldn't wait until Black Saturday sale (and I have my eye on something else at Wildman's anyway) so there will be another build thread soon.

I also have an Executioner sitting in my build box and I got Mark (our GHS neighbor with the 300 LED night rocket) to agree to a build session to help me learn how to turn it into a night launch vehicle since I know zip about LED's......

Give Mark a wave for me ! Enjoyed having speaks with him at GHS .

Executioner is one of the best from Estes ! Put on your Dr gloves and give it a MMTectomy , and take it up to a 29mm . It has a coupler too, so you can break it in the middle easily.

Kenny
 
Give Mark a wave for me ! Enjoyed having speaks with him at GHS .

Executioner is one of the best from Estes ! Put on your Dr gloves and give it a MMTectomy , and take it up to a 29mm . It has a coupler too, so you can break it in the middle easily.

Kenny

I'm on it, Kenny - got a foil lined 29mm tube already cut to size.....;)
 
wild child does fairly well on an E18, jart does well on an F50ish motor.
rex
 
Mine came with only the fiberglass components also. Not like I don't have kevlar shock cord in bulk and chutes to spare so no issue as far as I'm concerned.
 
Mark here.
Hi Kenny, Sharon and Wayne.

I have the crazy 300led night high power rocket. (my favorite rocket). I have a second set of leds to make another one.

I also ordered a (only :) )270 led set that I will program in a different pattern. And build in a 4" diameter/38mm MMT. With 4 clear tubes, and the MMT is the central tube.
Nice build Sharon. I have yet to get a fiberglass rocket, or use fiberglass. It is on the list.
As of right now, I have like 3 HP, 1 MP, 3 or four night snitches, a handfull of LP to build. I also will want to CERT level 2 next Springblast.
I may also hop on some of the sales next week.
I am ready to come over and figure out a night rocket with Sharon and Wayne when they are ready. Start thinking of what you want in it. MP/HP?
We really do have the rocketry bug.

TTYL,
Mark
 
Last edited:
I built mine Friday at the field during RG13, threw it and a can of spray paint on my dash Sat morning to warm them up and painted it Sat, then flew it three times Saturday, twice on a CTI G106 sparky, and once on a G64 (I think) long burn Red. Cool little rocket, and lots of fun. I did add about 2 oz of BBs and epoxy to the NC, that plus the tracker makes it very stable and a great flier.

Tom

Sounds like you had a great time! Did you get any pictures? Post 'em up!
 
Hey Mark, we are ready - sending you a pm

Mark here.
Hi Kenny, Sharon and Wayne.

I have the crazy 300led night high power rocket. (my favorite rocket). I have a second set of leds to make another one.

I also ordered a (only :) )270 led set that I will program in a different pattern. And build in a 4" diameter/38mm MMT. With 4 clear tubes, and the MMT is the central tube.
Nice build Sharon. I have yet to get a fiberglass rocket, or use fiberglass. It is on the list.
As of right now, I have like 3 HP, 1 MP, 3 or four night snitches, a handfull of LP to build. I also will want to CERT level 2 next Springblast.
I may also hop on some of the sales next week.
I am ready to come over and figure out a night rocket with Sharon and Wayne when they are ready. Start thinking of what you want in it. MP/HP?
We really do have the rocketry bug.

TTYL,
Mark
 
Sounds like you had a great time! Did you get any pictures? Post 'em up!

Looks just like a Jart with a crappy gold paint job done while it was too cold,, but I will snap a pic and post tonight.

Tom
 
Finally got a chance to launch my Jart yesterday. I loaded a Roadrunner G80-7 in it - here it is on the Rail:

IMG_4679.jpg


Went up nice and straight (please excuse the cat hair that got on the mirror of the camera):

IMG_4681.jpg


Still nice and straight!

IMG_4684.jpg


Uhhhh, what height did this sim to anyway? 1626'

IMG_4686.jpg


Good landing, too:

002-3.jpg


I forgot to turn on the light to see if it would go through the launch, flight and landing and still be on (I might have been just a little excited.....)

So, Sharon's Happy!
 
Last edited:
Nice flight and great pictures, who took them?

Mark Stebbins of the awesome 300 LED night rocket borrowed our camera and took pictures of our launches yesterday. He car pooled with us and shot off the two stage Mean Machine in the afternoon.

You can see his booster, job done, coming down while his Mean Machine continues on:

IMG_4778.jpg


He camped on the other side of us at GHS.
 
Did your fins stay tight? I just can't bring myself to trust the foam and fly thing - maybe this will change my mind. Great flight, hat's off to the photographer!
 
Did your fins stay tight? I just can't bring myself to trust the foam and fly thing - maybe this will change my mind. Great flight, hat's off to the photographer!

I just went and fondled.....I mean tugged on the fins and they are rock solid. I have to admit I am now a fan of this technique, at least for this type of rocket.
 
Now, cut a hole in the side of the nose cone and you can slip in a tracker...then it's ready to fly on H's! We did a 29-3 grain long burn drag race at Red Glare, it was good fun! You really need a little nose weight, though.

Ours is well camo'd for the ground as my son picked out this hammered brown paint, so I call it a "shart" and it usually flies on.....skidmarks!
 
Back
Top