Tarasdad
Well-Known Member
- Joined
- Apr 21, 2012
- Messages
- 1,092
- Reaction score
- 5
I just finished building an Aerotech IQSY Tomahawk that I got from Worsaer - thanks, Bill! He included a couple of extra goodies (25-ish feet of 750lb kevlar, pack of 3 AT E15-7W SU motors) as well. This is my first true MPR kit, and also my first non-Estes kit build. All construction was done using medium or thick CA except for a couple of spots where I used wood glue.
First off my apologies for the lack of photos. Simply put I forgot to take them once I got rolling with the build. Add in being a bit tired from screwed up sleep patterns the last few days and I'm lucky I didn't glue myself to the rocket! Well...about that....
The first thing I noticed is that all parts are very tight fits, especially the Fin-Lok rings and centering rings to the motor tube. Getting all the rings in place required careful work with an X-acto knife and sandpaper. Other than that the MMT assembly process was fairly quick and painless. I went ahead and used the included stainless mesh to see if it's something I like or not. Once the mount was complete it was inserted into the BT for fin mounting. Here is where I ran into a tiny bit of trouble. As tight as the fit on the motor tube the centering rings were a much looser fit in the BT. No gaps, just not snug. Normally it wouldn't be an issue but since the Fin-Lok rings and fins have to be aligned correctly the loose fit made for a bit of a hassle as the MMT would just slip and rotate with the lightest pressure. I finally got everything aligned to my satisfaction but had to resort to applying a drop of medium CA applied to the CR through the fin slots to keep it in place while I got everything secured. Installing the fins after that was pretty straightforward.
With the lower body finished it was a simple matter to assemble the screw eye, bulkhead and coupler then glue that into the upper BT. Here I diverted from the kit instructions by using wood glue instead of CA. I was just more comfortable doing this as I was concerned with the CA grabbing too quickly to allow the coupler to be inserted properly. Getting a good fit of the coupler to the lower BT required peeling the layer of white paper off of the exposed coupler. I then saturated the surface of the coupler with thin CA (and managed to drip some onto the surface of the BT and glue my fingers to the darned thing) followed by sanding it smooth with 150 grit sandpaper. The result is a snug but not tight fit in the lower BT and a surface that will withstand many ejection cycles. I had planned to saturate the upper couple of inches of the lower BT as well but the fumes of the CA were beginning to cause me some issues despite working in a well ventilated room with a fan blowing across my work area.
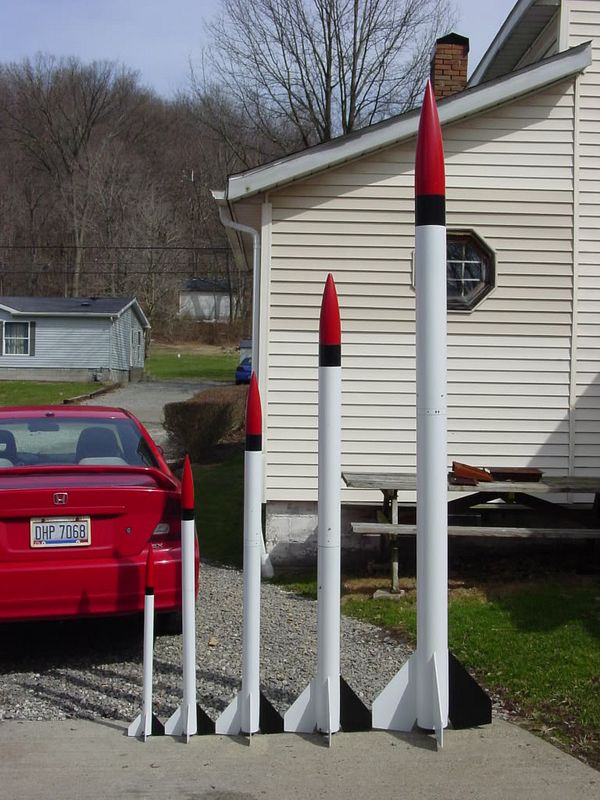
My only real deviation from stock was to substitute a 5x lower BT length section of kevlar cord for the kit elastic. A butterfly loop was tied 1' below the payload bay assembly and a quick link will be used to attach the parachute. I had thought to use an Aero Pack retainer but couldn't justify the added expense. I haven't attached the nose cone yet as I'm debating making it removable so that an altimeter or other instrumentation can be installed. Other than that the rocket is completed and ready for the painting process. I'll be using gloss white, black and red since those are what I have on hand and I really don't want to buy more paint just now. I can always go back later and overcoat with a flat clear if I want to.
As I said above this is my first Aerotech kit but it won't be my last. Definitely a change from Estes in both materials used and construction techniques. I'm definitely looking forward to building more from them in the future!


