SpartaChris
Well-Known Member
- Joined
- Feb 8, 2009
- Messages
- 2,733
- Reaction score
- 0
you guys are very funny, your post makes me smile alot
and don't worry about my opinion, mi knowledge costs too much for you.... i'll keep all for wealthy builders
enjoy your risky flights and forget about me
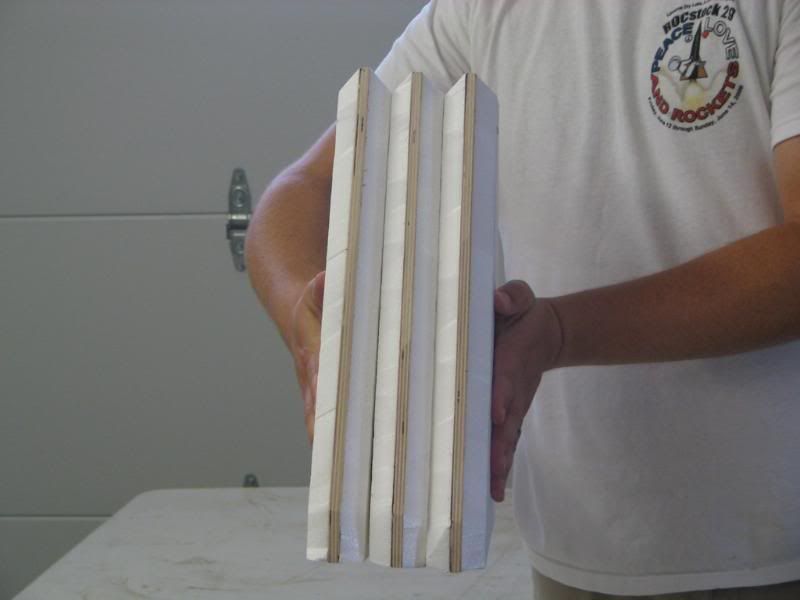
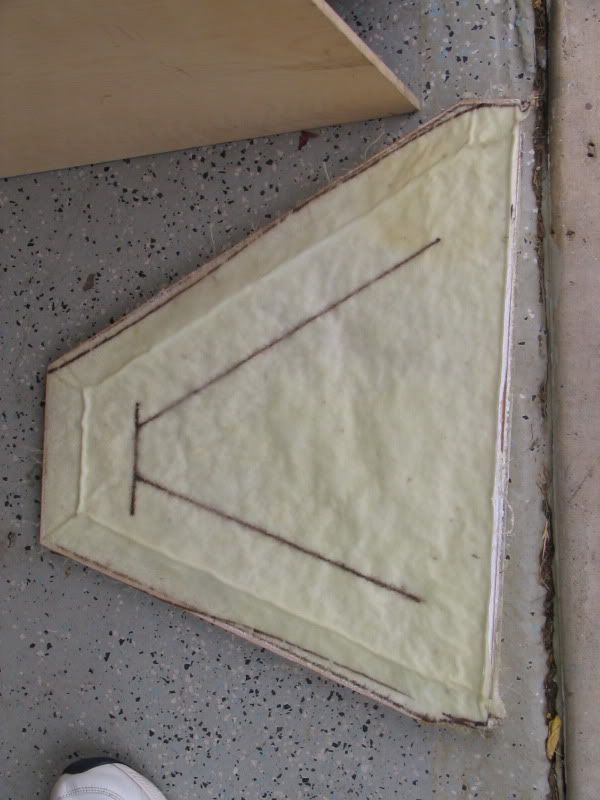
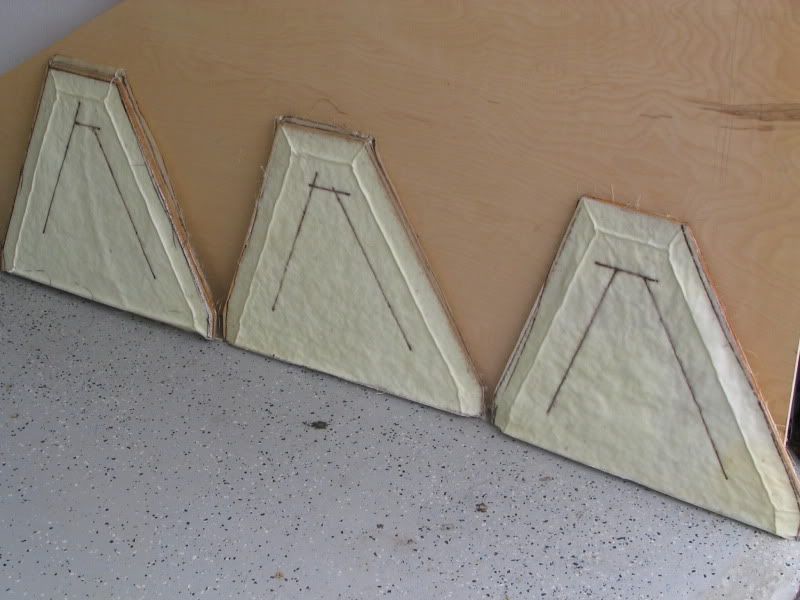
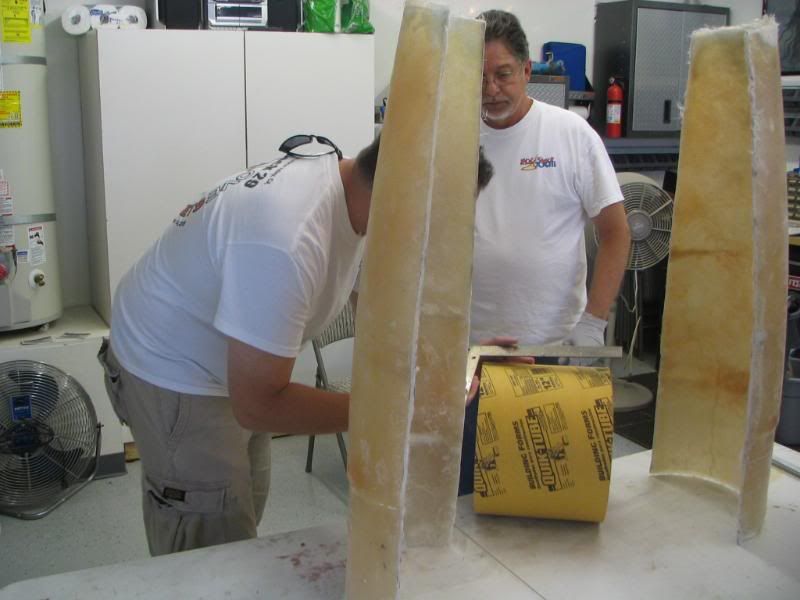
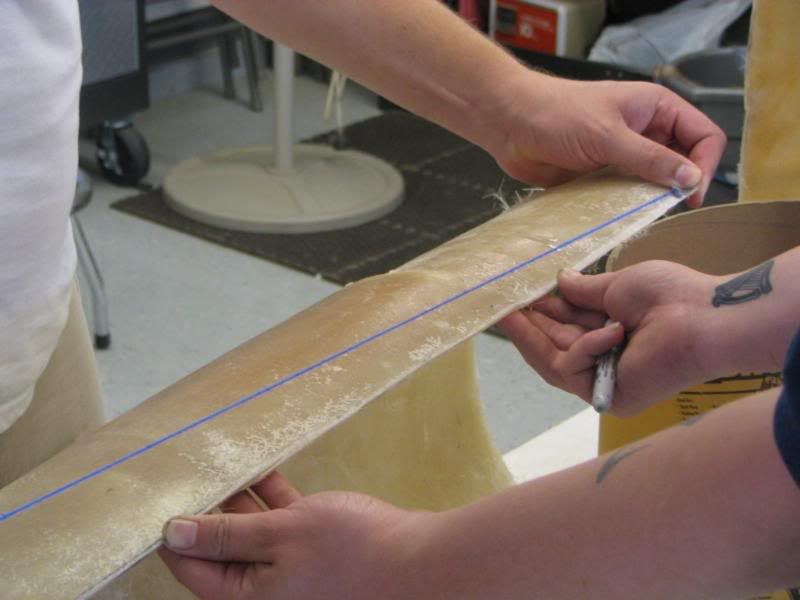
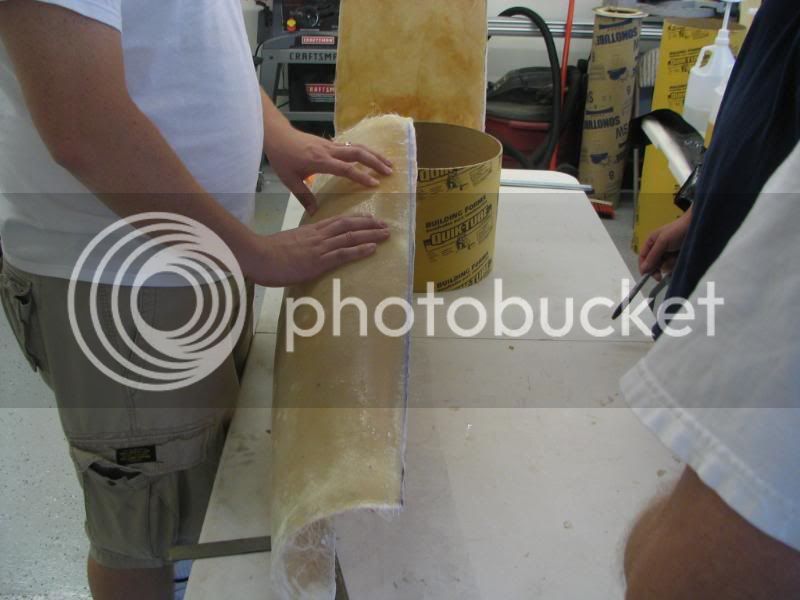
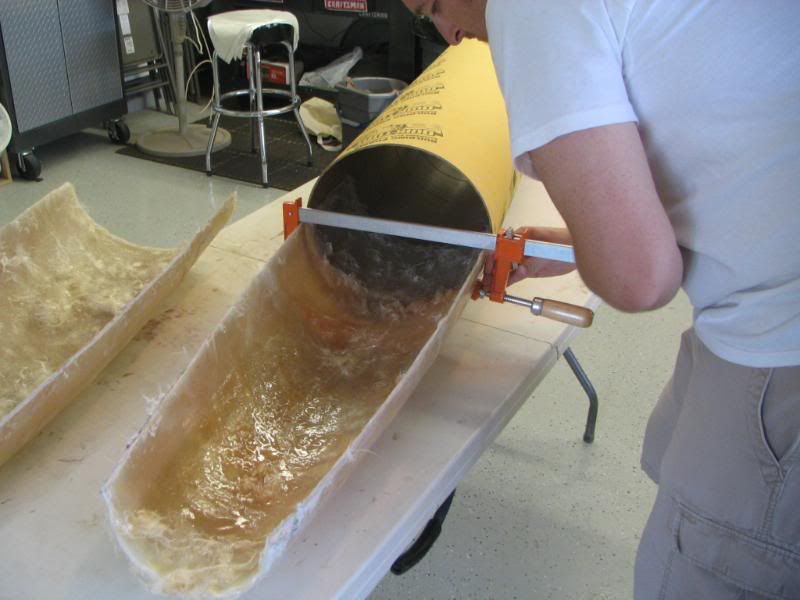
In all seriousness, we appreciate your concern, but we've used this method before. Last time we flew this rocket, we had no less than three people come tell us the fins would rip off. And they didn't. The downward force of the fins won't be enough to rip the hinge and it's rivets though the airframe, which is made up of thick sonotube and fiberglass. Plus, the fins are butted up to a bulkhead on both sides inside the tube, so even if they did start to rock back, the fins would have to literally disintegrate before coming loose.
In short, while we know it ain't pretty, we also know the fins are as stong as can be while meeting both objectives of keeping the thing light enough to fly in CA and allowing the fins to be removed for storage purposes.