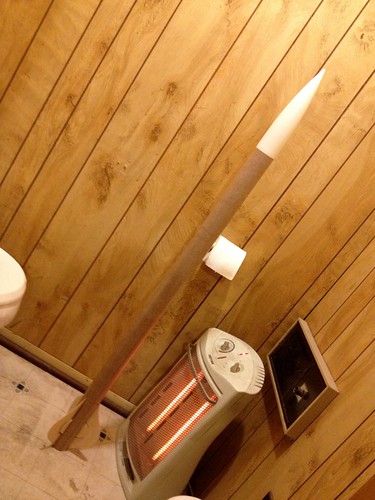
Sexy little thing...

The Rocketry Forum

Help Support The Rocketry Forum:

This site may earn a commission from merchant affiliate links, including eBay, Amazon, and others.

dixontj93060

Well-Known Member
Joined
Feb 19, 2009
Messages
13,083
Reaction score
45
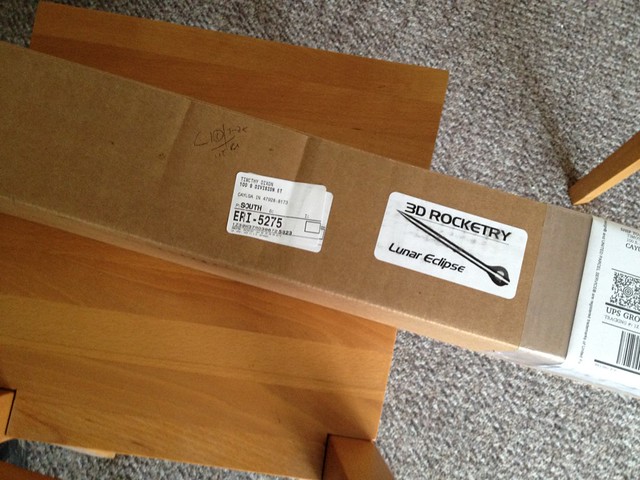
Well on Thursday afternoon I received an order from 3D Rocketry. I have 50+ high power rockets in my build queue so this one was just going to go up in the attic and wait it's turn. But there it sat on my guest chair in front of my office desk, and dang that Bill Carpenter (Slickwilly), he put a picture the rocket on the outside of the box! As I looked at that picture and the sexy lines of the rocket, it just started calling out to me like a siren, pulling me closer, into the rocks... (I thought... Can't be that bad... The other four rockets I'm building can wait... I have some 5 minute epoxy here in the office... Finished all my client work and deadlines... Oh well... [ripping the box open!!])
6773601483_e82dd74164_z.jpg
 
Last edited:
I `ve waited long enough ,can you open the box please !!!!

Please ,please....


Paul T
 
Well, OK, a couple more posts, but first, a little background... I had been eyeing the 3D Rocketry designs from afar, but when this thread went up and I saw that Bill had now added av-bay support, I decided to take the plunge, especially after seeing that "shapely" knock-out, the Lunar Eclipse.

attachment.php
 
Well, so, yes ripped open the box and did a quick inventory/eyeballing of parts (no obligatory pic here). Also I'm not much of an instruction guy, but did take a brief glance at what was included and they looked pretty decently done. Took particular note of the section on the fins as the distinguishing feature of the 3D Rocketry designs is the nested, multi-level fins and hey, I did want to get that part right.

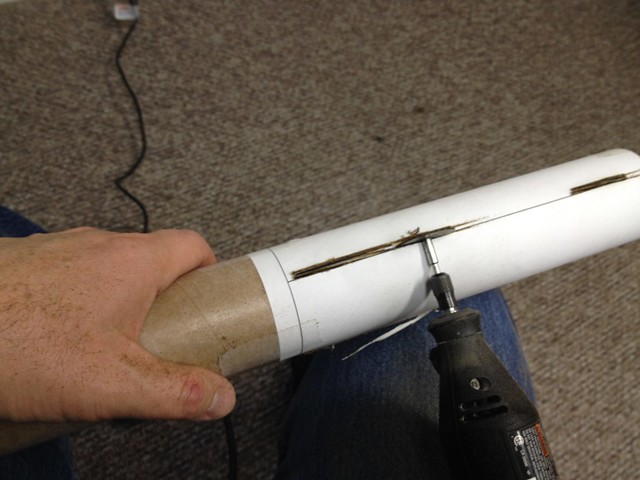
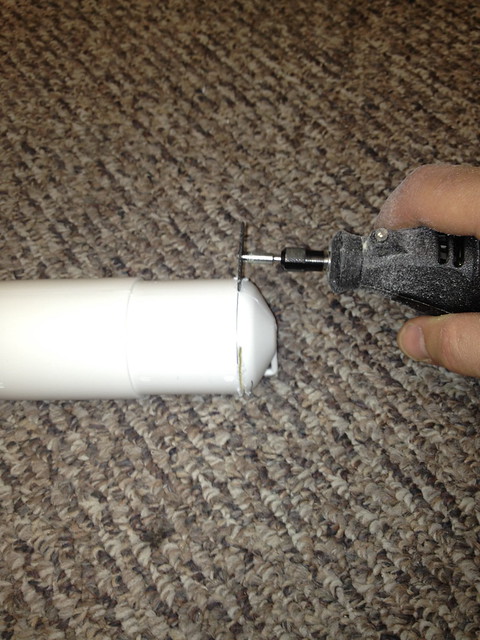
Bill also included no less than three fin templates from what I could see. The one that seemed most useful was the full sheet of 8-1/2"x11" which detailed the fin slots so I decided to use it and trash the others. Below is the fin template taped in place and me going at the tube aggressively with my Dremel--zipped through that in about 3 to 4 minutes.

6773601783_d105b3d768_z.jpg
 
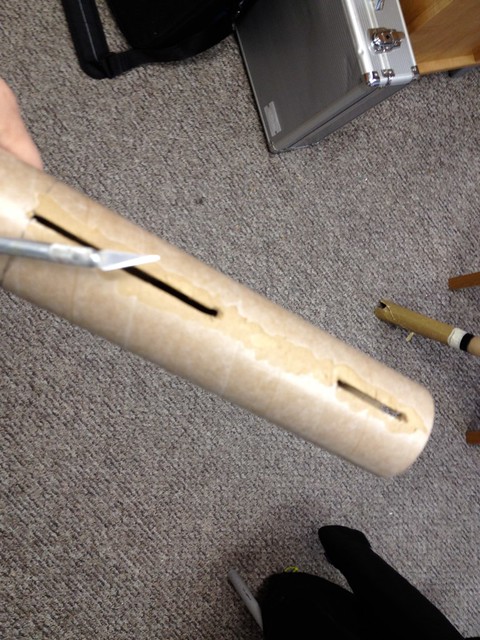
Then the particular area on the fin install suggested removing the glassine in the vertical space where the fins span, so I did that, rather unexpertly, if I must say so. Made a mess! But hey, that is what epoxy, filler and primer is for, huh :confused:.

6773602183_1c9f341215_z.jpg
 
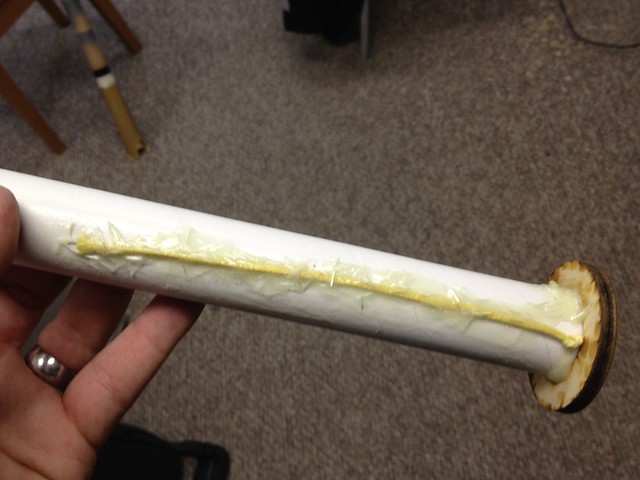
So after another couple minutes with the Exacto knife I put the booster tube aside and moved over to the motor mount. Got out the Dremel and exchanged the cut off wheel for the sanding drum and made a small indent on the inside of the top centering ring and threaded some Kevlar through the opening. Added a small knot and epoxied with a mix of milled and chopped glass.

6773602481_af31c1df2b_z.jpg
 
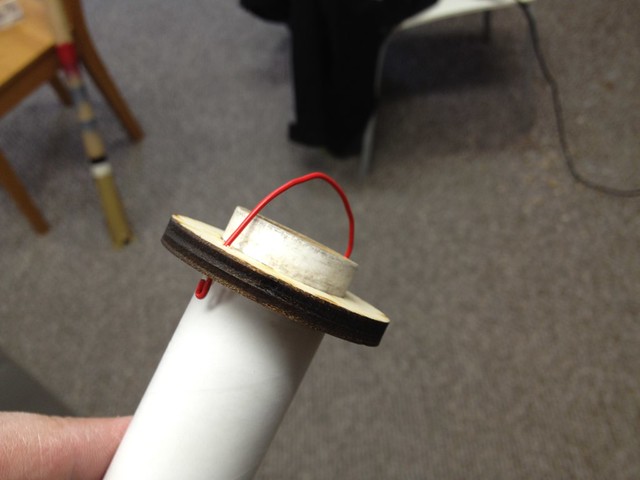
While the cord and fore CR were curing (remember using 5 minute epoxy as that is what was available in my office and I didn't want to take too much time out of my afternoon), I made a couple of 1/16" holes in the aft CR and took a paper clip (what was available in my office) and secured a nice pull mechanism so I could put the aft CR in place without gluing to attach the MMT and still have access to the fin through-the-wall root edge.

6773602779_5cdcc84dfb_z.jpg
 
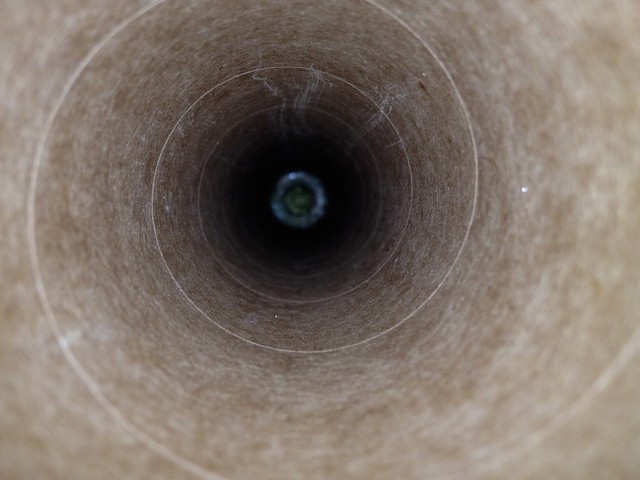
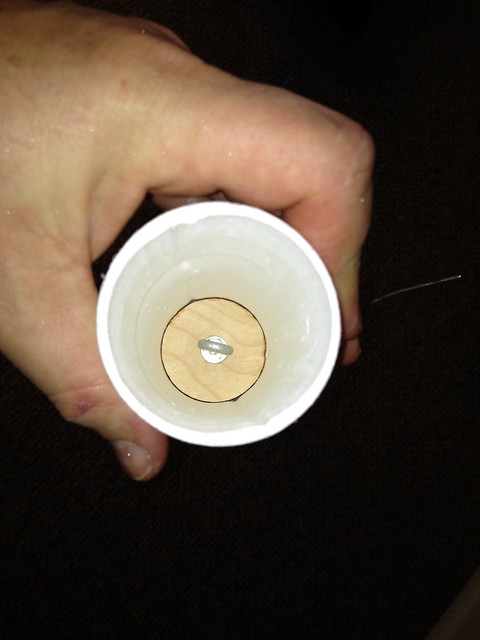
And then pretty obvious next step applying epoxy past the fore fin slots and sliding the motor mount in to the appropriate position. Below looking down into the booster tube to see the distribution of the epoxy on the top CR. Although blurry, you can see the 20' of Kevlar cord bunched up in the motor mount.

OK, right now I have about 20 minutes elapsed time into the rocket, doing pretty good, but a far as the build thread I'll have to adjourn here for the night and pick up later with the "all important" fin attachment.

6773603023_a7fa727361_z.jpg
 
Man ,you don`t mess around when you build a rocket ! And the guy uses the "one hand Dremel cutting" technique :eek:

I tried that years ago as an apprentice using a grinder.Had to take a trip to the hospital for 8 stiches !

Ah yes ,epoxy ,the cure all for all your rocket building needs....works for me ;)


Paul T
 
Bought your story about the 5 min epoxy and I've had Dremel and other tools left in my car, but you exposed yourself with the milled and chopped glass. Admit it, you have everything you could possibly need to build a rocket in your office.
 
Bought your story about the 5 min epoxy and I've had Dremel and other tools left in my car, but you exposed yourself with the milled and chopped glass. Admit it, you have everything you could possibly need to build a rocket in your office.

Sure do! Small quantities stuffed in a box sitting on a shelf section in the back room.
 
Sure do! Small quantities stuffed in a box sitting on a shelf section in the back room.

We fellow enthusiasts and addicts completely understand this. As long as you don't have a special dustbuster tucked away to clean up little messes you are fine. The Lunar Eclipse is looking great. Can't wait to see how the fins go on.
 
We fellow enthusiasts and addicts completely understand this. As long as you don't have a special dustbuster tucked away to clean up little messes you are fine. The Lunar Eclipse is looking great. Can't wait to see how the fins go on.

Yes, I think this would be where you've crossed the line.
 
We fellow enthusiasts and addicts completely understand this. As long as you don't have a special dustbuster tucked away to clean up little messes you are fine.

Hmmm... How bad off am I if I have one of these stashed in a corner :confused:

lxnezCH1CcSMV8gJqys-nm-VanXpDi4NDI4r4rYbL5ddVnM1JzmQWyV0RB-AUdxAknfQcCk-2xwPCZ675ZI83uTqAE8v1wg5ujK7HsvTtFxAokaq-2DFn5sw8W9kUsWCoSD9YMFxBOAf0GEqIqUEH_mhlOtERvMgzGjTMUqLZ4C3kGmAoc2JAA
 
Hmmm... How bad off am I if I have one of these stashed in a corner :confused:

lxnezCH1CcSMV8gJqys-nm-VanXpDi4NDI4r4rYbL5ddVnM1JzmQWyV0RB-AUdxAknfQcCk-2xwPCZ675ZI83uTqAE8v1wg5ujK7HsvTtFxAokaq-2DFn5sw8W9kUsWCoSD9YMFxBOAf0GEqIqUEH_mhlOtERvMgzGjTMUqLZ4C3kGmAoc2JAA

Dagnabbit, I was all primed to "see" your craziness and "raise" you a handheld vac. Well Champ, can your upright launch midpower at the ballfield?

P1281331.jpg
 
Dagnabbit, I was all primed to "see" your craziness and "raise" you a handheld vac. Well Champ, can your upright launch midpower at the ballfield?

Well, no. At a launch I have all kinds of hook ups for soldering irons, computer, Pandora radio, chargers, etc., but no hand vac, so you got me.
 
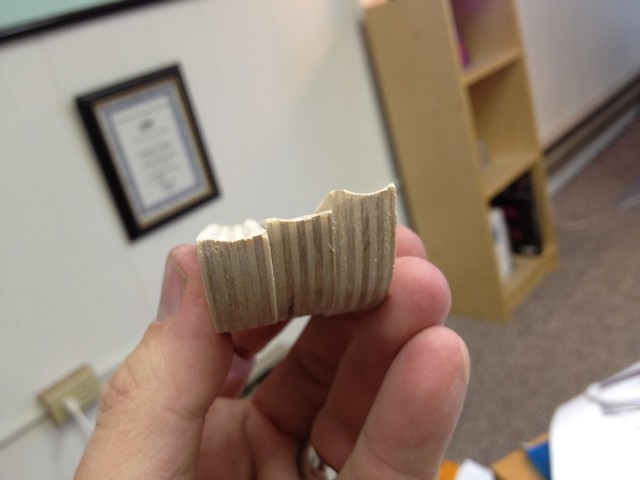
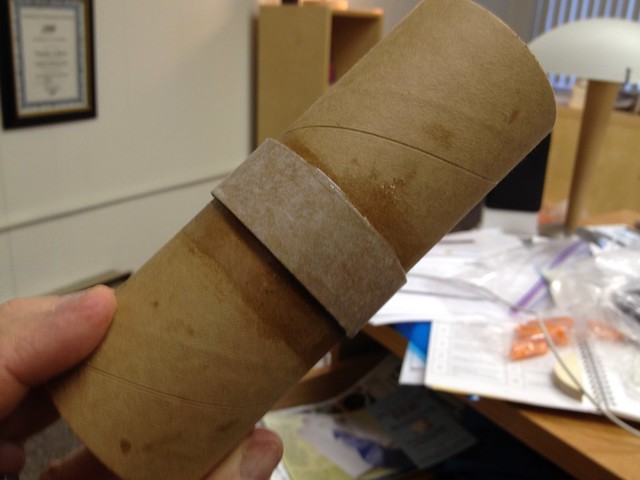
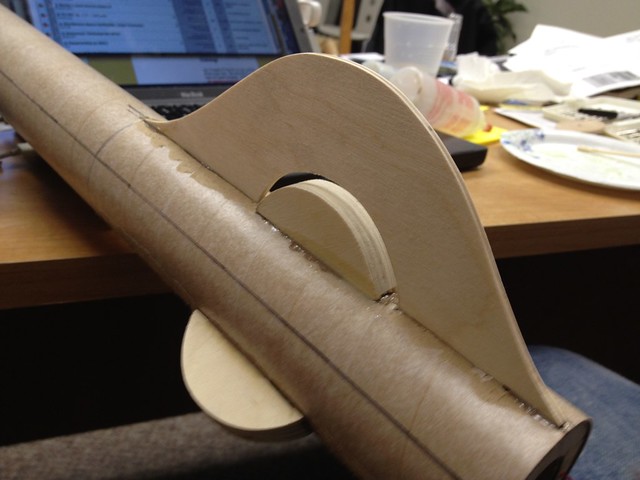
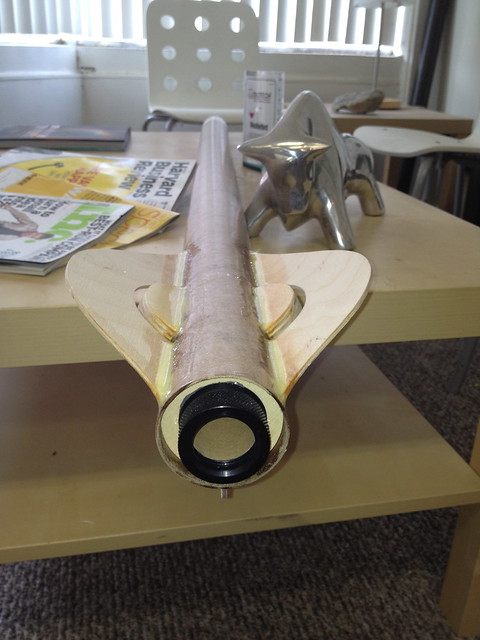
OK, on to the fins... To make the distinct "3D" design Bill uses two sets of fins (at least on this design), one surface mount 1/2" shaped aircraft ply and one through-the-wall 1/8" set that wraps around the surface mount piece. Obviously a 1/2" piece of plywood set on end doesn't fit too well on a 2.2" airframe so you are instructed to round the root edge. I did so a shown with my Dremel sander.

6773603695_1fa65a1e58_z.jpg


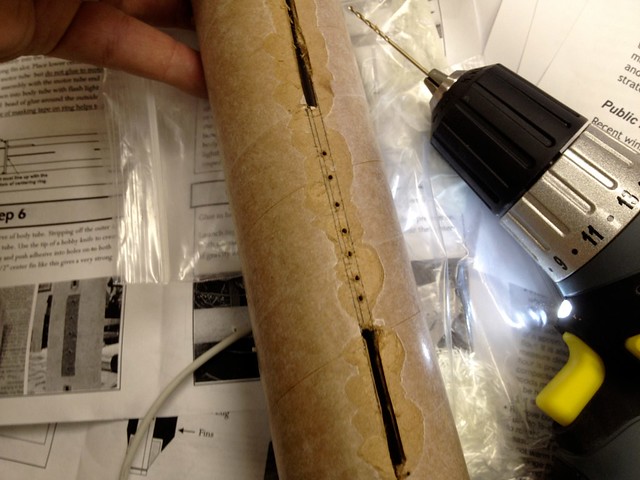
Then to prep the airframe (and fins) for attachment the instructions suggest making a series of small holes in the airframe at the root edge and another set up into the root fin (airframe set shown as below). Note also in this picture the crappy (fast) slot cutting and airframe peeling (but, hey, as I have said before, I'm no craftsman but I am fairly good at finishing/painting so I think I'll recover in the end...)

6773603319_fdbf3d0a96_z.jpg
 
Last edited:
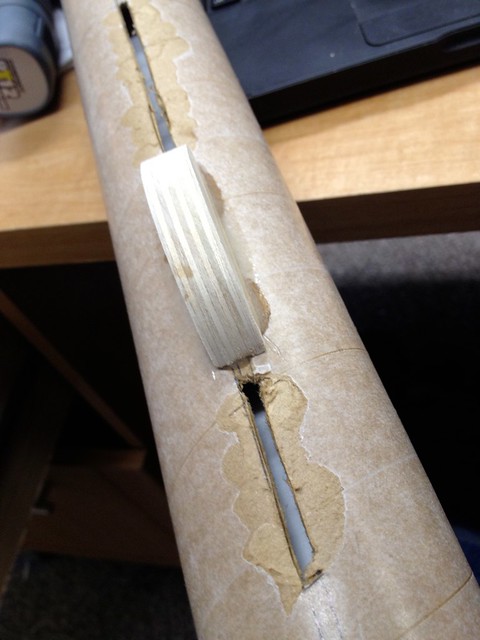
Then application of the center fins. Five minute epoxy and milled glass oozing out the sides and filling the "pin holes."

6773603995_71bba666fc_z.jpg


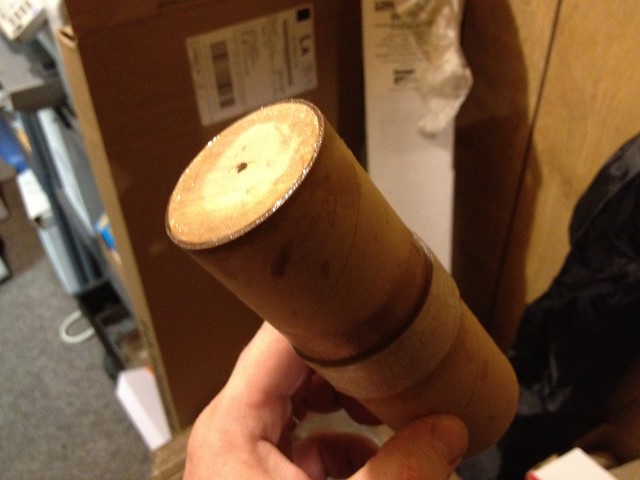
Had a little extra epoxy mix so I quickly burrowed around to find av-bay pieces. Had enough for one of the coupler rings inside and the outside switch band (which Bill nicely included in my shipment as he said he had an extra section). Epoxy smeared and both pieces put in place.

6773604383_cd5240444a_z.jpg
 
OK, well another 15 to 20 minutes to sequence around the airframe with the surface fins (while doing a couple emails in between), then on to the outside TTW fins. First one in place as shown below.

6773604685_5fc5a735e2_z.jpg


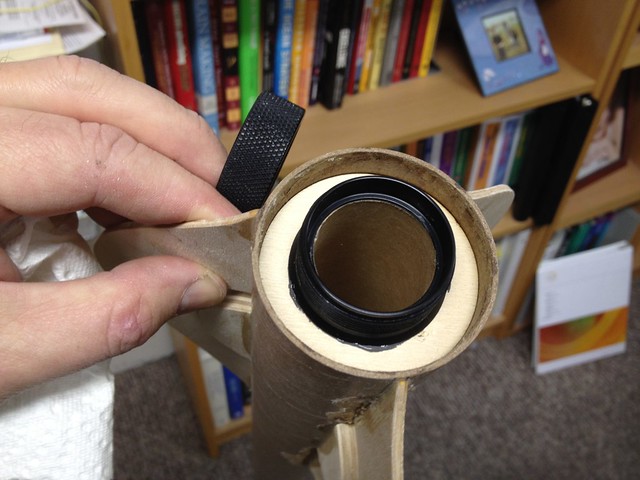
Then in places I had a bit of extra epoxy, I just continued to build the structure of the av-bay adding the fore end coupler sleeve and then finally the fore end bulkhead epoxied in place as shown below.

6773605415_c7cc7b3427_z.jpg
 
If you are keeping track, all the above was done in about an hour on Thursday afternoon. To mIchael's point though, I don't keep everything at my office, so Friday morning before heading up to Chicago for a Board meeting I had to go past my office to print some stuff out. I took advantage of the time by picking up a 29mm motor retainer from my workshop before heading to the office. While waiting for the docs to print, I epoxied in the bottom CR and then used JB Weld (small tubes kept at my office) to attach the retainer.

6773605759_4690c19d64_z.jpg


Then for about a half hour put it in my "oven room" to help set the JB Weld and then turned the heater off before locking up the office and heading for Chicago. Now letting it now set over the weekend before outside fillets are begun.

6773604999_dd7662f2fa.jpg
 
Rocket looks great so far! I really love these designs. To round the root edge, why not just wrap a peice of sandpaper around to tube and move the inner fins vertically along the tube?

Alex
 
To round the root edge, why not just wrap a peice of sandpaper around to tube and move the inner fins vertically along the tube?

Sure, guess you could. I just used a Dremel because it was quick; don't remember what was suggested in the instructions?
 
External fillets now complete (with my trusty bull mascot overlooking the activity). Now moving on to electronics...

6796638057_285fc38172_z.jpg
 
Last edited:
While the cord and fore CR were curing (remember using 5 minute epoxy as that is what was available in my office and I didn't want to take too much time out of my afternoon), I made a couple of 1/16" holes in the aft CR and took a paper clip (what was available in my office) and secured a nice pull mechanism so I could put the aft CR in place without gluing to attach the MMT and still have access to the fin through-the-wall root edge.

6773602779_5cdcc84dfb_z.jpg

Ingenious... it's always the simple and obvious that we overlook. I think I'm gonna do this on my future projects- seems you can apply fin fillets on the INSIDE of the airframe, leaving the outside nice and clean. Thanks for posting this!
 
Ingenious... it's always the simple and obvious that we overlook. I think I'm gonna do this on my future projects- seems you can apply fin fillets on the INSIDE of the airframe, leaving the outside nice and clean. Thanks for posting this!

Yes, as they say, "Necessity if the mother of invention."
 
After selecting the main parachute, a 30" Spherachute, and fitting it in the payload section, it became apparent it was going to be tight, even for a compact Spherachute. The payload provided is only 10" long which leaves only 6" of space after coupler/shoulder lengths. So I went ahead and put in my standard tracker bay in the nosecone set in a bit deep giving me five more inches of room.

6801971743_d03f5d08d1_z.jpg


And looking down into the nosecone after epoxy has been poured around the all-thread/fender washer/cross-pin combination at nosecone fore end.

6801972223_9165dc8a63_z.jpg
 

Latest posts

Back
Top