Disaster_Guy
Well-Known Member
- Joined
- Nov 9, 2011
- Messages
- 779
- Reaction score
- 10
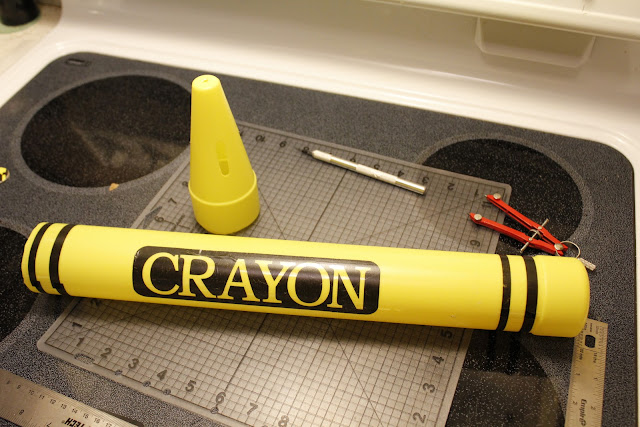
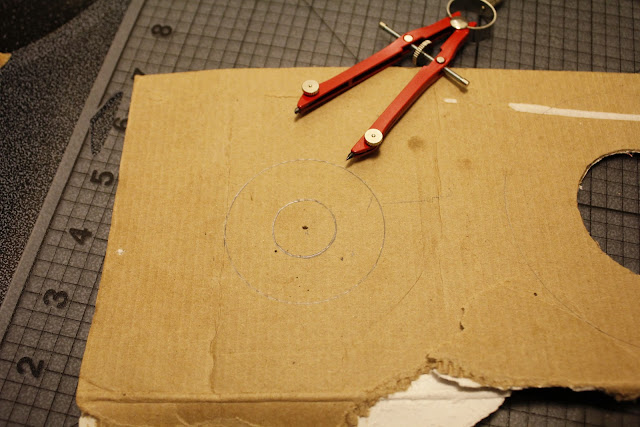
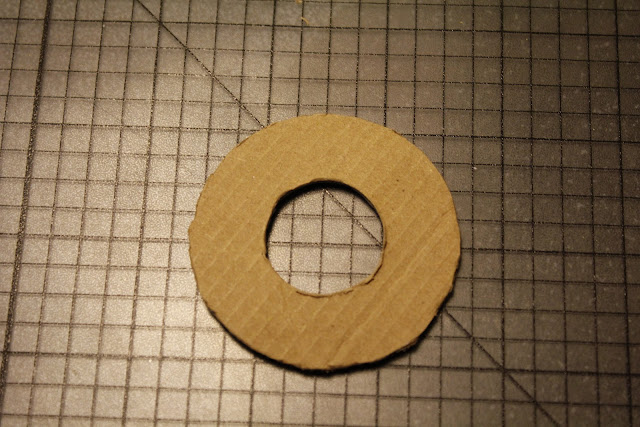
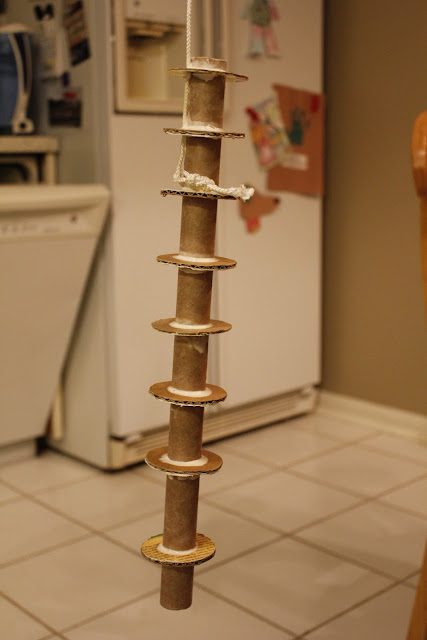
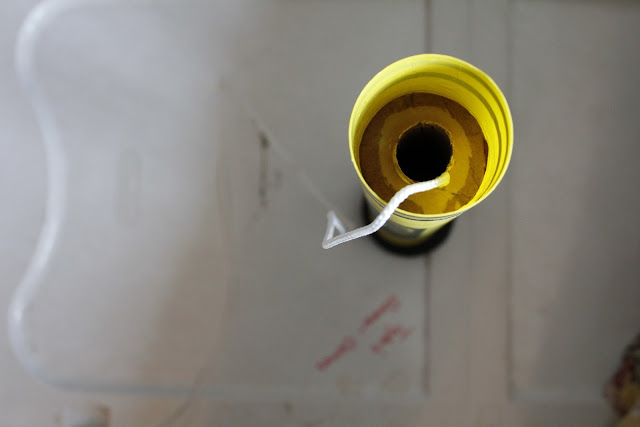
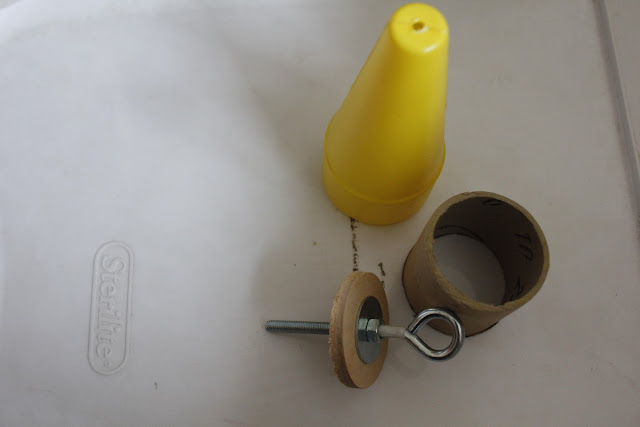
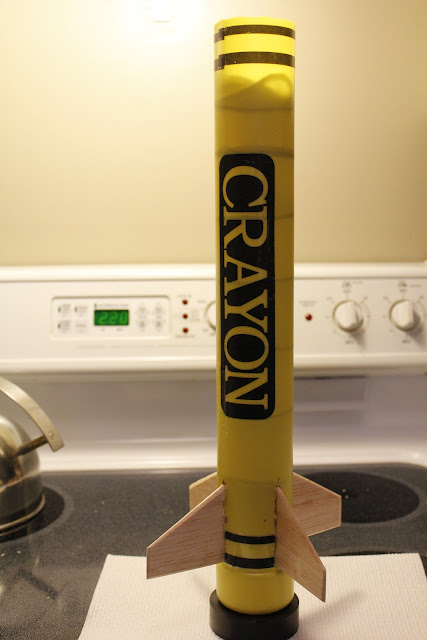
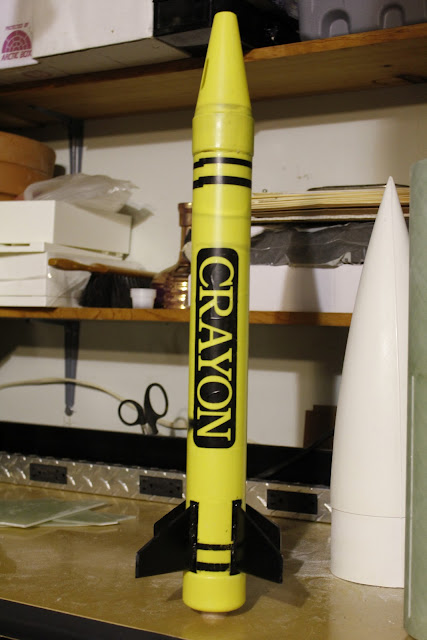
After building my MPR/HPR crayon out of a Toys 'r Us crayon bank, I was at the dollar store searching for an umbrella for parachute material when I found a box full of small plastic crayon banks. I couldn't resist and bought a few. The idea was a downscaled version of the MPR/HPR crayon that would fly on C/D/E/F motors. The first problem that I encountered was that these things are pretty flimsy so some form of reinforcement would be needed. I thought about doing a tight inner tube however nothing was a perfect fit so I elected to extend the motor tube pretty much all the way up the body using cardboard centering rings every two inches.
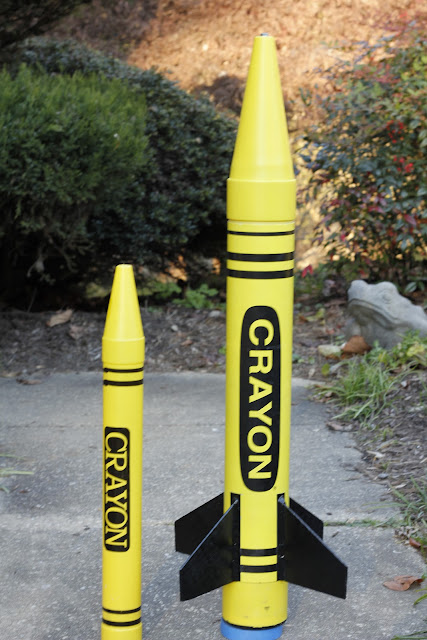
Here is a pic of the inspiration next to its big brother. Attachments follow with open rocket file and pics from open rocket.
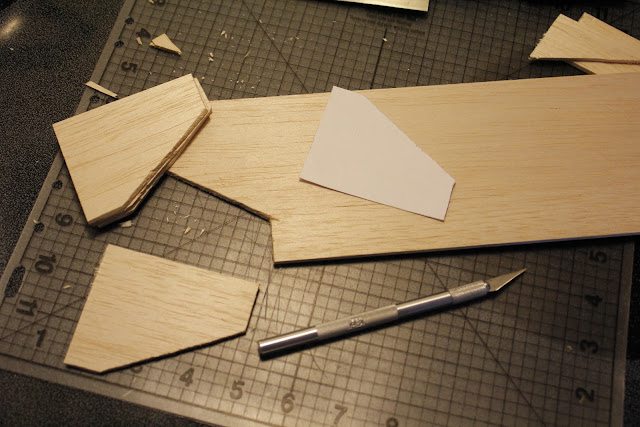
I am going to try to start on this thing tomorrow. Cutting the cardboard centering rings (all 8 of them) will likely be the longest part of the build.
View attachment Lil Crayon.ork


Here is a pic of the inspiration next to its big brother. Attachments follow with open rocket file and pics from open rocket.
I am going to try to start on this thing tomorrow. Cutting the cardboard centering rings (all 8 of them) will likely be the longest part of the build.
View attachment Lil Crayon.ork