QModelling Rogue Basic Information.
QModelling
MODEL NAME:
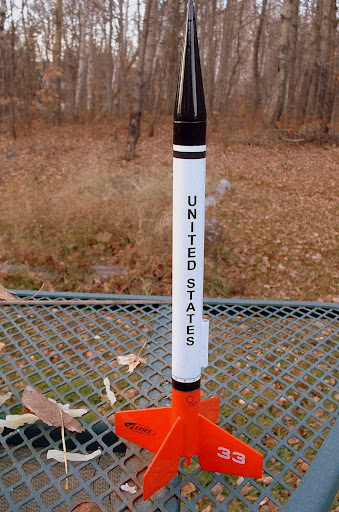
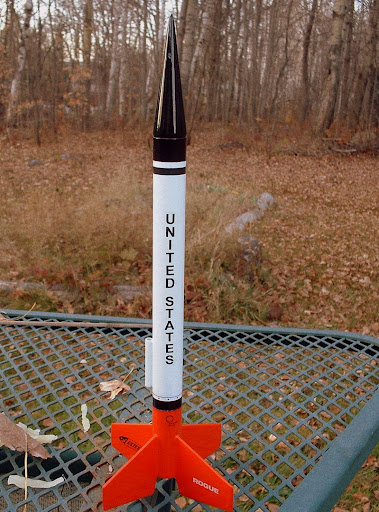
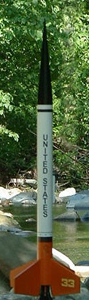
Rogue Also known as: Mega Rogue
NUMBER:
Introduced:
Final Year:
Designer:
Type: Sport, Pseudo-Scale, Upscale
Motor Mount: 1x24mm
Recovery: Parachute
Stages: 1
Length: 29"
Diameter: 1.637"
Span: 9.88"
Weight: 5.8 oz
Mfg. Description: The ROGUE is one of QModeling's top quality sports class model rocket kits. The ROGUE is a large scale recreation of the ½ A Estes Rogue. The original Rouge torched the skies in the late 1970's.
QModeling has created a MEGA BT-60 version of this classic that enables the use of both D and E size (24mm) rocket motors for spectacular high altitude launches. The ROGUE is a 2.22:1 MEGA scale of the original Rogue making it over 29 inches tall. Combined with QModeling's high quality laser cut parts and renowned easy step-by-step instructions your own ROGUE could be breaking altitude records in no time.
QModeling's ROGUE comes with a their unique Engine Mount eliminating annoying Primary Fin alignment problems while providing a very robust easy to build design. The kit includes QModeling's BT-60-TAP Nose Cone produced from their high quality nose cone liquid plastic process. The kit comes with a painting stencil that can optionally be used instead of the provided Primary Fin 33 Decal. This is another example of QModeling listening to customers in order to improve the overall quality of their kits.
Like the other MRS kits, QModeling has broken the deployment barrier by offering a wad-less high performance Recovery System based on a partnership with Top Flight Recovery. It consists of an 18 Octagon, Thin Mil, Ripstop Nylon Parachute with sewn in 24 Nylon shroud lines, Nomex® 5 x 5 Heat Shield Parachute Protector, 9 Kevlar® Shock Cord, and a Snap Swivel. Now there is no need to search out any after market recovery system components, because QModeling builds top quality into all aspects of their kits.
Features
True Scale MEGA Replica of the Original Classic
Over 29" Tall
Authentic Nose Cone
Laser Cut Parts
Designed to use D, E, or F Size (24mm) Engines
Foil lined Engine Mount Tube for long life
Robust Interlocking Design
18 Octagon, Thin Mil, Ripstop Nylon Parachute
5 x 5 Nomex® Chute Protector
9 Kevlar® Shock Cord
Snap Swivel
Detailed Step-by-Step Instructions (QModelling 2006 Web Ad)
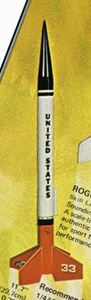
Advertising Liveries
2006 Web Ad
Face Card(s)
Instruction Header(s)
First post in this thread featuring this rocket.
See Also: LINKS
EMRR
RocketReviews
Mfg. Page
If you have any additional information on this rocket and/or catalog photos please let us know.


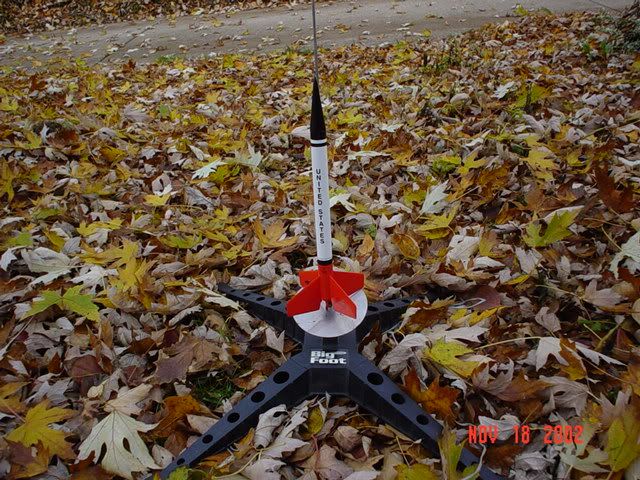
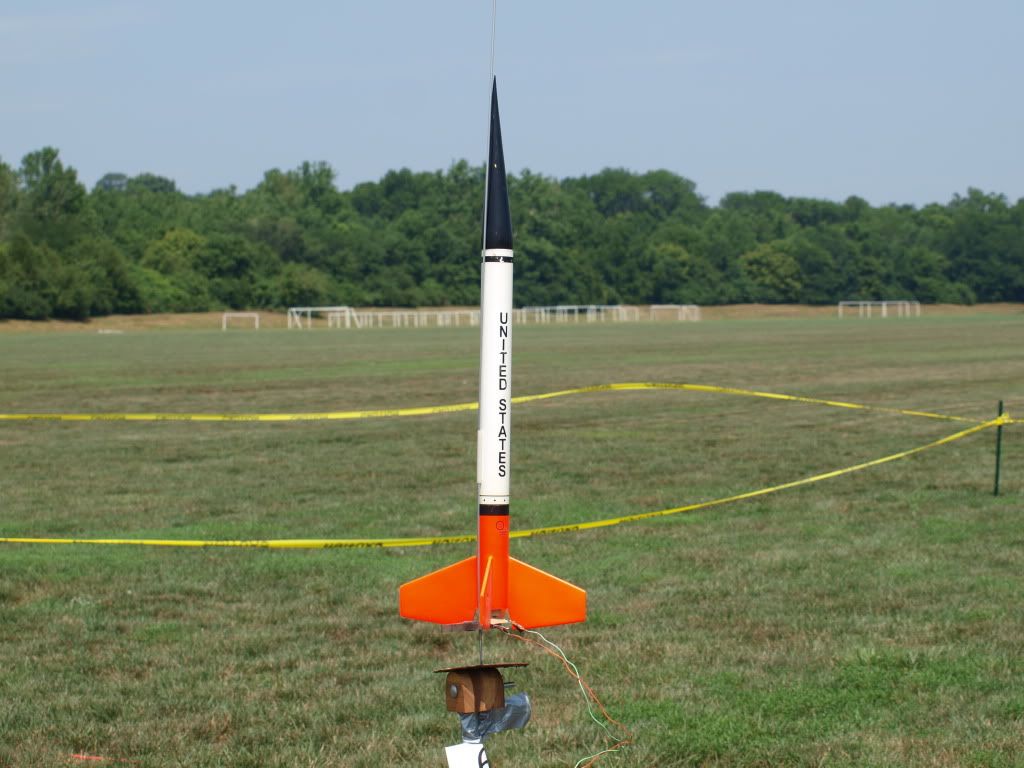
 I cloned a big one with the PNC-55 cone, but eventually broke down and ordered the parts from BMS for a proper 1:1 clone.
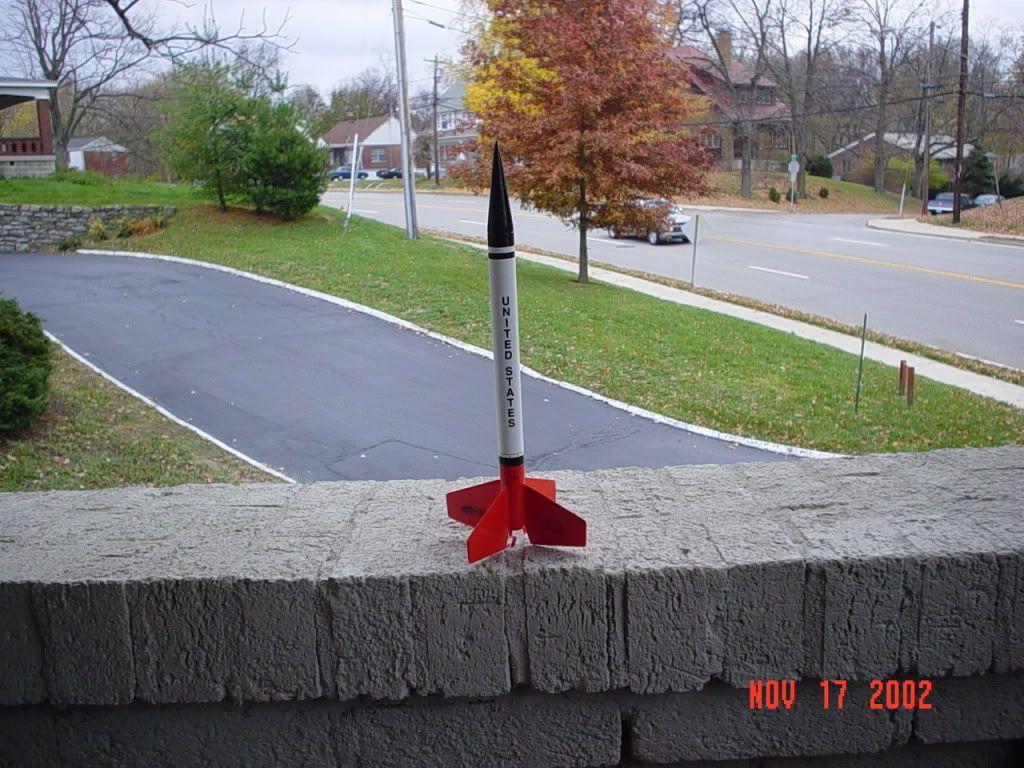
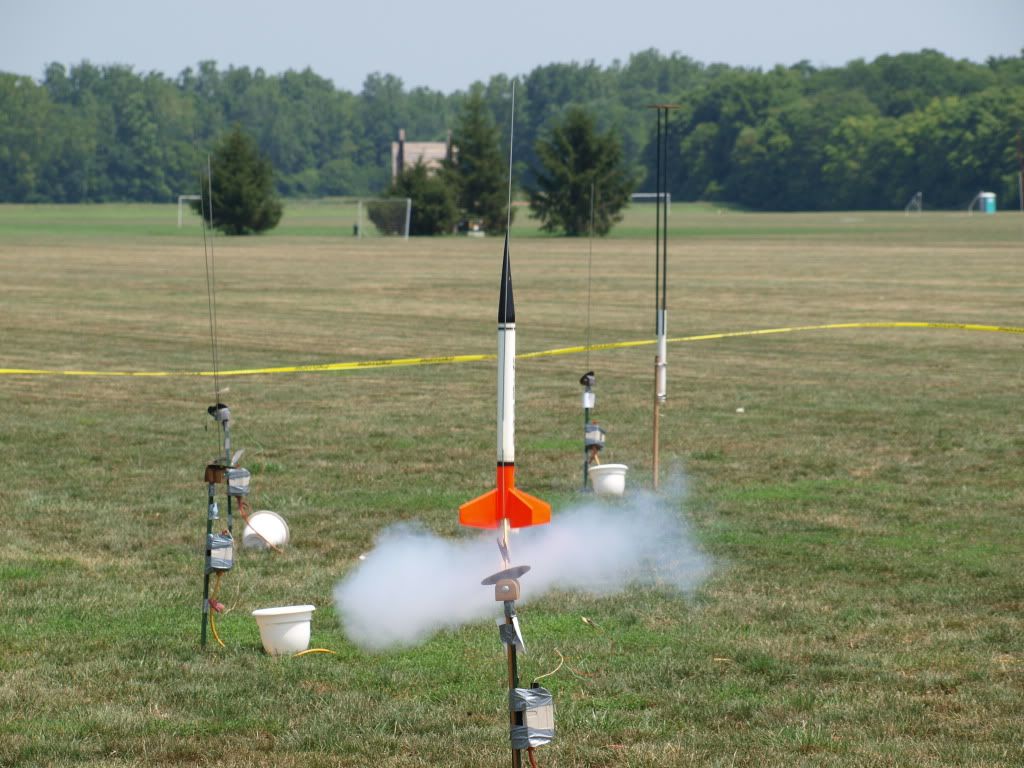


 . Dicey under any circumstances.
