


Today my chute material arrived for my L/M project. It was pretty inexpensive, less than 10 bucks for 2 yards of 68" wide fabric:
https://www.efabricsupplier.com/product_p/269.htm
I have made 20" 24" and 35" chutes with this method before, but tonight I did most of the work of making a 65" chute. I'll sew on attachments for the risers tomorrow.
The design is to start with a single, full-size circle of fabric, and make some pleats to turn it into a 1-piece hemispherical chute. This design has minimal seams and no hems, so it's quick, easy, and packs very small. To get started:
I taped the fabric flat down onto the floor, and with my daughter's help, traced out a big circle:
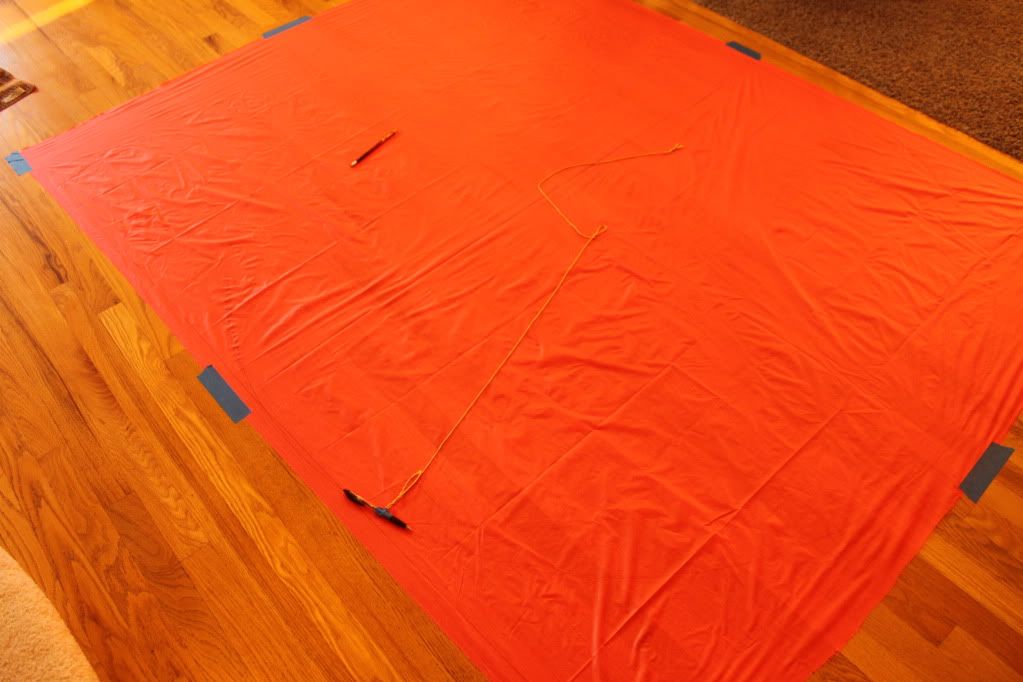
Next I folded the canopy in half, marked 2 chute attachment points, folded it again and marked a couple more points, and then folded it in 45 degrees to mark 4 more points:
I also marked the center point, and used that later to help fold the circle between the center and the chute attach points.
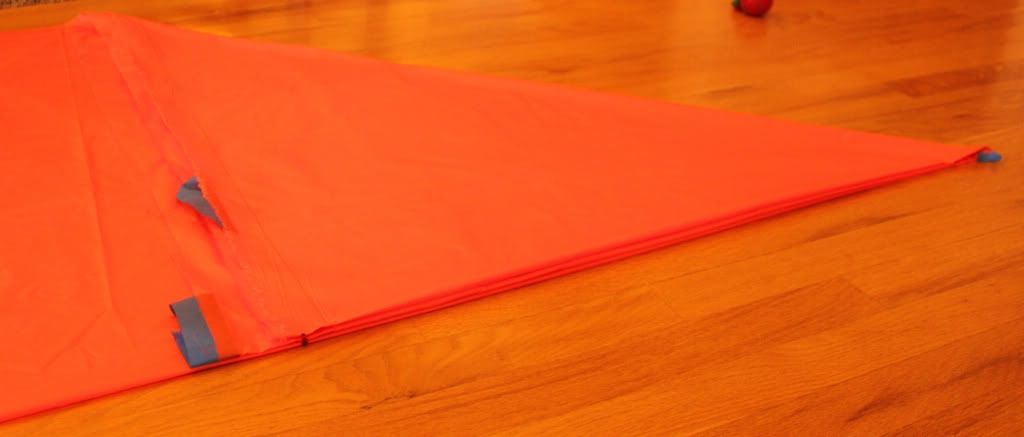
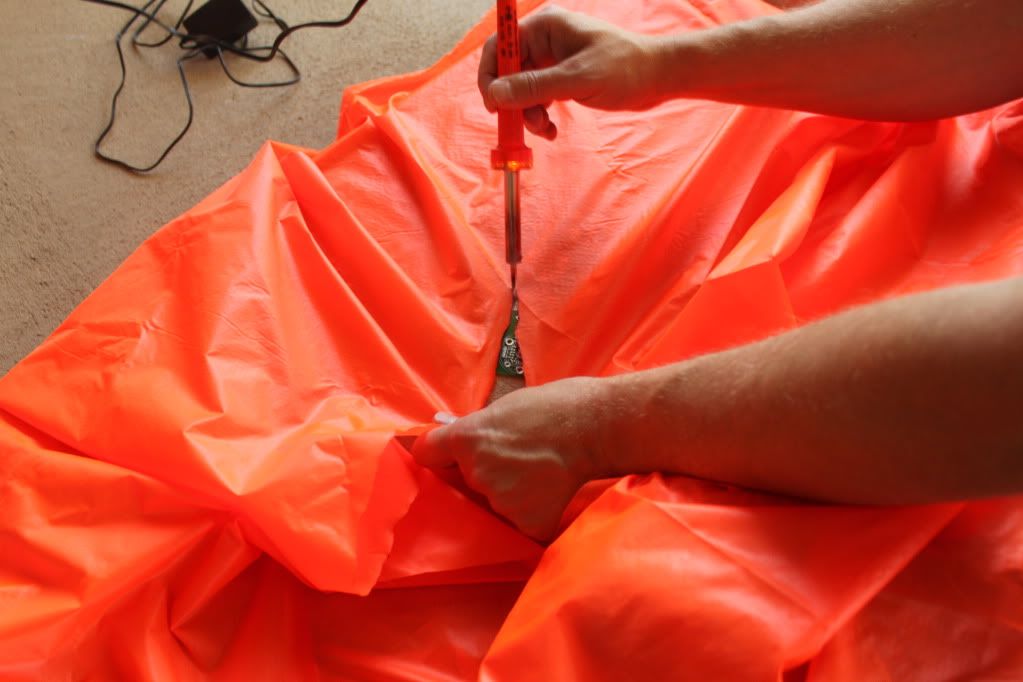
I cut out the circle using a soldering iron. This melts the edges, so it won't fray and I didn't have to waste any time or packed volume on hems.
I brought it back in, folded it in half, and drew the shape of the cutout that I put at each of 8 chute riser attachment points:
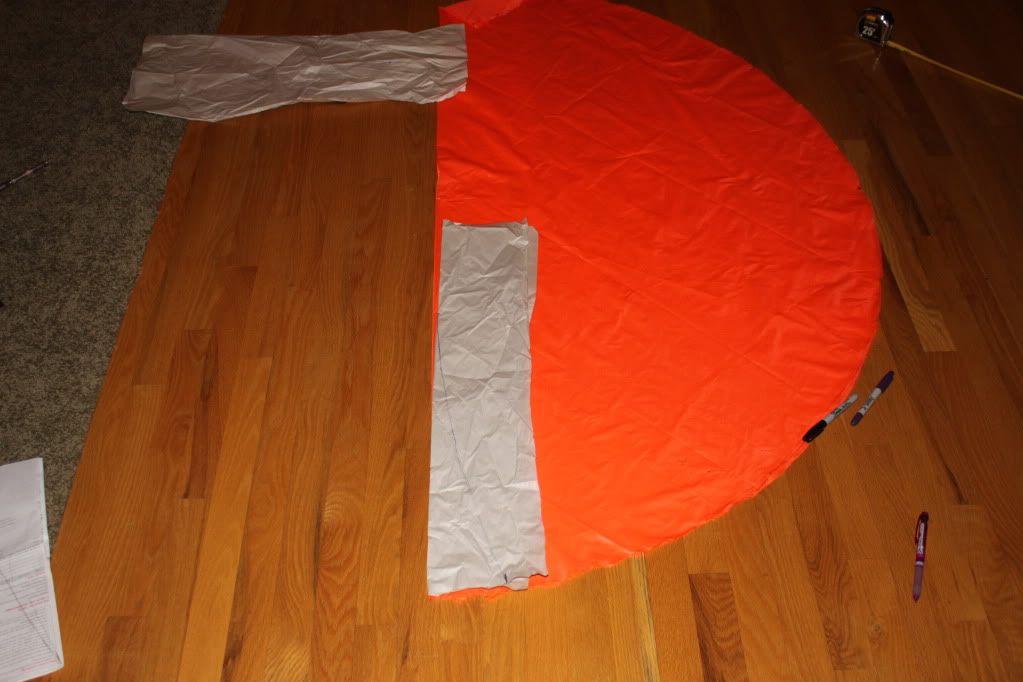
I had calculated the amount I wanted removed from the circumference to get a hemisphere. For this example it worked out that I take out about 65" from the circumference. I haven't checked the algebra to verify that you would always subtract one diameter from the circumference, but that's probably it. I divided that among 8 shroud line attach points and folded that in half to determine where the line ends on the circumference. I knew that the seam should be nearly perpendicular to the circumference at that point.. I also knew from experience that I wanted the tuck to end about 2/3 or 3/4 of the way to the center, and that part of the line starts tangent to the fold. Then I just freehanded the line as a smooth curve in between. I drew all the seam lines and pinned them all so that I could open up the canopy to verify I didn't make a factor of 2 error anywhere. It looked good, so I got to sewing.
I set the machine for close stitching, in hopes of creating a stronger seam that way. It was just a simple stitch along each of those 8 seam lines, and then I got this:
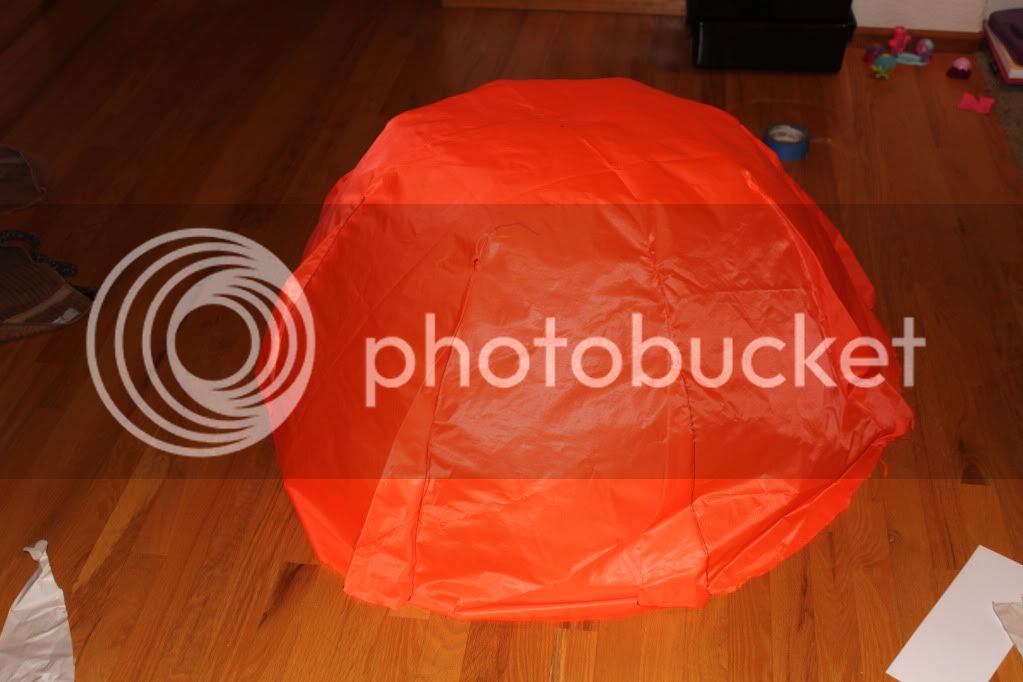
It will be a nicer-looking hemisphere when the risers are attached, the pleats are cut off, and some wind is inflating it, but at least you can get the idea here of how the pretty-close-to-hemispherical shape was achieved.
Then I just took the canopy back out to the porch and trimmed off those tucks with my soldering iron, and the canopy is done. Look how small it packs down. That's a 65" chute, minus the risers. In the background are the cut-off pleats.
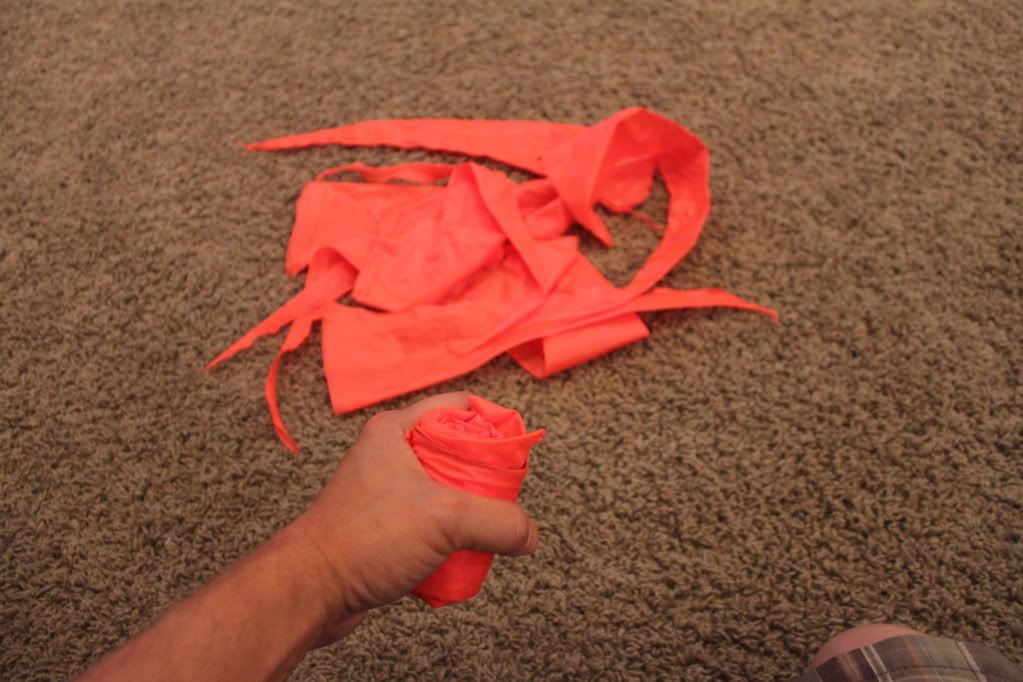
So there you go. A 65" chute canopy for $10 in materials and about 3 hours of work, that packs smaller than anything I know of on the market right now.
Tomorrow I'll make the shroud line attachments. For smaller chutes I just sew the shroud lines on directly, but for this one I want to use 100 lb Kevlar which is a challenge to line up because the lines are so thin, and I want it built strong enough for a high-speed deployment.
https://www.efabricsupplier.com/product_p/269.htm
I have made 20" 24" and 35" chutes with this method before, but tonight I did most of the work of making a 65" chute. I'll sew on attachments for the risers tomorrow.
The design is to start with a single, full-size circle of fabric, and make some pleats to turn it into a 1-piece hemispherical chute. This design has minimal seams and no hems, so it's quick, easy, and packs very small. To get started:
I taped the fabric flat down onto the floor, and with my daughter's help, traced out a big circle:
Next I folded the canopy in half, marked 2 chute attachment points, folded it again and marked a couple more points, and then folded it in 45 degrees to mark 4 more points:
I also marked the center point, and used that later to help fold the circle between the center and the chute attach points.
I cut out the circle using a soldering iron. This melts the edges, so it won't fray and I didn't have to waste any time or packed volume on hems.
I brought it back in, folded it in half, and drew the shape of the cutout that I put at each of 8 chute riser attachment points:
I had calculated the amount I wanted removed from the circumference to get a hemisphere. For this example it worked out that I take out about 65" from the circumference. I haven't checked the algebra to verify that you would always subtract one diameter from the circumference, but that's probably it. I divided that among 8 shroud line attach points and folded that in half to determine where the line ends on the circumference. I knew that the seam should be nearly perpendicular to the circumference at that point.. I also knew from experience that I wanted the tuck to end about 2/3 or 3/4 of the way to the center, and that part of the line starts tangent to the fold. Then I just freehanded the line as a smooth curve in between. I drew all the seam lines and pinned them all so that I could open up the canopy to verify I didn't make a factor of 2 error anywhere. It looked good, so I got to sewing.
I set the machine for close stitching, in hopes of creating a stronger seam that way. It was just a simple stitch along each of those 8 seam lines, and then I got this:
It will be a nicer-looking hemisphere when the risers are attached, the pleats are cut off, and some wind is inflating it, but at least you can get the idea here of how the pretty-close-to-hemispherical shape was achieved.
Then I just took the canopy back out to the porch and trimmed off those tucks with my soldering iron, and the canopy is done. Look how small it packs down. That's a 65" chute, minus the risers. In the background are the cut-off pleats.
So there you go. A 65" chute canopy for $10 in materials and about 3 hours of work, that packs smaller than anything I know of on the market right now.
Tomorrow I'll make the shroud line attachments. For smaller chutes I just sew the shroud lines on directly, but for this one I want to use 100 lb Kevlar which is a challenge to line up because the lines are so thin, and I want it built strong enough for a high-speed deployment.
")

