caveduck
semi old rocketeer
- Joined
- Jun 6, 2011
- Messages
- 1,827
- Reaction score
- 585
Here's a thread to post and discuss digital image tools and techniques.
The Tools
A fairly complete modeler's lair will probably have most of these already:
These days practically ANY midrange or better point-and-shoot digital camera will work fine. Just avoid the total low end with poor autofocus systems and limited exposure modes. I don't recommend spending a lot of money on a camera because they go obsolete in a hurry. Having said that, a camera that shoots a lossless RAW format rather than JPG is a plus, but they are more expensive.
Computer
Pretty much anything made in the last few years will be fine. One essential add-on is a USB2 multi-format memory card reader. I avoid using USB computer-to-camera cables as they always seem to rely on having crufty vendor software installed (e.g. Kodak EasyShare which drove me up the wall).
Scanner
If you just need reflective scans, darn near anything will work OK. As with cameras, just stay off the bottom end of the scale. I'm partial to Epson photo scanners.
Printer
Many choices here. I suggest using either Canon or Epson photo printers as I've had poor luck with HP. If you print very much at all, be sure to get a midrange printer that has 7-8+ separate ink tanks; they are much more economical in the long run vs units with the 3-in-1 cartridge that has to be replaced as soon as you run out of cyan even though there's a ton of magenta and yellow left. A bonus feature for modeling is a straight-through feed that will take stock up to ~1mm thick.
Software
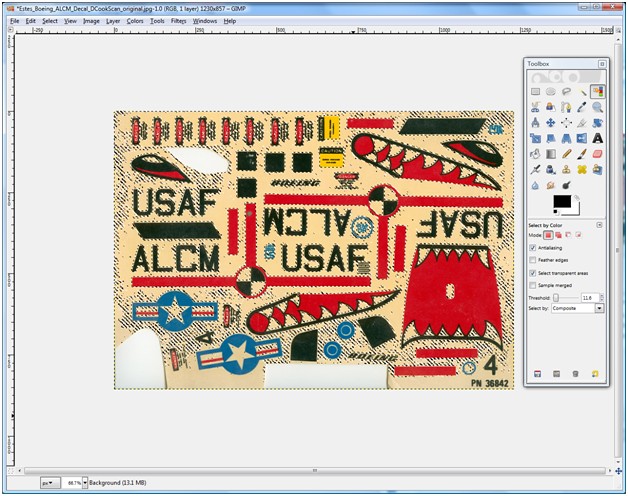
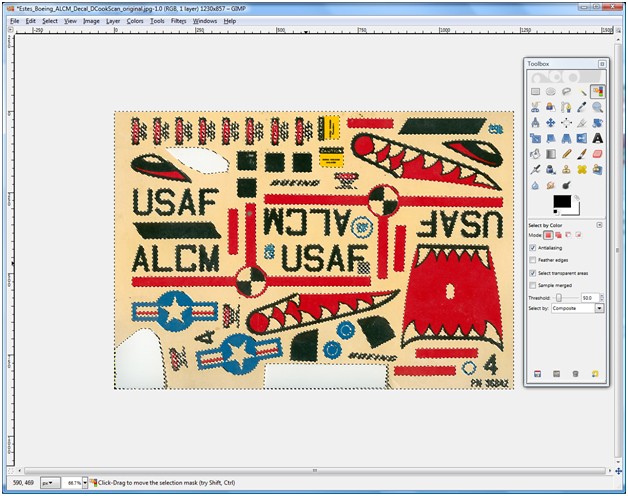
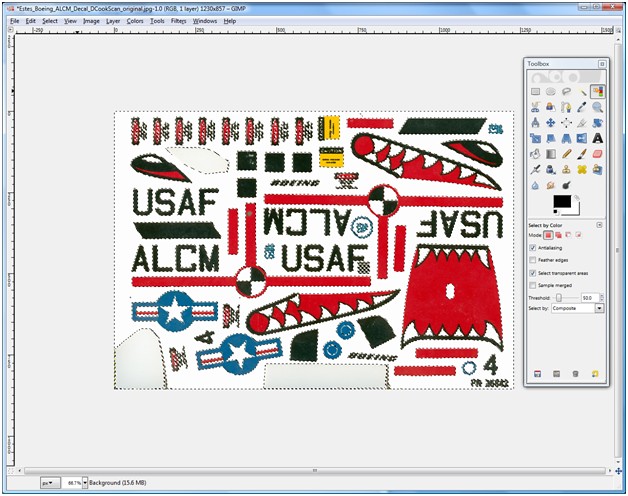
Photoshop is the gold standard. It is also very pricey, but if you have a student in your family you can get academic pricing that's about 70% off list. A free alternative is the open source GIMP, which works quite well but lacks the huge body of 3rd party support that PS has.
General Principles
Resolution
Always work in a resolution that's considerably higher (at least 2x in linear dimension) than your output is going to be. This allows pixel-level irregularities caused by processing to be averaged out in the output. Example: if you want to print a decal sheet at 600 dpi, you should scan and edit at at least 1200 dpi. There are some bad suggestions out there regarding this - for sharp line art you need to print at pretty high resolution, 300 dpi is just not that great.
File Formats and the JPG Problem
If you need to edit an image and it's in a .jpg file, you should convert it to a lossless format (TIFF, PSD etc) and do all edits in that format, only converting back to JPG if needed for web upload. JPG is a lossy compression format, and really bad things happen if you do multiple edits on .jpg files. Print directly from PSD or TIFF.
Color Management Settings
If you use Photoshop, be sure to carefully read and follow the suggestions for color setup in the manual. You want to let Photoshop handle all color settings. Part of this is that you need to set the printer's setup dialog to do NO color correction. You should also load the ICC color profiles for the printer (usually from the printer vendor's website) so that you can pick from them in the photoshop color dialog.
Long Term Storage
Figure out how you're going to store your digital photos to guard against loss, theft or meltdown of your computer. Don't rely on burning CD/DVD media, or memory sticks either. A little known evil fact about flash memory based devices like memory sticks is that they lose their data if not powered on for 3-5 years.
Probably the best solution for a lot of folks is to use a major online photo site like Picasa or Flickr that uses RAID storage and has a small army of IT people to worry about data integrity.
Information Links
https://photoshoptutorials.ws Nice tutorials, many with a fine-art slant.
https://www.photoshopessentials.com Lots of decent tutorials with reasonable organization.
https://www.kenrockwell.com Lots of general photography info. He has opinions you may not agree with, but a really good site anyway.
The Tools
A fairly complete modeler's lair will probably have most of these already:
- Digital camera
- Computer
- Scanner
- Inkjet printer
- Image editing software package
These days practically ANY midrange or better point-and-shoot digital camera will work fine. Just avoid the total low end with poor autofocus systems and limited exposure modes. I don't recommend spending a lot of money on a camera because they go obsolete in a hurry. Having said that, a camera that shoots a lossless RAW format rather than JPG is a plus, but they are more expensive.
Computer
Pretty much anything made in the last few years will be fine. One essential add-on is a USB2 multi-format memory card reader. I avoid using USB computer-to-camera cables as they always seem to rely on having crufty vendor software installed (e.g. Kodak EasyShare which drove me up the wall).
Scanner
If you just need reflective scans, darn near anything will work OK. As with cameras, just stay off the bottom end of the scale. I'm partial to Epson photo scanners.
Printer
Many choices here. I suggest using either Canon or Epson photo printers as I've had poor luck with HP. If you print very much at all, be sure to get a midrange printer that has 7-8+ separate ink tanks; they are much more economical in the long run vs units with the 3-in-1 cartridge that has to be replaced as soon as you run out of cyan even though there's a ton of magenta and yellow left. A bonus feature for modeling is a straight-through feed that will take stock up to ~1mm thick.
Software
Photoshop is the gold standard. It is also very pricey, but if you have a student in your family you can get academic pricing that's about 70% off list. A free alternative is the open source GIMP, which works quite well but lacks the huge body of 3rd party support that PS has.
General Principles
Resolution
Always work in a resolution that's considerably higher (at least 2x in linear dimension) than your output is going to be. This allows pixel-level irregularities caused by processing to be averaged out in the output. Example: if you want to print a decal sheet at 600 dpi, you should scan and edit at at least 1200 dpi. There are some bad suggestions out there regarding this - for sharp line art you need to print at pretty high resolution, 300 dpi is just not that great.
File Formats and the JPG Problem
If you need to edit an image and it's in a .jpg file, you should convert it to a lossless format (TIFF, PSD etc) and do all edits in that format, only converting back to JPG if needed for web upload. JPG is a lossy compression format, and really bad things happen if you do multiple edits on .jpg files. Print directly from PSD or TIFF.
Color Management Settings
If you use Photoshop, be sure to carefully read and follow the suggestions for color setup in the manual. You want to let Photoshop handle all color settings. Part of this is that you need to set the printer's setup dialog to do NO color correction. You should also load the ICC color profiles for the printer (usually from the printer vendor's website) so that you can pick from them in the photoshop color dialog.
Long Term Storage
Figure out how you're going to store your digital photos to guard against loss, theft or meltdown of your computer. Don't rely on burning CD/DVD media, or memory sticks either. A little known evil fact about flash memory based devices like memory sticks is that they lose their data if not powered on for 3-5 years.
Probably the best solution for a lot of folks is to use a major online photo site like Picasa or Flickr that uses RAID storage and has a small army of IT people to worry about data integrity.
Information Links
https://photoshoptutorials.ws Nice tutorials, many with a fine-art slant.
https://www.photoshopessentials.com Lots of decent tutorials with reasonable organization.
https://www.kenrockwell.com Lots of general photography info. He has opinions you may not agree with, but a really good site anyway.