Sorry for being AWOL guys.
Weather has been hell here. (if hell is day after day or thunderstorms) It took forever to get paint down. And then when I started decals, I couldn't go outside to clearcoat the decals!
Then I ran out of decal material, and had to order more.
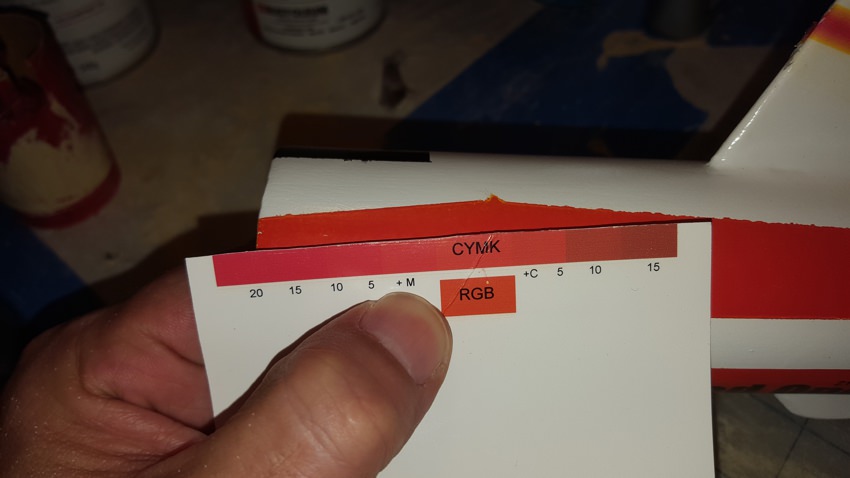
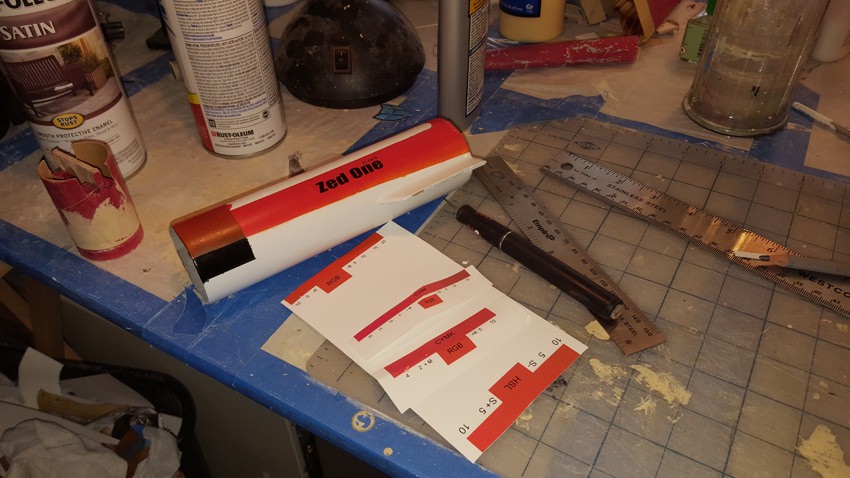
AND THEN my good 8 color photoprinter died! and I had to print the last decals on a cheap CYMK printer. (so there are now three shades of the orange on the model). But all in all, its turning out OK.
So lets catch up guys up:
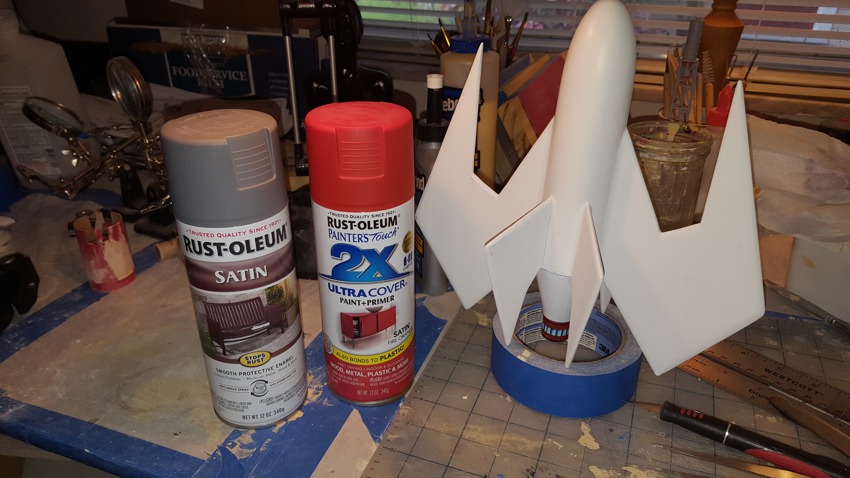
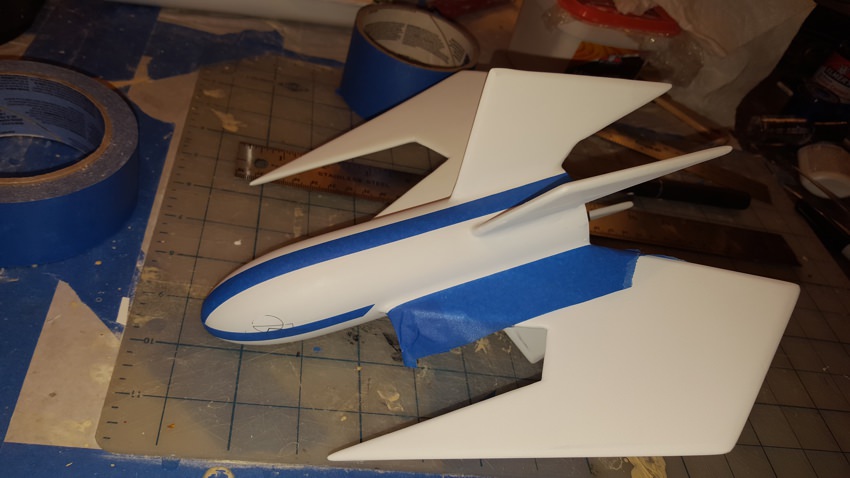
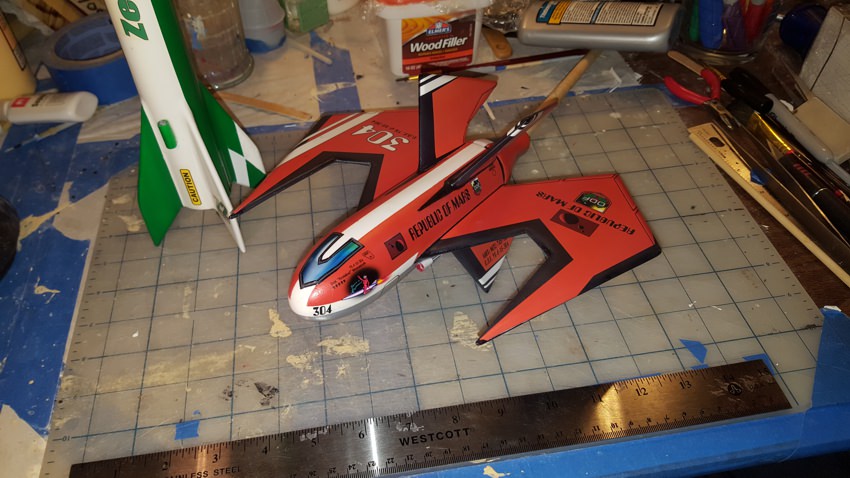
After paint
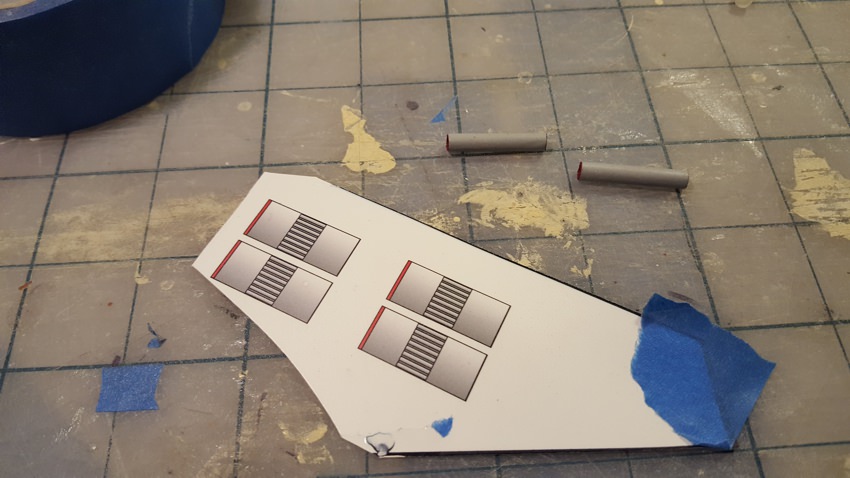
I started on decals
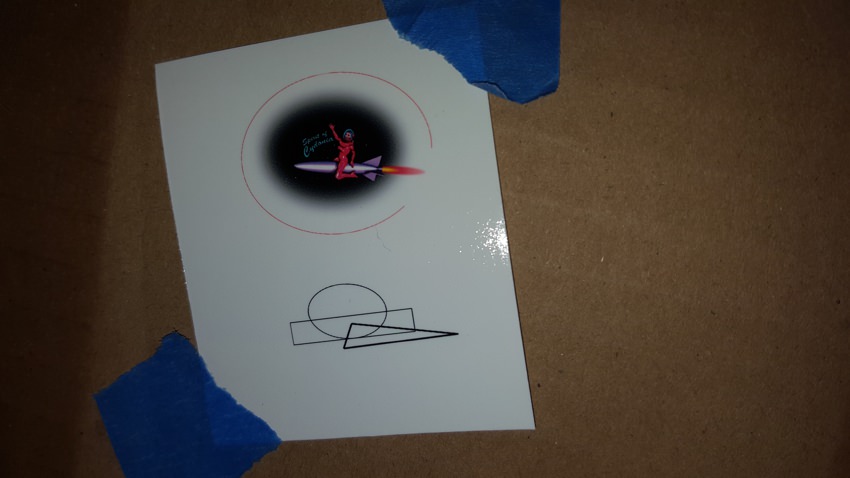
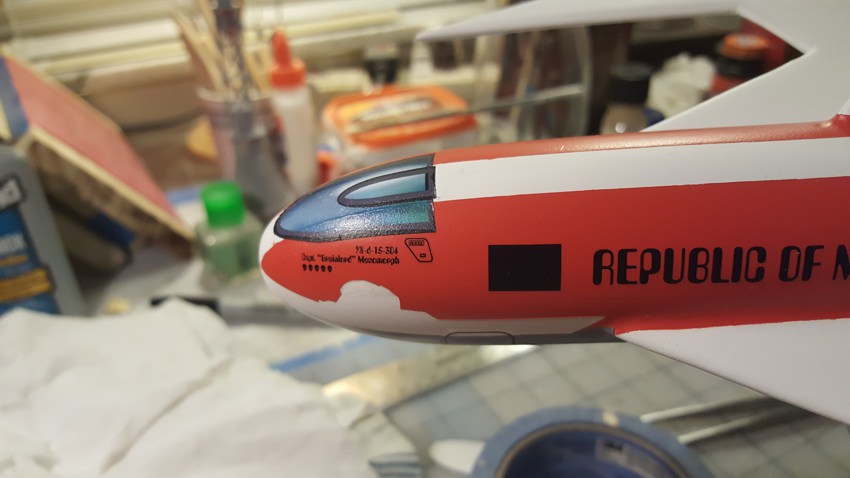
Here you see the masked hole (knockout) for the nose art. It's higher than I wanted, and the paint is thick.
Next time I'll just put a solid white opaque decal on top of the paint.- that will be both easier and a better result.
The opaque white material has a white edge that shows, to fix that i tried coloring in the edge with a sharpie before applying the decal. that didn't work. the ink would come off with the water and all the rubbing. So to fix that I had to change the sequence of events.
1. print the decals
2. cut the decals out
3. color in the edges
4.
then clearcoat
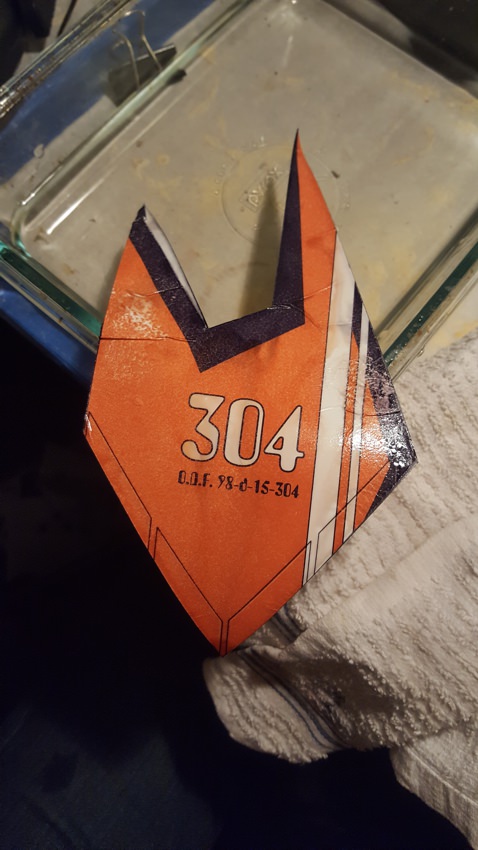
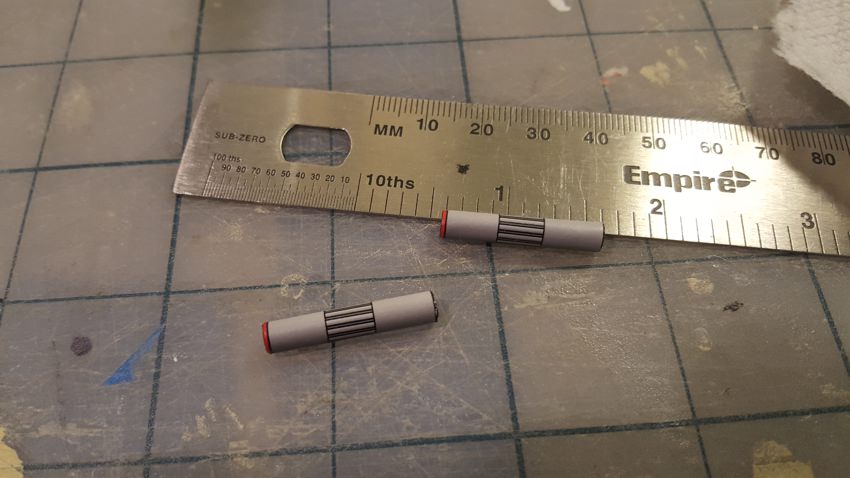
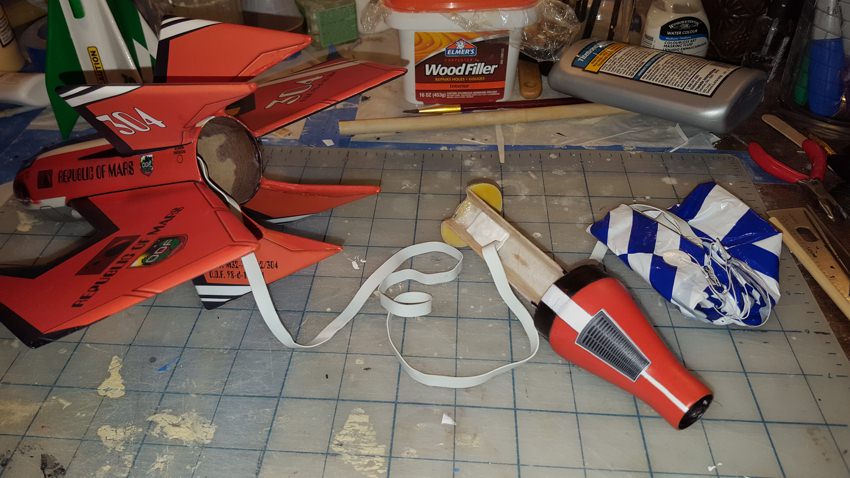
trimmed decals ready for clearcoat:
but this created a new problem. it glues the edges of the decal to the backing!
So I started lightly sanding the edges of the decal before I put it in the water. That helped, but didn't fix it. Then once I forgot to sand before the water, and tried sanding after the water - THAT WORKED.
5. soak the decal
6.
very lightly wipe some 200 grit around the edge
7. apply to the model
EDIT: That's just for the opaque white and covering the edge.
for clear decals its just Print, Spray, Let dry then soak and apply like normal
I learned that there is a "best size" for the decals.
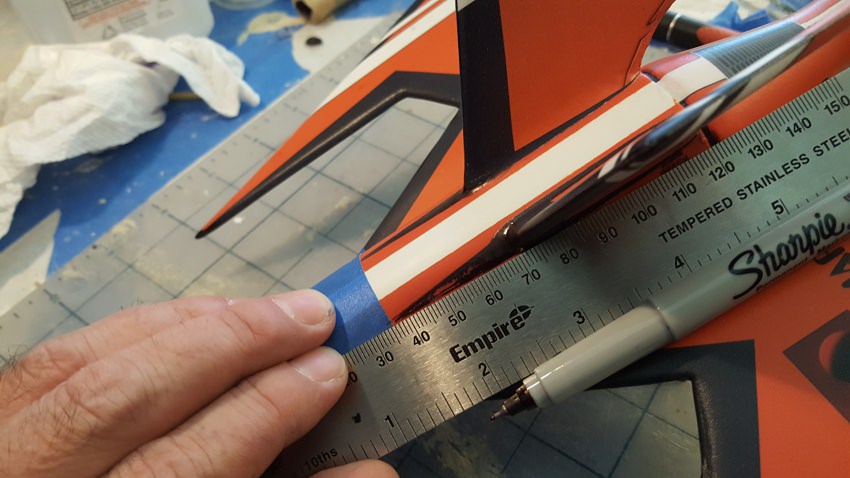
About 1"x 3" or 4" is spacious but still easy to handle. Smaller they are tough to position, and bigger like 3"x 4" they get floppy and tough to handle. I did some of them upside down. Leaning back in my chair holding the model over my head and letting the decal hang down while I plastered it up against the model, like wallpapering a ceiling.
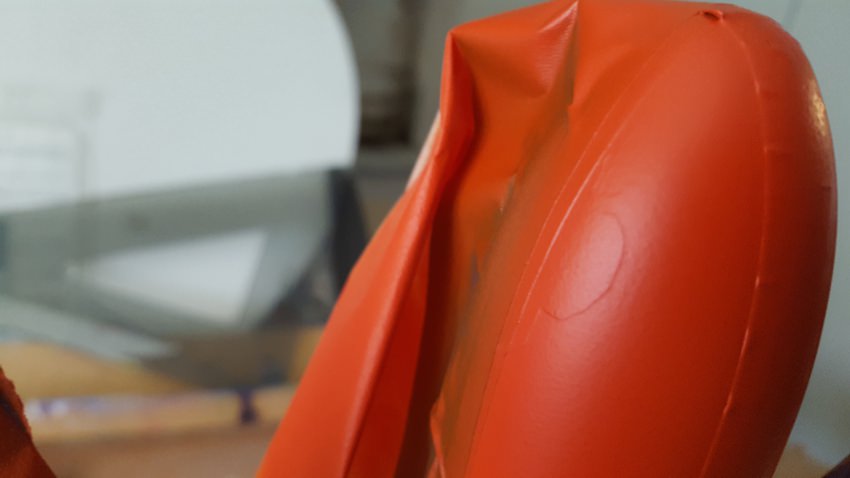
I also did extensive experiments with the clearcoat.
I found that one very heavy coat is what you want. It seals in the ink and toughens the decal without adding too much thickness.
Several thin coats is a bad idea. You might end up without any one coat sealing the ink, and this happens:
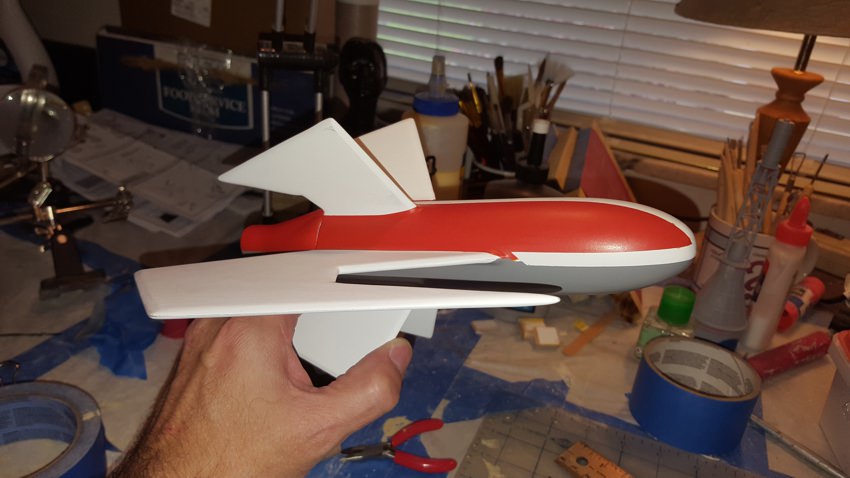
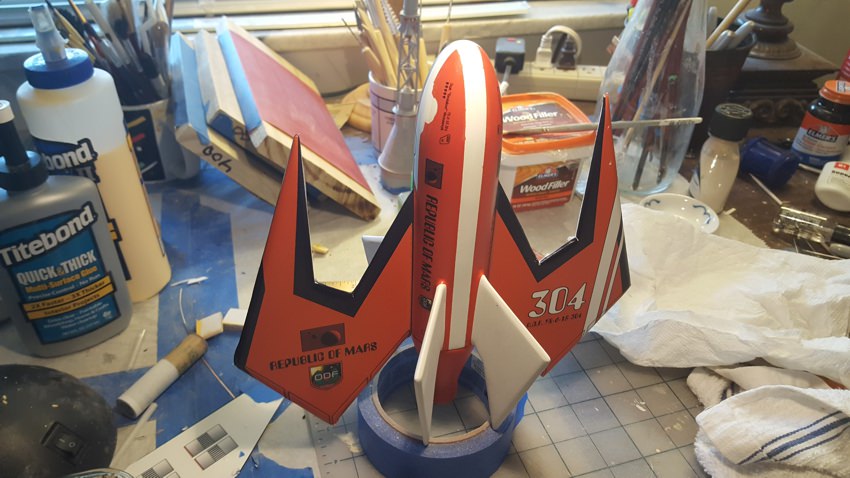
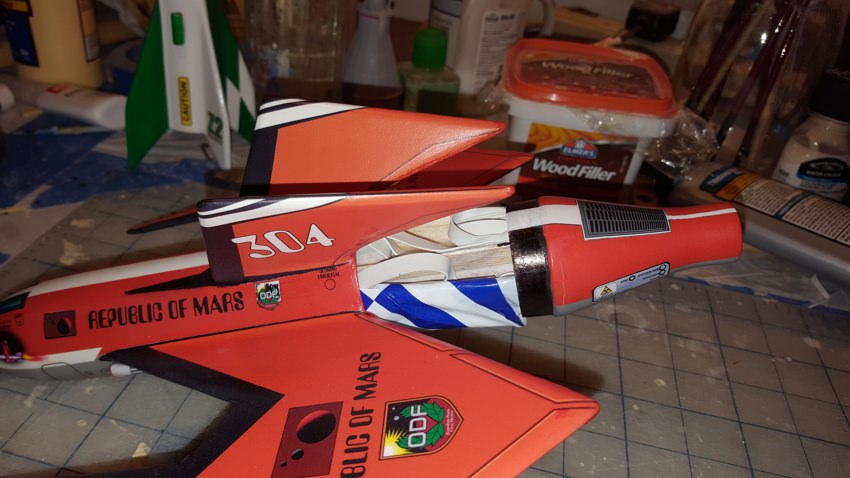
Applying went as well as could be expected:
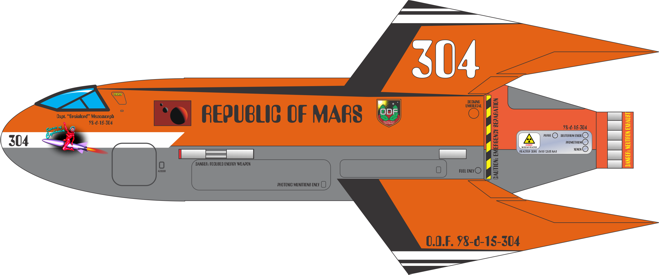
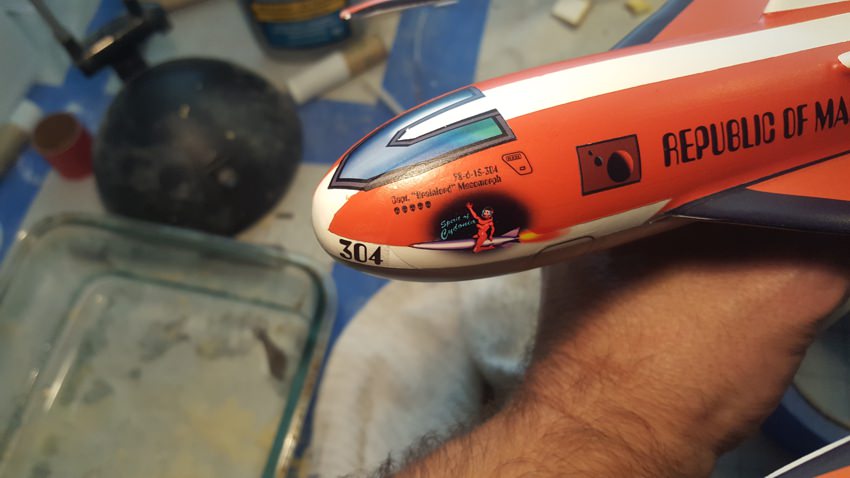
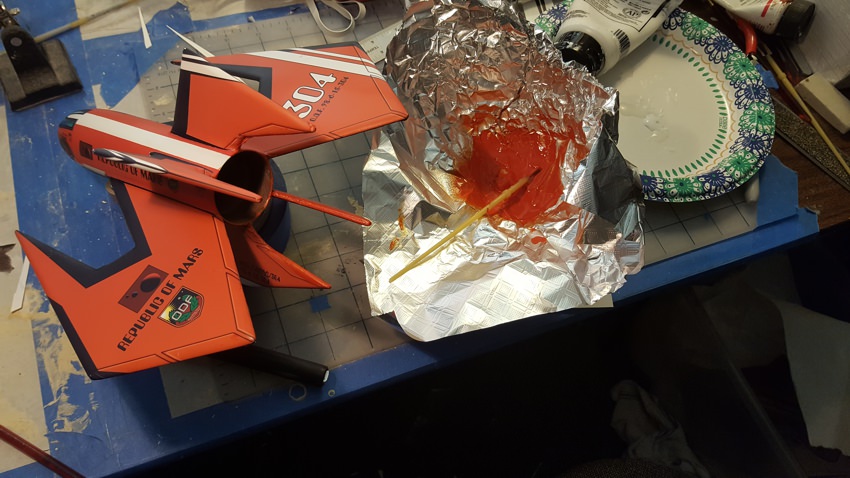
I had to fix the nose art to get it to fit in the hole. I moved the space behind her, lengthened the rocket and changed the shape of the fire.
But I am getting away with it
")