- Joined
- Jan 19, 2009
- Messages
- 3,442
- Reaction score
- 1,322
Looking good!
This looks great. Anyone know what inspired Tom to come up with this crazy thing in the first place?
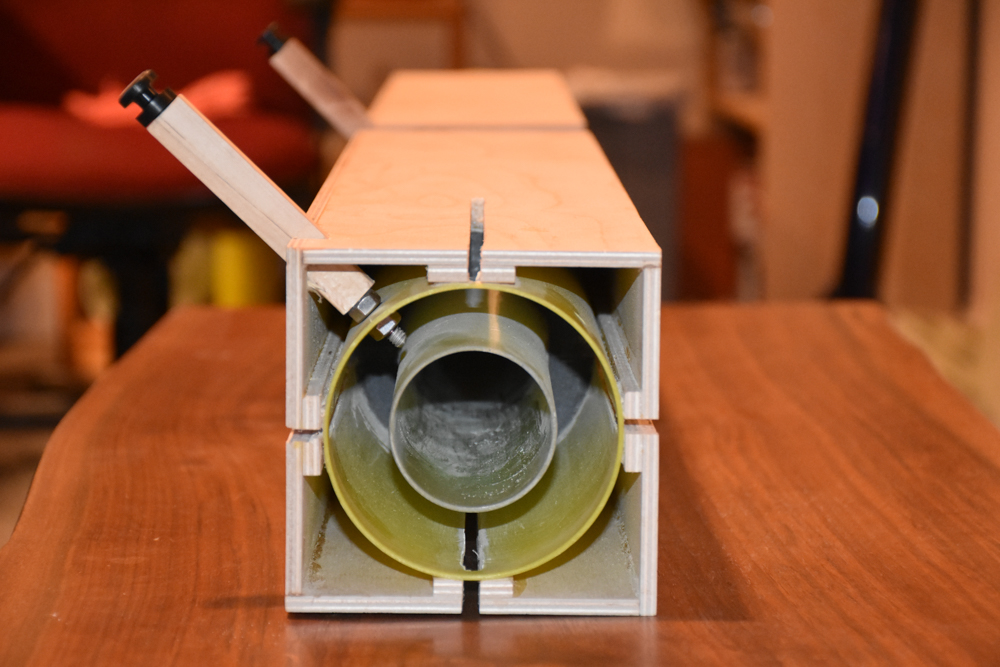
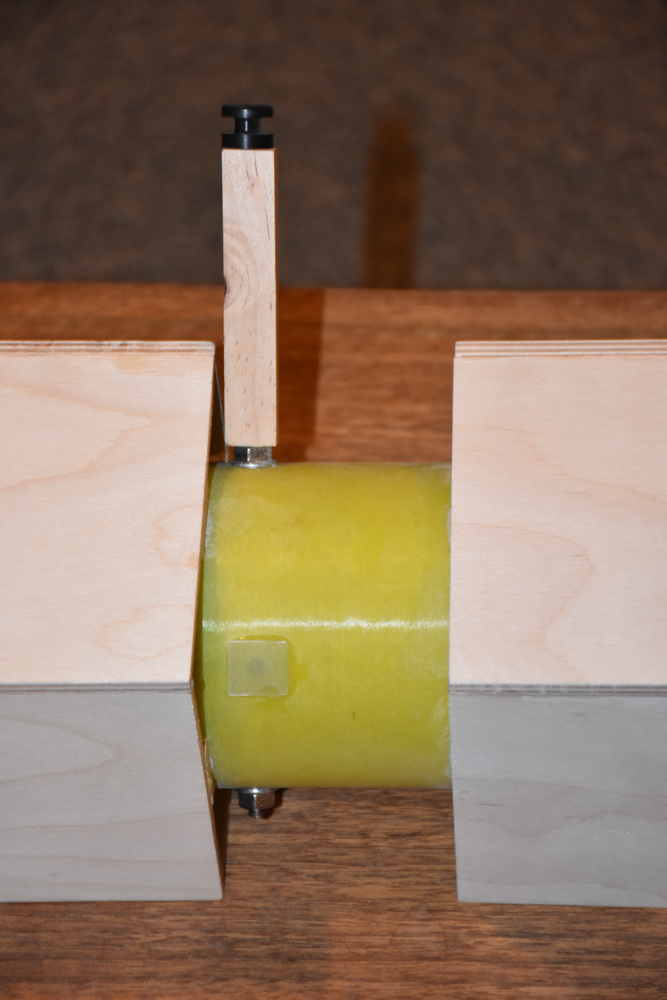
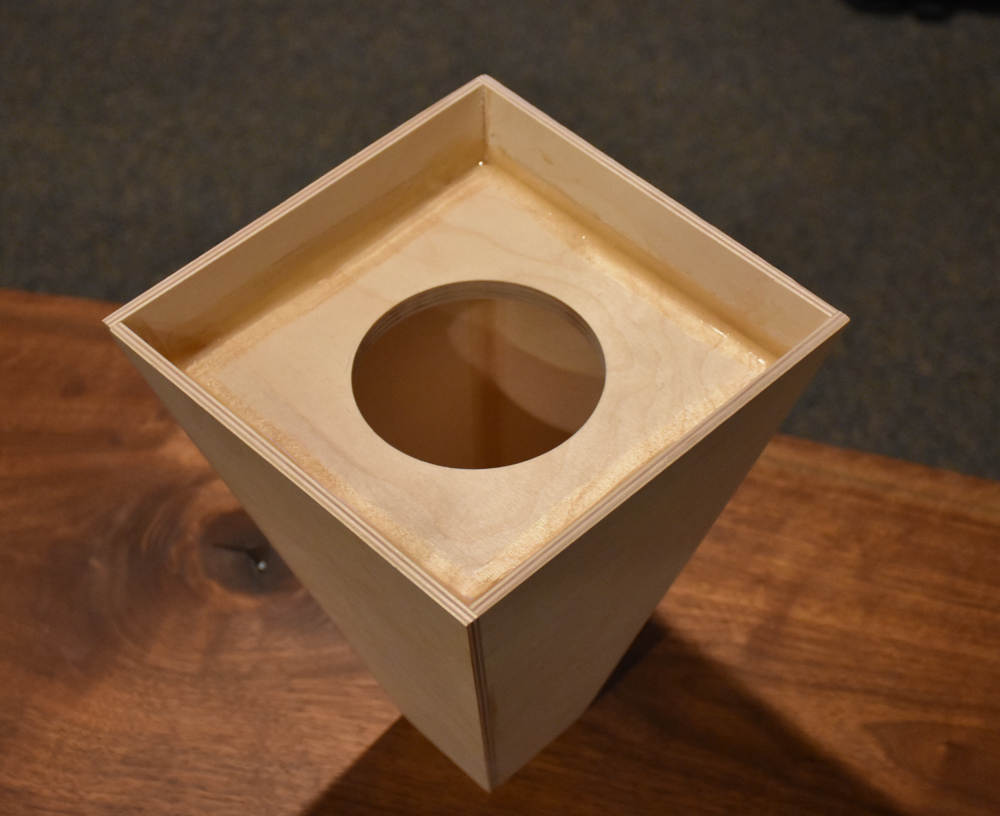
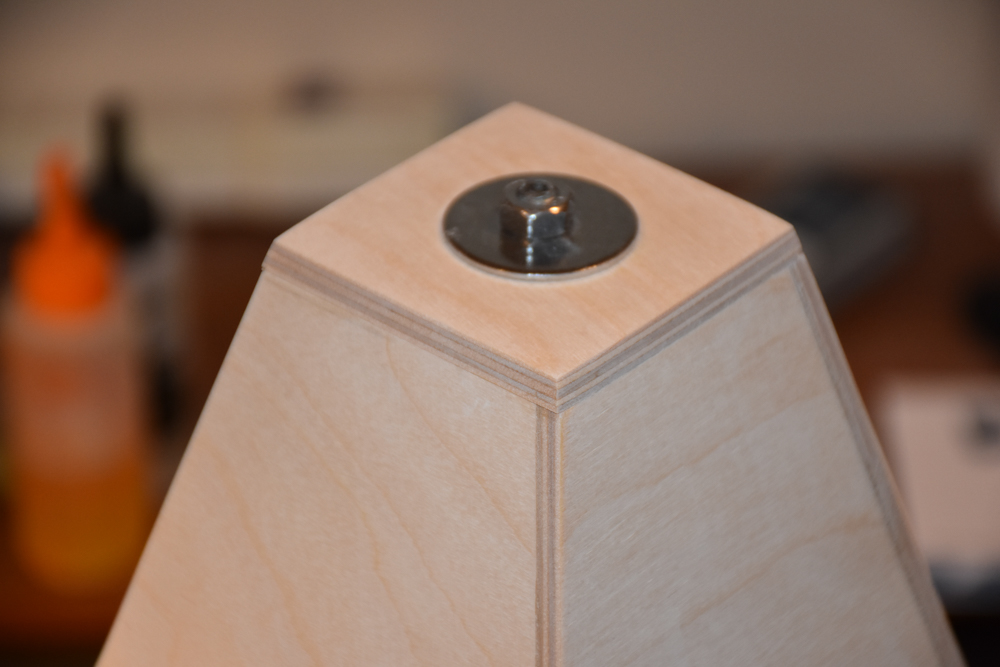
The forward rail button is just forward of the motor mount and I couldn't reach all the way down into the 4" airframe to attach a nut so instead that one goes all the way through the airframe with a nut on the other side. Unfortunately I will be limited to 54mm 6 grain motors because that threaded rod will prevent me from ever using a 6XL motor.
What is stopping you from locating the forward rail button and standoff just south of there you have it now, located on the square airframe, secured into the inner airframe tube like you have it on the aft rail button?
Looking nice BTW.
Will you be selling kits for this rocket at Red Glare?
Ha! No.
But I can provide some specs if anyone wants to build one. I would first wait and see if this thing will actually fly.
You could take a long piece of flat aluminum, and cut a notch in it the width of the nut, and reach inside with that. Or place your button a little higher on the rocket...
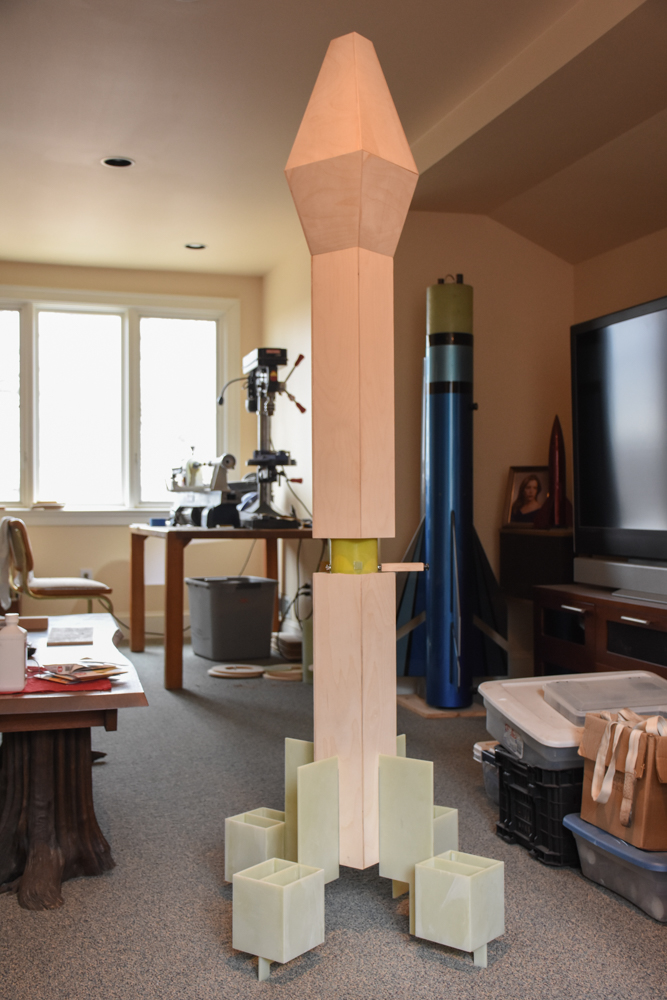
It'll fly, but I'm worried about the bucket loader....
Nathan,
Awesome build! Will this be flying at Red Glare in April?
Scott
Bring her out for a show and tell. :cool2:
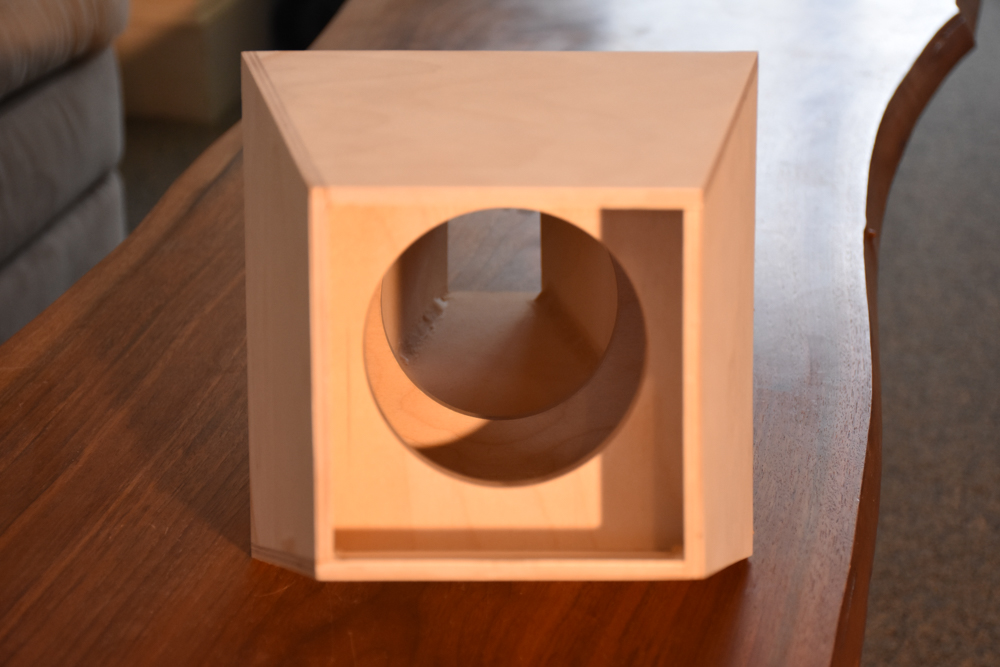
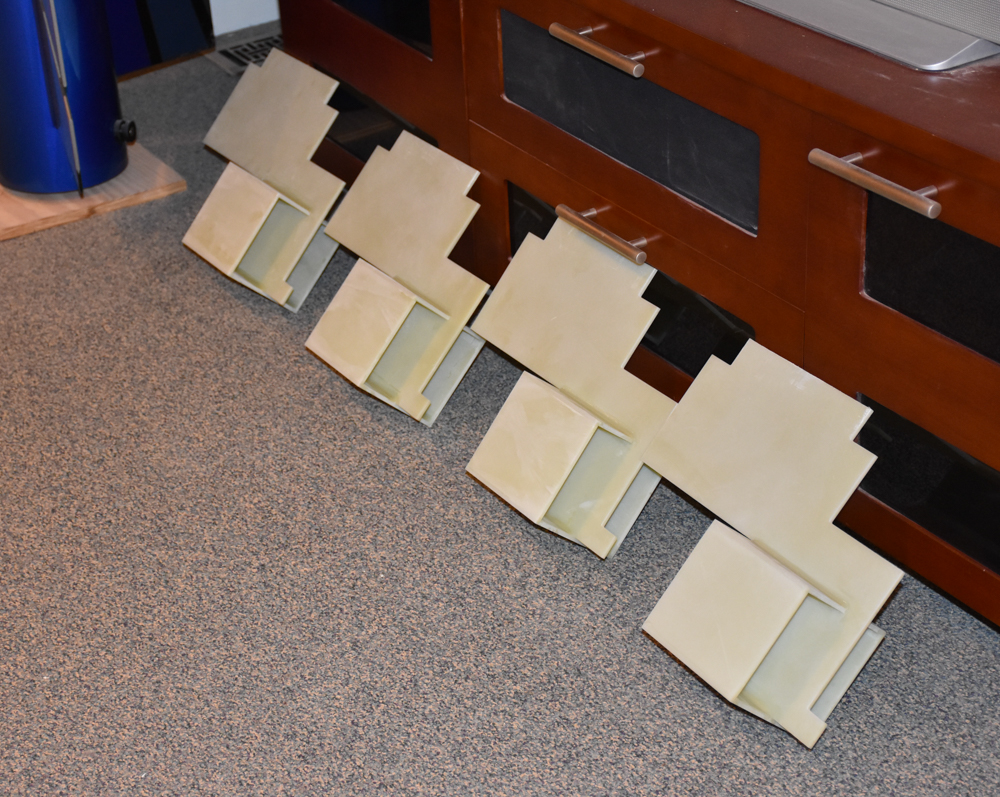
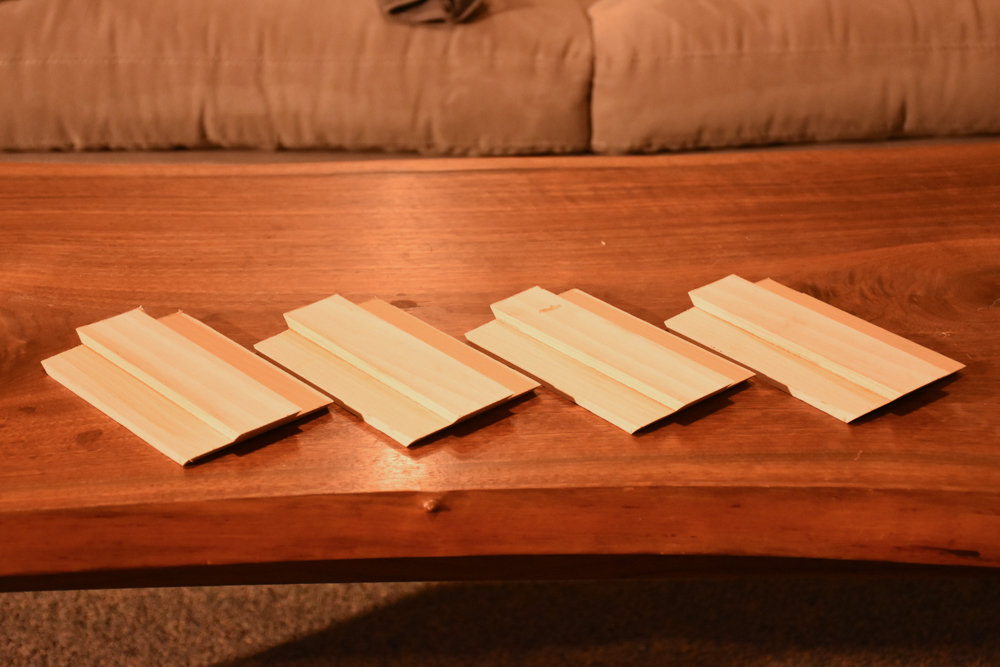
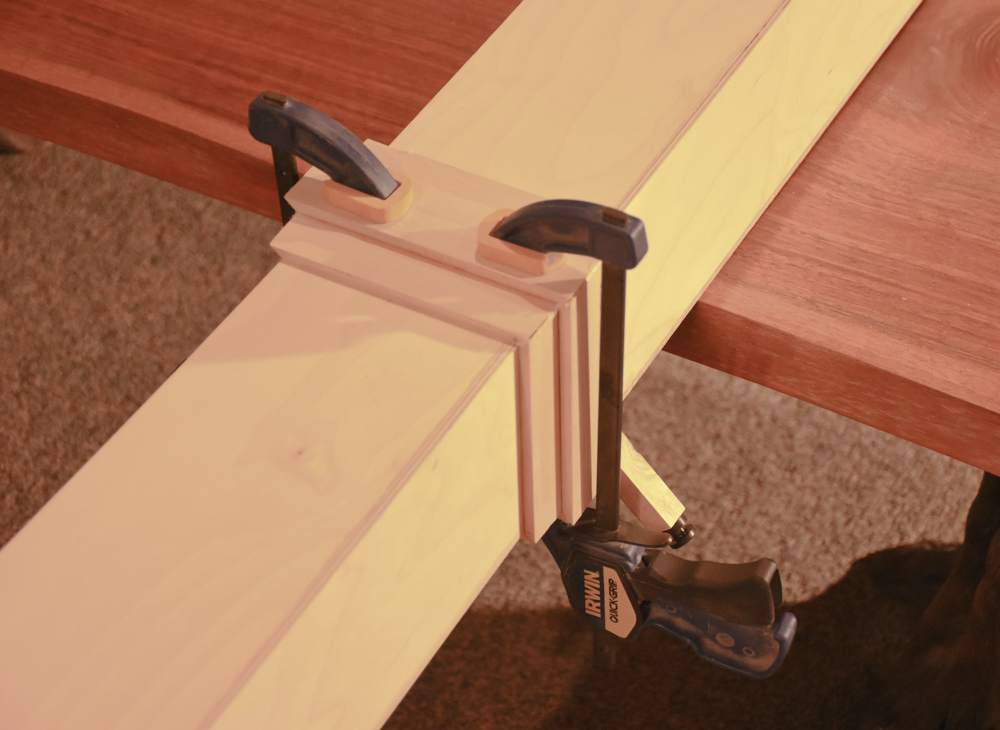
Wow just imagine how much better you are going to be at filets, you know because you have a lot of room for improvement.Working on fillets . . . I'm doing epoxy fillets on all 10 joint corners on each fin box. With the normal external and internal fin fillets and that adds up to 16 fillets per fin for a total of 64 fillets! The Aeropoxy takes all day to cure so I'll be doing fillets for a long, long time.
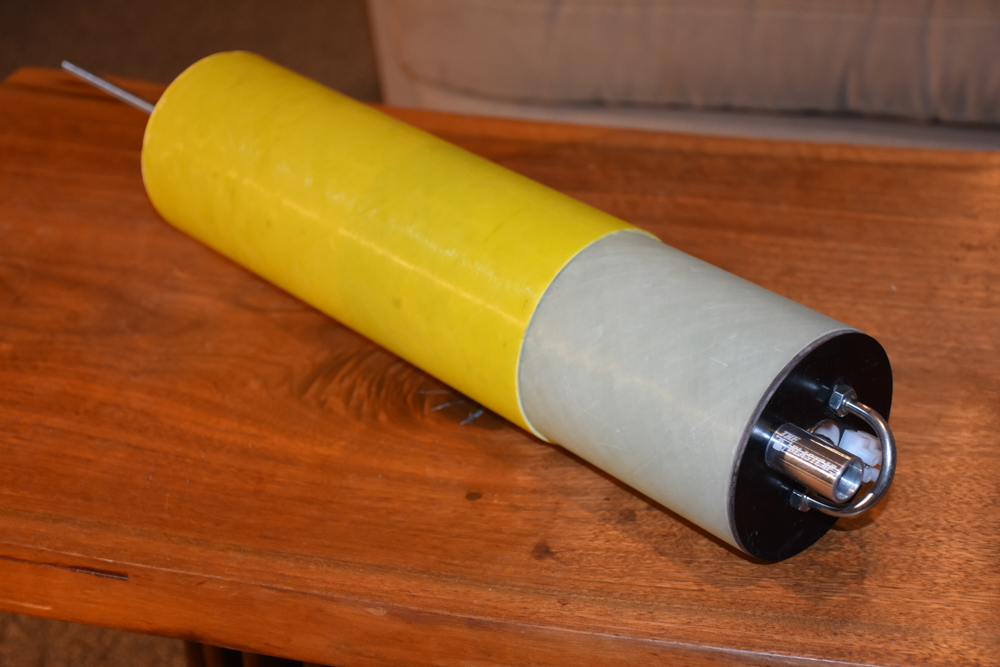
Have you considered doing the recovery the same as the full size rocket - separate chutes for the NC and the main rocket. It would be a nice way to really model the original.
Enter your email address to join: